Schlagwort: vintage
-

Atomic TV | The MagPi 97
Reading Time: 4 minutesNothing on television worth watching? Ryan Cochran’s TV set is just as visually arresting when it’s turned off, as David Crookes reports in the latest issue of the MagPi magazine, out now. Flat-screen televisions, with their increasingly thin bezels, are designed to put the picture front and centre. Go back a few…
-

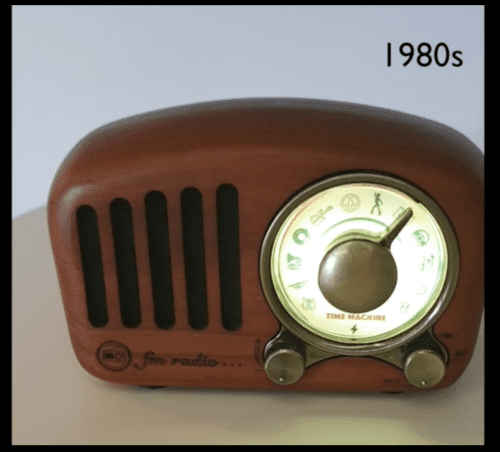
Go back in time with a Raspberry Pi-powered radio
Reading Time: 2 minutesTake a musical trip down memory lane all the way back to the 1920s. Sick of listening to the same dozen albums on repeat, or feeling stifled by the funnel of near-identical YouTube playlist rabbit holes? If you’re looking to broaden your musical horizons and combine that quest with a vintage-themed Raspberry…
-

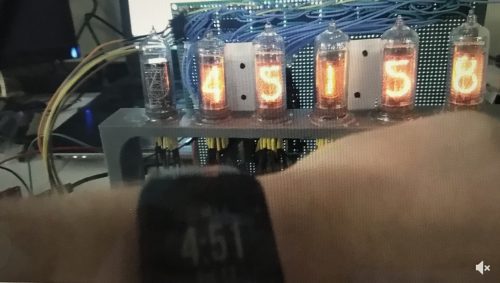
Retro Nixie tube lights get smart
Reading Time: 2 minutesNixie tubes: these electronic devices, which can display numerals or other information using glow discharge, made their first appearance in 1955, and they remain popular today because of their cool, vintage aesthetic. Though lots of companies manufactured these items back in the day, the name ‘Nixie’ is said to derive from a…
-

Control a vintage Roland pen plotter with Raspberry Pi
Reading Time: < 1 minuteBy refitting a vintage Roland DG DXY-990 pen plotter using Raspberry Pi, the members of Liege Hackerspace in Belgium have produced a rather nifty build that writes out every tweet mentioning a specific hashtag. Liege Hackerspace member u/iooner first shared an image of the plotter yesterday, and fellow Redditors called for video…
-

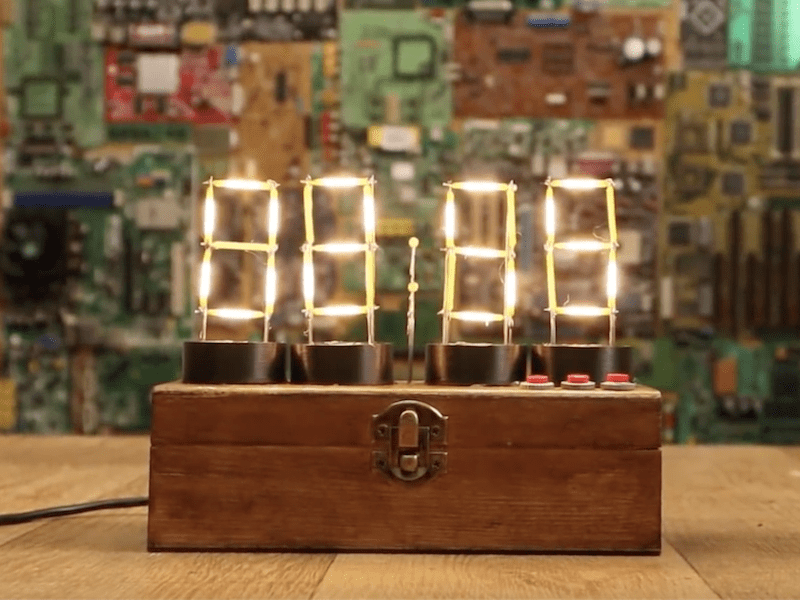
Vintage-style clock made from individual LEDs
Reading Time: 2 minutesVintage-style clock made from individual LEDs Arduino Team — November 6th, 2018 If you’ve ever wanted a vintage-style timepiece, or to test your soldering abilities, this clock by YouTuber Electronoobs will let you do both at once. It features four display modules that resemble Nixie tubes, each made out of LED filaments…
-

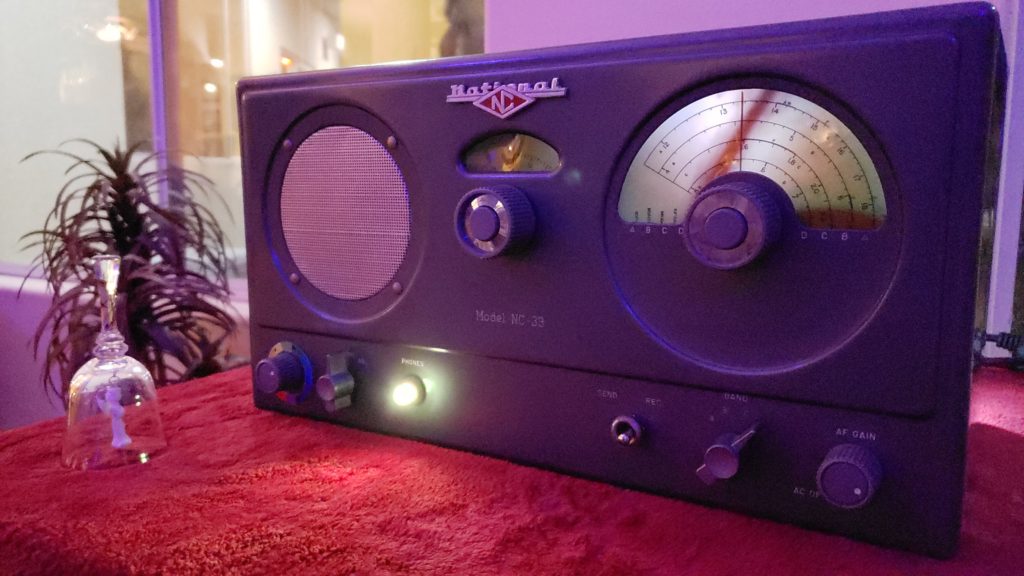
Vintage ham radio transformed into epic party game prop
Reading Time: 2 minutesVintage ham radio transformed into epic party game prop Arduino Team — October 2nd, 2018 Maker Thomas Meston needed a “mysterious looking device” that allows players to enter codes obtained via an original party game. What he came up with is entitled “Dr. Hallard’s Dream Transmission Box,” and consists of an Arduino,…
-

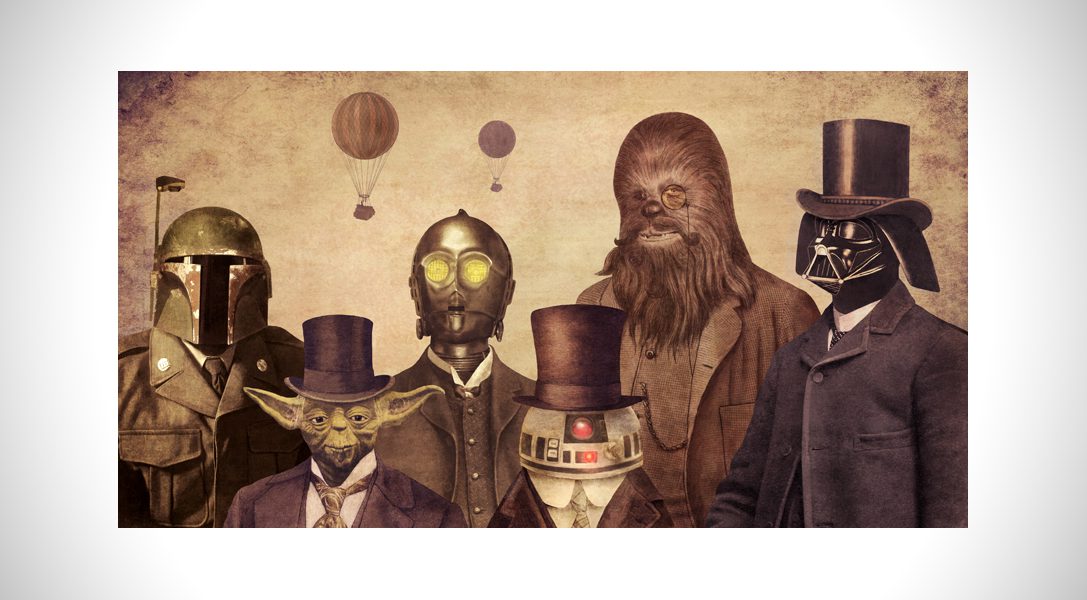
Victorian Times Star Wars Characters, Vintage Photos!
Reading Time: < 1 minuteStar Wars fan and talented artist Terry Fan combined his two passions in a new series called „Victorian Wars“. This is exactly as it sounds, famous characters from the franchise, such as R2-D2, Chewbacca, wearing outfits from the Victorian / Steampunk era. For those who have never heard of Steampunk, it’s…