Schlagwort: vending machine
-

This vending machine draws generative art for just a euro
Reading Time: 2 minutesIf you hear the term “generative art” today, you probably subconsciously add “AI” to the beginning without even thinking about it. But generative art techniques existed long before modern AI came along — they even predate digital computing altogether. Despite that long history, generative art remains interesting as consumers attempt to identify…
-

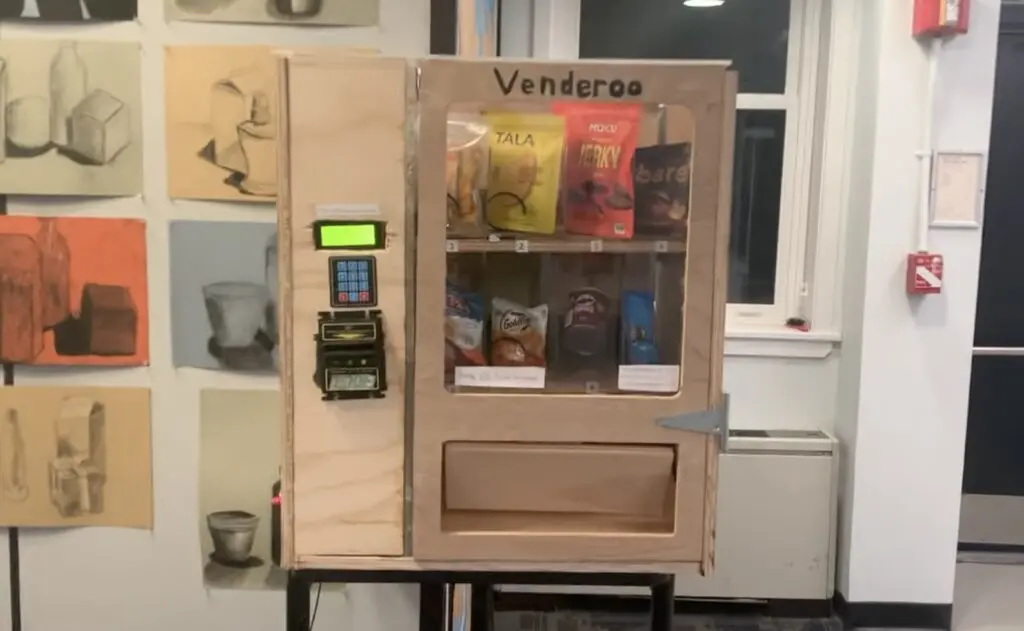
Venderoo is an Arduino Mega-powered DIY vending machine
Reading Time: 2 minutesFor now-college student Joel Grayson, making something that combined his interests in mechanics, electronics, and programming while being simultaneously useful to those around him was a longtime goal. His recent Venderoo project is exactly that, as the creatively named vending machine was designed and built from the ground-up to dispense snacks in…
-

A desktop-sized DIY vending machine for your room
Reading Time: 2 minutesHave you ever wanted your very own vending machine? If so, you likely found that they’re expensive and too bulky to fit in most homes. But now you can experience vending bliss thanks to this miniature vending machine designed by m22pj, which you can craft yourself using an Arduino and other materials…
-

Make it rain chocolate with a Raspberry Pi-powered dispenser
Reading Time: 5 minutesThis fully automated M&M’s-launching machine delivers chocolate on voice command, wherever you are in the room. [youtube https://www.youtube.com/watch?v=hsGhCl0y1FY] A quick lesson in physics To get our head around Harrison McIntyre‘s project, first we need to understand parabolas. Harrison explains: “If we ignore air resistance, a parabola can be defined as the arc…
-

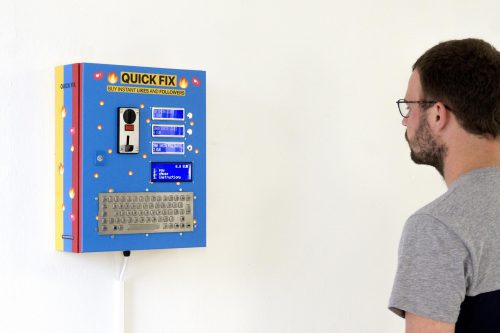
Quick Fix — a vending machine for likes and followers
Reading Time: 2 minutesSometimes we come across a project that just scores a perfect 10 on all fronts. This is one of them: an art installation using Raspberry Pi that has something interesting to say, does it elegantly, and is implemented beautifully (nothing presses our buttons like a make that’s got a professionally glossy finish…
-

They gonna kill us all, interesting facts about vending machines
Reading Time: < 1 minute