Schlagwort: Uno

  • Rick and Morty fans will love this butter robot

    Rick and Morty fans will love this butter robot

    Reading Time: < 1 minute

    Rick and Morty fans will love this butter robot

    Arduino TeamJanuary 4th, 2018

    Up until the present day, if you need butter, you simply ask another human to “pass the butter,” leading to minor inconvenience and awkwardness. Engineering students in Brussels have come up with a novel solution: a robot that brings the butter to you!

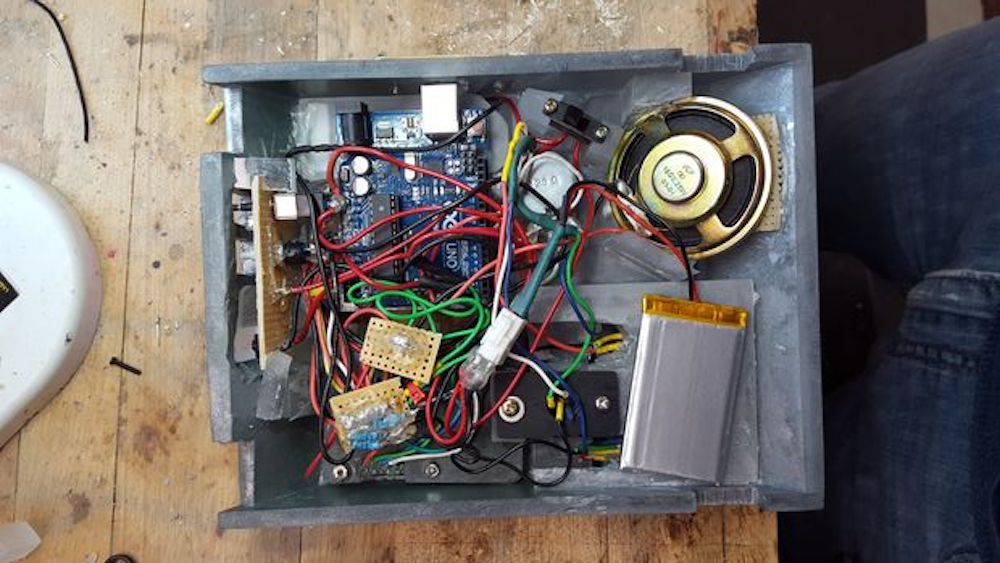
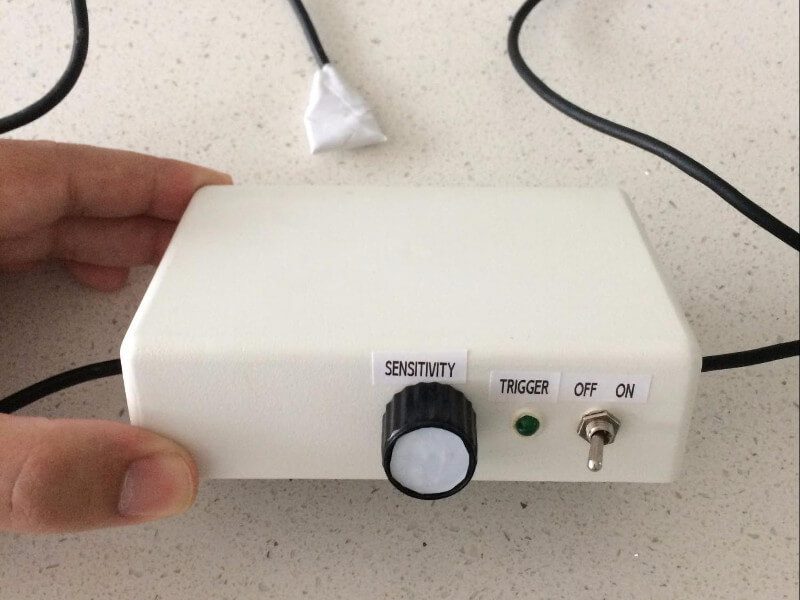
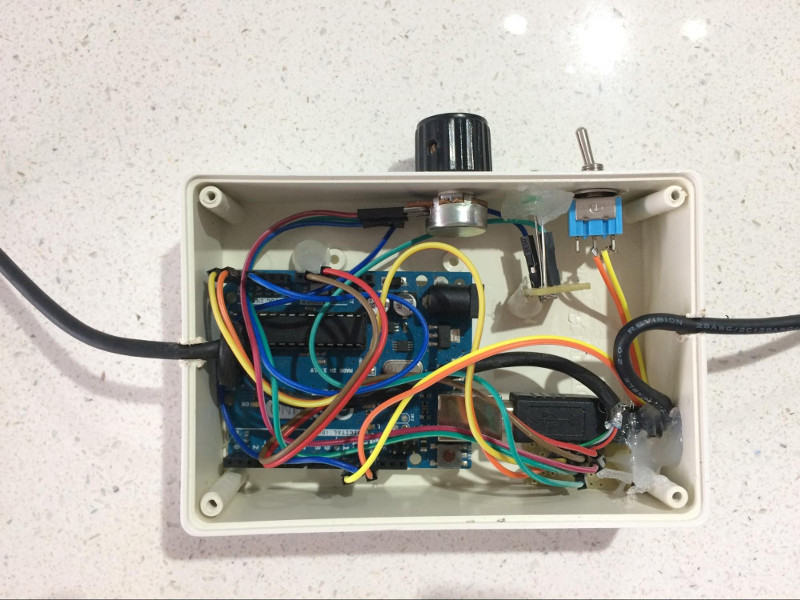
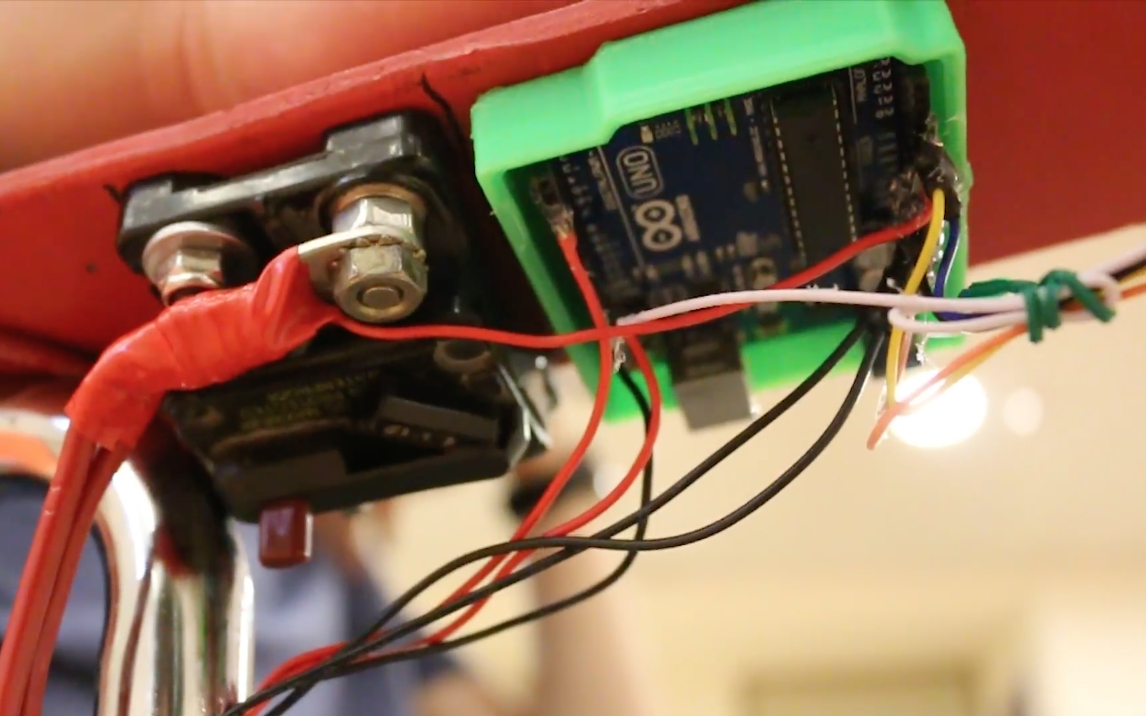
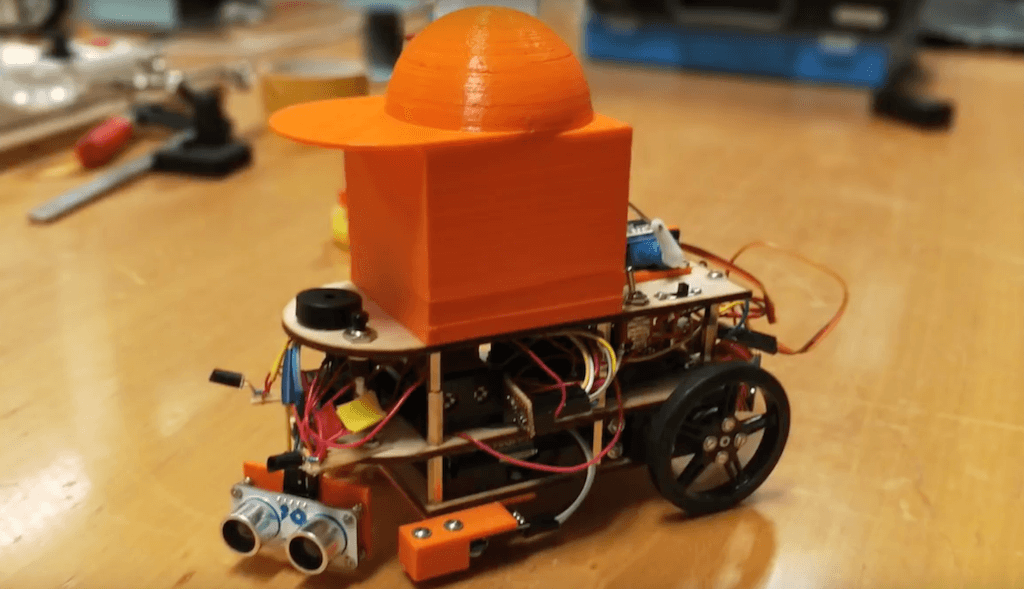
    The robot, inspired by Rick and Morty’s Butter Bot, is powered by an Arduino Uno and summoned to hungry humans via an infrared remote control.

    When the signal detected by onboard IR sensors, the robot moves over using continuous-rotation modded servos, then flips its cap-like lid to reveal the butter inside.

    Want a Butbot of your own? You can find the build process and code in the student team’s write-up here.


    Website: LINK

  • RoboGlove assists users with gripping objects

    RoboGlove assists users with gripping objects

    Reading Time: 2 minutes

    RoboGlove assists users with gripping objects

    Arduino TeamJanuary 3rd, 2018

    The RoboGlove project is a robotic glove by students at the Université Libre de Bruxelles that is designed to assist the wearer when continuously gripping objects.

    This is accomplished by a series of three servos that transmit force through cables for the index finger, middle finger, and thumb. Control is via an Arduino Uno, which takes input from pressure sensors in the three finger fixtures, helping the wearer keep gripping when force is initially exerted to close a fist.

    The glove has a wire connection that links the fingers to some servo motors: a wire is attached to the extremity of the finger and to the servo, so when the servo turns, the wire is pulled and the finger is flexed. In this way, by controlling the grip done by the user through some pressure sensors in the extremity of the fingers, we are able to actuate the motors in a controlled way and help the gripping by bending the finger proportionally to the rotation of the motors and so to the rolling up of the wires. In this way we should be able either to allow weak people to grip objects or help even people in physiological conditions to grip objects and to keep it without any effort.

    While still a prototype, it’s an interesting device that could be developed further into a very helpful augmentation. You can see it in action below!


    Website: LINK

  • Control lights and sounds with the Arduino-powered LED Eclipse

    Control lights and sounds with the Arduino-powered LED Eclipse

    Reading Time: < 1 minute

    Control lights and sounds with the Arduino-powered LED Eclipse

    Arduino TeamJanuary 2nd, 2018

    If you need a MIDI device that can be programmed as your own unique light and sound controller, then Jon Bumstead’s LED Eclipse may be just what you’re looking for.

    The circular device, roughly the diameter of a large plate, is constructed out of 30 layers of MDF, and boasts 10 capacitive sensors made with copper strips, as well as 10 corresponding programmable LEDs.

    An Arduino Uno powers the assembly, which can be seen being played like a multi-player electronic piano towards the end of the video below. It can also be used as a Simon-style game, and even a light display—though you could program it for any other application you desire!


    Website: LINK

  • These students made their own Guitar Hero-like video game

    These students made their own Guitar Hero-like video game

    Reading Time: 2 minutes

    These students made their own Guitar Hero-like video game

    Arduino TeamDecember 23rd, 2017

    If you’d like to create your own simulated guitar from scratch, you’ll want to check out this project by Cornell ECE students Jake Podell and Jonah Wexler. It uses four conductive strings on the neck to sense which note is selected, along with a pick wired as input to tell when the string has been plucked.

    An Arduino Uno takes these inputs and feeds them to a computer via USB serial. Information is then transmitted over Bluetooth to a PIC32 microcontroller, which displays a scrolling fretboard on a TFT screen.

    The pseudo-musician must strum along to the song shown—Ode to Joy in this case—hearing a strumming sound for correct notes, or an annoying beep for errors.

    Similar to the classic music games like Rock Band and Guitar Hero, we use a TFT to display notes that move across the screen towards a strum region, produce guitar plucks and undertones of a song, and keep track of the user’s score. The user plays notes on a wireless mock guitar built with carbon-impregnated elastic as strings and a conducting plectrum for the guitar pick. The guitar is connected to an Arduino Uno which communicates wirelessly via Bluetooth to the PIC32. The goal of this video game is to learn the basic finger movements of holding down strings and strumming at the correct time for novice guitar players. The project can easily be extended for more advanced finger movements on the strings and strum timing for those with more experience.

    You can see more of the project in its write-up here and in the video below!


    Website: LINK

  • Star Wars fan creates an Arduino-powered rebel pilot chest box

    Star Wars fan creates an Arduino-powered rebel pilot chest box

    Reading Time: < 1 minute

    Star Wars fan creates an Arduino-powered rebel pilot chest box

    Arduino TeamDecember 19th, 2017

    If you’d like a rebel fighter pilot suit, complete with the automated chest box, then look no further than this excellent build from “badjer1.”

    It features a chest box with the same dimensions seen in the movies that lights up randomly, and even allows bored pilots to play a game of Pong on its double-LED matrix display using a dial next to it.

    The Arduino Uno-powered device can also scroll through marquee displays featuring X-Wings and TIE Fighters, and play the Imperial March as required.

    You can see more about the project, including how the box and the rest of the uniform were weathered, in badjer1’s write-up here.


    Website: LINK

  • A chronograph rig for high-speed glass photography

    A chronograph rig for high-speed glass photography

    Reading Time: 2 minutes

    A chronograph rig for high-speed glass photography

    Arduino TeamDecember 5th, 2017

    To capture images of bullets “interacting” with various objects, photographic hacker Tyler Gerritsen created an impressive chronograph rig, able to measure the speed of a bullet launched from a rifle at 1000 meters per second. While the concept of measuring time from one sensor to another isn’t new, implementation at this speed required some interesting tricks.

    To accomplish this feat, Gerritsen designed his own sensor array using photodiodes in a reverse-biased setup, and even calibrated the clock speed of the Arduino Uno for control in order to account for any variation. Finally, the time between triggering a flash and light actually appearing had to be compensated for in the code, a different value for each type of equipment.

    The project write-up is a great read for anyone interested in this type of photographic or measurement technique, and the resulting photos can be seen here.


    Website: LINK

  • Antique grandfather clock retrofitted with Arduino control

    Antique grandfather clock retrofitted with Arduino control

    Reading Time: 2 minutes

    Antique grandfather clock retrofitted with Arduino control

    Arduino TeamNovember 20th, 2017

    When you see a mechanical clock, you know on some level that it took a vast amount of expertise and craftsmanship to get working, but you might also assume that this could all be swapped out very easily with modern electronics. While this might be the case with a clock that only tells time, as David Henshaw shows with his project, once you add in extra features like a moon phase, date indicator, and chimes, things get complicated quickly.

    Henshaw began by purchasing an 1847 vintage clock from England without the movement—the parts that actually it tell time. He then replaced the mechanical assembly normally found inside with stepper motors, sensors, an Arduino Uno, and a variety of other wires and bits.

    You can see the retrofitted grandfather clock in action below, while the build process (which took the better part of a year) and Arduino code he used are outlined on his website.


    Website: LINK

  • Star Wars fan builds an Arduino-powered R4-P17 replica

    Star Wars fan builds an Arduino-powered R4-P17 replica

    Reading Time: 2 minutes

    Star Wars fan builds an Arduino-powered R4-P17 replica

    Arduino TeamNovember 13th, 2017

    Alejandro Clavijo, together with his father Jerónimo, spent two years building the first official fan-made model of the R4-P17 Star Wars droid. For those not familiar with this family of droids, R4-P17 was the robot companion to the young Obi-Wan Kenobi.

    The replica is made of aluminum and wood, and runs on four Arduino boards. Impressively, the project has also been approved by Lucasfilm, the studio behind the saga, allowing Clavijo to bring it to official Star Wars events all over the world.

    Clavijo sent us a bunch photos showing R4-P17’s construction, and more can be found over on its website. As you can imagine, the robot has been a big hit, already making several appearances on TV and in a number of blogs.

    When not recreating Star Wars characters, Clavijo spends his days working as an engineer and has designed controls for “clean rooms” using Arduino Uno. You can see his design–made with CATIA–on Thingiverse.


    Website: LINK

  • Simple Computer Gesture Control with Arduino and Python

    Simple Computer Gesture Control with Arduino and Python

    Reading Time: < 1 minute

    Simple Computer Gesture Control with Arduino and Python

    Arduino TeamNovember 6th, 2017

    As outlined in this Circuit Digest write-up, with the right hardware, you can now control your computer using hand gestures. While interesting, this kind of technology can be a little expensive. But if you’d like to augment your notebook or laptop via simple gesture capabilities without breaking the bank, B. Aswinth Raj has your answer in the form of an Arduino Uno and two ultrasonic sensors.

    His system places the two sensors at the top of a screen, which are read by the Uno. This data is then passed on to a Python program running on the host computer that allows for actions such as play/pause, fast-forward, and volume control while watching videos.

    Given the nature of the setup, there’s no reason why more sensors or programming couldn’t be added for further control, perhaps as shortcut “keys” for your favorite design software package! You can read more about the project here, and see a demo of it below.


    Website: LINK

  • An Arduino vibe bowl screw feeder

    An Arduino vibe bowl screw feeder

    Reading Time: < 1 minute

    An Arduino vibe bowl screw feeder

    Arduino TeamOctober 26th, 2017

    Vibratory bowls, which feed small parts up a long curved ramp, are essential elements in many types of automated manufacturing. While the video seen here doesn’t get into how the bowls themselves are made, a crucial part of the setup is the ramp on the end, which controls how items exiting the bowl are aligned.

    In the clip below, NYC CNC’s John Saunders machines a feed ramp and proceeds to integrate an Arduino Uno after the 21:00 mark, which uses a photo interrupt sensor to count how many parts have exited the bowl.

    Once the proper number has been attained, it can then switch things off as needed using a PowerSwitch Tail. It’s a great setup for testing out the design before being put to use. Code and parts for the project can be found here.


    Website: LINK

  • Building an ALS communication device with Arduino

    Building an ALS communication device with Arduino

    Reading Time: 2 minutes

    Building an ALS communication device with Arduino

    Arduino TeamOctober 24th, 2017

    The father of hacker Ricardo Andere de Mello’s good friend has ALS. His symptoms have become worse recently, causing the loss of much of his motor control. To help with the situation, de Mello decided to build a device that would enable him to communicate with his family.

    What he came up with was a finger-mounted accelerometer that senses movement, and feeds data to a computer using an Arduino Uno, updated for HMI use. The computer then allows the ALS patient to speak via the same ACAT software used by Steven Hawking.

    The result is a system that is very affordable, and that can hopefully help a lot of people with this and other debilitating conditions. For more information, be sure to check out the project’s write-up and watch its demo videos below.


    Website: LINK

  • Students invent a low-cost electric wheelchair kit with Arduino

    Students invent a low-cost electric wheelchair kit with Arduino

    Reading Time: 2 minutes

    Students invent a low-cost electric wheelchair kit with Arduino

    Arduino TeamOctober 23rd, 2017

    While electric wheelchairs are a vital tool for those with restricted mobility, they typically cost around $2,500, an amount that’s not the most affordable. To address this problem, a group of students from Aviv High School in Israel have come up with a low-cost, 3D-printed motor conversion kit that connects to a standard push-chair without any permanent modification or damage.

    The system uses a pair of motors to steer like a tank, and features a joystick and Arduino Uno for control. Another interesting feature is shown later in the video below, when it’s folded up for storage with the motor kit still attached.

    You can check out the team’s website for more details this incredible project, as well as All3DP’s recent article here.


    Website: LINK

  • A Playmobil Wedding Band

    A Playmobil Wedding Band

    Reading Time: < 1 minute

    A Playmobil Wedding Band

    Arduino TeamOctober 16th, 2017

    Two of Boris Werner’s friends, both musicians, were getting married, so for a unique gift he decided on a miniature stage setup with a Playmobil bride and groom as the guitarists.

    After some research and ordering quite a few parts, he was able to construct a festival-inspired scene, complete with guitars, lights, and some tunes.

    In order to bring this diorama to life, he used an Arduino Uno board to play WAV files from a micro SD card, along with NeoPixel rings in the background, and MOSFET-driven LEDs for stage lighting. There’s even a tiny disco ball that spins via a stepper motor, propelling the tiny bride, groom, and their young son as the drummer into the limelight.

    You can check it out in the video below, and see Werner’s series of posts on the construction here.


    Website: LINK