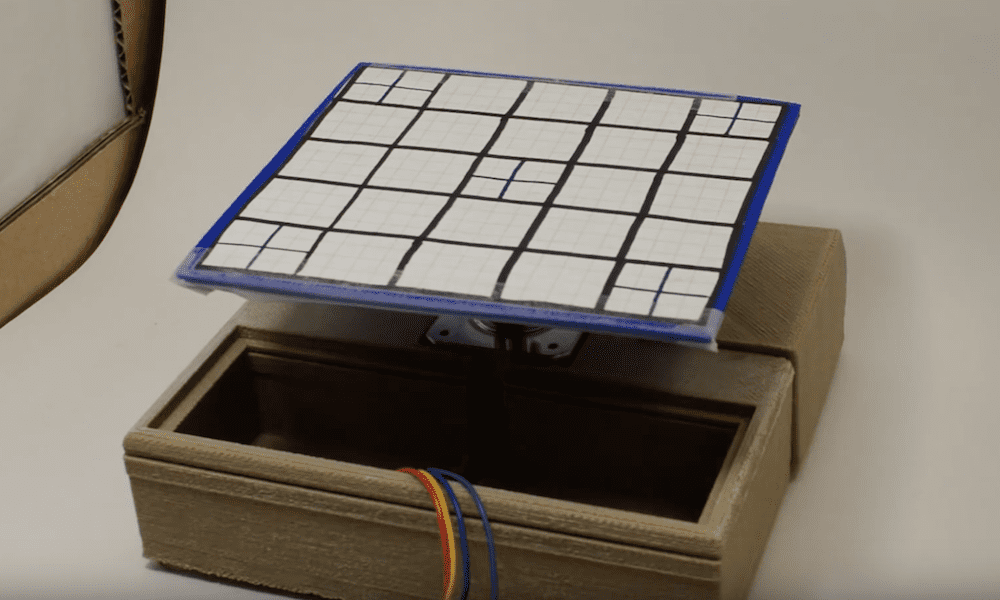
Linear movement with Arduino and 3D printing
— October 29th, 2018
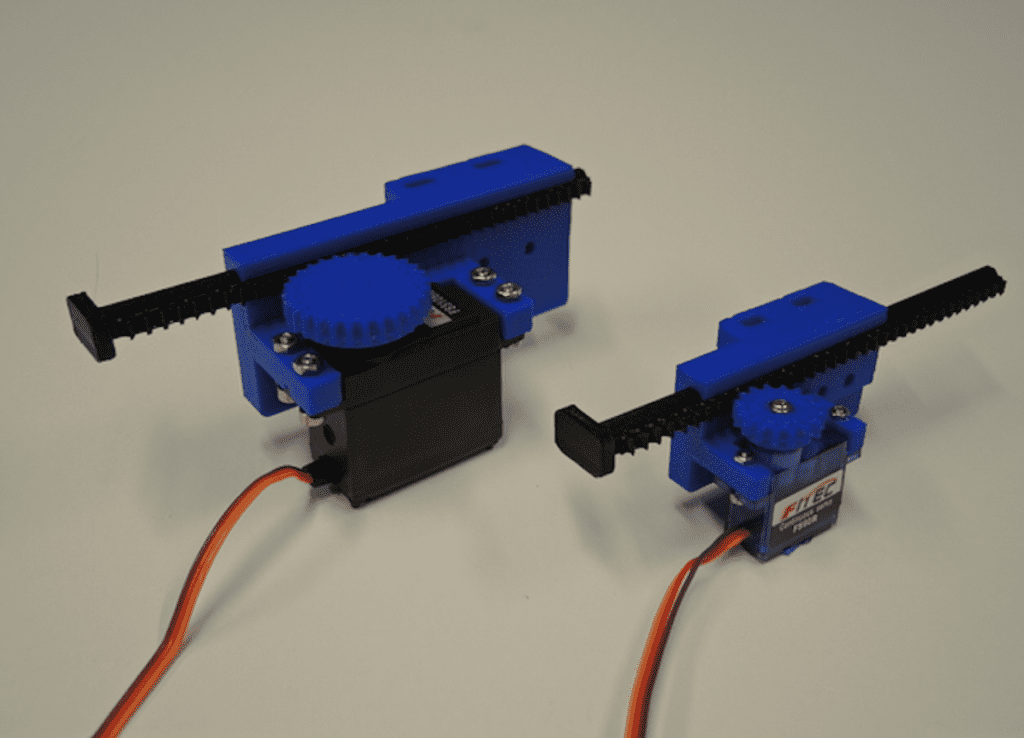
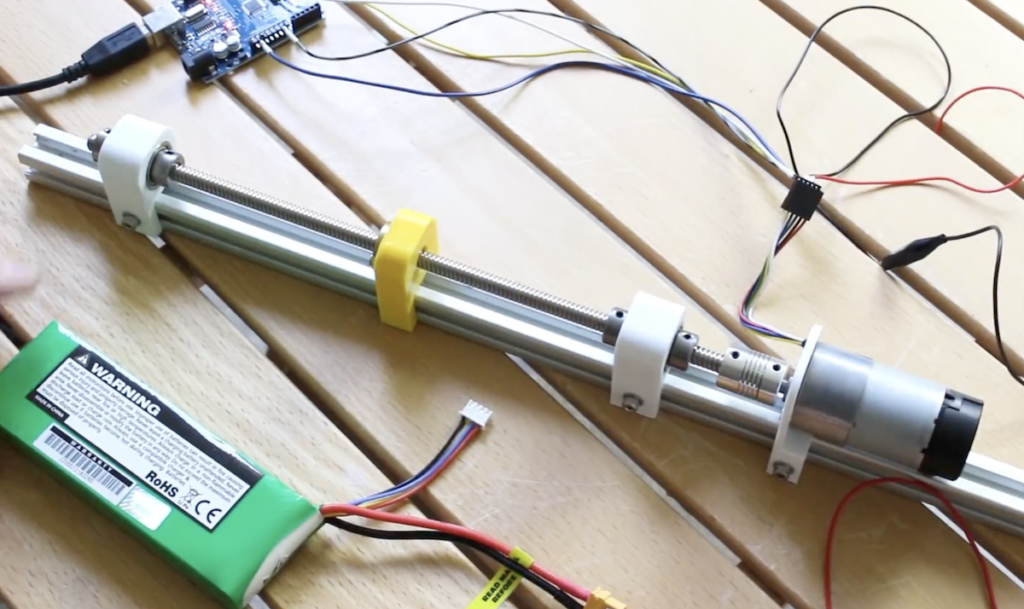
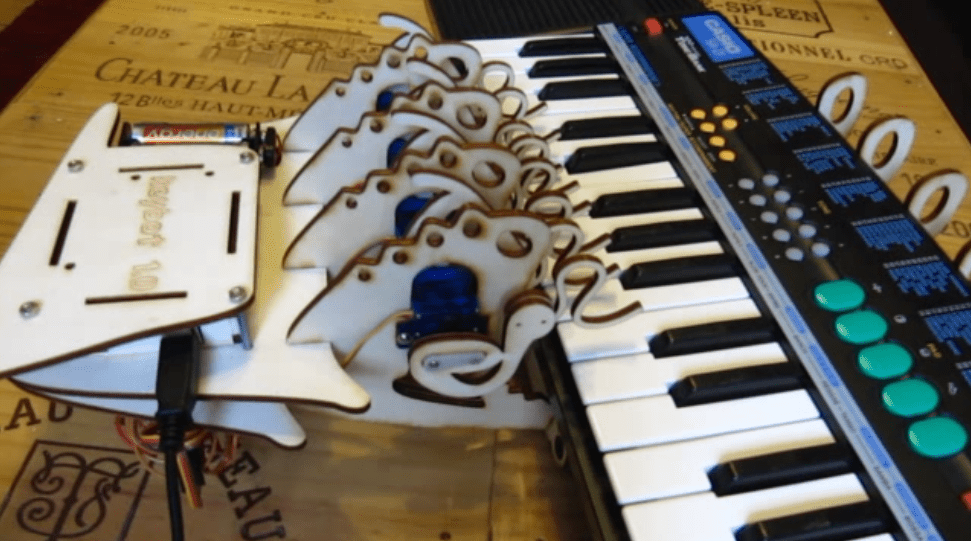
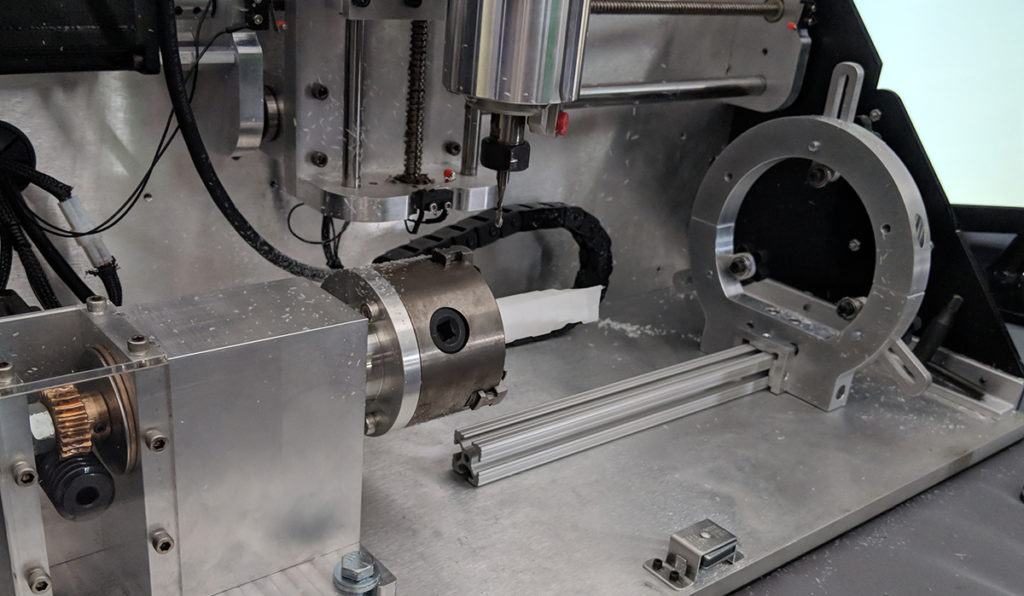
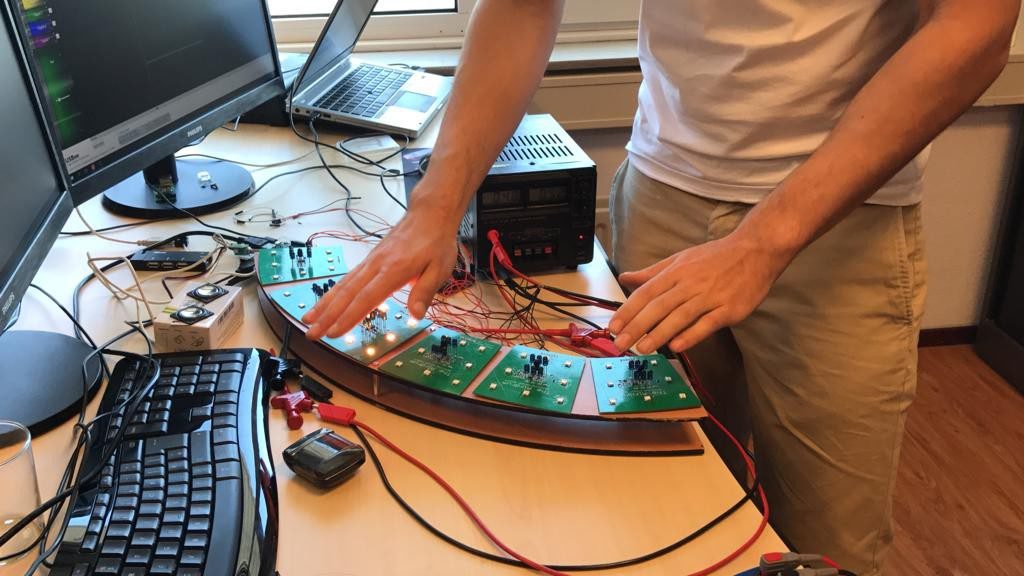
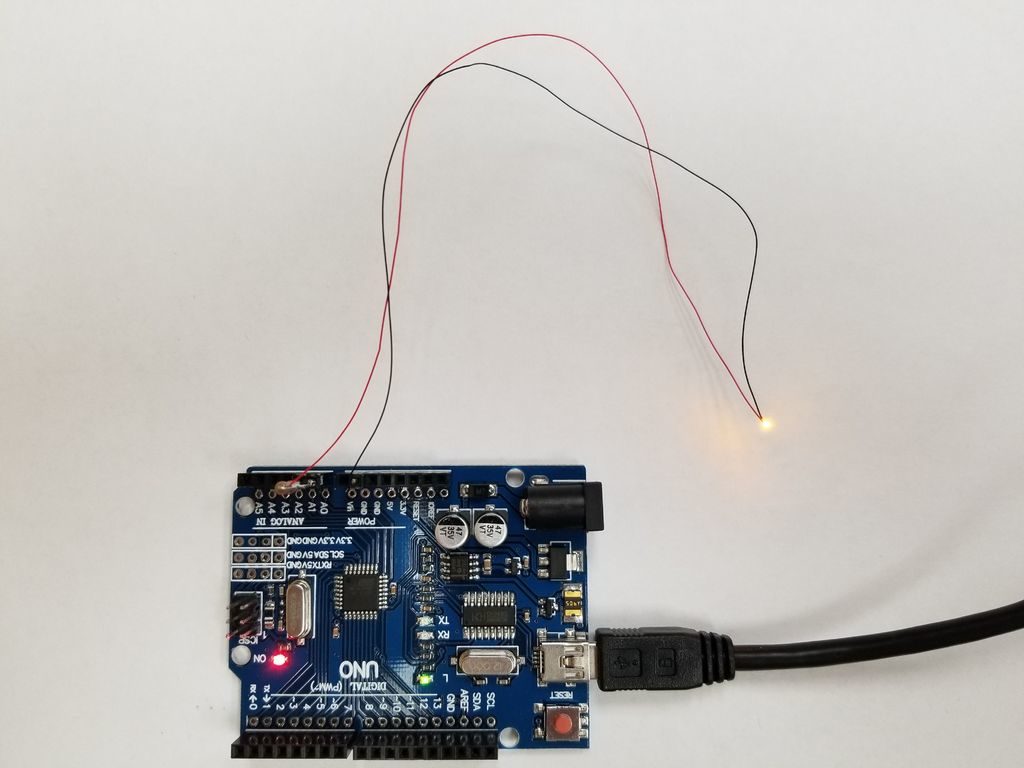
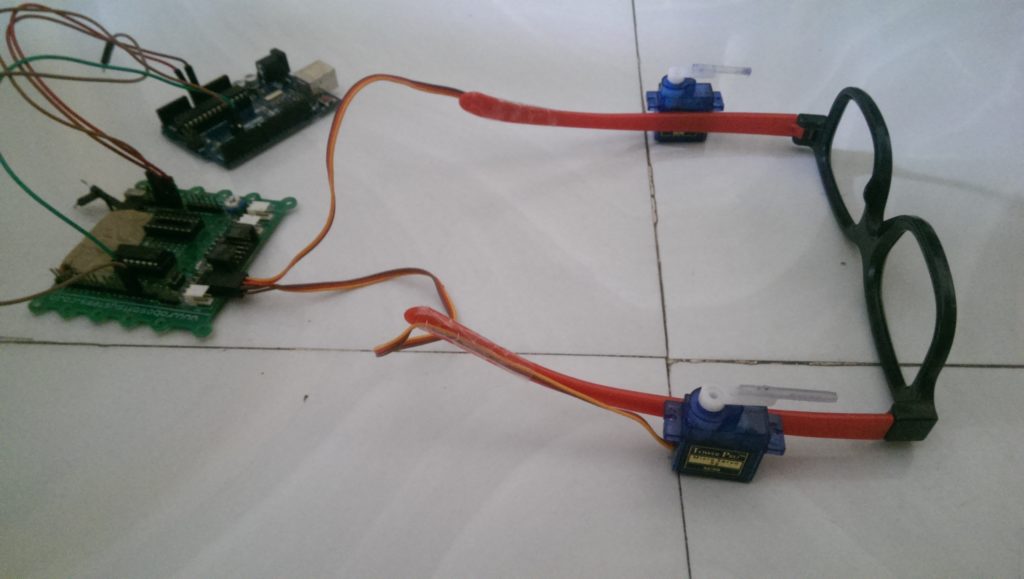
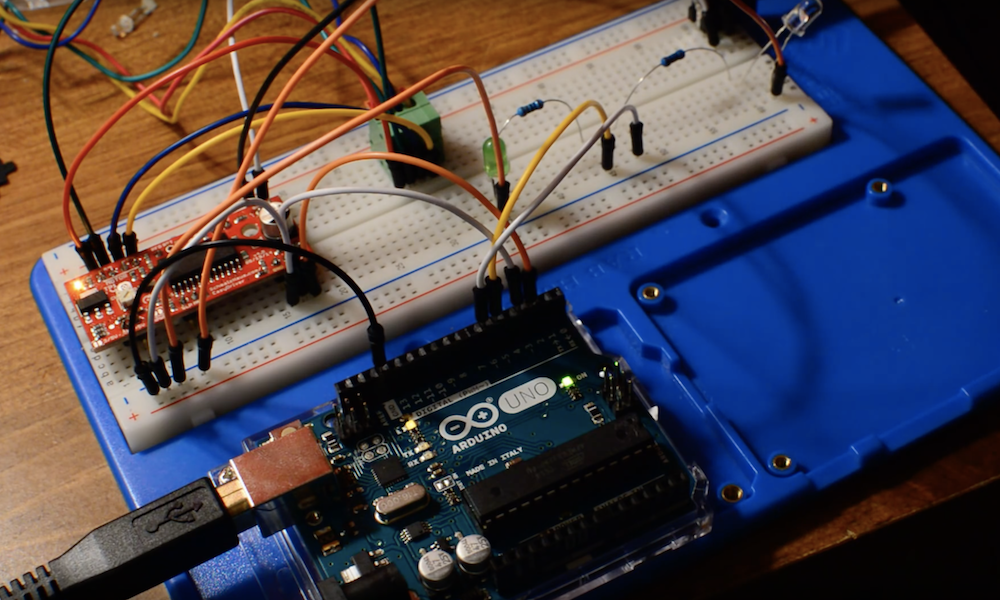
Arduino boards are great for controlling small servo motors, but what if you need something to provide linear travel? As spotted on Reddit, while the answer here is a little less straightforward, YouTuber Potent Printables has a great solution. It uses 3D-printed components, along with a dab of epoxy and fastener hardware to convert either a micro or standard continuous rotation servo into a rack-and-pinion mechanism.
The project can be seen in the video below with an Arduino Uno and motor shield, though any Arduino capable of PWM output should have no problem with this setup. Since the servos used here are meant for continuous rotation, travel distance is based only on timing. Depending on the application, you may want add a simple microswitch or other sensing mechanism for feedback.
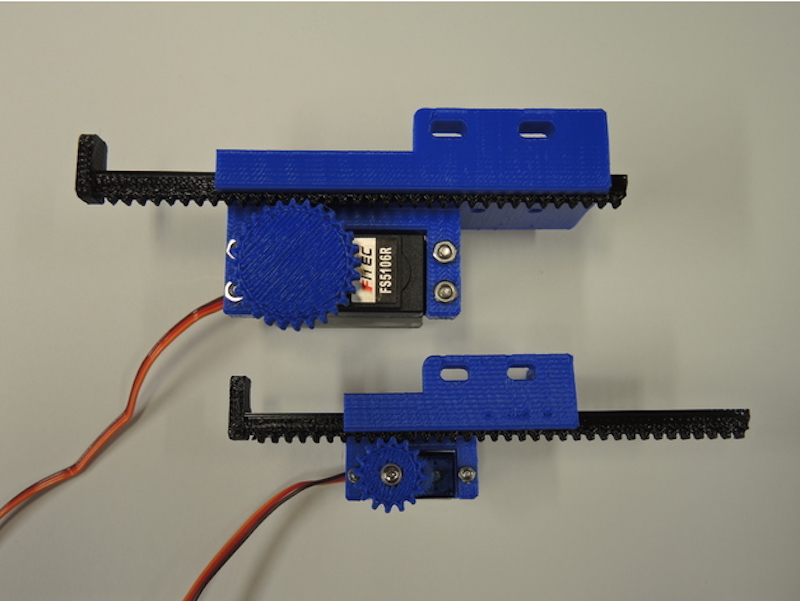
This is a general purpose linear servo actuator (pusher style). Two sizes have been designed, for different space constraints and force outputs.
These use continuous rotation servos which helps keep the cost very low. Off the shelf actuators of this type can cost around $70 USD.
The “mini” version will fit in smaller spacers, but has a much lower force output. The “large” version has a higher force output, but is…larger in size than the “mini.”
[youtube https://www.youtube.com/watch?v=2vAoOYF3m8U?feature=oembed&w=500&h=281]
Website: LINK