Schlagwort: Uno R4
-

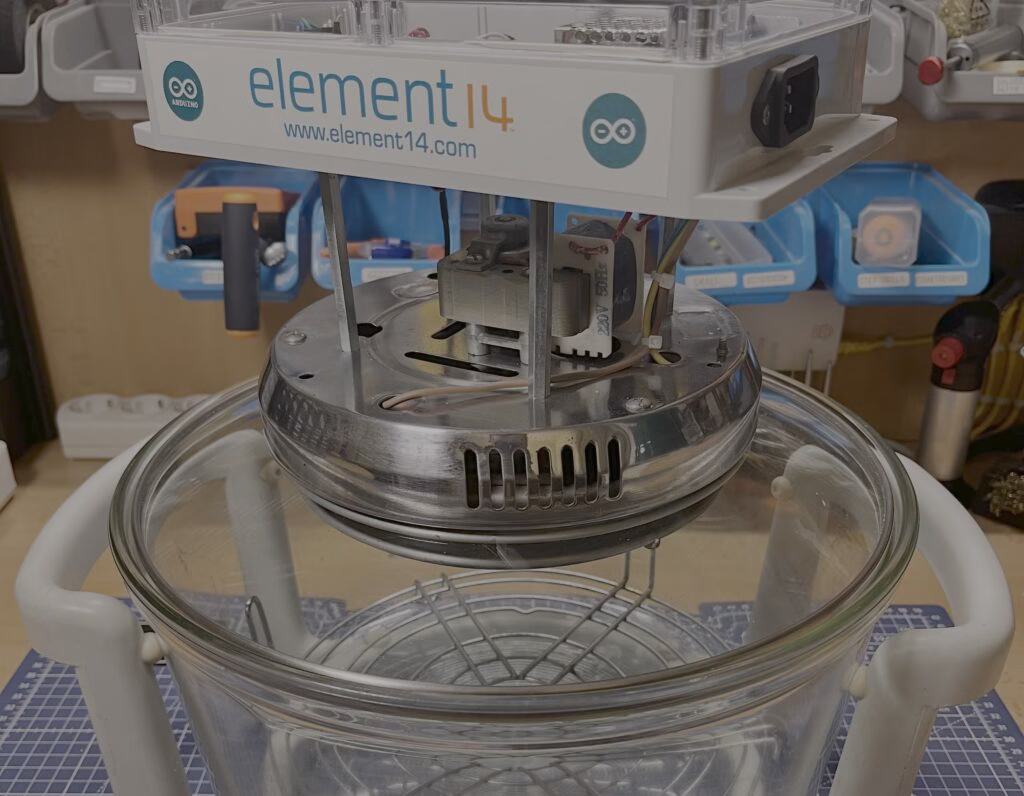
Convert a cheap air fryer into a high-performance 3D printer filament dryer
Reading Time: 2 minutesPost about a 3D printing problem — any 3D printing problem — online and all the top comments will be: “Is your filament dry?” That is a prudent question to ask, because filament that has absorbed moisture will wreak havoc on print quality and can even cause total print failure. If you…
-

Building a Wi-Fi robot controller that accepts voice commands
Reading Time: 2 minutesThe whole point of a robot is that it can operate without direct control input from an operator. Except there are many exceptions and it isn’t uncommon for roboticists and operators to require direct control. The Tinkering Techie needed to add that capability to his rover robot and built his own Wi-Fi…
-

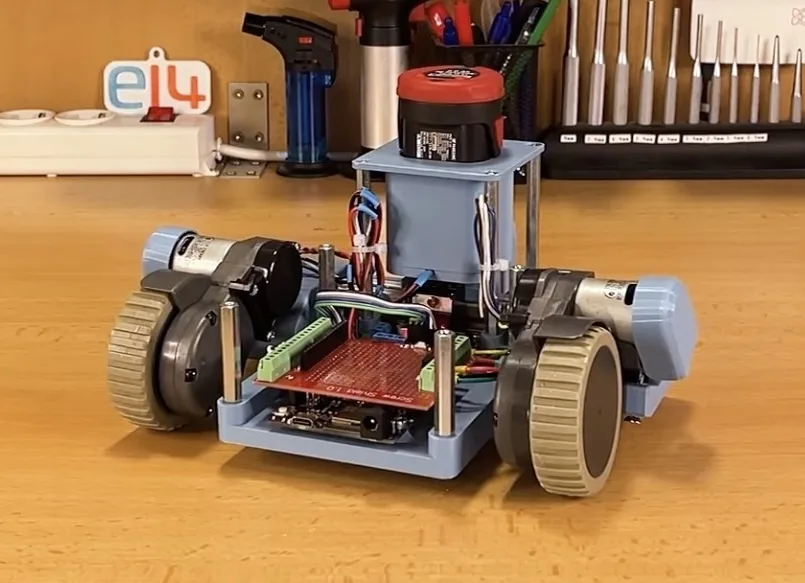
The PlatypusBot is a TurtleBot3-inspired robot built from vacuum cleaner parts
Reading Time: 2 minutesWe all love the immense convenience provided by robot vacuum cleaners, but what happens when they get too old to function? Rather than throwing it away, Milos Rasic from element14 Presents wanted to extract the often-expensive components and repurpose them into an entirely new robot, inspired by the TurtleBot3: the PlatypusBot. Rasic…
-

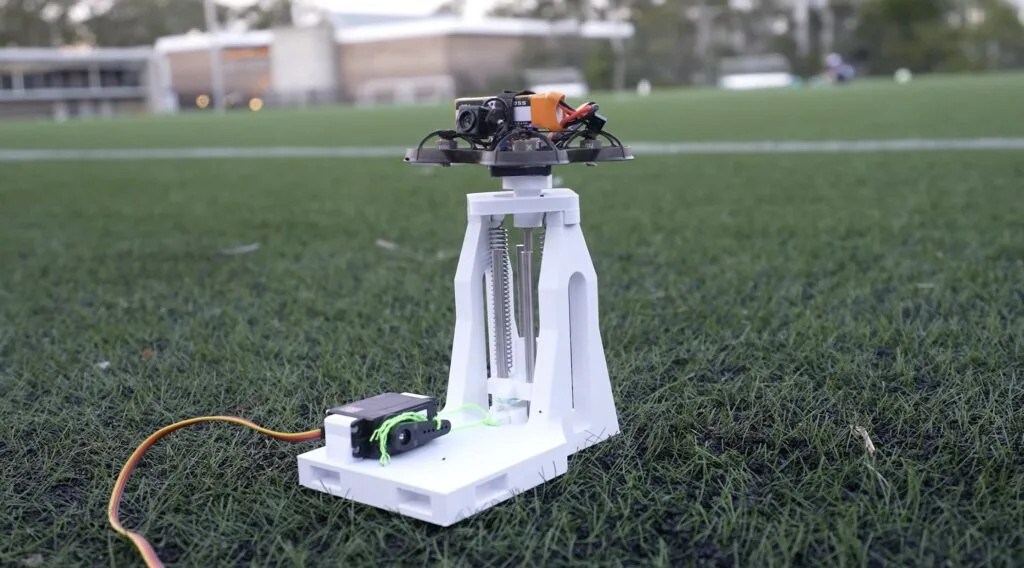
Toss-launching drones is hard — this automatic launcher does it better
Reading Time: 2 minutesTypically, consumer drones take off from the ground or some other solid surface. But that isn’t very cinematic and toss launches — when the pilot throws the drone up into the air — are a lot more interesting to watch. Sadly, NickFPV isn’t very good at tossing his drone and that invites…
-

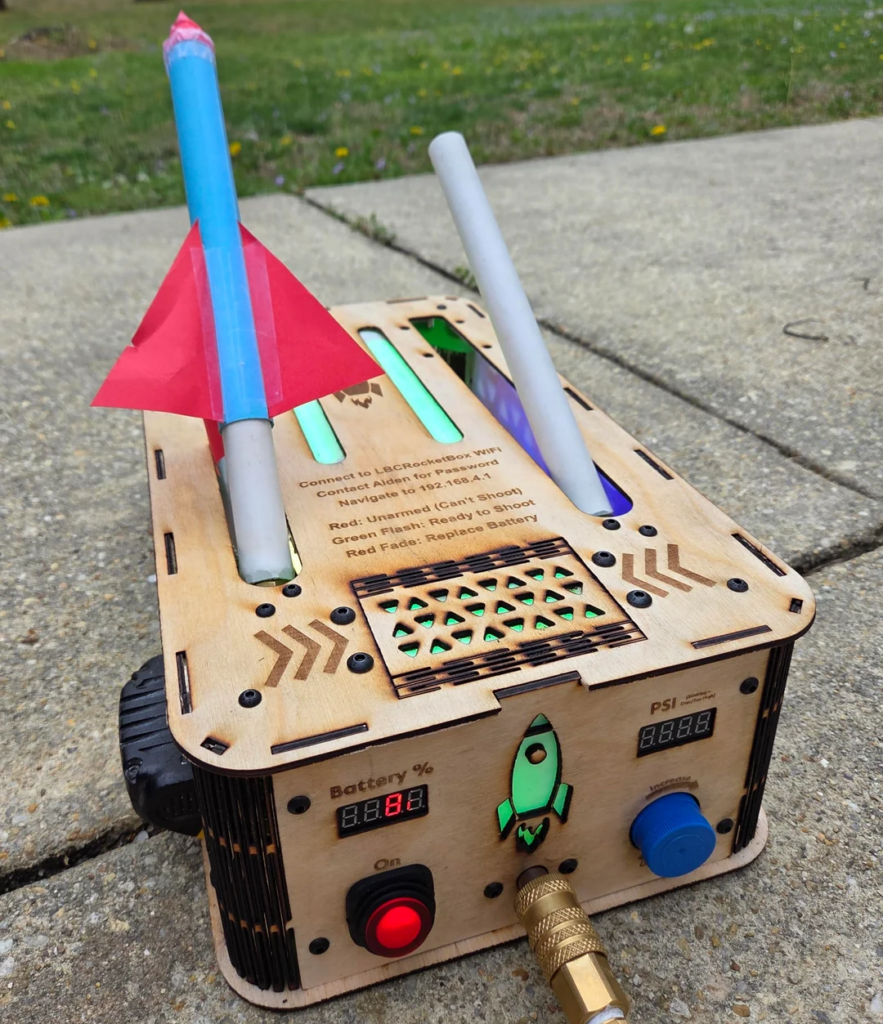
A homemade launchpad for compressed air-powered rockets
Reading Time: 2 minutesA conventional model rocket engine is simple combustible solid fuel (black powder or more advanced composites) molded into a cylinder that uses expanding gas to produce thrust. Though it is minimal, there is some danger there. An alternative is compressed gas, which will also expand to produce thrust — just without the…
-

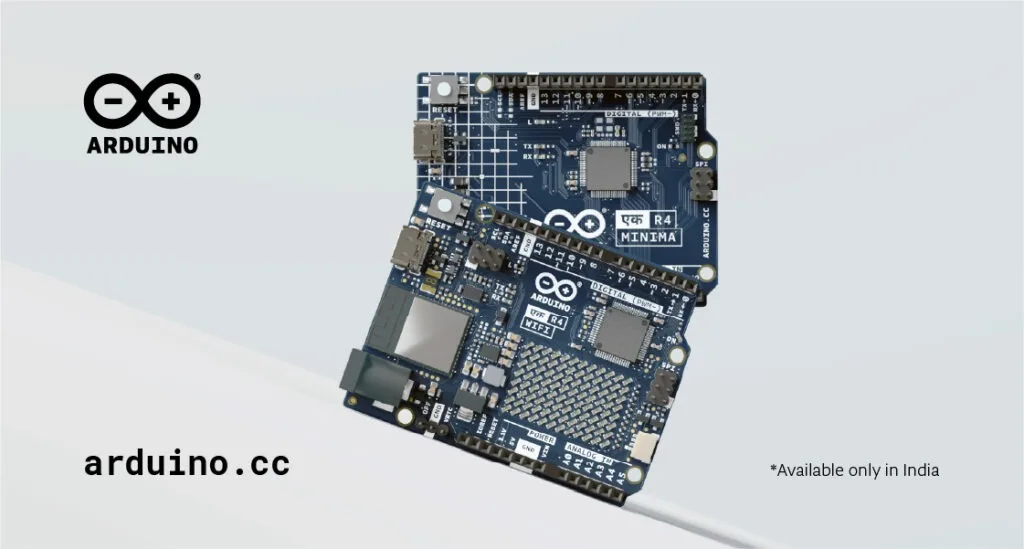
The future of making, Made in India: Introducing the Arduino UNO Ek R4
Reading Time: 4 minutesWe are proud to announce the Made-in-India UNO Ek R4! Available exclusively in India in both WiFi and Minima variants, it is born to meet the needs of the country’s growing maker and innovation ecosystem, by combining all the powerful features of the UNO R4 with the benefits of local manufacturing, enhanced…
-

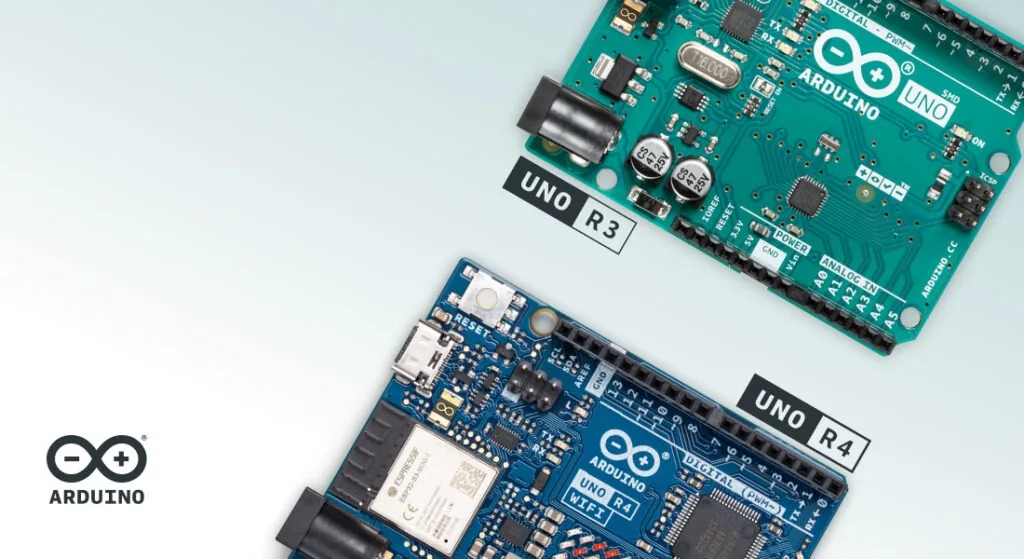
UNO Rev3 or UNO R4? Choosing the perfect Arduino for your project
Reading Time: 5 minutesThe Arduino UNO is legendary among makers, and with the release of the UNO R4 in 2023, the family gained a powerful new member. But with two incredible options, which UNO should you pick for your project? Here’s a breakdown of what makes each board shine, depending on your needs, skills, and…
-

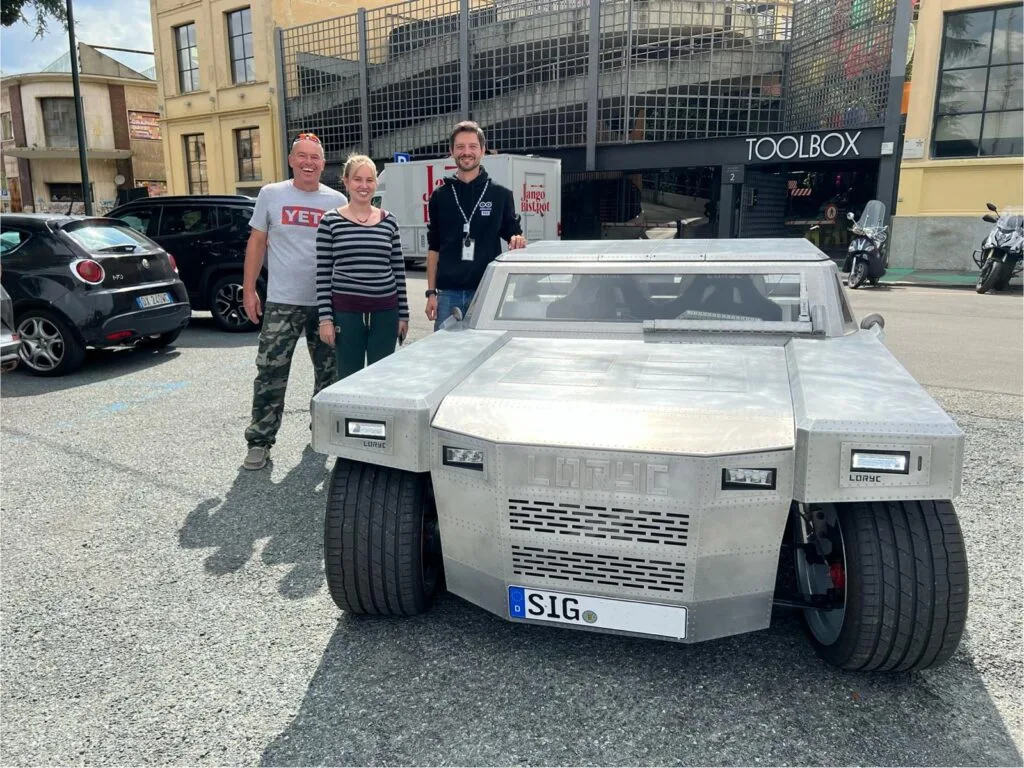
It’s silver, it’s green, it’s the Batteryrunner! An Arduino-powered, fully custom electric car
Reading Time: 5 minutesInventor Charly Bosch and his daughter Leonie have crafted something truly remarkable: a fully electric, Arduino-powered car that’s as innovative as it is sustainable. Called the Batteryrunner, this vehicle is designed with a focus on environmental impact, simplicity, and custom craftsmanship. Get ready to be inspired by a car that embodies the…
-

Exploring fungal intelligence with biohybrid robots powered by Arduino
Reading Time: 3 minutesAt Cornell University, Dr. Anand Kumar Mishra and his team have been conducting groundbreaking research that brings together the fields of robotics, biology, and engineering. Their recent experiments, published in Science, explore how fungal mycelia can be used to control robots. The team has successfully created biohybrid robots that move based on…
-

Technology meets creativity in two interactive art student projects
Reading Time: 2 minutesArt and engineering are not separate concepts. There is a great deal of overlap between the two and many modern disciplines increasingly blur those lines. Mónica Riki is an “electronic artist and creative coder” who embodies that idea: you might remember her and her incredible Arduino UNO R4-powered installations from our blog…
-

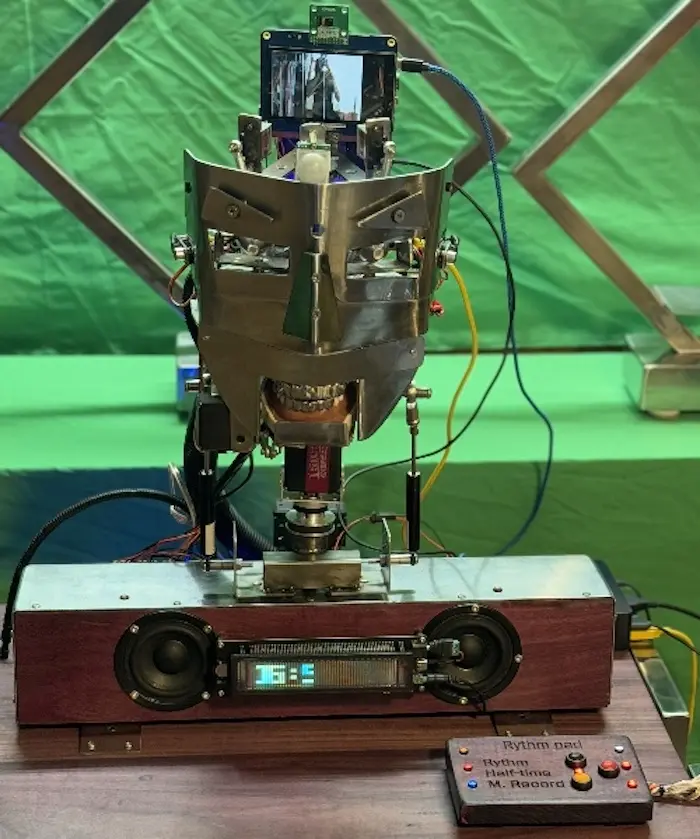
This perplexing robotic performer operates under the control of three different Arduino boards
Reading Time: 2 minutesEvery decade or two, humanity seems to develop a renewed interest in humanoid robots and their potential within our world. Because the practical applications are actually pretty limited (given the high cost), we inevitably begin to consider how those robots might function as entertainment. But Jon Hamilton did more than just wonder,…
-
Storing ephemeral micropoetry on RFID cards for bite-sized readings
Reading Time: 2 minutesMost people don’t consume poetry in the same way that they do novels. Instead of reading a book of poetry from cover-to-cover over the course of a few sessions, the majority of people seem to prefer enjoying poetry in occasional little chunks. And unlike the epic poems of Greek antiquity, those tend…
-

This UNO R4 WiFi-controlled device streamlines a restaurant’s online order system
Reading Time: 2 minutesMost successful restaurants operating today have to take advantage of online ordering, as a huge chunk of customers have switched to takeout and delivery. But point-of-sale (POS) systems don’t always integrate well into a kitchen’s workflow and that can lead to missed orders — one of the worst things a restaurant can…
-

Reimagining the chicken coop with predator detection, Wi-Fi control, and more
Reading Time: 2 minutesThe traditional backyard chicken coop is a very simple structure that typically consists of a nesting area, an egg-retrieval panel, and a way to provide food and water as needed. Realizing that some aspects of raising chickens are too labor-intensive, the Coders Cafe crew decided to automate most of the daily care…
-
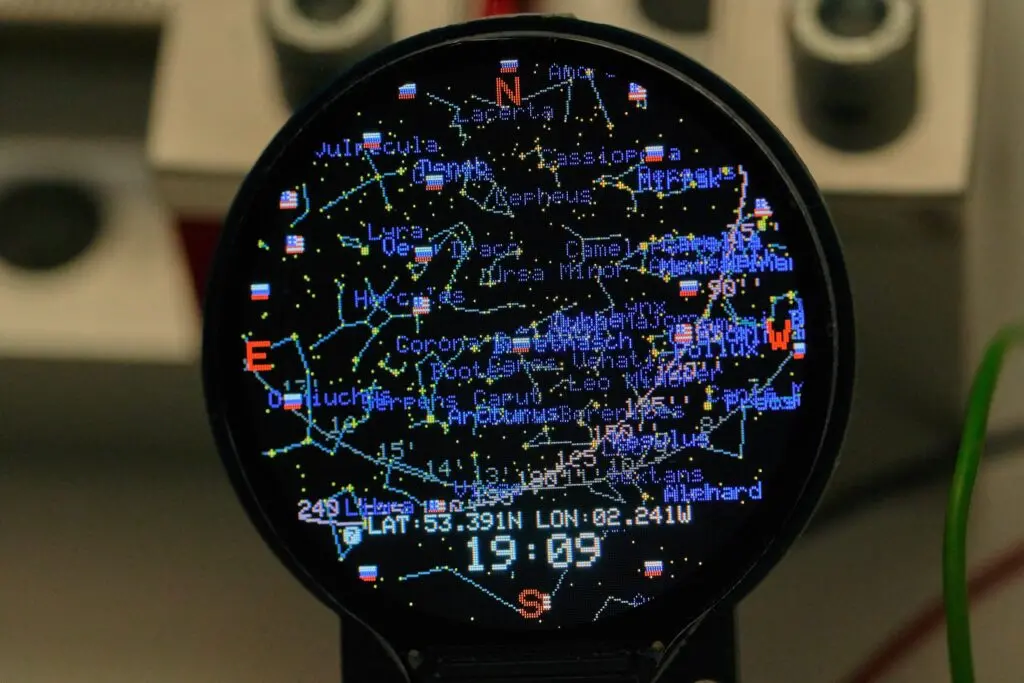
This portable Starmap could be your guide to the cosmos
Reading Time: 2 minutesEstimates vary, but there are generally a few thousand stars bright enough to see in the sky on a clear, moonless, cloudless night away from city lights. You might be able to identify a couple of them, along with a handful of constellations. But what about the rest? If they intrigue you,…
-

A pair of Arduino UNO R4 boards power this Tron-inspired, decked-out shop room
Reading Time: 2 minutesBob Clagett of the “I Like to Make Stuff” YouTube channel has recently undertaken an extensive shop renovation project where he is rearranging tools, tidying up various spaces, and even creating a dedicated “clean” room for his collection of 3D printers/electronics work. With its jet-black walls, Clagett felt it needed some RGB lighting…
-

A DIY weather display with dedicated outdoor sensor station
Reading Time: 2 minutesWeather stations are popular projects in the maker community because they’re useful and usually quite affordable to construct. But most that we see are really weather information displays that gather data through the internet from stations in the region. That data is fairly accurate, but there can be minor differences due to microclimate zones.…
-
Check out these Arduino-powered research projects from CHI 2024
Reading Time: 4 minutesHeld in Hawaii this year, the Association of Computing Machinery (ACM) hosted its annual conference on Human Factors in Computing Systems (CHI) that focuses on the latest developments in human-computer interaction. Students from universities all across the world attended the event and showcased how their devices and control systems could revolutionize how…
-

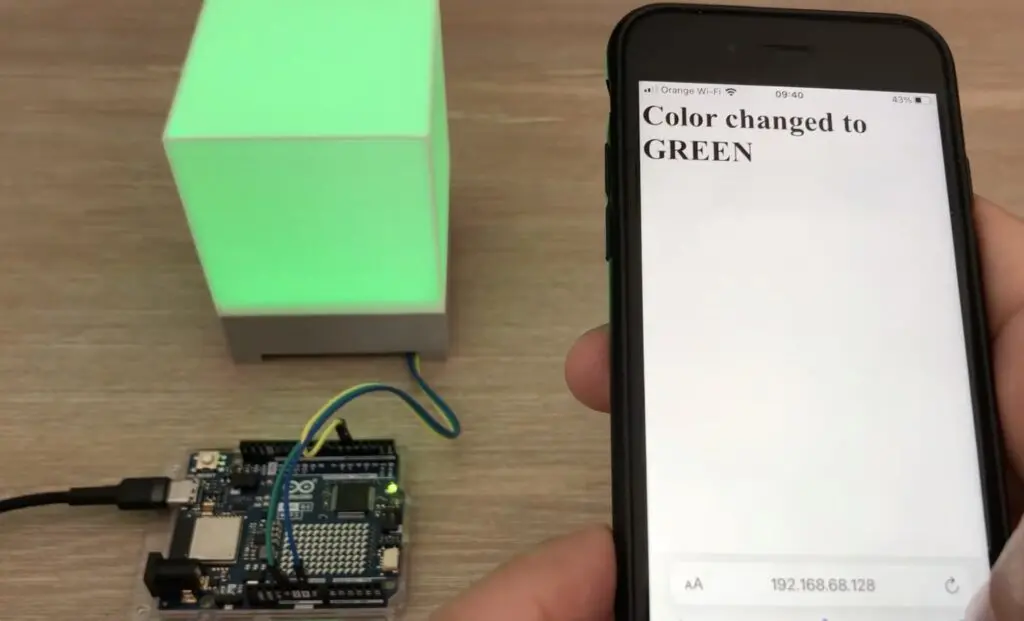
Harness the power and connectivity of your Arduino UNO R4 WiFi with this IoT lamp
Reading Time: 2 minutesIt can be tough to get started with building an Internet of Things (IoT) project from the ground-up, as getting connected, serving a webpage, and managing other devices can all be a challenge to a beginner. This is why the YouTuber known as “Mario’s Ideas” made an end-to-end tutorial that details everything one might need to…
-

Innovative new tactile sensor helps assess fine motor skills
Reading Time: 2 minutesFine motor skills correlate strongly with cognition and the accurate assessment of an individual’s motor skills can be critical in diagnosing and treating a variety of conditions. But objective evaluation has been a challenge, as suitable sensors weren’t available. To help medical professionals better test fine motor skills, a team of researchers…
-

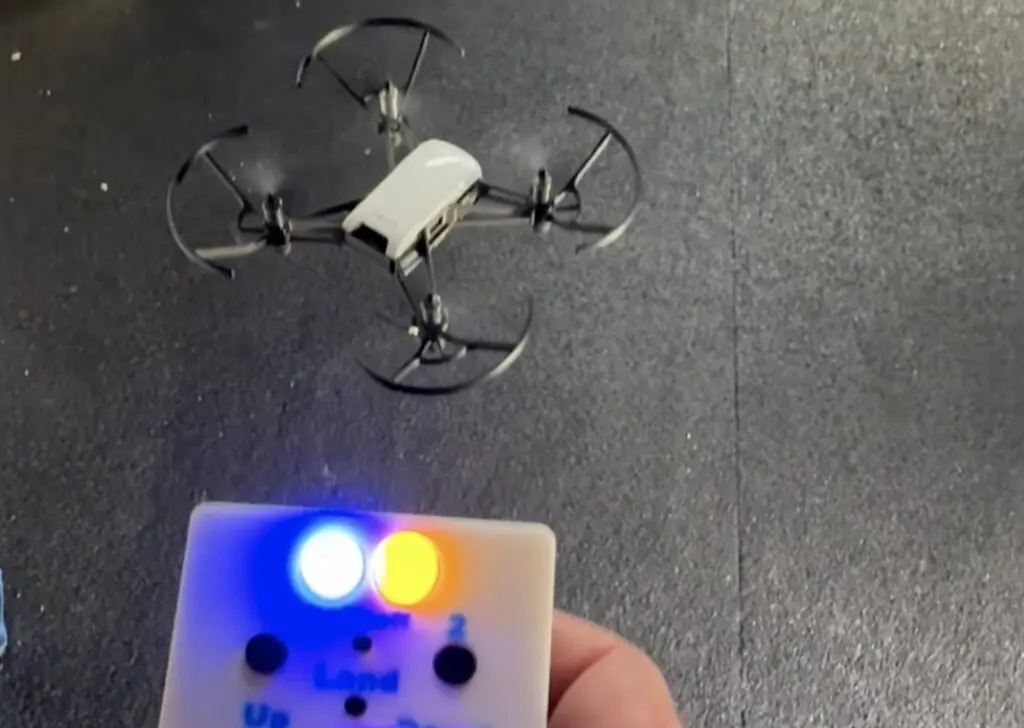
A drone remote designed to enhance magic shows
Reading Time: 2 minutesMaker culture has always been a major part of magic performance. Some tricks are well-rehearsed slight of hand, but many of them rely on clever engineering to sell an illusion. And modern technology offers a great deal of interesting possibilities. That is the idea behind Peter Boie’s Engineering Wonder “STEM infused magic…
-

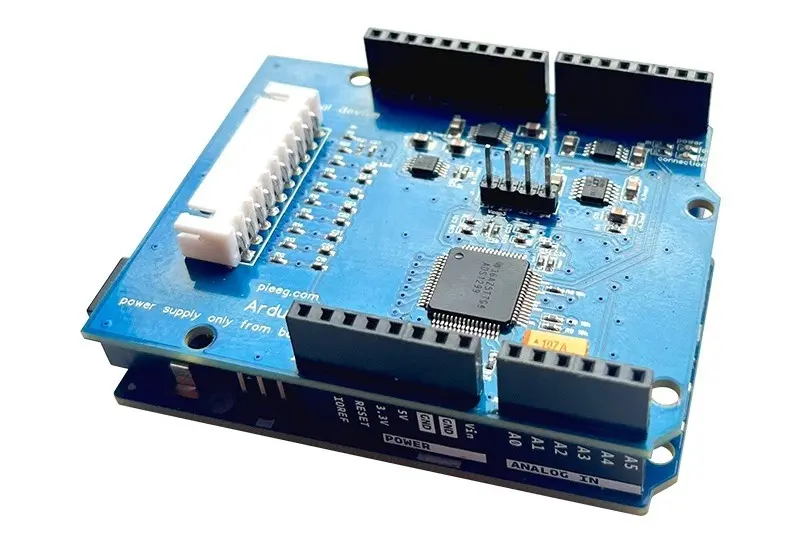
ardEEG is an Arduino UNO R4 WiFi shield for measuring biosignals
Reading Time: 2 minutesThe secrets to most of the mind’s mysteries may still elude us, but we’ve made a tremendous amount of progress in reading signals produced by the brain. We may not understand exactly what is going on, but we can see the result and utilize it. And now you can start exploring biosciences and experimenting…