Schlagwort: unix
-

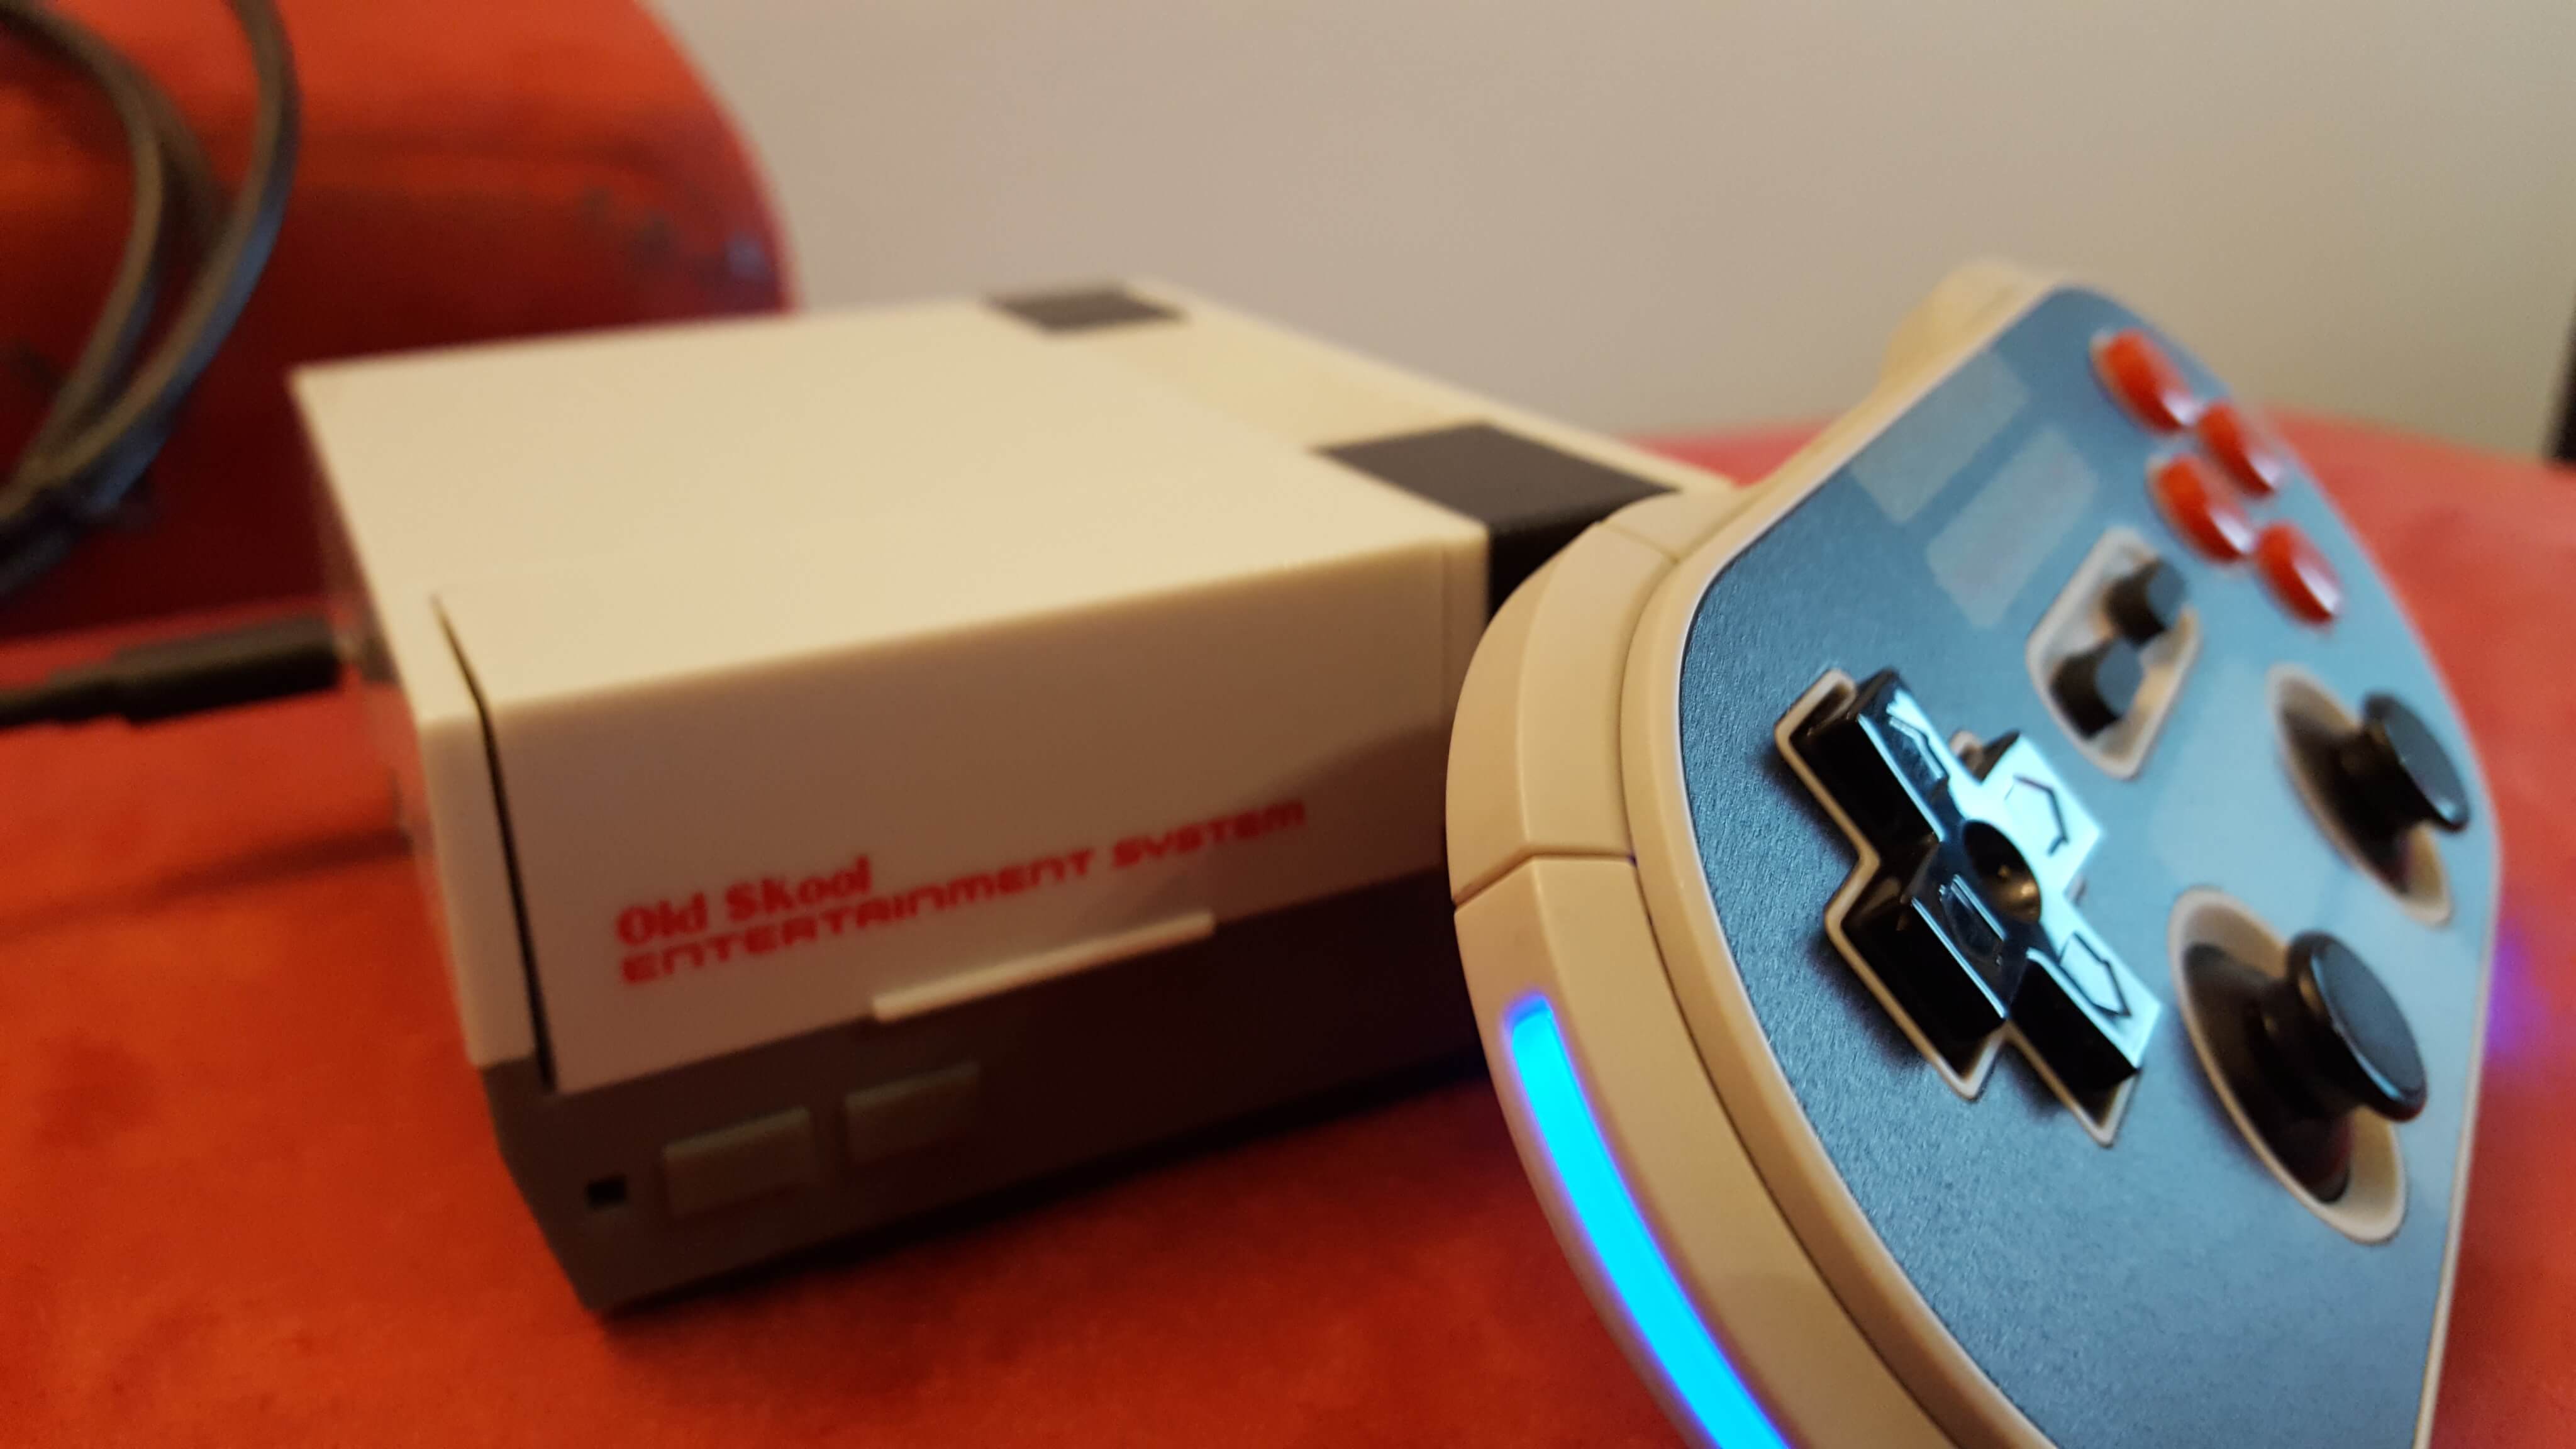
Raspberry Pi 3 NES Classic Mini Project
Reading Time: 4 minutesThe Raspberry Pi 3 NES Classic Mini Project was in our mind from day one when the new New Classic Mini arrived 🙂 After so much time there is a company from new york making small pi cases looking like this: Perfect case for our project , so here is the full…
-

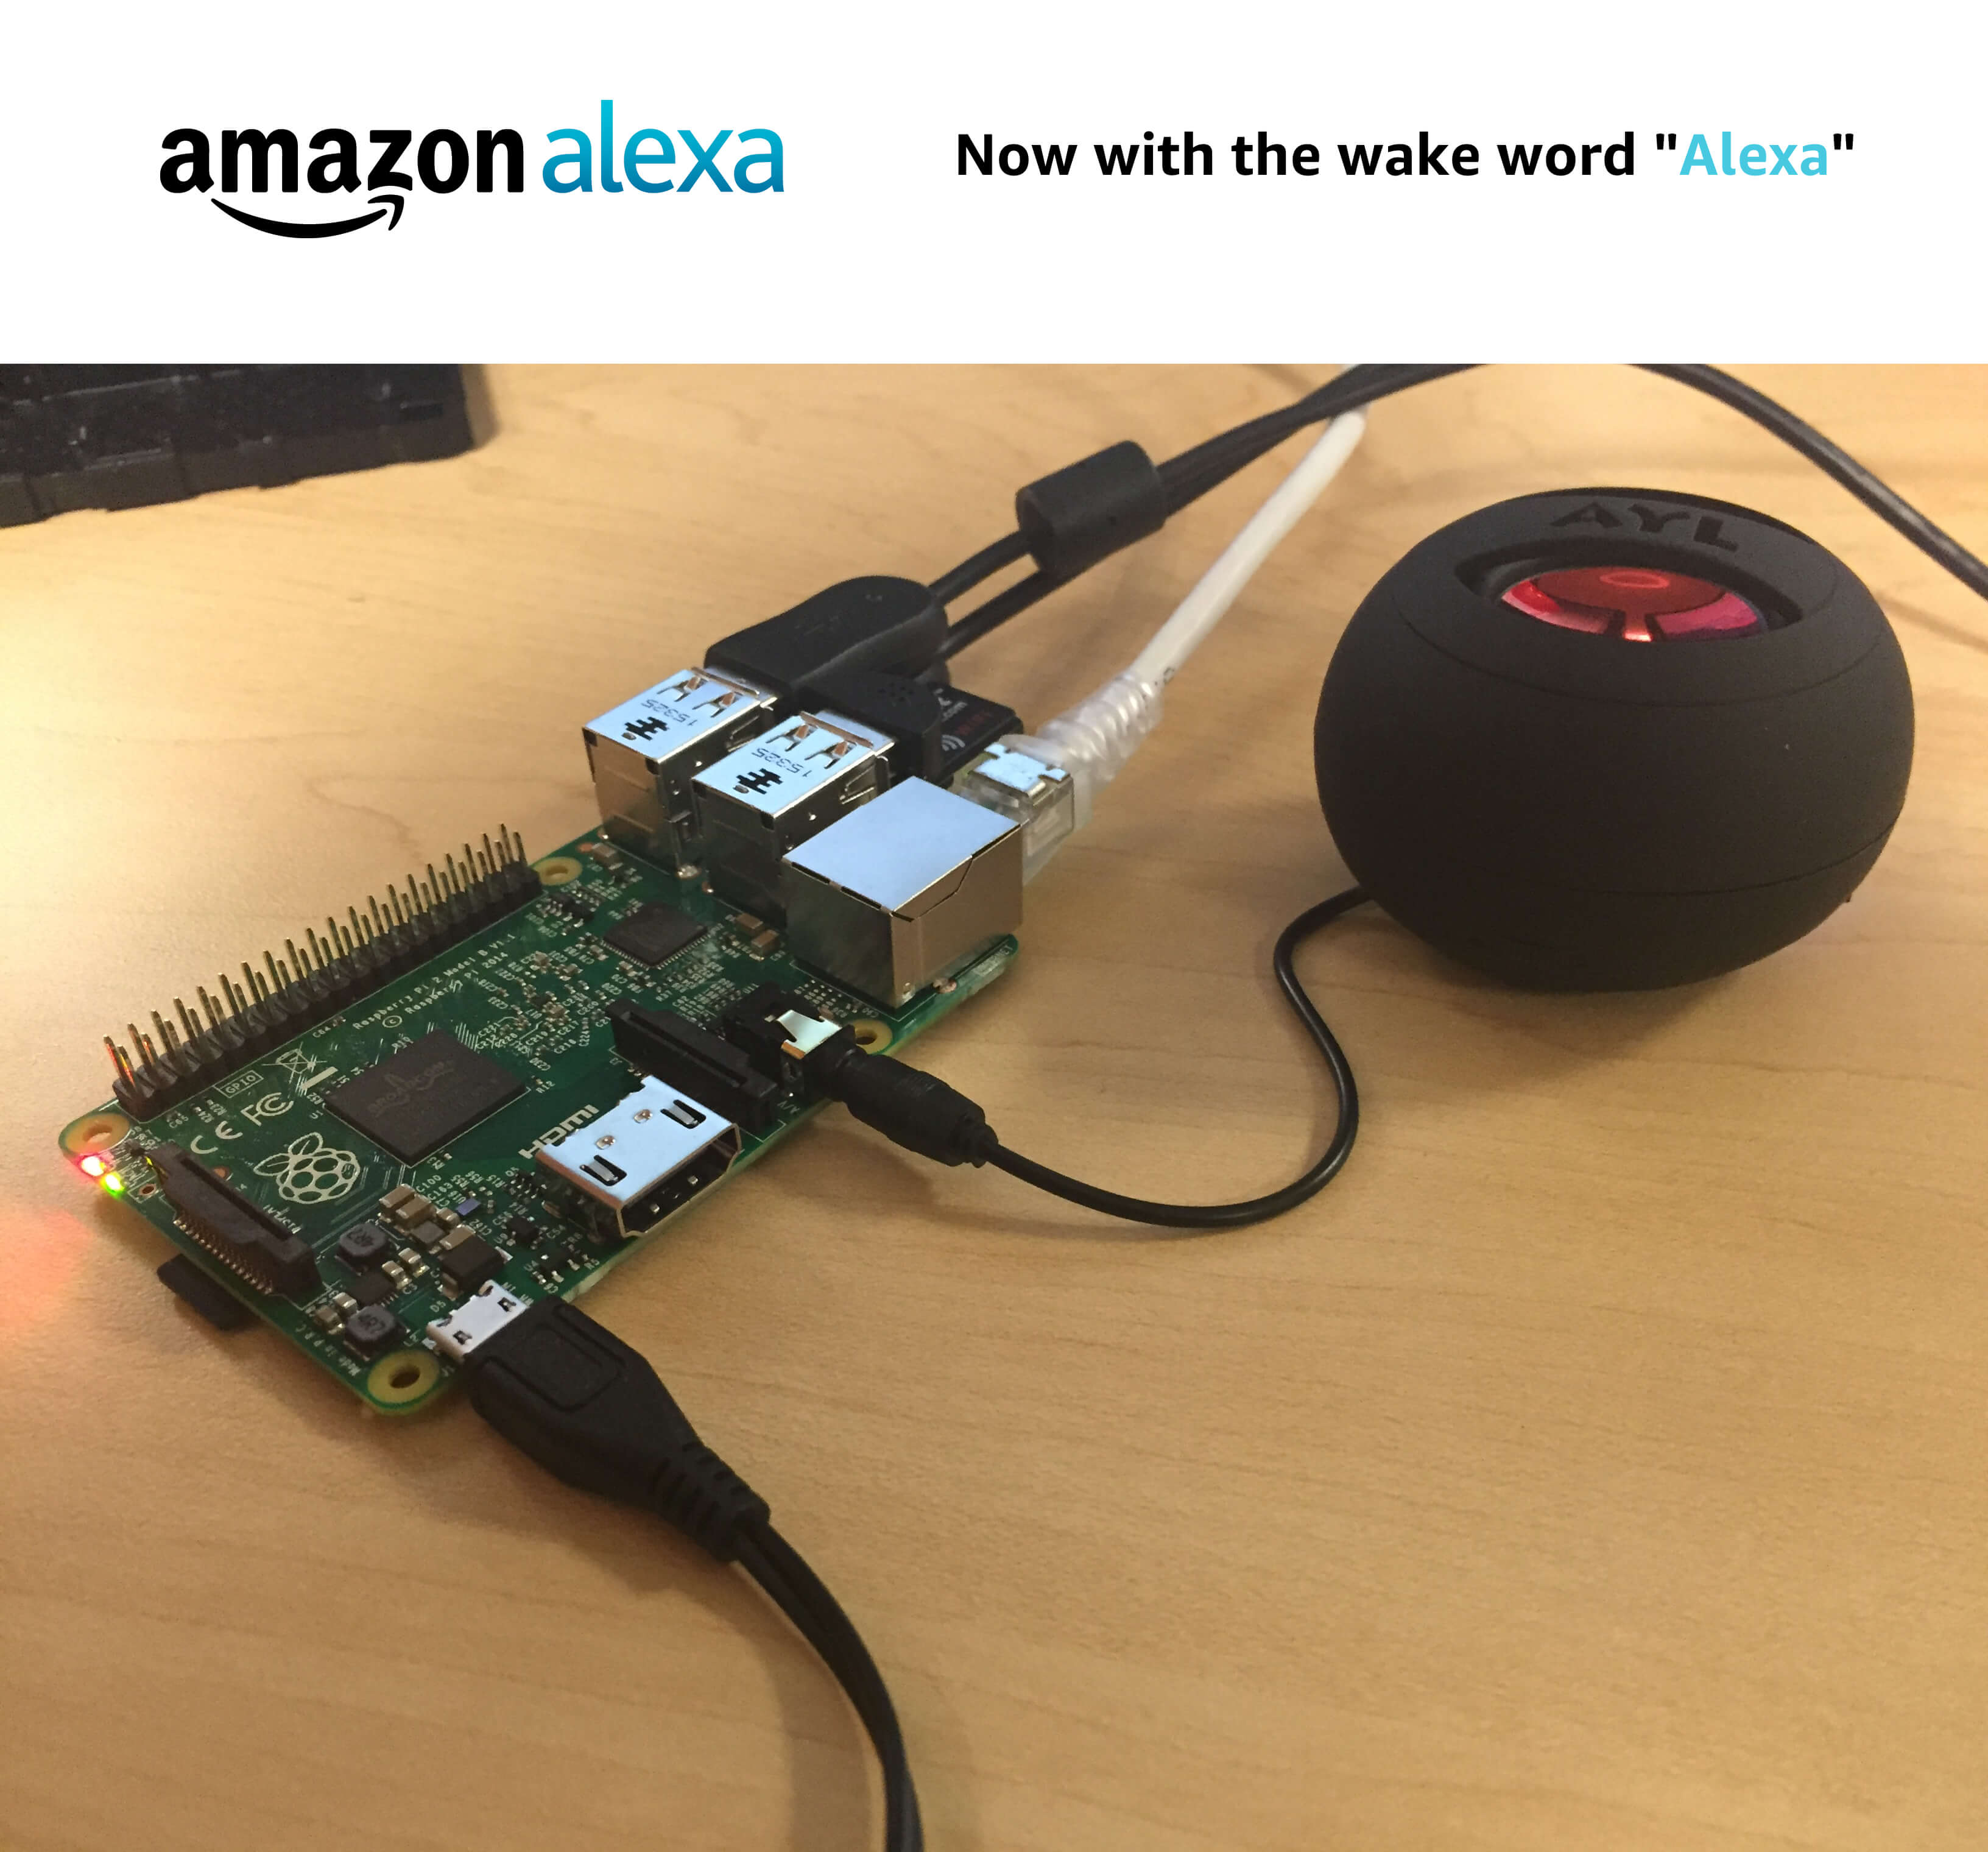
Raspberry Pi 3 Alexa DIY Project
Reading Time: 7 minutesRequired hardware Before you get started, let’s review what you’ll need. Raspberry Pi 3 (Recommended) or Pi 2 Model B (Supported) – Buy at Amazon – Pi 3 or Pi 2. Micro-USB power cable for Raspberry Pi. Micro SD Card (Minimum 8 GB) – You need an operating system to get started.…
-

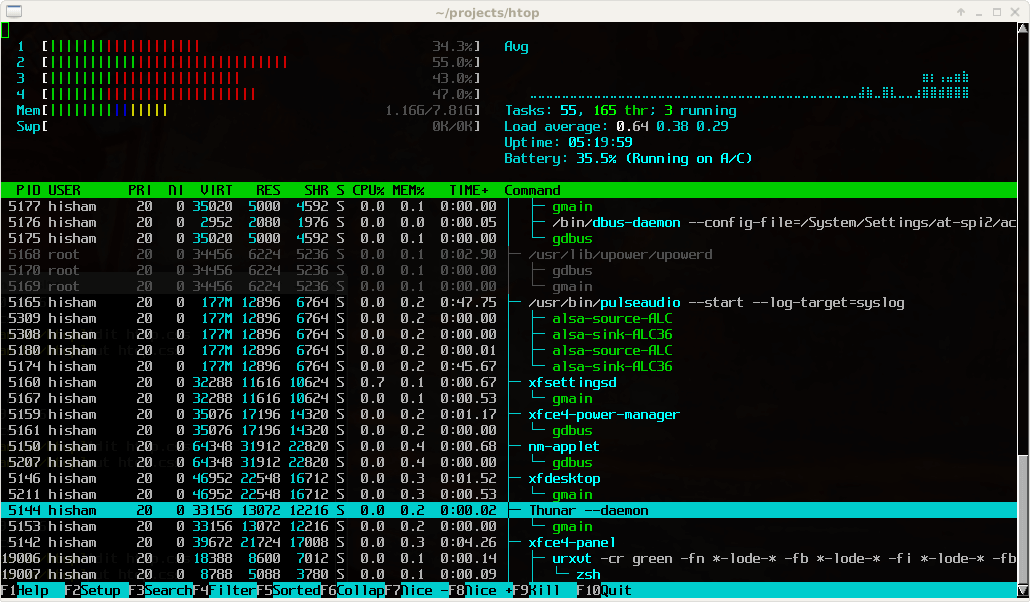
Raspberry Pi 3 Server – Htop running on TFT screen
Reading Time: < 1 minuteRaspberry Pi 3 Server – Htop running on TFT screen
-

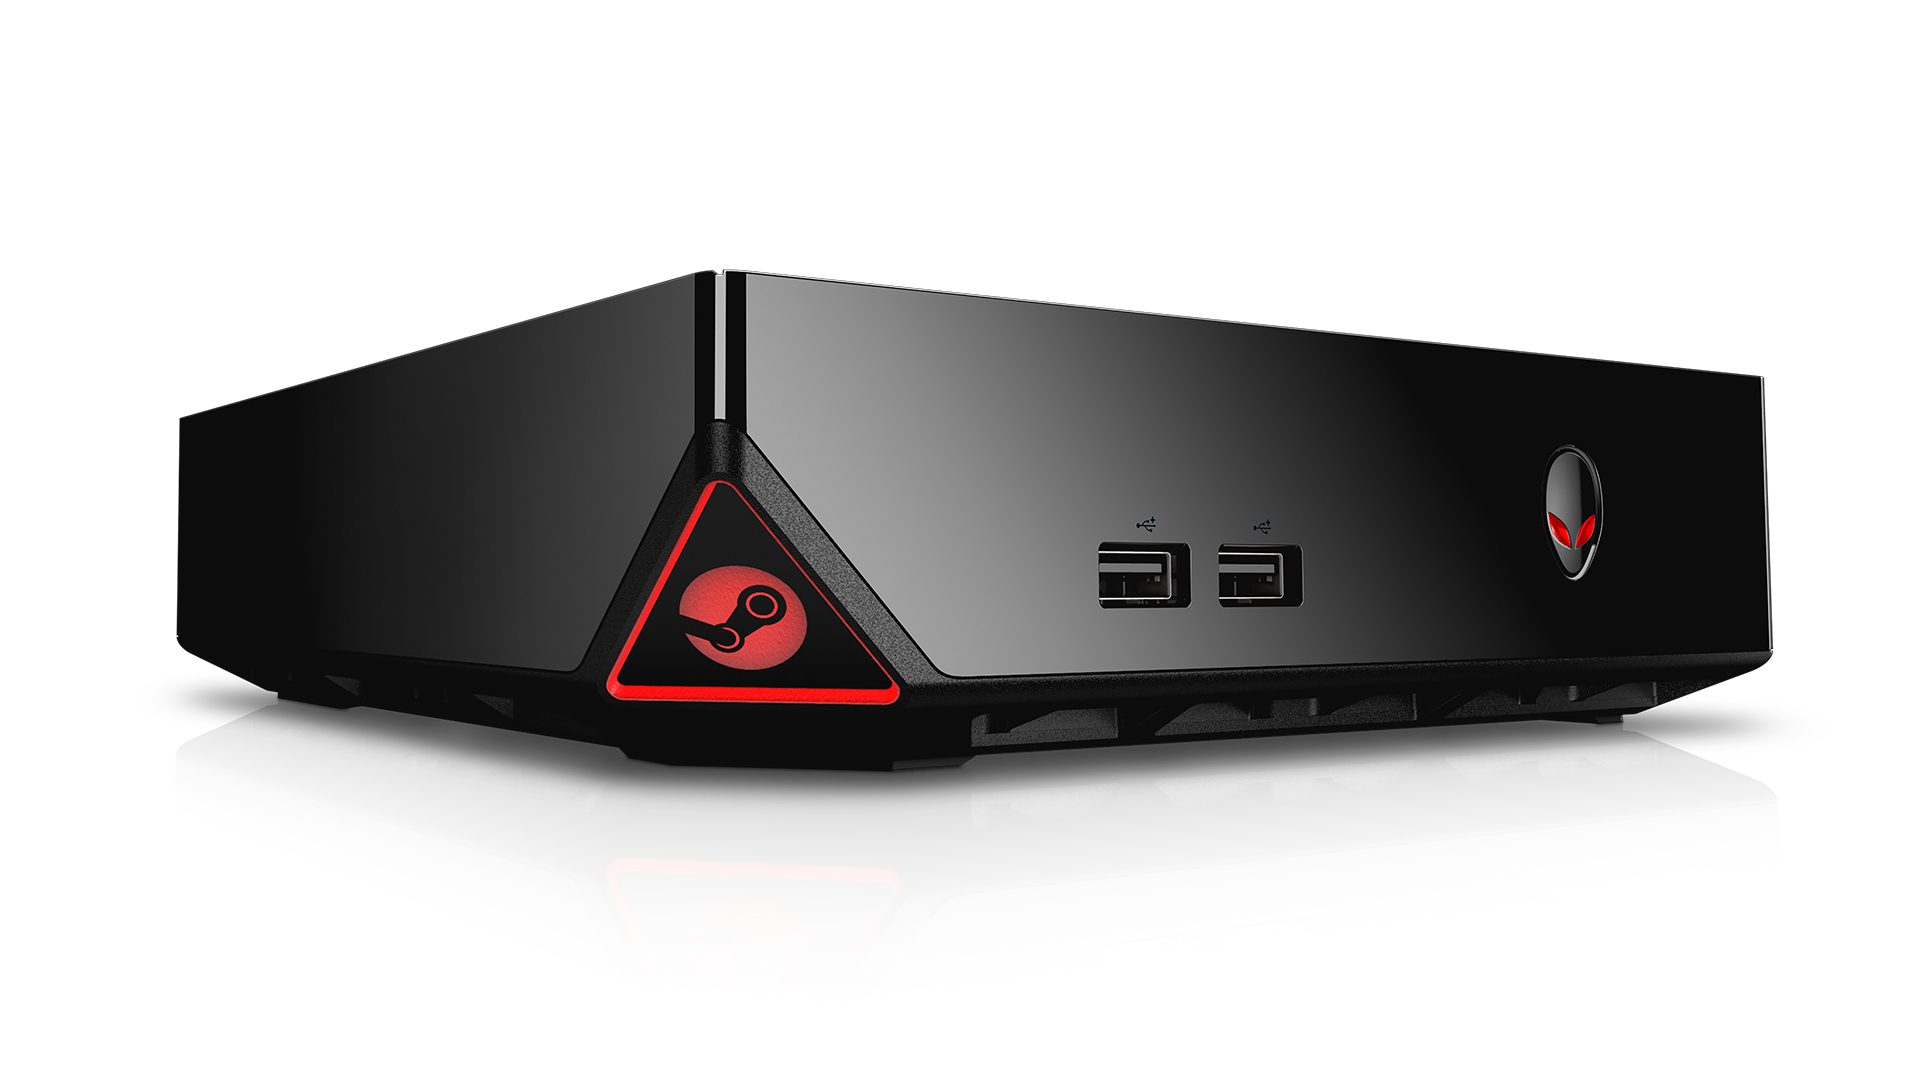
DIY – Steam Machine Konsole für unter 500€
Reading Time: 4 minutesSteam Machine Konsolen werden immer interessanter für PC Gamer. Valve hat nun endlich seit einigen Tagen ihr komplettes Portfolio für 2015 veröffentlicht: Diesen November bringen wir all die großartigen Dinge für PC – die besten Spiele, die größten Communities und die spannendsten Technologien – in ganz neue Gefilde. Steam Controller Mit Ihrem…
-

Kano: A computer anyone can make
Reading Time: < 1 minuteA computer and coding kit for all ages, all over the world. Simple as Lego, powered by Pi. Make games, learn code, create the future. Update, 5,000 Backers: Thank you. We’re humbled, amazed, and committed to getting you your kits on schedule. To new potential backers, Kano kits are still available –pledge $119 to get…