Schlagwort: Underwater ROV
-

SeaPerch II introduces students to underwater ROV exploration
Reading Time: 2 minutesWhile professionals around the world take advantage of Arduino products and the extensive ecosystem, the core Arduino philosophy is to simplify complex technology. A bare microcontroller is intimidating to the uninitiated, but an Arduino development board is friendly and approachable. MIT’s Sea Grant is harnessing that in their new SeaPerch II underwater…
-

Explore underwater with this Arduino-controlled DIY ROV
Reading Time: 2 minutesWho doesn’t want to explore underwater? To take a journey beneath the surface of a lake or even the ocean? But a remotely operated vehicle (ROV), which is the kind of robot you’d use for such an adventure, isn’t exactly the kind of thing you’ll find on the shelf at your local…
-

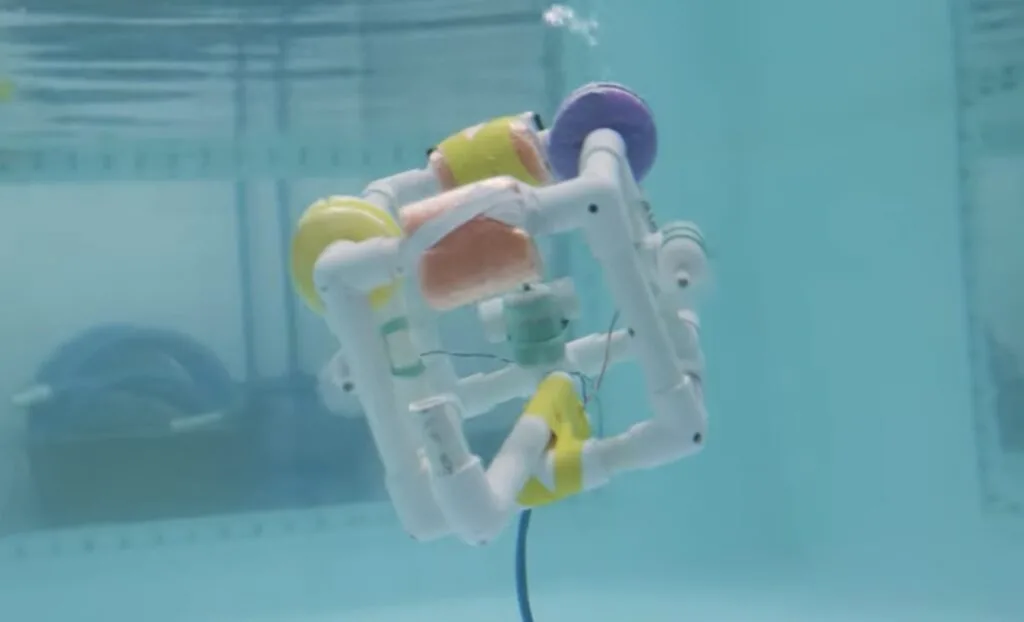
An Arduino-powered underwater ROV made out of PVC pipe
Reading Time: 2 minutesArduino Team — September 25th, 2021 Exploring the vast underwater world is exciting, and personal breathing devices such as SCUBA allow for people to descend far further than usual. However, robots can be even better since they can operate much longer and more efficiently than a person. And because these underwater remotely…
-
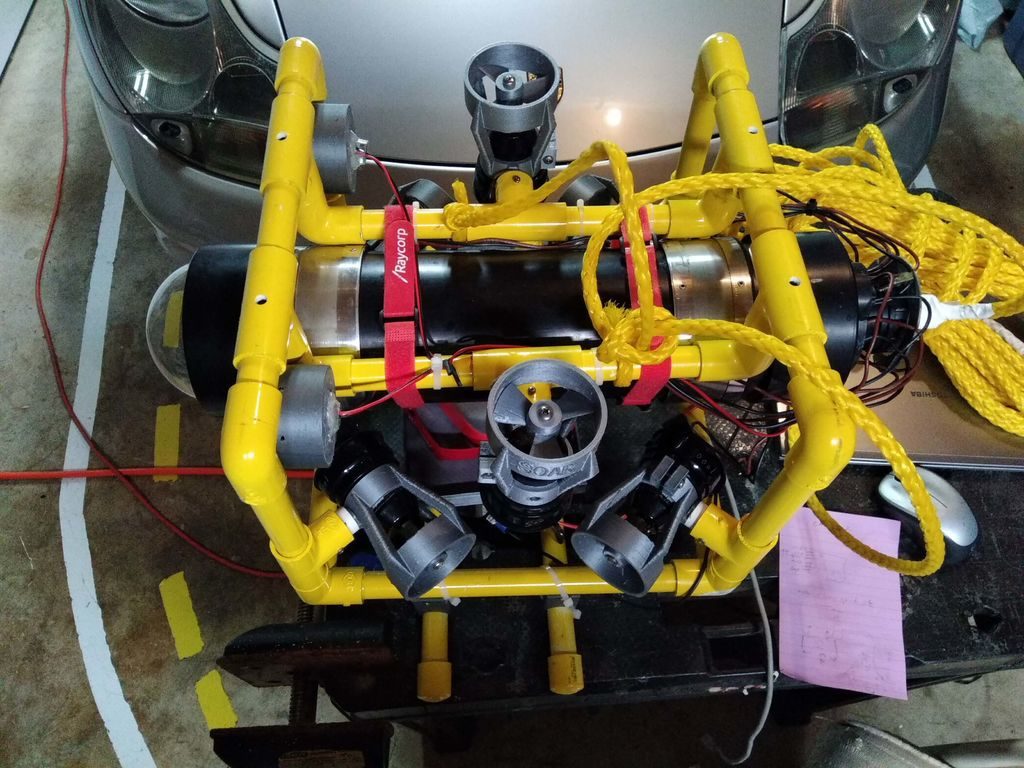
DIY submersible ROV flies through the water
Reading Time: < 1 minuteDIY submersible ROV flies through the water Arduino Team — May 31st, 2018 If you’d like to check out your pool or a lake without getting wet, this underwater ROV looks like a great solution. The DIY device features a sturdy PVC frame with six thrusters that allow it to move through…