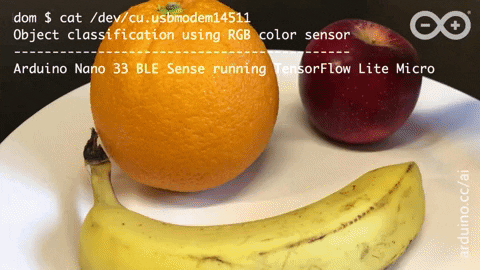
Fruit identification using Arduino and TensorFlow
Reading Time: 7 minutesBy Dominic Pajak and Sandeep Mistry Arduino is on a mission to make machine learning easy enough for anyone to use. The other week we announced the availability of TensorFlow Lite Micro in the Arduino Library Manager. With this, some cool ready-made ML examples such as speech recognition, simple machine vision and even an end-to-end […]