Schlagwort: Split Flap Display
-

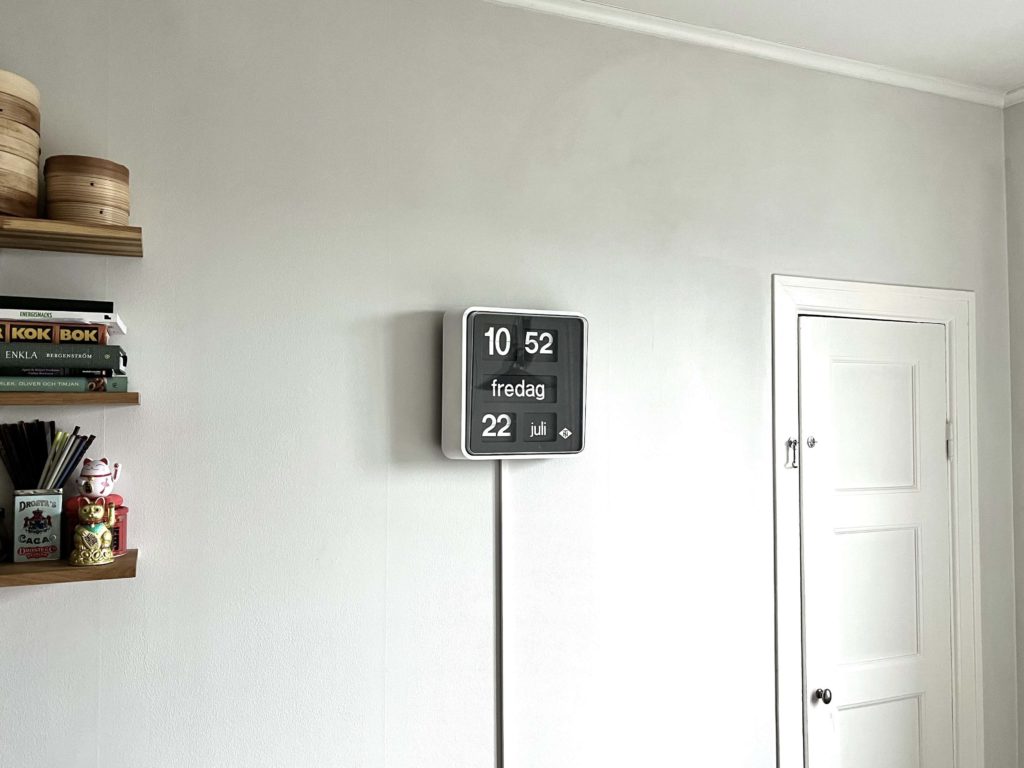
Reviving a vintage secondary split-flap clock with Arduino
Reading Time: 2 minutesArduino Team — July 25th, 2022 In the world of computing, many interfaces utilize a primary/secondary model of asymmetric communication, in which a primary host device controls one or more secondary client devices. This model is, for example, common among PATA and SATA hard drive arrangements. It is also common in clock…
-

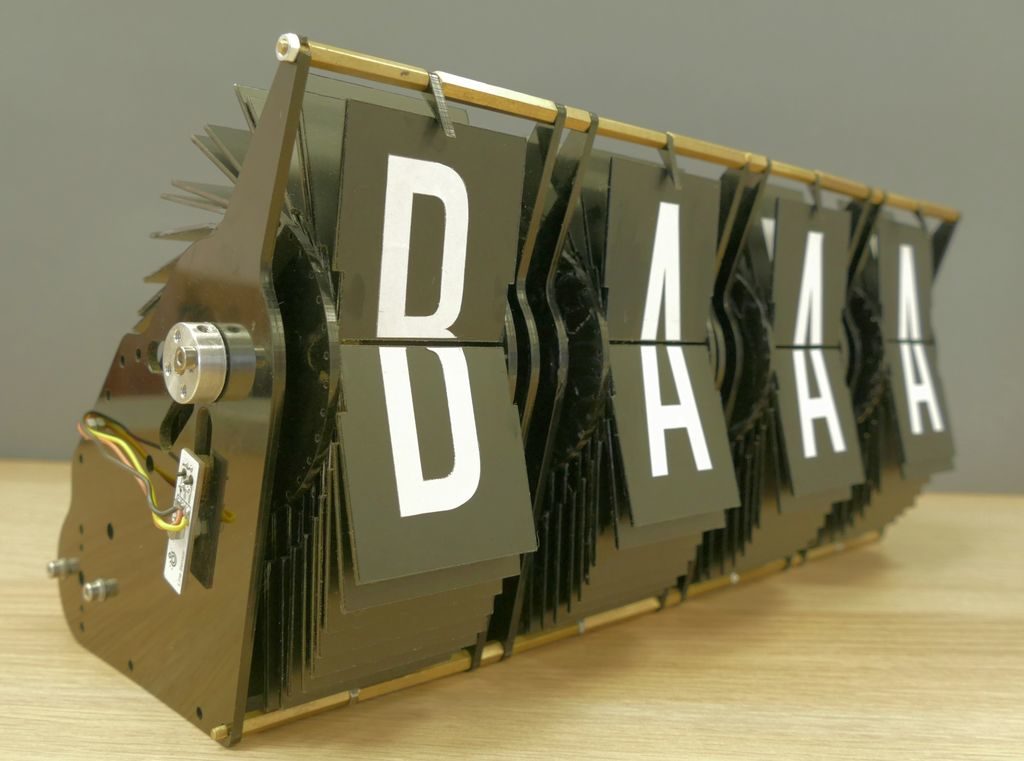
Recreating an old-school mechanical split-flap display with Arduino
Reading Time: 2 minutesArduino Team — July 1st, 2021 Those old-school split-flap character displays are super fun to look at, not to mention listen as well from the click each time a letter changes. Sadly, these have largely been replaced by more modern and efficient LED screens, leaving those who love the tactile feel a…
-

Check the weather on this Arduino-controlled split-flap display
Reading Time: < 1 minuteCheck the weather on this Arduino-controlled split-flap display Arduino Team — August 9th, 2018 Split-flap displays show information using characters changed by an electric motor. While they’ve largely been replaced by more modern means, hobbyists like “gabbapeople” have been keeping this this technique alive, in this case as a four-character IoT…