Schlagwort: Servo Motors
-

Motion-controlled Rock ‘Em Sock ‘Em Robots will make you feel like Jackman in Real Steel
Reading Time: 2 minutes2011’s Real Steel may have vanished from the public consciousness in a remarkably short amount of time, but the concept was pretty neat. There is something exciting about the idea of fighting through motion-controlled humanoid robots. That is completely possible today — it would just be wildly expensive at the scale seen in the…
-
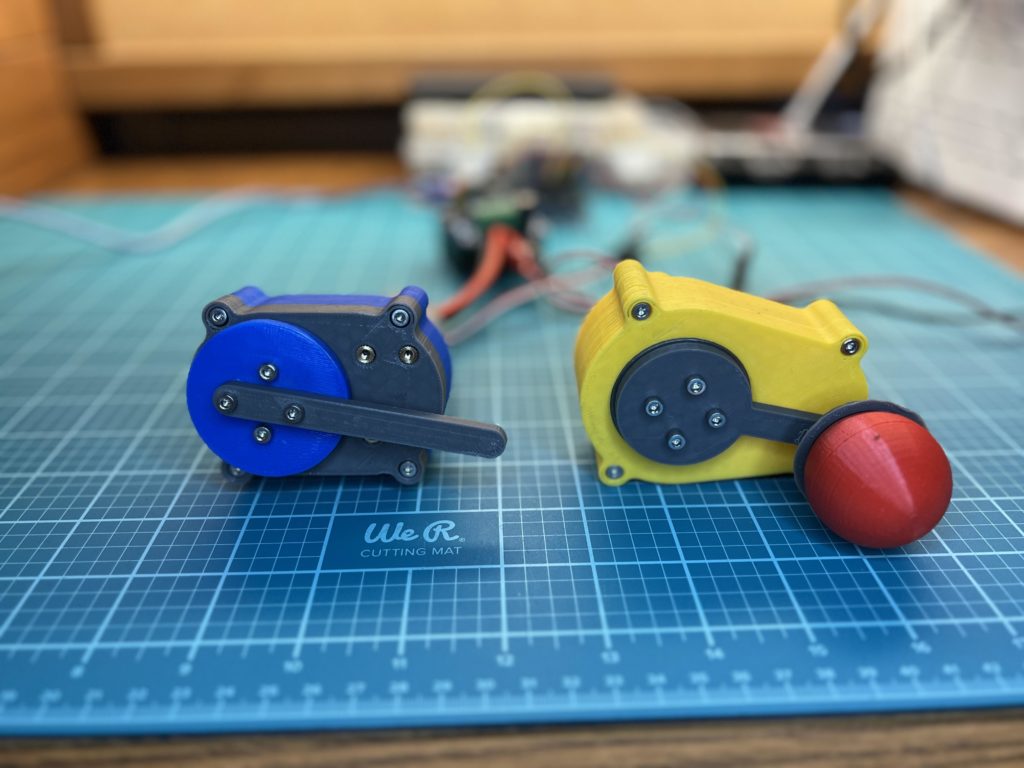
3D-printed continuous rotation servo motor is super smooth
Reading Time: 2 minutesThere are three types of motors that makers typically consider: stepper motors, servo motors, and DC motors (either brushed or brushless). Stepper motors are great when you need high precision and torque, but tend to have jerky movement. DC motors work well for high speed movement that doesn’t need any rotational accuracy.…
-

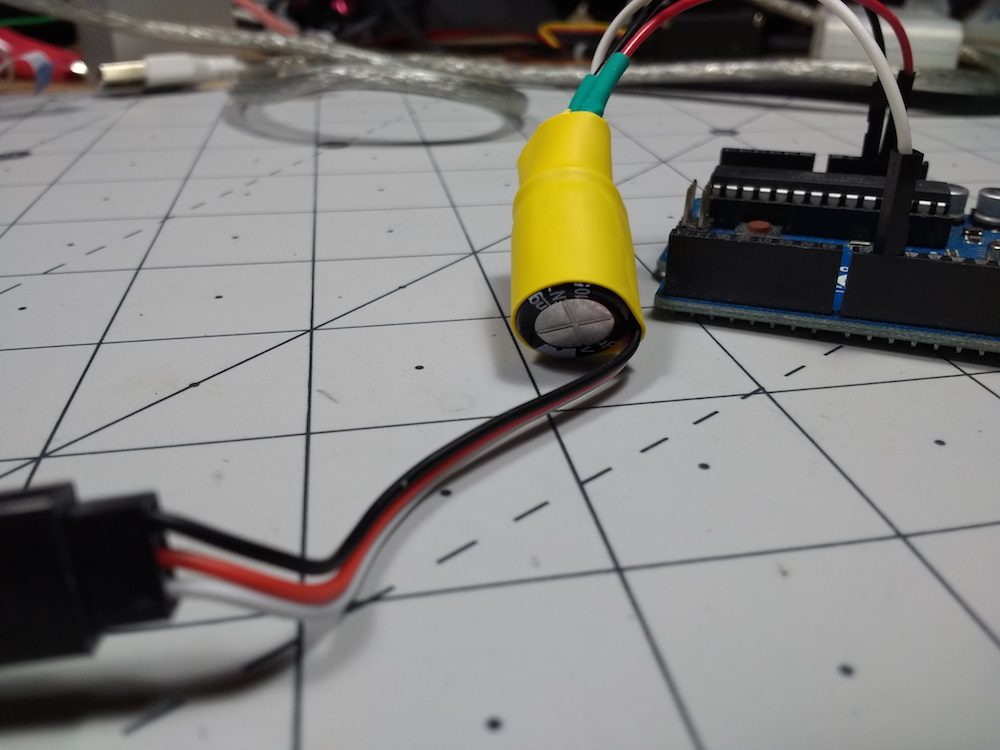
Some tips and tricks for controlling a servo with an Arduino
Reading Time: 2 minutesSome tips and tricks for controlling a servo with an Arduino Arduino Team — November 6th, 2019 Servos aren’t particularly hard to control with Arduinos, and in fact there’s a library available just for that purpose. Actually making the connection between the board and servo and managing one’s power usage will require…