Schlagwort: security
-

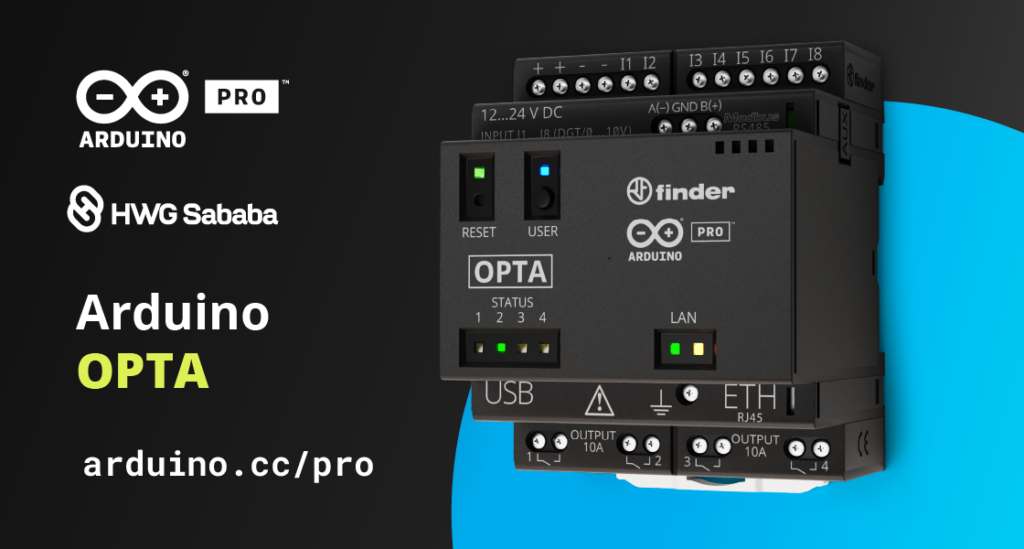
Opta: Enhanced cybersecurity after HWG Sababa’s testing
Reading Time: 2 minutesConnecting machines and equipment to the internet became easier than ever when we launched the Arduino Opta micro PLC, enabling real-time control, monitoring, predictive maintenance and more – in industries ranging from smart agriculture to large-scale manufacturing to building automation. Supporting our well-known Arduino sketch programming experience and any of the five IEC…
-
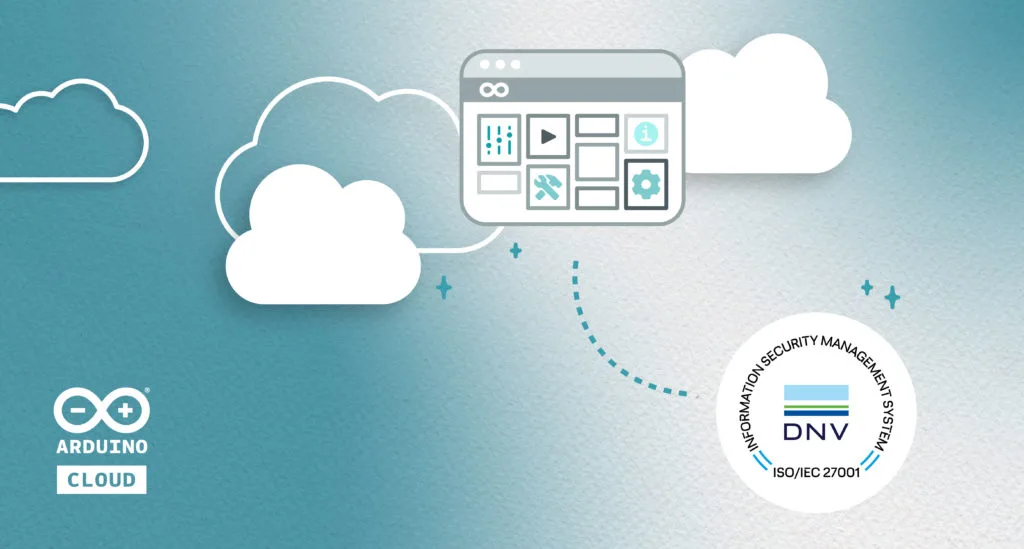
Arduino Cloud is ISO 27001 certified
Reading Time: 2 minutesAt Arduino, we embrace security as an integral part of the development lifecycle in order to provide secure hardware, software, and digital services to our customers. That’s why we are happy to announce that Arduino Cloud services are now certified for ISO/IEC 27001:2013 (ISO 27001). ISO 27001 is an internationally recognized standard…
-

How a Smart Home Can Be A Safer Home
Reading Time: 4 minutesSecurity is one of the things we value most in our homes. A home is somewhere to feel safe, protected from the harms of the outside world. As a result, we tend to invest a lot of money in security features like well-locked doors, alarms, and cameras. Most of the tools we…
-

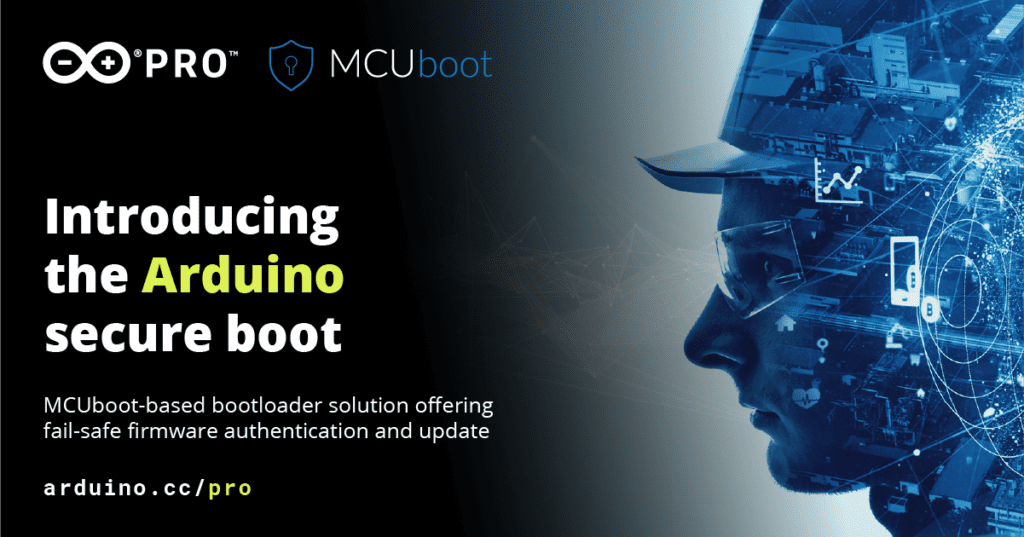
Introducing the Arduino secure boot
Reading Time: 5 minutesTo increase the range of features and firmware safety of Arduino products, we decided to release a new bootloader based on MCUboot. Here is a quick introduction on everything you need to know about it. Introduction to MCUboot MCUboot is a secure bootloader solution offering fail-safe firmware authentication and secure firmware update…
-
Arduino Security Primer
Reading Time: 5 minutesSSL/TLS stack and HW secure element At Arduino, we are hard at work to keep improving the security of our hardware and software products, and we would like to run you through how our IoT Cloud service works. The Arduino IoT Cloud‘s security is based on three key elements: The open-source library…
-

Setting up two-factor authentication on your Raspberry Pi
Reading Time: 7 minutesEnabling two-factor authentication (2FA) to boost security for your important accounts is becoming a lot more common these days. However you might be surprised to learn that you can do the same with your Raspberry Pi. You can enable 2FA on Raspberry Pi, and afterwards you’ll be challenged for a verification code…
-
Create Agent – Windows installer tampering while preserving Authenticode signature
Reading Time: 2 minutesCreate Agent – Windows installer tampering while preserving Authenticode signature Arduino Team — August 13th, 2019 Arduino Create Agent is a plug-in that was designed to help Arduino users connect their devices to the Arduino Create platform. The plug-in lets your browser communicate with your device’s serial port from a web application. …
-
Arduino selects Auth0 as standardized login for ecosystem
Reading Time: 2 minutesArduino selects Auth0 as standardized login for ecosystem Arduino Team — July 28th, 2019 We are excited to announce that we’ve selected Auth0 as the identity management platform of choice for Arduino. We will replace our own Single Sign On solution with Auth0 for all public facing web properties, including Arduino Create…
-

Three-factor authentication is the new two-factor authentication
Reading Time: 3 minutesTwo-factor authentication continues to provide our online selves with more security for our email and online banking. Meanwhile, in the physical world, protecting our valuables is now all about three-factor authentication. Not sure what I mean? Here’s a video from Switched On Network that demonstrates how to use a Raspberry Pi to build…
-

Announcing Arduino’s Coordinated Vulnerability Disclosure Policy
Reading Time: 3 minutesAnnouncing Arduino’s Coordinated Vulnerability Disclosure Policy gvarisco — October 10th, 2018 A little less than a month ago, I joined Arduino as their Chief Information Security Officer. I’ve been in touch with the team for the past couple of months and feel incredibly lucky to be part of such a talented and…
-

MagPi 73: make a video game!
Reading Time: 3 minutesHi folks, Rob from The MagPi here! As far back as I can remember, I always wanted to learn to code to make a video game. I’m technically working on one right now! It’s wildly behind my self-imposed schedule, though. If you too wish to learn how to make games, then check…
-

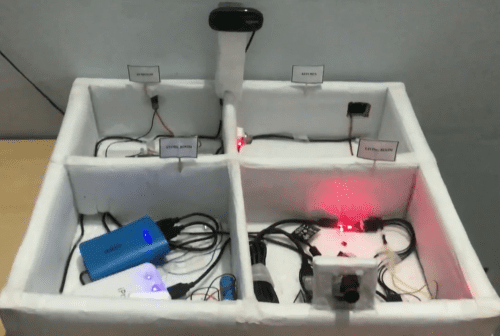
Mayank Sinha’s home security project
Reading Time: 2 minutesYesterday, I received an email from someone called Mayank Sinha, showing us the Raspberry Pi home security project he’s been working on. He got in touch particularly because, he writes, the Raspberry Pi community has given him “immense support” with his build, and he wanted to dedicate it to the commmunity as…
-
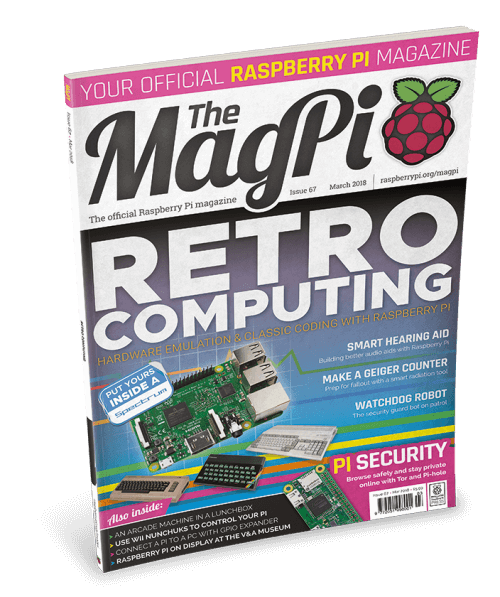
MagPi 67: back to the future with retro computing on your Pi
Reading Time: 3 minutesHey folks, Rob from The MagPi here! While we do love modern computers here at The MagPi, we also have a soft spot for the classic machines of yesteryear, which is why we have a huge feature on emulating and upcycling retro computers in The MagPi issue 67, out right now. Retro…
-

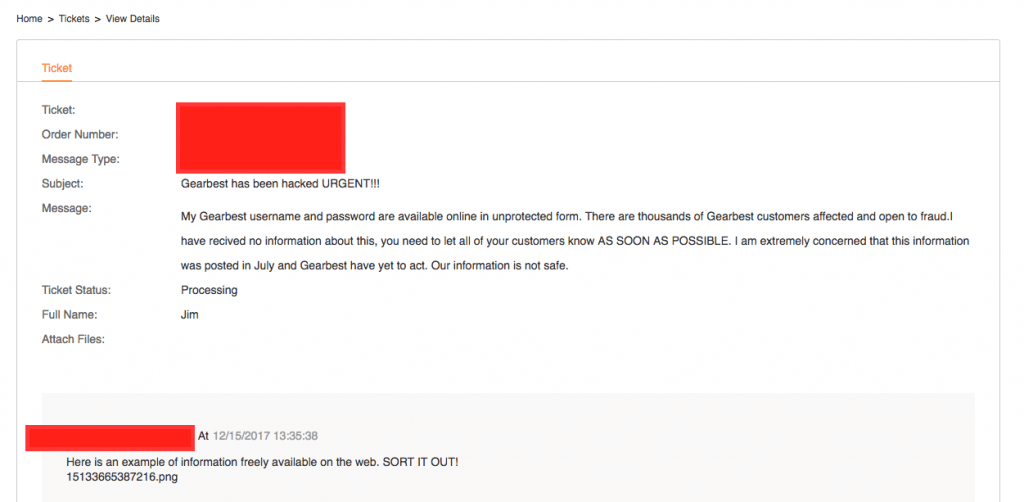
Security Breach: Email Addresses & Passwords of Gearbest Users Leaked Online
Reading Time: 4 minutesA Reddit user recently discovered that sensitive customer information from hundreds of GearBest users was hacked and uploaded into a Pastebin file. The Chinese electronics online retailer GearBest is a popular outlet for a variety of affordable consumer electronics, including 3D printer kits like the Creality CR-10, Anet A8, among others. The 3D printing…