Schlagwort: Rotary Phone
-

Travel the world with a retro musical phone
Reading Time: 3 minutesThis rotary phone features a built-in Raspberry Pi that communicates with radiooooo.com (a musical time machine) and an Arduino working behind the map to control the selection of the country. Just pick up the phone, choose a country and a decade, and listen to some great music! [youtube https://www.youtube.com/watch?v=Wz1SBkfLXiY] How does it…
-

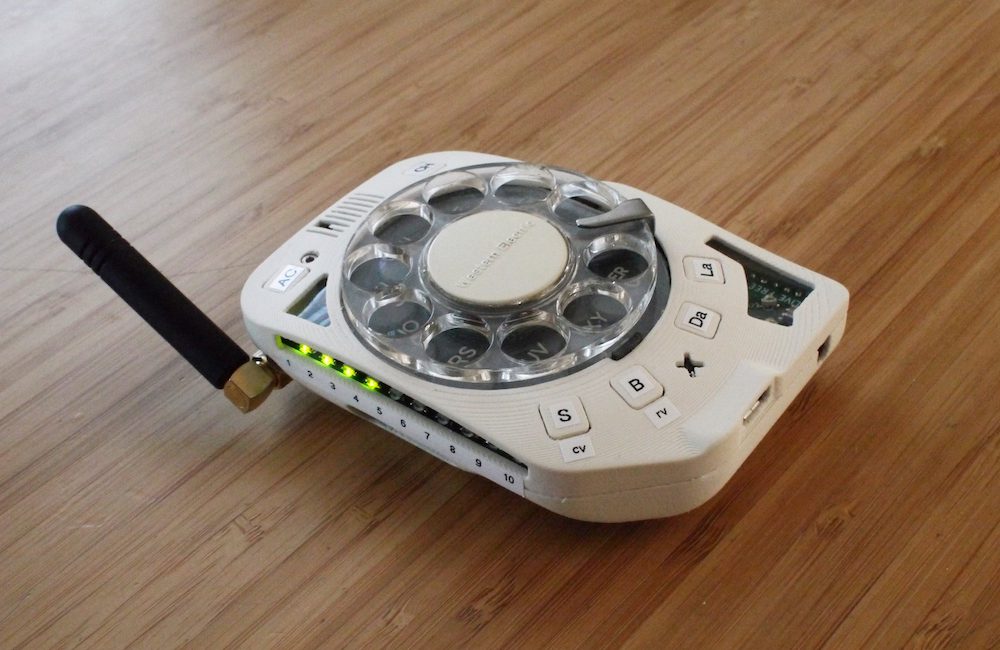
This retro-looking rotary cellphone is free of modern-day distractions
Reading Time: 2 minutesThis retro-looking rotary cellphone is free of modern-day distractions Arduino Team — February 13th, 2020 What we carry today in our pockets is nominally called a “phone,” but more often than not we’re using it to do various other computing tasks. Justine Haupt, however, wanted an actual phone that “goes as far from…
-

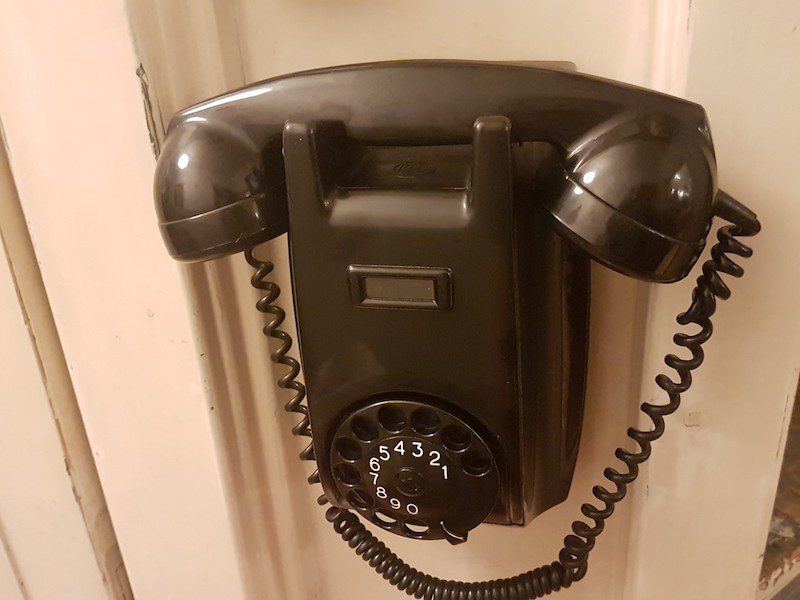
Rotary phone transformed into home automation device
Reading Time: 2 minutesRotary phone transformed into home automation device Arduino Team — November 26th, 2018 While once an essential communication tool, rotary phones in the wild are quite a rarity today. Still, they do hold a certain charm, and hacker Kristiaan N. decided to turn one of these units into a clever home automation…