Schlagwort: Retrocomputing
-

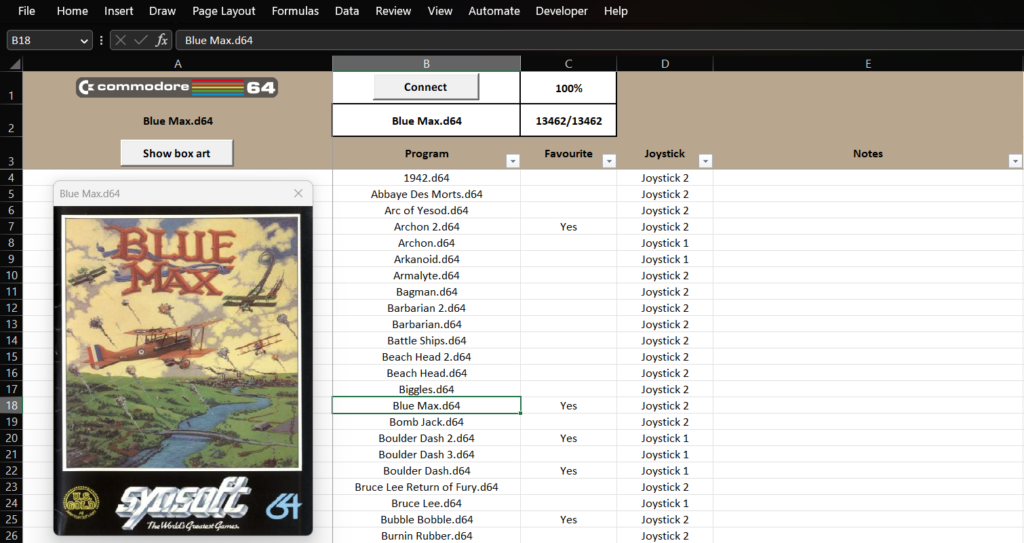
Use Excel to load Commodore 64 software
Reading Time: 2 minutesLoading software on a vintage computer, such as a Commodore 64, is a pain. Early eight-bit computers almost never contained any onboard persistent storage, so users had to load software from external media like cassette tapes. To make retro computing far more convenient, RaspberryPioneer developed a method for loading Commodore 64 software…
-

Classic Macintosh gets a massive ePaper display
Reading Time: 2 minutesArduino Team — August 24th, 2022 The original Apple Macintosh computer, launched in 1984, was fundamental for ushering in GUIs (graphical user interfaces). It wasn’t the first personal computer to feature a GUI operating system and the concurrent Apple II still retained a more traditional command line interface for years, but we…
-

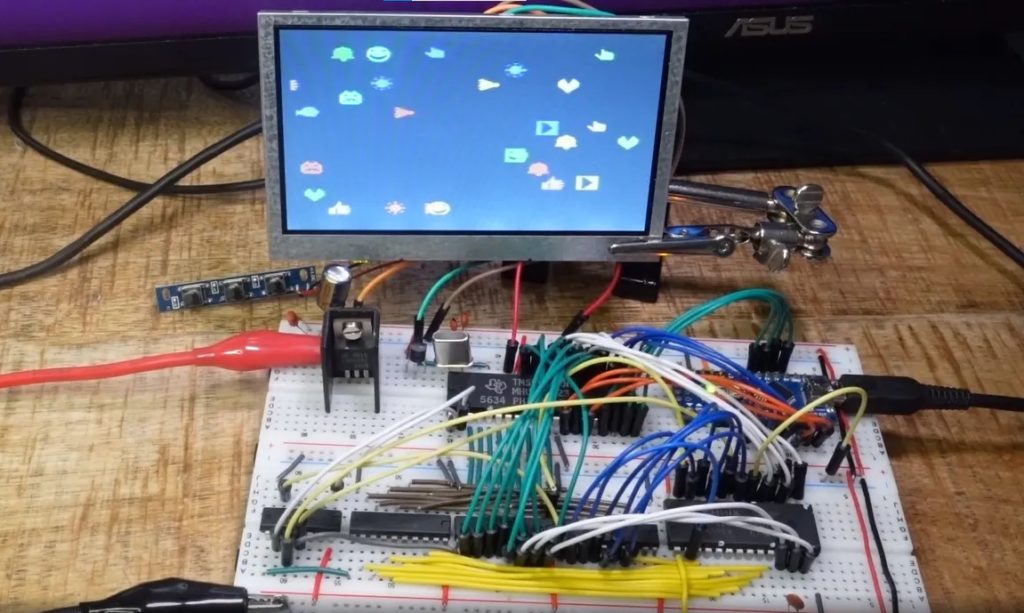
Experiment with ’80s graphics using this breadboard setup
Reading Time: 2 minutesExperiment with ’80s graphics using this breadboard setup Arduino Team — April 19th, 2022 Before standardized video cards came along, computer and video game console designers utilized video chips. Those simplified the design process and offloaded much of the work from the processor. Those video chips had hardcoded graphical building blocks and…