Schlagwort: retro game
-

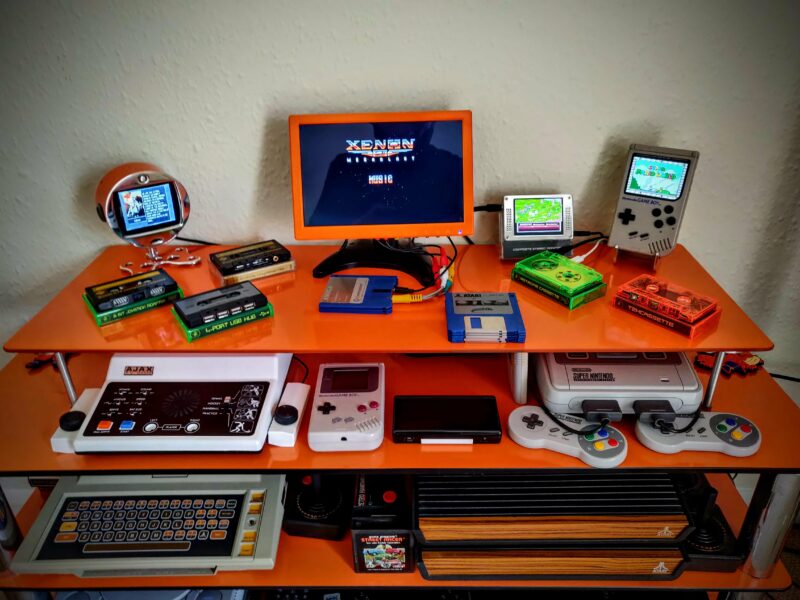
Collection of Raspberry Pi retro tech projects
Reading Time: 5 minutesDuring lockdown, Stuart (aka JamHamster) wanted to keep busy whilst between jobs, and ended up building a mini empire of rescued retro systems. Cassette tapes, Game Boys, and floppy disks were all among the treasures he reclaimed. Stuart calls this the “shelf of deceit” – where nothing is what it appears to…
-

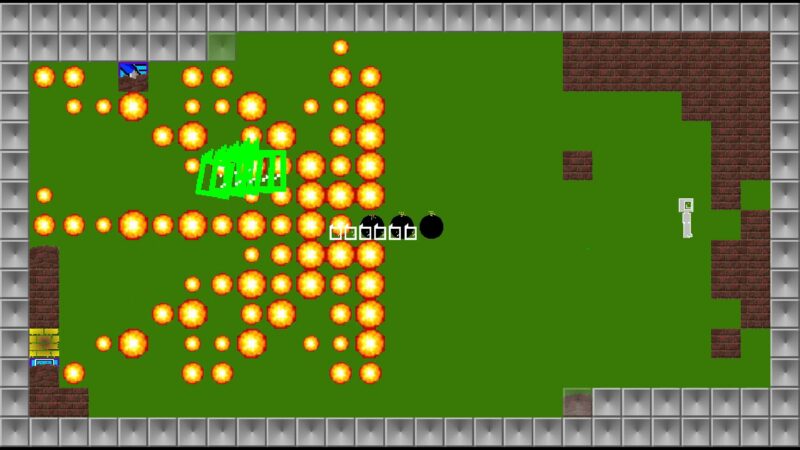
How not to code: a guide to concise programming
Reading Time: 3 minutesUpdating a 22-year-old game brought Andrew Gillett face to face with some very poor coding practices. Read more about it in this brilliant guest article from the latest issue of Wireframe magazine. In 1998, at the age of 17, I was learning how to write games in C. My first attempt, the…
-

Raspberry Pi + Furby = ‘Furlexa’ voice assistant
Reading Time: 3 minutesHow can you turn a redundant, furry, slightly annoying tech pet into a useful home assistant? Zach took to howchoo to show you how to combine a Raspberry Pi Zero W with Amazon’s Alexa Voice Service software and a Furby to create Furlexa. [youtube https://www.youtube.com/watch?v=aCOsM-4NEKs?feature=oembed&w=500&h=281] Furby was pretty impressive technology, considering that…
-

Code retro games with Digital Making at Home
Reading Time: < 1 minute[youtube https://www.youtube.com/watch?v=r–6fucA4ds?feature=oembed&w=500&h=281] Join us for Digital Making at Home: this week, young people can recreate classic* video games with us! Through Digital Making at Home, we invite kids all over the world to code along with us and our new videos every week. So get ready to code some classic retro…
-

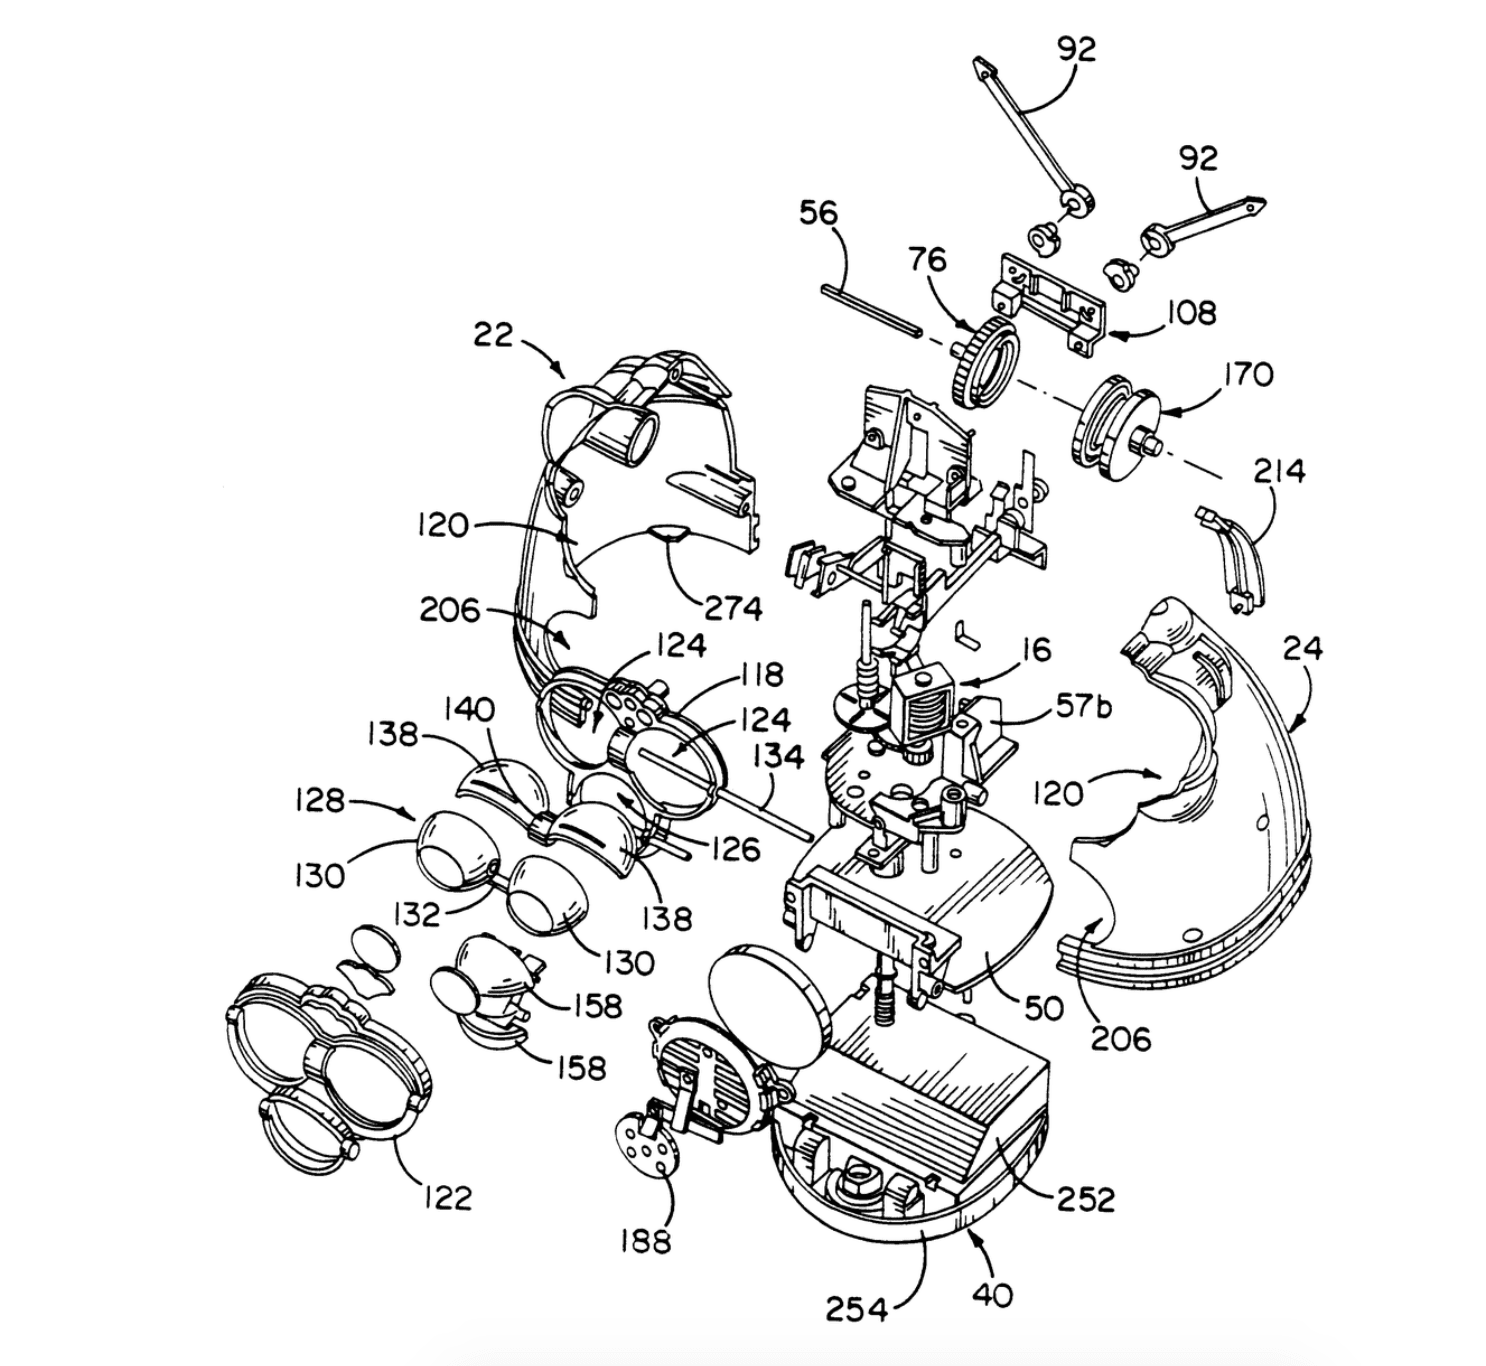
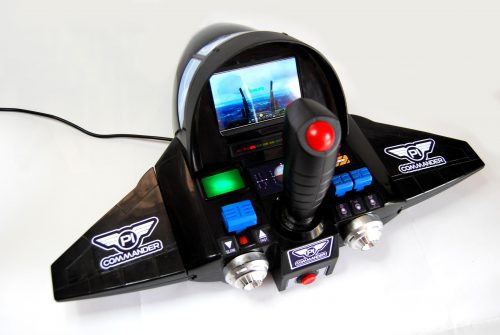
(Raspberry) Pi Commander | The MagPi 95
Reading Time: 4 minutesAdrien Castel’s idea of converting an old electronic toy into a retro games machine was no flight of fancy, as David Crookes discovers The 1980s was a golden era for imaginative electronic toys. Children would pester their parents for a Tomytronic 3D or a Nintendo Game & Watch. And they would enviously…
-

Make a retro console with RetroPie and a Raspberry Pi — part 2
Reading Time: 5 minutesHere’s part two of Lucy Hattersley’s wonderful retro games console tutorial. Part 1 of the tutorial lives here, for those of you who missed it. Choose the network locale RetroPie boots into EmulationStation, which is your starter interface. It’s currently displaying just the one option, RetroPie, which is used to set up…
-
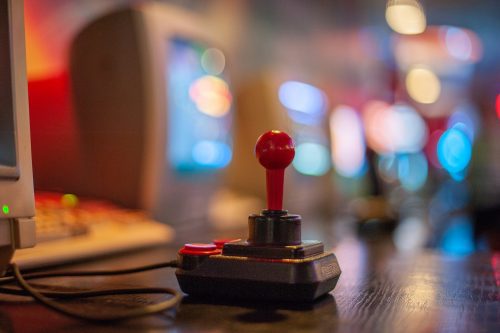
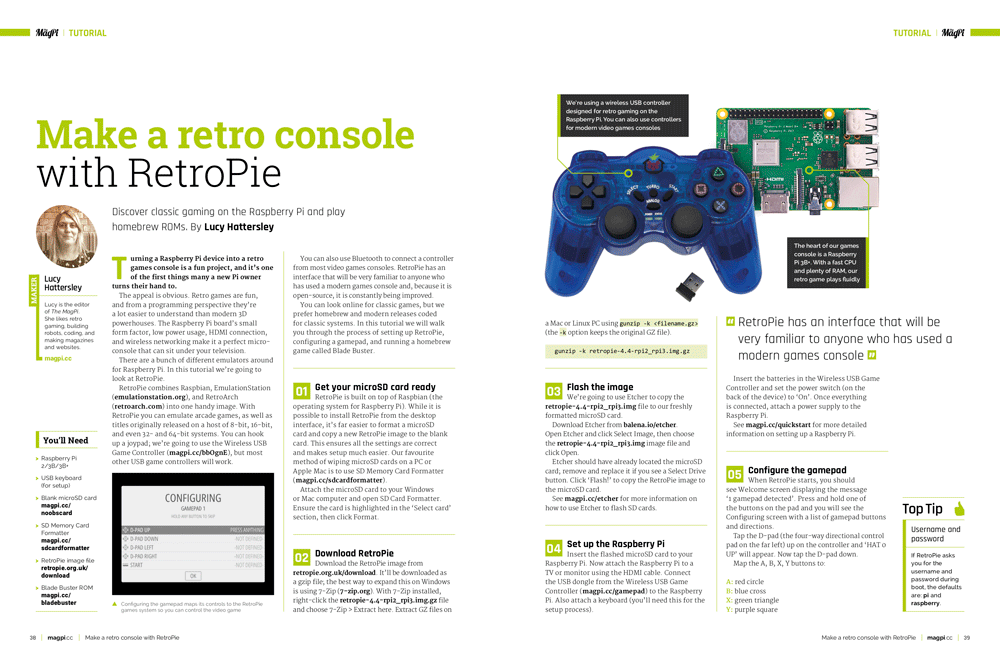
Make a retro console with RetroPie and a Raspberry Pi — part 1
Reading Time: 5 minutesDiscover classic gaming on the Raspberry Pi and play homebrew ROMs, with this two-part tutorial from The MagPi Editor Lucy Hattersley. Raspberry Pi retro games console Turning a Raspberry Pi device into a retro games console is a fun project, and it’s one of the first things many a new Pi owner…
-

Narita Boy – 80s alpha Gameplay
Reading Time: < 1 minuteBeat them up Narita Boy! Here´s our alpha gameplay trailer for our upcoming game, Narita Boy! it comes with a little surprise we were holding, the 80´s game mechanic, a renewed classic arcade mode designed for your enjoyment Follow us @ www.studiokoba.com