Schlagwort: resources
-

How to set up and use your brand-new Raspberry Pi
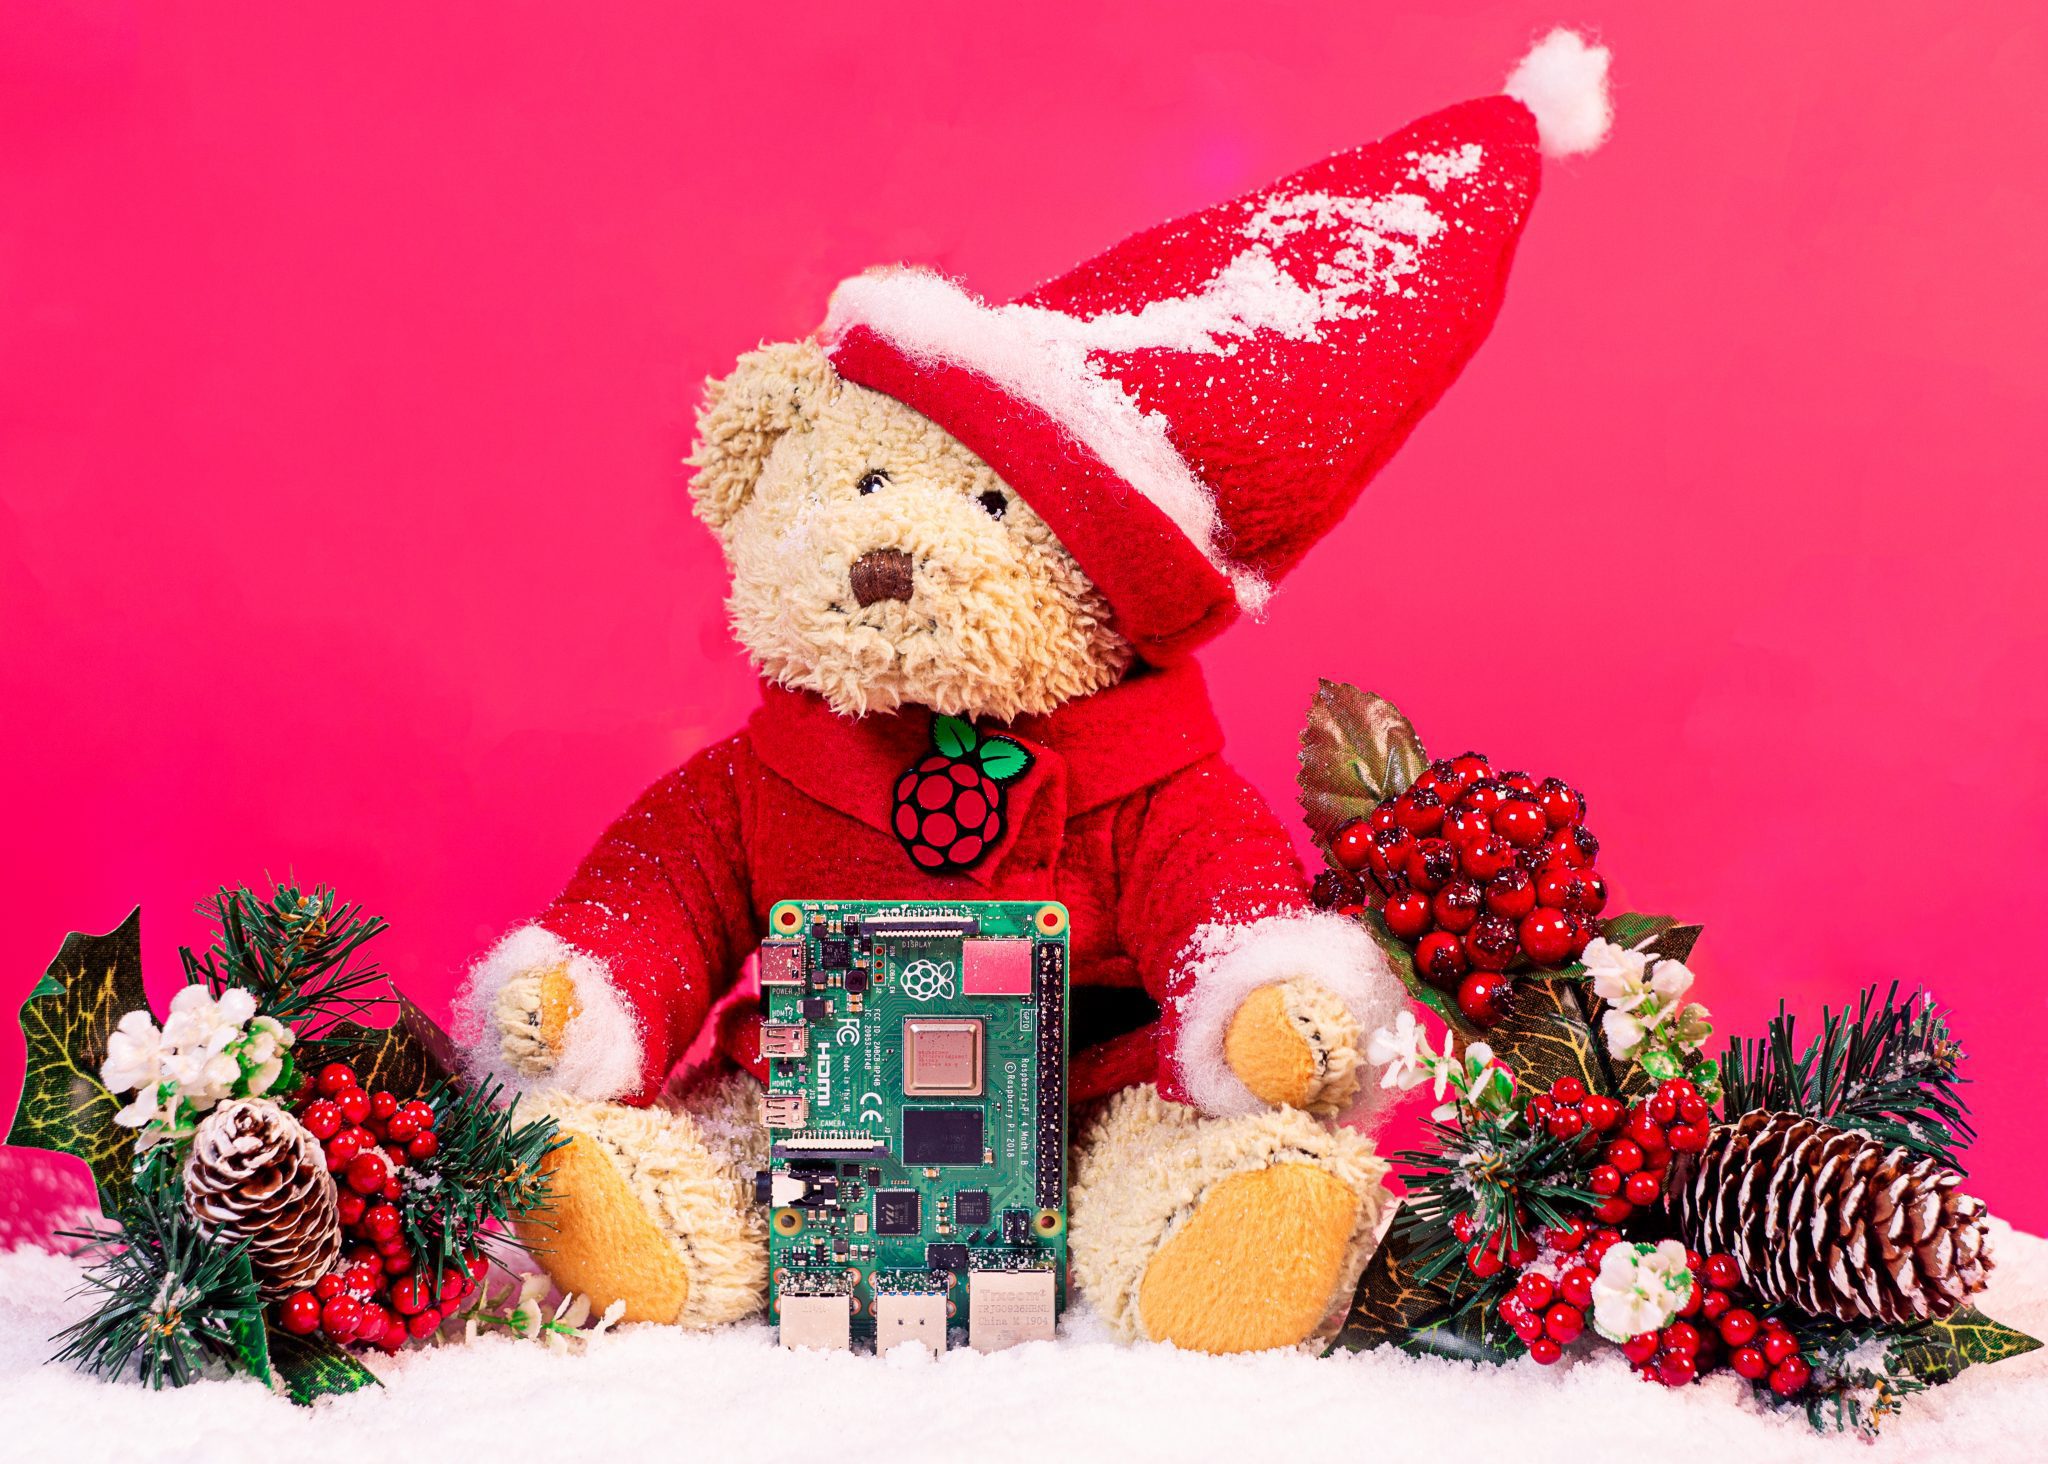
Reading Time: 5 minutesIf you’re reading this, it’s probably because you bagged yourself a brand-new Raspberry Pi for Christmas, and you’re wondering what you should do next. Well, look no further, for we’re here to show you the ropes. So, sit back, pull on a pair of those nice, warm socks that you found in…
-
How to set up and use your brand-new Raspberry Pi
Reading Time: 5 minutesIf you’re reading this, it’s probably because you bagged yourself a brand-new Raspberry Pi for Christmas, and you’re wondering what you should do next. Well, look no further, for we’re here to show you the ropes. So, sit back, pull on a pair of those nice, warm socks that you found in…
-

Our ultimate guide to running your own Coolest Projects event
Reading Time: 3 minutesCoolest Projects, our world-leading technology fair for young people, takes place in seven countries this year: Ireland, the UK, USA, Netherlands, Belgium, Bulgaria, and Milan in Italy. Volunteer-led Coolest Projects events Teams of marvellous volunteers organise and run the events in the Netherlands, Belgium, Bulgaria, and Milan! They are doing incredible work…
-

UK Scouts! New resources to support the Digital Maker badge
Reading Time: 2 minutesSix months ago, we announced our partnership with the Scout Association in the UK: we launched the new Digital Maker Staged Activity Badge, releasing new badge requirements, along with resources for stages 1 and 2, to help tens of thousands of young people learn how to create with technology. Fun fact: when…
-

Learn how to document your code
Reading Time: 2 minutesIn our latest resource, we show you how to create a website and use it to document your coding projects. Why document your code? Search the web with the right key words for your programming conundrum, and you’re bound to find someone who has written software to address a question that’s at…
-

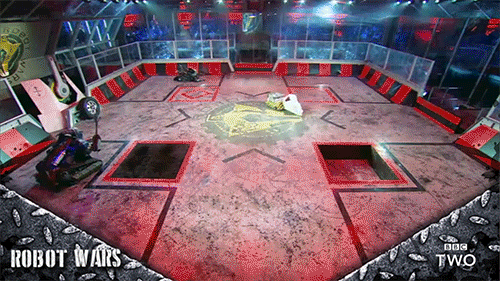
How to build a competiton-ready Raspberry Pi robot
Reading Time: 3 minutesWith the recent announcement of the 2019 Pi Wars dates, we’ve collected some essential online resources to help you get started in the world of competitive robots. Robotics 101 Before you can strap chainsaws and flamethrowers to your robot, you need to learn some basics. Sorry. As part of our mission to…
-

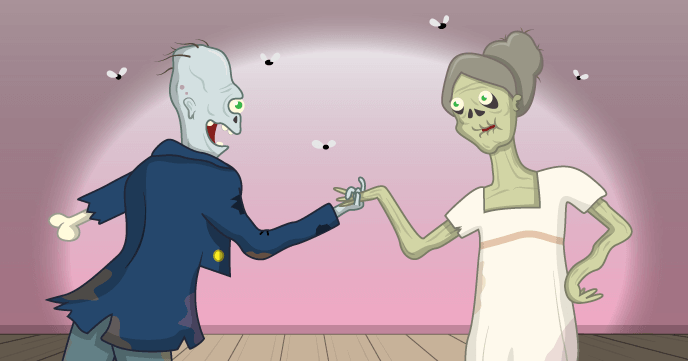
Can you survive our free zombie resources?
Reading Time: 3 minutesLooking for something more exciting than pumpkin carving this Halloween weekend? Try your hand at our free new creepy, zombie-themed resources — perfect for both digital makers both living and undead! Pride and Prejudice for zombies If you’ve always imagined Lady Catherine de Bourgh as resembling one of the undead, you’re not alone.…