Schlagwort: raspi
-

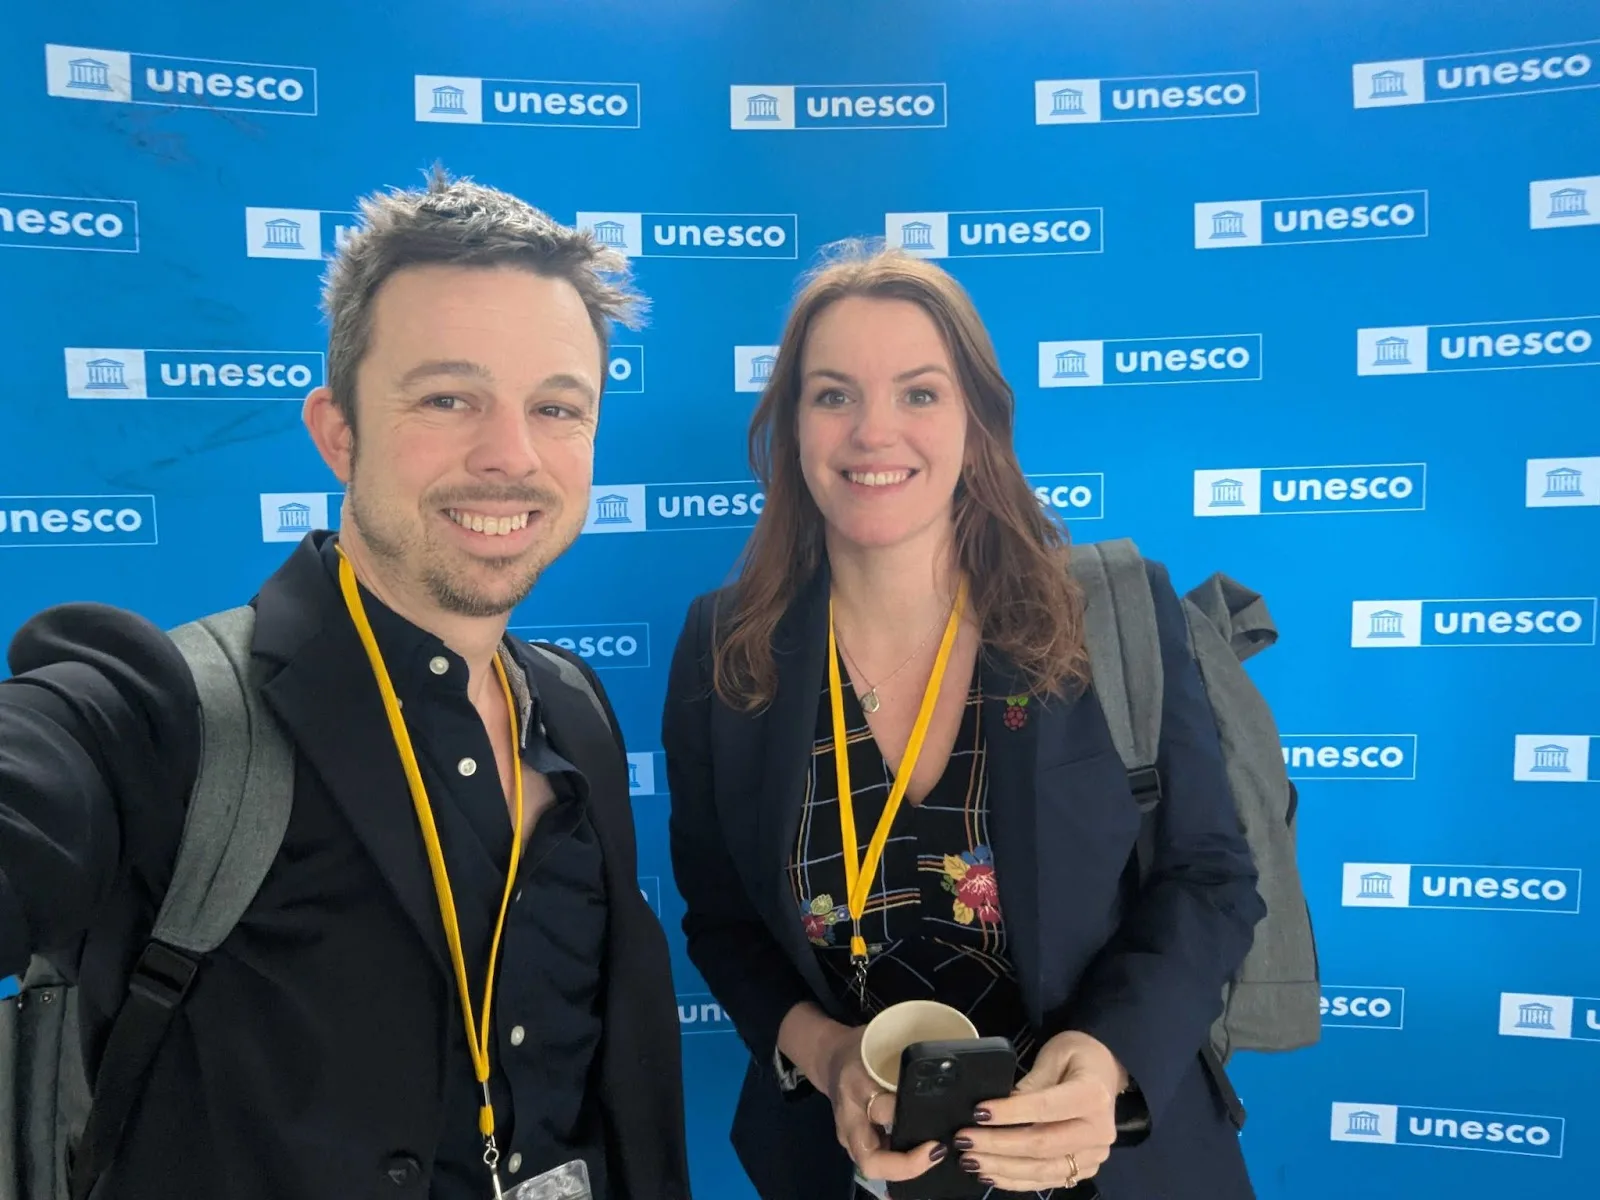
UNESCO’s International Day of Education 2025: AI and the future of education
Reading Time: 6 minutesRecently, our Chief Learning Officer Rachel Arthur and I had the opportunity to attend UNESCO’s International Day of Education 2025, which focused on the role of education in helping people “understand and steer AI to better ensure that they retain control over this new class of technology and are able to direct…
-

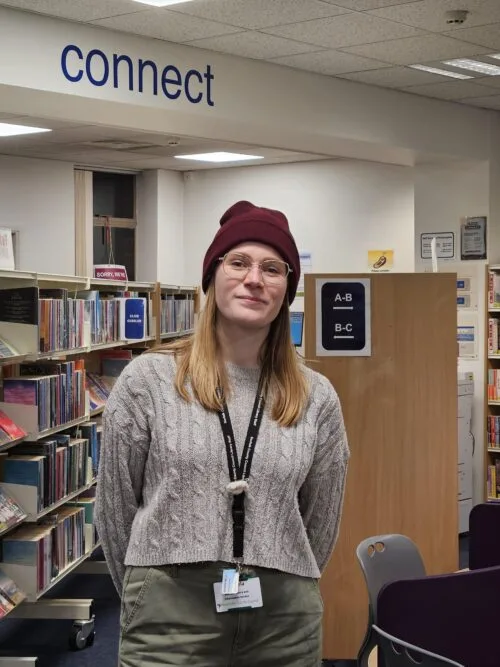
Community Story | Daniela, Thetford Library
Reading Time: 4 minutesWe love hearing from members of the community and sharing the stories of amazing young people, volunteers, and educators who are using their passion for technology to create positive change in the world around them. When Daniela made the transition from working in retail to joining the team at Thetford Library, she…
-

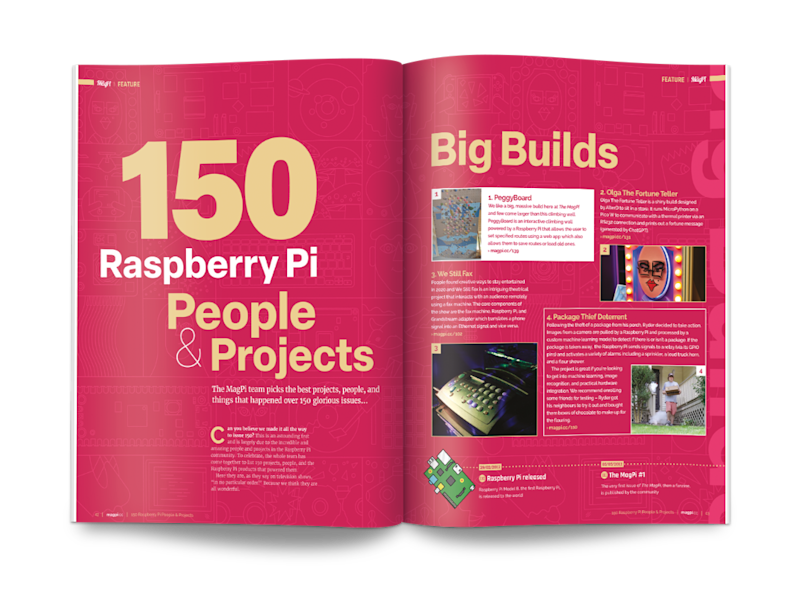
150 People & Projects in The MagPi magazine, issue #150
Reading Time: 3 minutes20-pages of people & projects In 150 issues, we’ve seen a huge range of epic builds with Raspberry Pi computers at their heart. We’ve got everything machine learning prosthetic arms to underwater archaeology submarines; old-school equipment and futuristic robots. Over 20 pages with 150 incredible project ideas await you. Archiving old floppy…
-

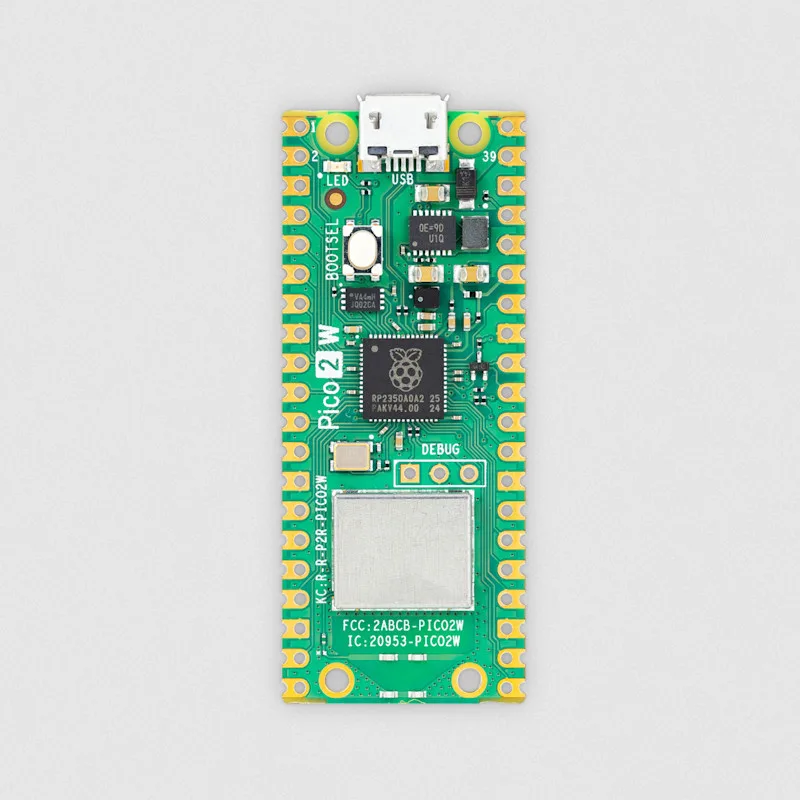
Win! 1 of 15 Raspberry Pi Pico 2 W
Reading Time: < 1 minuteSave 35% off the cover price with a subscription to The MagPi. UK subscribers get three issues for just £10 and a FREE Raspberry Pi Pico W, then pay £30 every six issues. You’ll save money and get a regular supply of in-depth reviews, features, guides and other Raspberry Pi enthusiast…
-

Translating educational content: four key principles
Reading Time: 4 minutesAs an organisation with global reach, translation and localisation have been part of the Raspberry Pi Foundation’s activities from the start. Code Clubs and educational partners all over the world are helping young people learn about computing in their own language. We’ve already published over 1,900 translated learning resources, covering up to…
-

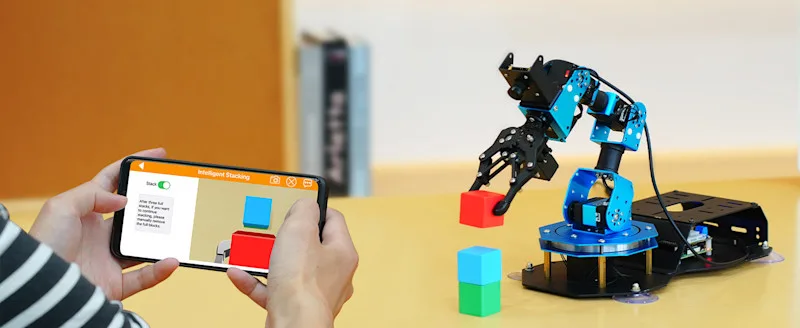
ArmPi FPV AI Vision robot review
Reading Time: < 1 minuteThe Standard kit features the robotic arm, breakout board (for Raspberry Pi 4 or 5), power supply, paper ‘map’, wooden blocks, coloured balls, and tags. The Advanced version adds some flat-pack shelving for ‘warehousing’ operations. A smartphone companion app is the easiest way to try out AI modes such as object…
-

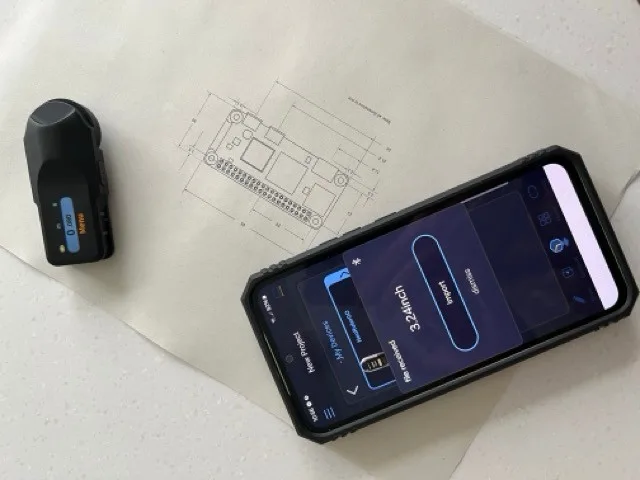
Hozo NeoRulerGO review
Reading Time: 3 minutesThe lightweight gadget has a month-long standby battery life and recharges via its USB-C connector in two or three hours. The clever design hides the USB-C port at one end, revealed when you firmly yank off the silver plastic retaining clip. The NeoRulerGO (£55 [£47 now] / $59 [was $69 at launch])…
-

Helping young people navigate AI safely
Reading Time: 5 minutesAI safety and Experience AI As our lives become increasingly intertwined with AI-powered tools and systems, it’s more important than ever to equip young people with the skills and knowledge they need to engage with AI safely and responsibly. AI literacy isn’t just about understanding the technology — it’s about fostering critical…
-

Adventure Time self-playing guitar
Reading Time: 3 minutesSensible but silly Allie has form with Adventure Time builds, having created a life-size BMO games console to house an OctoPrint 3D printer (see Allie’s GitHub page). “My technical background is incredibly diverse, but when it comes to electronics I am completely self-taught,” reveals Allie. “I got interested in the Raspberry Pi…
-
The need to invest in AI skills in schools
Reading Time: 6 minutesEarlier this week, the UK Government published its AI Opportunities Action Plan, which sets out an ambitious vision to maintain the UK’s position as a global leader in artificial intelligence. Whether you’re from the UK or not, it’s a good read, setting out the opportunities and challenges facing any country that aspires…
-
The big One-Five-Oh
Reading Time: 2 minutesLike Raspberry Pi itself, the magazine has just been going from strength to strength – although we’d have not got anywhere without the wonderful community we get to highlight, and the readers who pick up a copy at the shops or get it delivered to their door every month. Thank you all!…
-

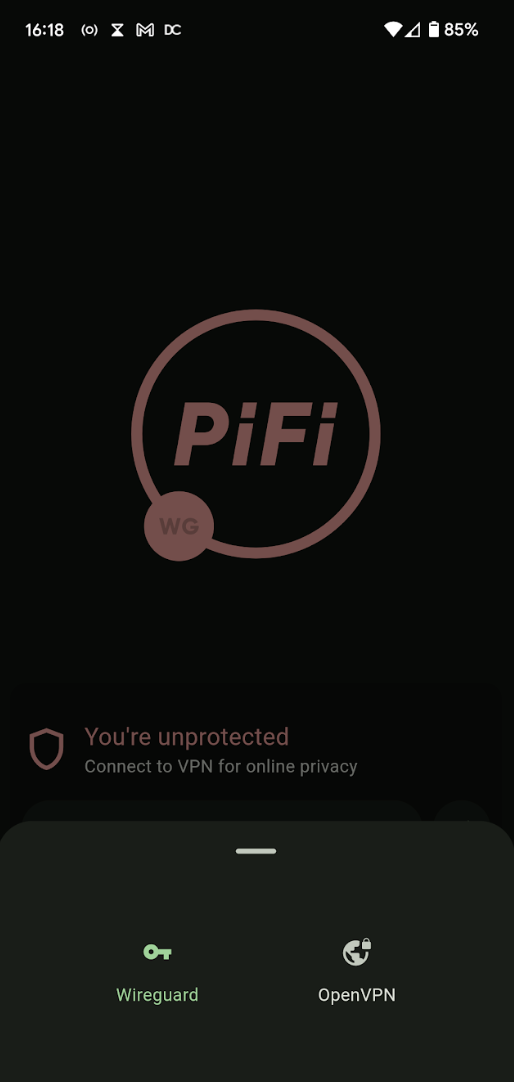
PiFi review: mobile wireless access solution
Reading Time: 2 minutesEnter, PiFi, a simple kit that allows you to easily create a fast and secure wireless network with just a Raspberry Pi. The kit comes with just three items: a microSD card with the software preloaded, an Ethernet cable to plug into the nearest router, and the all-important Wi-Fi dongle that handles…
-

Hackberry Pi Zero
Reading Time: 4 minutes“I was inspired to create the Hackberry Pi Zero about three years ago when I found a project about reverse-engineering on Hackaday,” Zitao says. “I thought it would be really cool to have a device with a thumb keyboard, so I began reverse-engineering old BlackBerry keyboards and made it technically work. I…
-

Entry is open for Coolest Projects 2025
Reading Time: 6 minutesCoolest Projects is our global technology showcase for young people aged up to 18. Coolest Projects gives young creators the incredible opportunity to share the cool stuff they’ve made using digital technology with a global audience. Everyone who takes part will also receive certificates and rewards to celebrate their achievements. What you…
-

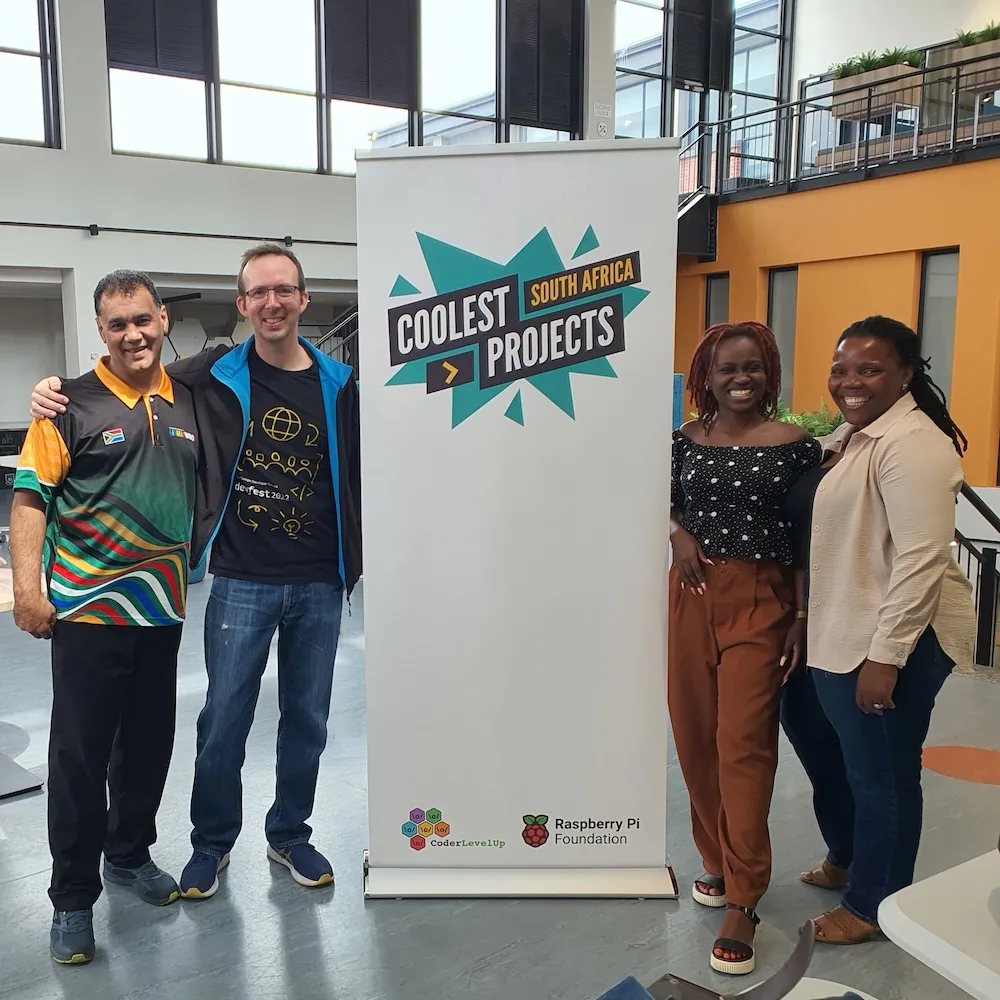
Highlights from Coolest Projects South Africa 2024
Reading Time: 4 minutesAfandi Indiatsi, our Programme Coordinator in Africa, recently attended Coolest Projects South Africa 2024. Read on to hear her highlights. What happens when creativity, enthusiasm, fun, and innovation come together? You get Coolest Projects South Africa 2024 — a vibrant showcase of students from all walks of life displaying their talent and…
-

Ready to remix? Favourite projects to tinker with
Reading Time: 4 minutesFrom crafting interactive stories to designing captivating games, the Raspberry Pi Foundation’s coding projects offer a hands-on approach to learning, igniting creativity and developing the skills young people need, like perseverance and problem-solving. In this blog, I explore two of my favourite projects that young coders will love. Our projects are free…
-

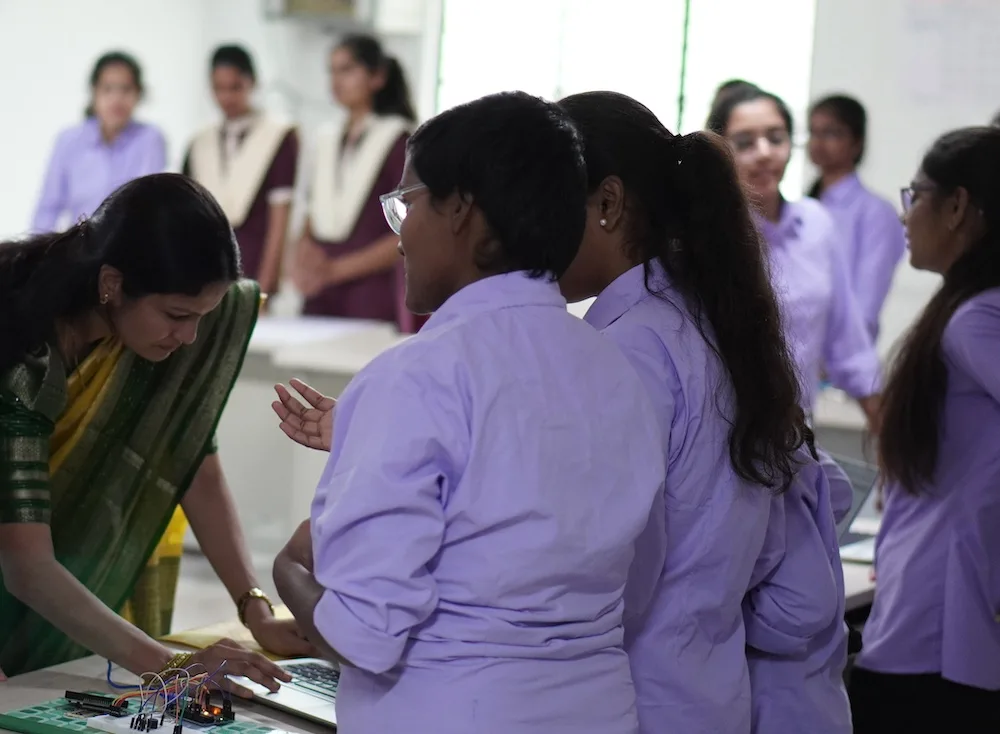
Computing Curriculum Framework: Adapting to India’s diverse landscapes
Reading Time: 5 minutesThe digital revolution has reshaped every facet of our lives, underscoring the need for robust computing education. At the Raspberry Pi Foundation our mission is to enable young people to realise their full potential through the power of computing and digital technologies. Since starting out in 2008 as a UK-based educational charity,…
-
Raspberry Pi 500 and Monitor in The MagPi 149
Reading Time: 3 minutesThe latest edition of The MagPi covers all the new products in depth, with detailed specifications, documentation, and interviews with the CM5 engineer. We’ve also got information on the new Raspberry Pi Pico 2 W, Raspberry Pi Hub, and Raspberry Pi Connect service. There’s a lot of new products this month and…
-

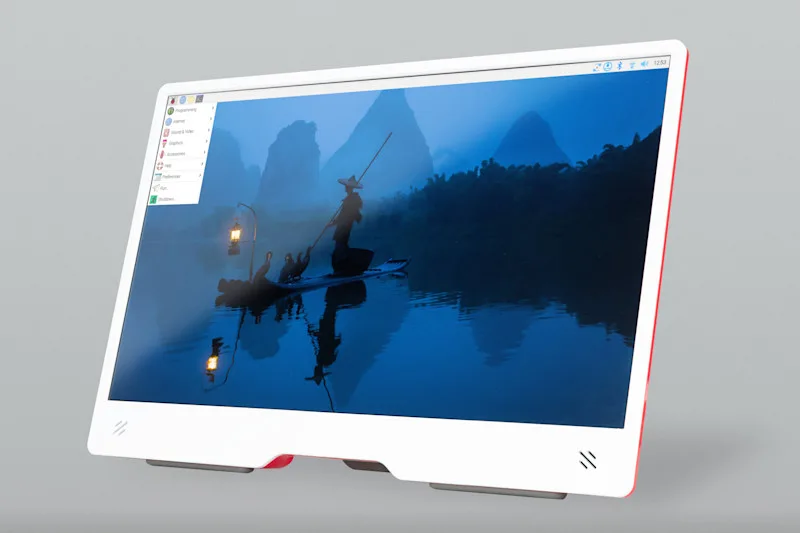
Win! One of five Raspberry Pi Monitors
Reading Time: < 1 minuteWe’ve been looking forward to the new Raspberry Pi Monitor for ages now – the inexpensive and lightweight display is perfect for so many uses, whether you’re in a classroom, at your desk, or on the go. We have five to giveaway, and you can enter the competition below…
-

Five reasons to join the Astro Pi Challenge, backed by our impact report
Reading Time: 4 minutesWe are excited to share our report on the impact of the 2023/24 Astro Pi Challenge. Earlier this year we conducted surveys and focus groups with mentors who took part in the Astro Pi Challenge, to understand the value and impact the challenge offers to young people and mentors. You can read…
-

Wax: digital music manager
Reading Time: 4 minutesWax differs from most existing music managers in three ways. Instead of individual tracks, music is catalogued as ‘works’ – such as an album, a symphony, an opera, etc. Secondly, works are categorised by genre, but it also allows you to tag works in a way that is relevant to the genre…
-

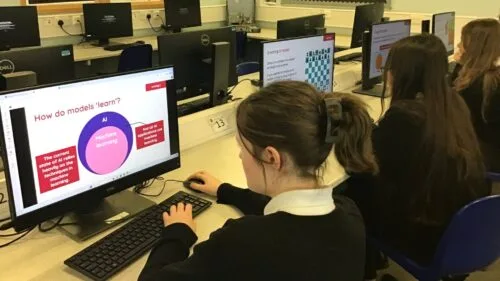
How can we teach students about AI and data science? Join our 2025 seminar series to learn more about the topic
Reading Time: 4 minutesAI, machine learning (ML), and data science infuse our daily lives, from the recommendation functionality on music apps to technologies that influence our healthcare, transport, education, defence, and more. What jobs will be affected by AL, ML, and data science remains to be seen, but it is increasingly clear that students will…