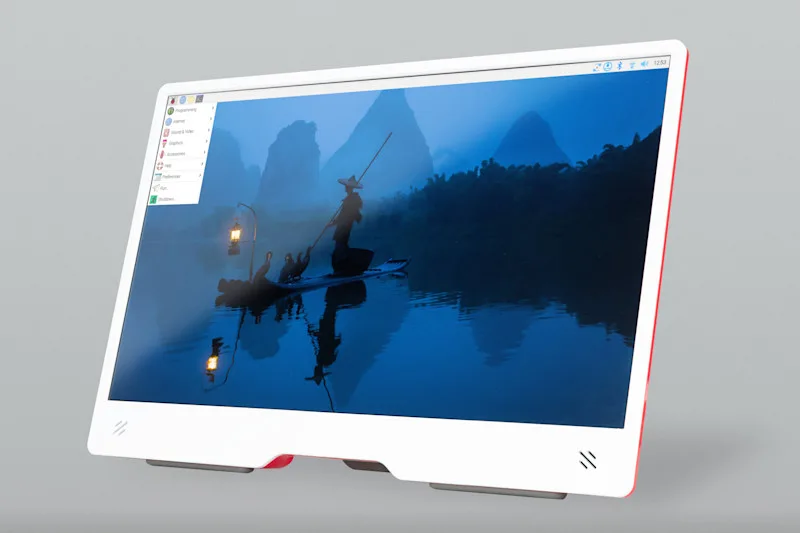
PiFi review: mobile wireless access solution
Reading Time: 2 minutesEnter, PiFi, a simple kit that allows you to easily create a fast and secure wireless network with just a Raspberry Pi. The kit comes with just three items: a microSD card with the software preloaded, an Ethernet cable to plug into the nearest router, and the all-important Wi-Fi dongle that handles a lot of […]