Schlagwort: Raspberry Pi HQ Camera
-

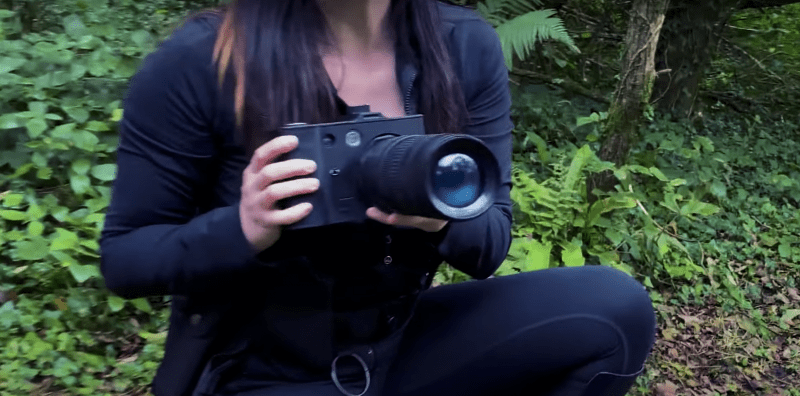
Defeat evil with a Raspberry Pi foam-firing spy camera
Reading Time: 3 minutesRuth and Shawn from YouTube channel Kids Invent Stuff picked a cool idea by 9-year-old Nathan, who drew a Foam-Firing Spy Camera, to recreate in real life. FYI: that’s not really a big camera lens… The trick with spy devices is to make sure they look as much like the object they’re…
-

Processing raw image files from a Raspberry Pi High Quality Camera
Reading Time: 6 minutesWhen taking photos, most of us simply like to press the shutter button on our cameras and phones so that viewable image is produced almost instantaneously, usually encoded in the well-known JPEG format. However, there are some applications where a little more control over the production of that JPEG is desirable. For…