Schlagwort: radio
-

This radio tailors the morning news to your waking mood
Reading Time: 2 minutesArduino Team — July 2nd, 2021 Very few of us are ever excited to wake up for the work day, but your mood can still vary from one morning to the next. If you had a rough night, you might wake up feeling melancholy. In that case, the last thing you want…
-

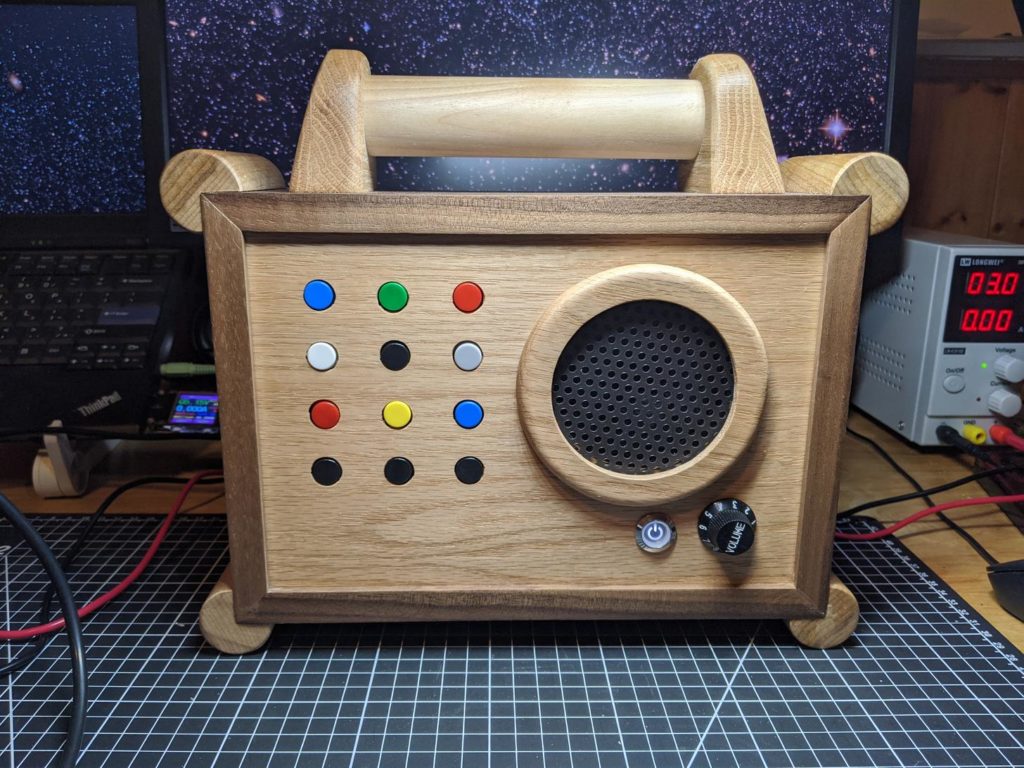
Build your child a wooden MP3 player for $100
Reading Time: 2 minutesBuild your child a wooden MP3 player for $100 Arduino Team — December 30th, 2019 If your young child wants to listen to music, what better way than a beautiful wooden MP3 “radio,” with an array of buttons that select the album? After being inspired by a similar commercial product, Redditor “DerThes”…
-

Listen to World War II radio recordings with a Raspberry Pi Zero
Reading Time: 9 minutesWith the 50th anniversary of the D-Day landings very much in the news this year, Adam Clark found himself interested in all things relating to that era. So it wasn’t long before he found himself on the Internet Archive listening to some of the amazing recordings of radio broadcasts from that time. In…
-

Your own Grand Theft Auto San Andreas radio
Reading Time: 2 minutesRelive the San Andreas glory days with this Grand Theft Auto radio built by Raphaël Yancey. Raphaël Yancey on Twitter With the “tuned” status LED. https://t.co/PuIi6sY78V …and now I have Barracuda stuck in my head. The music of GTA Anyone who has played Grand Theft Auto knows that one of the best parts…
-

Ten awesome 3D-printable Raspberry Pi goodies
Reading Time: 4 minutes3D printing has become far more accessible for hobbyists, with printer prices now in the hundreds instead of thousands of pounds. Last year, we covered some of the best 3D-printable cases for the Pi, and since then, Raspberry Pi enthusiasts have shared even more cool designs on sites such as MyMiniFactory and…
-

Weekend Projects – Raspberry Pirate Radio
Reading Time: < 1 minuteComplete instructions for this episode of Weekend Projects can be found at http://makezine.com/projects/raspberr… Using a readymade disk image and one simple solder connection, turn your Raspberry Pi into a streaming pirate radio. This project was originally created by Oliver Mattos and Oskar Weigl. It was revised by Ryan Grassel and extended…