Schlagwort: Python
-

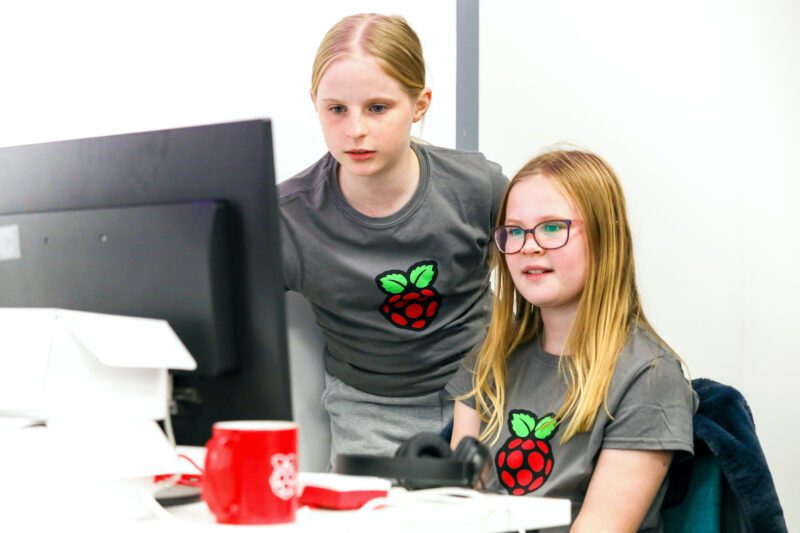
Introducing picamzero: Simplifying Raspberry Pi Camera projects for beginners
Reading Time: 3 minutesThousands of learners worldwide take their first steps into text-based programming using the Python programming language. Python is not only beginner-friendly, but is also used extensively in industry. In 2015, Python developer Daniel Pope, who has a keen interest in education, noticed that beginners often have great ideas for creating projects but…
-

Bridging the gap from Scratch to Python: Introducing ‘Paint with Python’
Reading Time: 3 minutesWe have developed an innovative activity to support young people as they transition from visual programming languages like Scratch to text-based programming languages like Python. This activity introduces a unique interface that empowers learners to easily interact with Python while they create a customised painting app. “The kids liked the self-paced learning,…
-

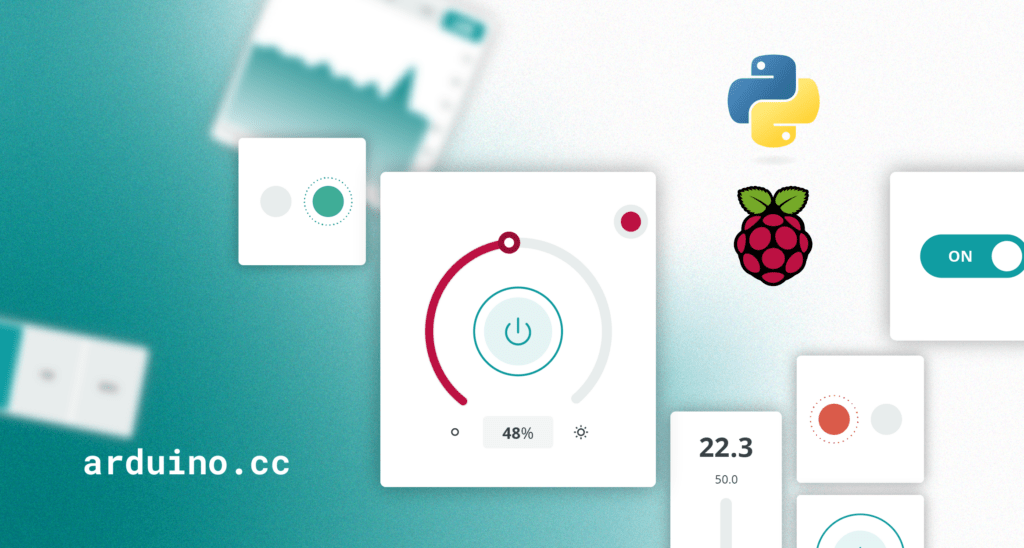
Control your Raspberry Pi GPIO with Arduino Cloud using Python | Part II
Reading Time: 5 minutesAs a Python developer, you’re probably eager to control and monitor your Raspberry Pi GPIOs remotely. Well, you have landed in the right place. This article builds upon our previous introduction to “Visualize your Raspberry Pi data with Arduino Cloud | Part I.” Now, we’ll explore using Python to configure Raspberry Pi…
-

The best maker software by experience level
Reading Time: 6 minutesToday’s makers have access to the most advanced materials, resources, and support in history, and it’s improving all the time. The downside is that finding the right software can sometimes feel confusing and overwhelming. There are seemingly endless options, all with different attributes and advantages. In this article, we’re here to help…
-

Kids’ coding languages
Reading Time: 5 minutesProgramming is becoming an increasingly useful skill in today’s society. As we continue to rely more and more on software and digital technology, knowing how to code is also more and more valuable. That’s why many parents are looking for ways to introduce their children to programming. You might find it difficult…
-

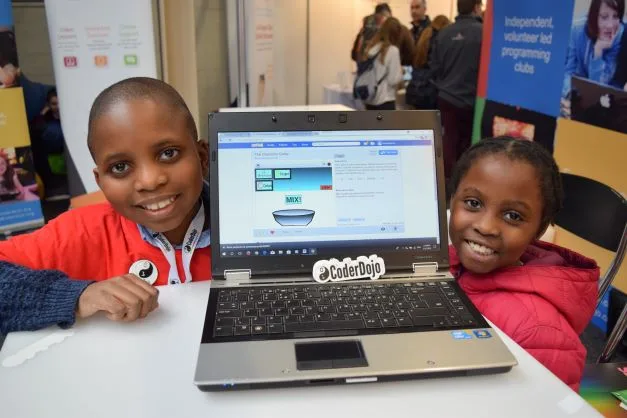
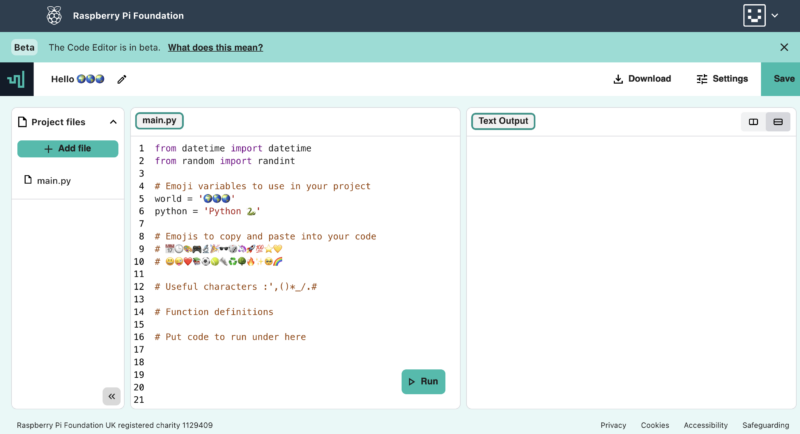
Test our new Code Editor for young people
Reading Time: 4 minutesWe are building a new online text-based Code Editor to help young people aged 7 and older learn to write code. It’s free and designed for young people who attend Code Clubs and CoderDojos, students in schools, and learners at home. The Code Editor interface At this stage of development, the Code…
-
Take part in the Hour of Code
Reading Time: 5 minutesLaunched in 2013, Hour of Code is an initiative to introduce young people to computer science using fun one-hour tutorials. To date, over 100 million young people have completed an hour of code with it. Although the Hour of Code website is accessible all year round, every December for Computer Science Education…
-

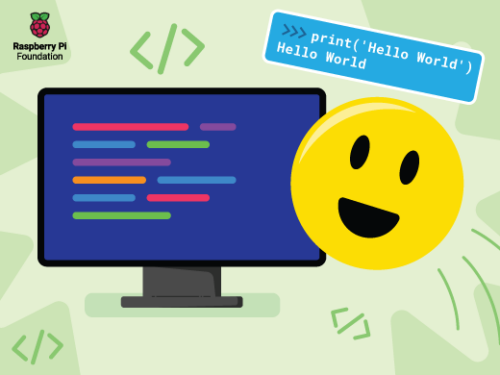
Learn to program in Python with our online courses
Reading Time: 5 minutesIf you’re new to teaching programming or looking to build or refresh your programming knowledge, we have a free resource that is perfect for you. Our ‘Learn to program in Python’ online course pathway is for educators who want to develop their understanding of the text-based language Python. Each course is packed…
-
How do I start my child coding?
Reading Time: 6 minutesYou may have heard a lot about coding and how important it is for children to start learning about coding as early as possible. Computers have become part of our lives, and we’re not just talking about the laptop or desktop computer you might have in your home or on your desk…
-

Python coding for kids: Moving beyond the basics
Reading Time: 7 minutesWe are excited to announce our second new Python learning path, ‘More Python’, which shows young coders how to add real data to their programs while creating projects from a chart of Olympic medals to an interactive world map. The six guided Python projects in this free learning path are designed to…
-

Coding for kids: Art, games, and animations with our new beginners’ Python path
Reading Time: 7 minutesPython is a programming language that’s popular with learners and educators in clubs and schools. It also is widely used by professional programmers, particularly in the data science field. Many educators and young people like how similar the Python syntax is to the English language. That’s why Python is often the first…
-

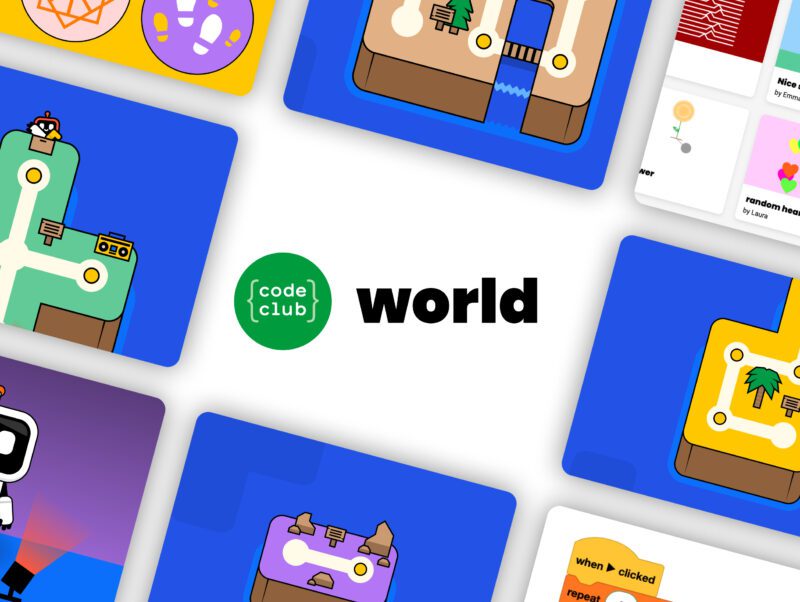
Introducing Code Club World: a new way for young people to learn to code at home
Reading Time: 3 minutesToday we are introducing you to Code Club World — a free online platform where young people aged 9 to 13 can learn to make stuff with code. In Code Club World, young people can: Start out by creating their personal robot avatar Make music, design a t-shirt, and teach their robot…
-

Power of Python for Arduino Nano RP2040 Connect and Nano 33 BLE
Reading Time: 3 minutesPython support for three of the hottest Arduino boards out there is now yours. Through our partnership with OpenMV, the Nano RP2040 Connect, Nano 33 BLE and Nano 33 BLE Sense can now be programmed with the popular MicroPython language. Which means you get OpenMV’s powerful computer vision and machine learning capabilities…
-

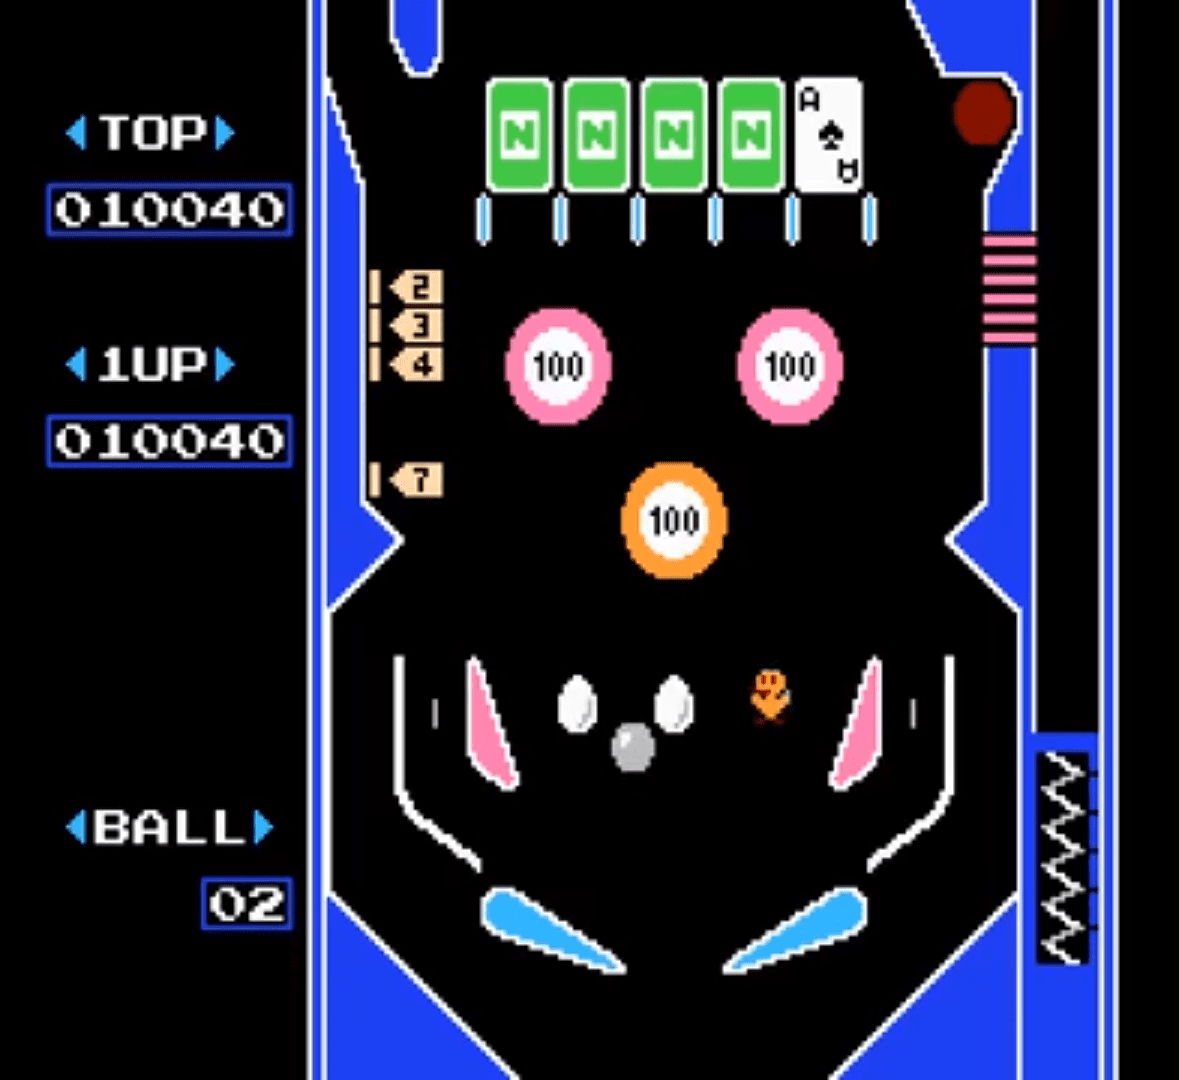
Code your own pinball game | Wireframe #53
Reading Time: 4 minutesGet flappers flapping and balls bouncing off bumpers. Mark Vanstone has the code in the new issue of Wireframe magazine, available now. There are so many pinball video games that it’s become a genre in its own right. For the few of you who haven’t encountered pinball for some reason, it originated…
-

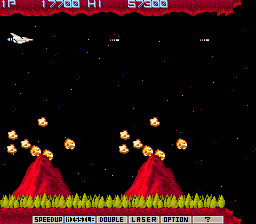
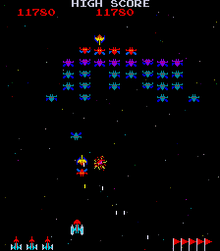
Recreate Gradius’ rock-spewing volcanoes | Wireframe #52
Reading Time: 4 minutesCode an homage to Konami’s classic shoot-’em-up, Gradius. Mark Vanstone has the code in the new edition of Wireframe magazine, available now. Released by Konami in 1985, Gradius – also known as Nemesis outside Japan – brought a new breed of power-up system to arcades. One of the keys to its success…
-

Recreate Exerion’s pseudo-3D landscape | Wireframe #51
Reading Time: 4 minutesSwoop over mountains in our homage to Jaleco’s shooter. Mark Vanstone has the code in the latest issue of Wireframe magazine, out now. Taking the shooting action of Galaxian from a few years earlier, Japanese developer Jaleco released Exerion in 1983. What helped Exerion stand out from other shoot-’em-ups of the period,…
-

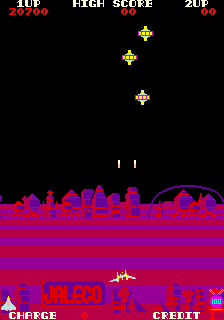
Recreate Galaxian’s iconic attack patterns | Wireframe #50
Reading Time: 4 minutesBlast dive-bombing aliens in our salute to Namco’s classic. Mark Vanstone has the code Aliens swoop down towards the player, bombing as they go. Back in 1979, this was a big step forward from Taito’s Space Invaders. Hot on the heels of the original Space Invaders, Galaxian emerged as a rival space…
-

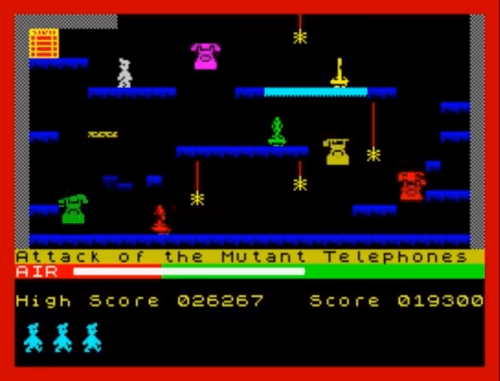
Remake Manic Miner’s collapsing platforms | Wireframe #49
Reading Time: 4 minutesTraverse a crumbly cavern in our homage to a Spectrum classic. Mark Vanstone has the code One of the most iconic games on the Sinclair ZX Spectrum featured a little man called Miner Willy, who spent his days walking and jumping from platform to platform collecting the items needed to unlock the…
-

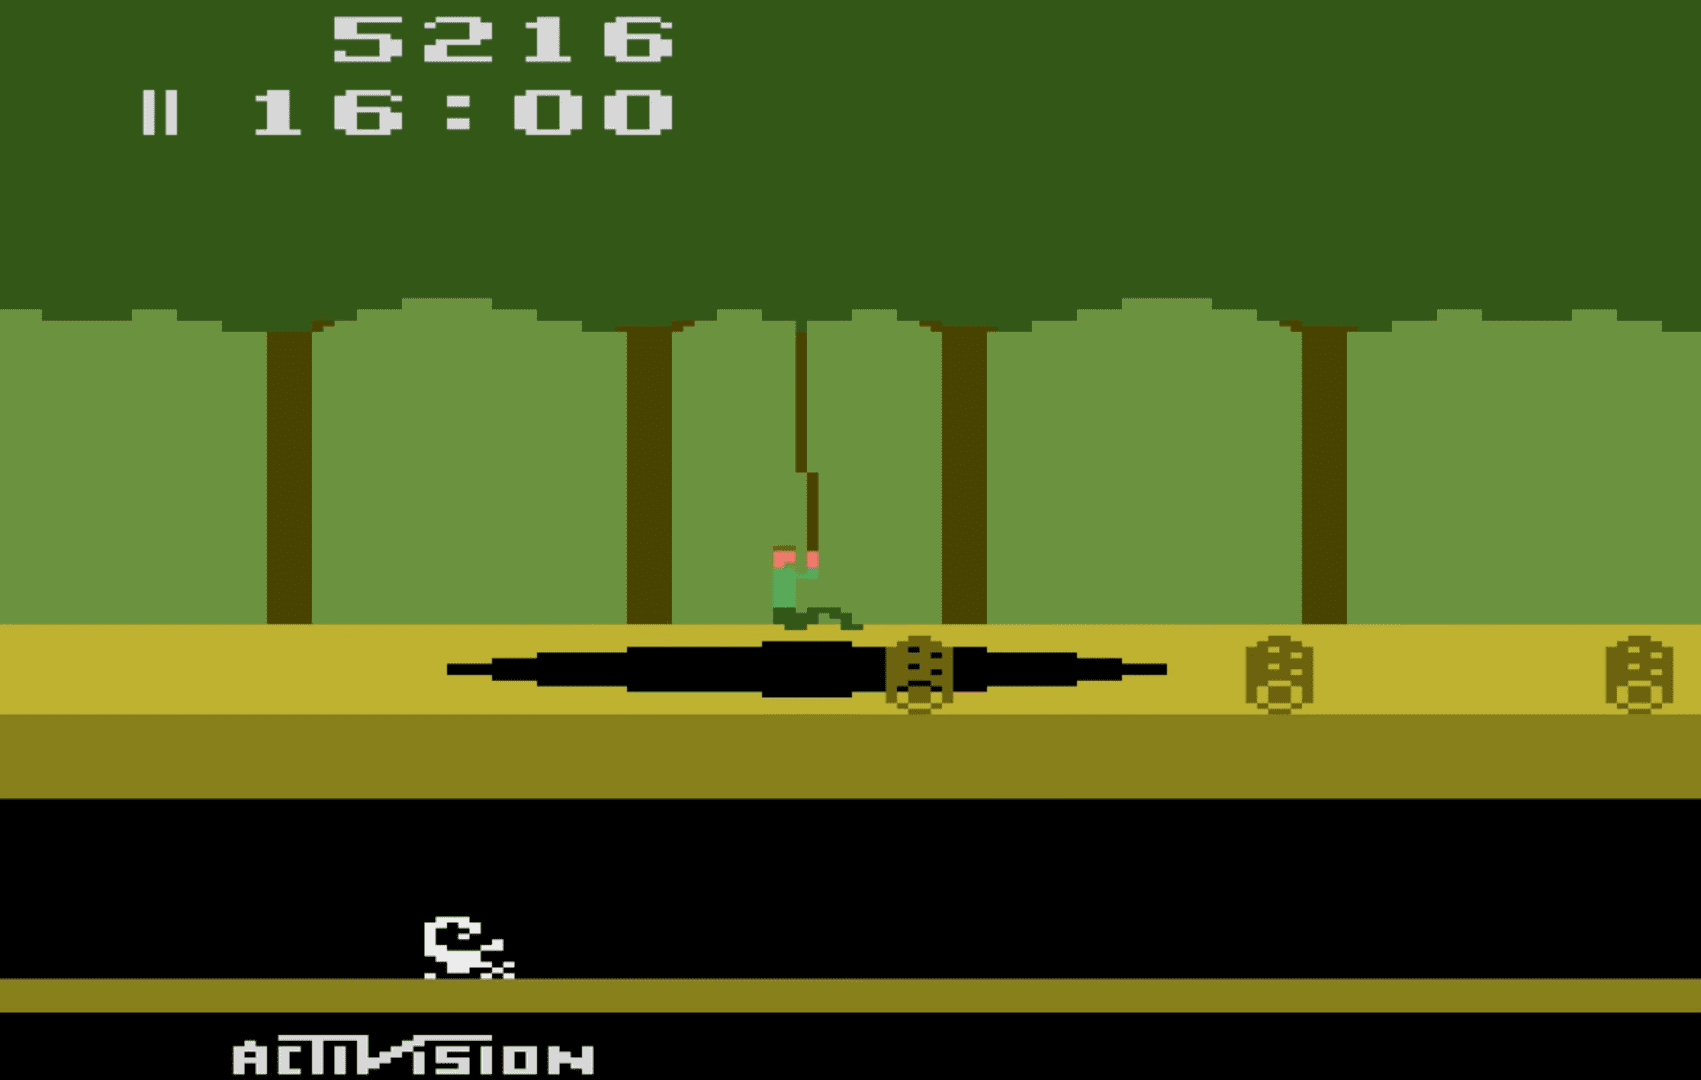
Swing into action with an homage to Pitfall! | Wireframe #48
Reading Time: 4 minutesGrab onto ropes and swing across chasms in our Python rendition of an Atari 2600 classic. Mark Vanstone has the code Whether it was because of the design brilliance of the game itself or because Raiders of the Lost Ark had just hit the box office, Pitfall Harry became a popular character…
-

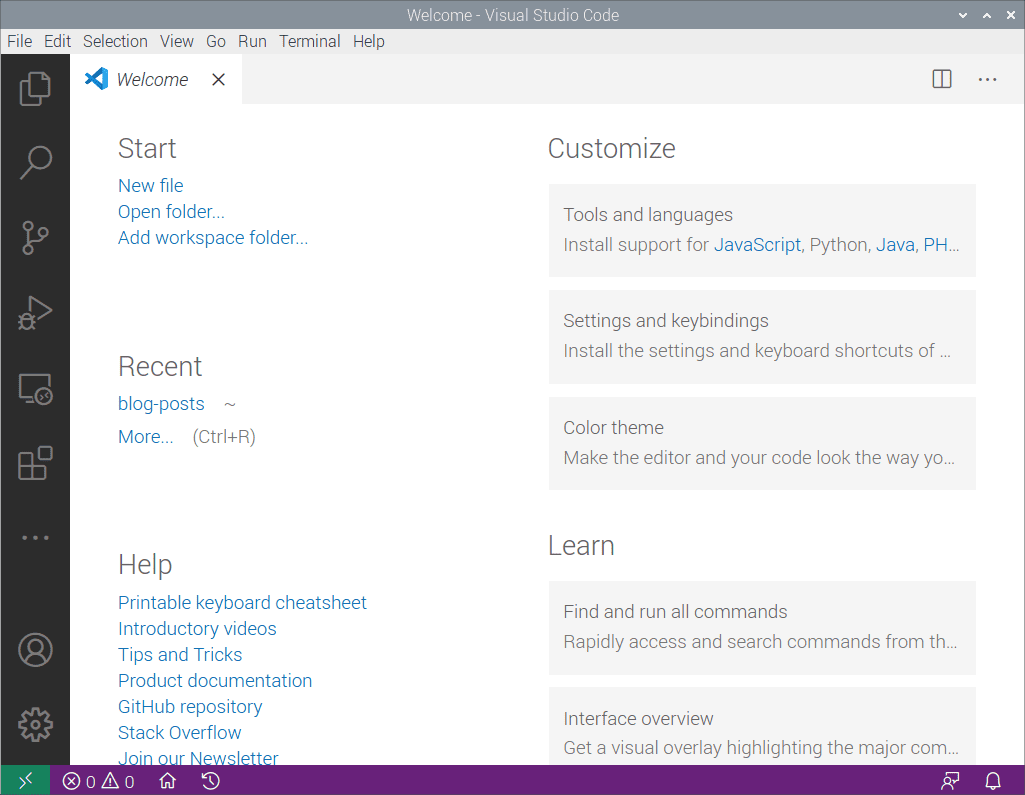
Coding on Raspberry Pi remotely with Visual Studio Code
Reading Time: 5 minutesJim Bennett from Microsoft, who showed you all how to get Visual Studio Code up and running on Raspberry Pi last week, is back to explain how to use VS Code for remote development on a headless Raspberry Pi. Like a lot of Raspberry Pi users, I like to run my Raspberry…
-

Visual Studio Code comes to Raspberry Pi
Reading Time: 5 minutesMicrosoft’s Visual Studio Code is an excellent C development environment, and now it’s an easy install on Raspberry Pi. Here’s Jim Bennett from Microsoft to show you all how to get VS Code up and running on our tiny computer. Take it away, Jim… There are a few products in the tech…
-

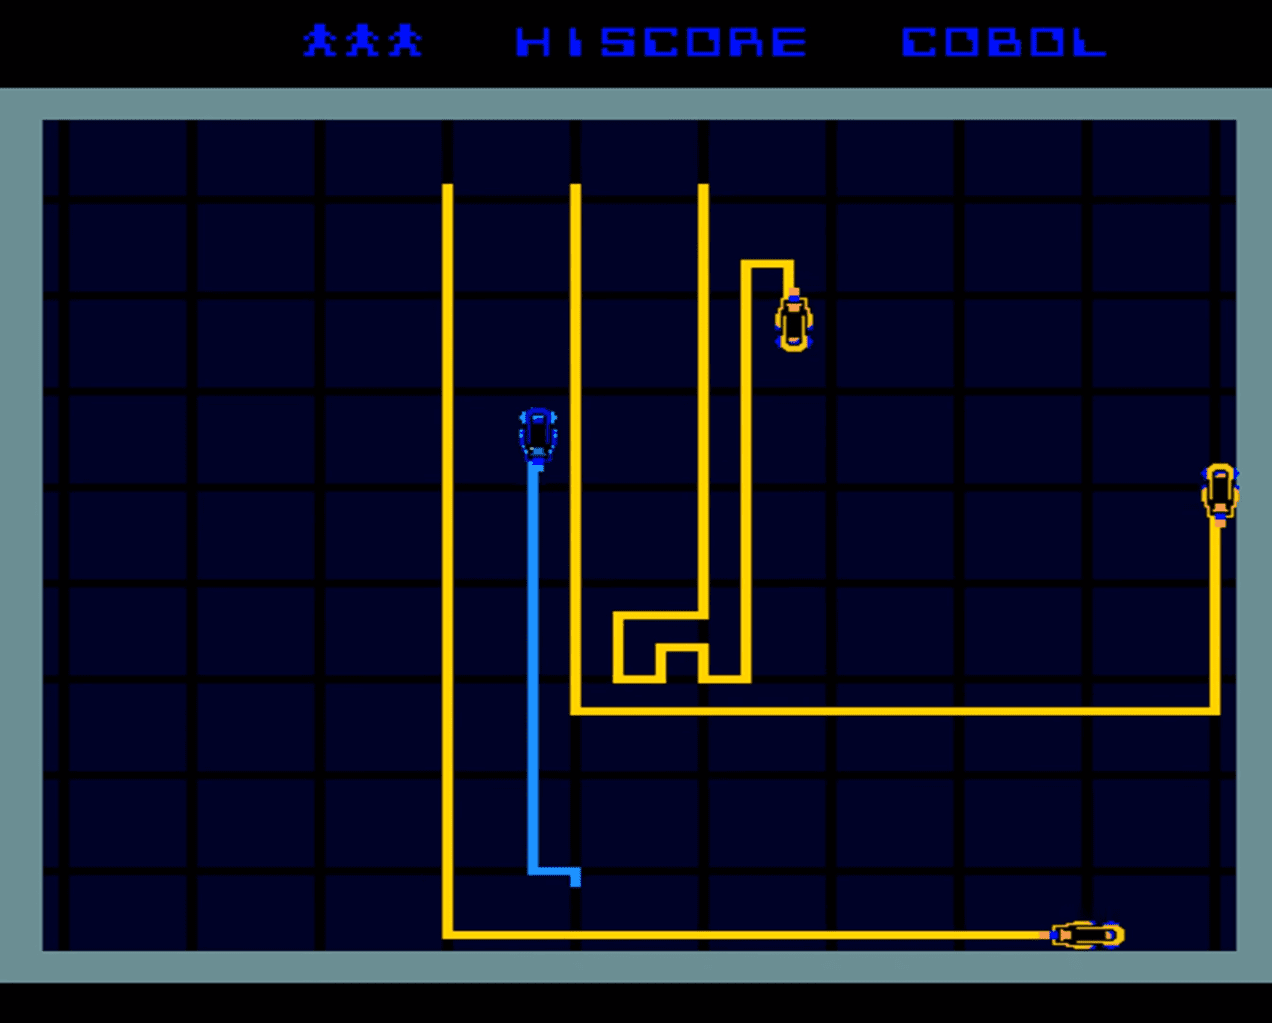
Code a Light Cycle arcade minigame | Wireframe #47
Reading Time: 4 minutesSpeed around an arena, avoiding walls and deadly trails in this Light Cycle minigame. Mark Vanstone has the code. Battle against AI enemies in the original arcade classic. At the beginning of the 1980s, Disney made plans for an entirely new kind of animated movie that used cutting-edge computer graphics. The resulting…