Schlagwort: programming
-

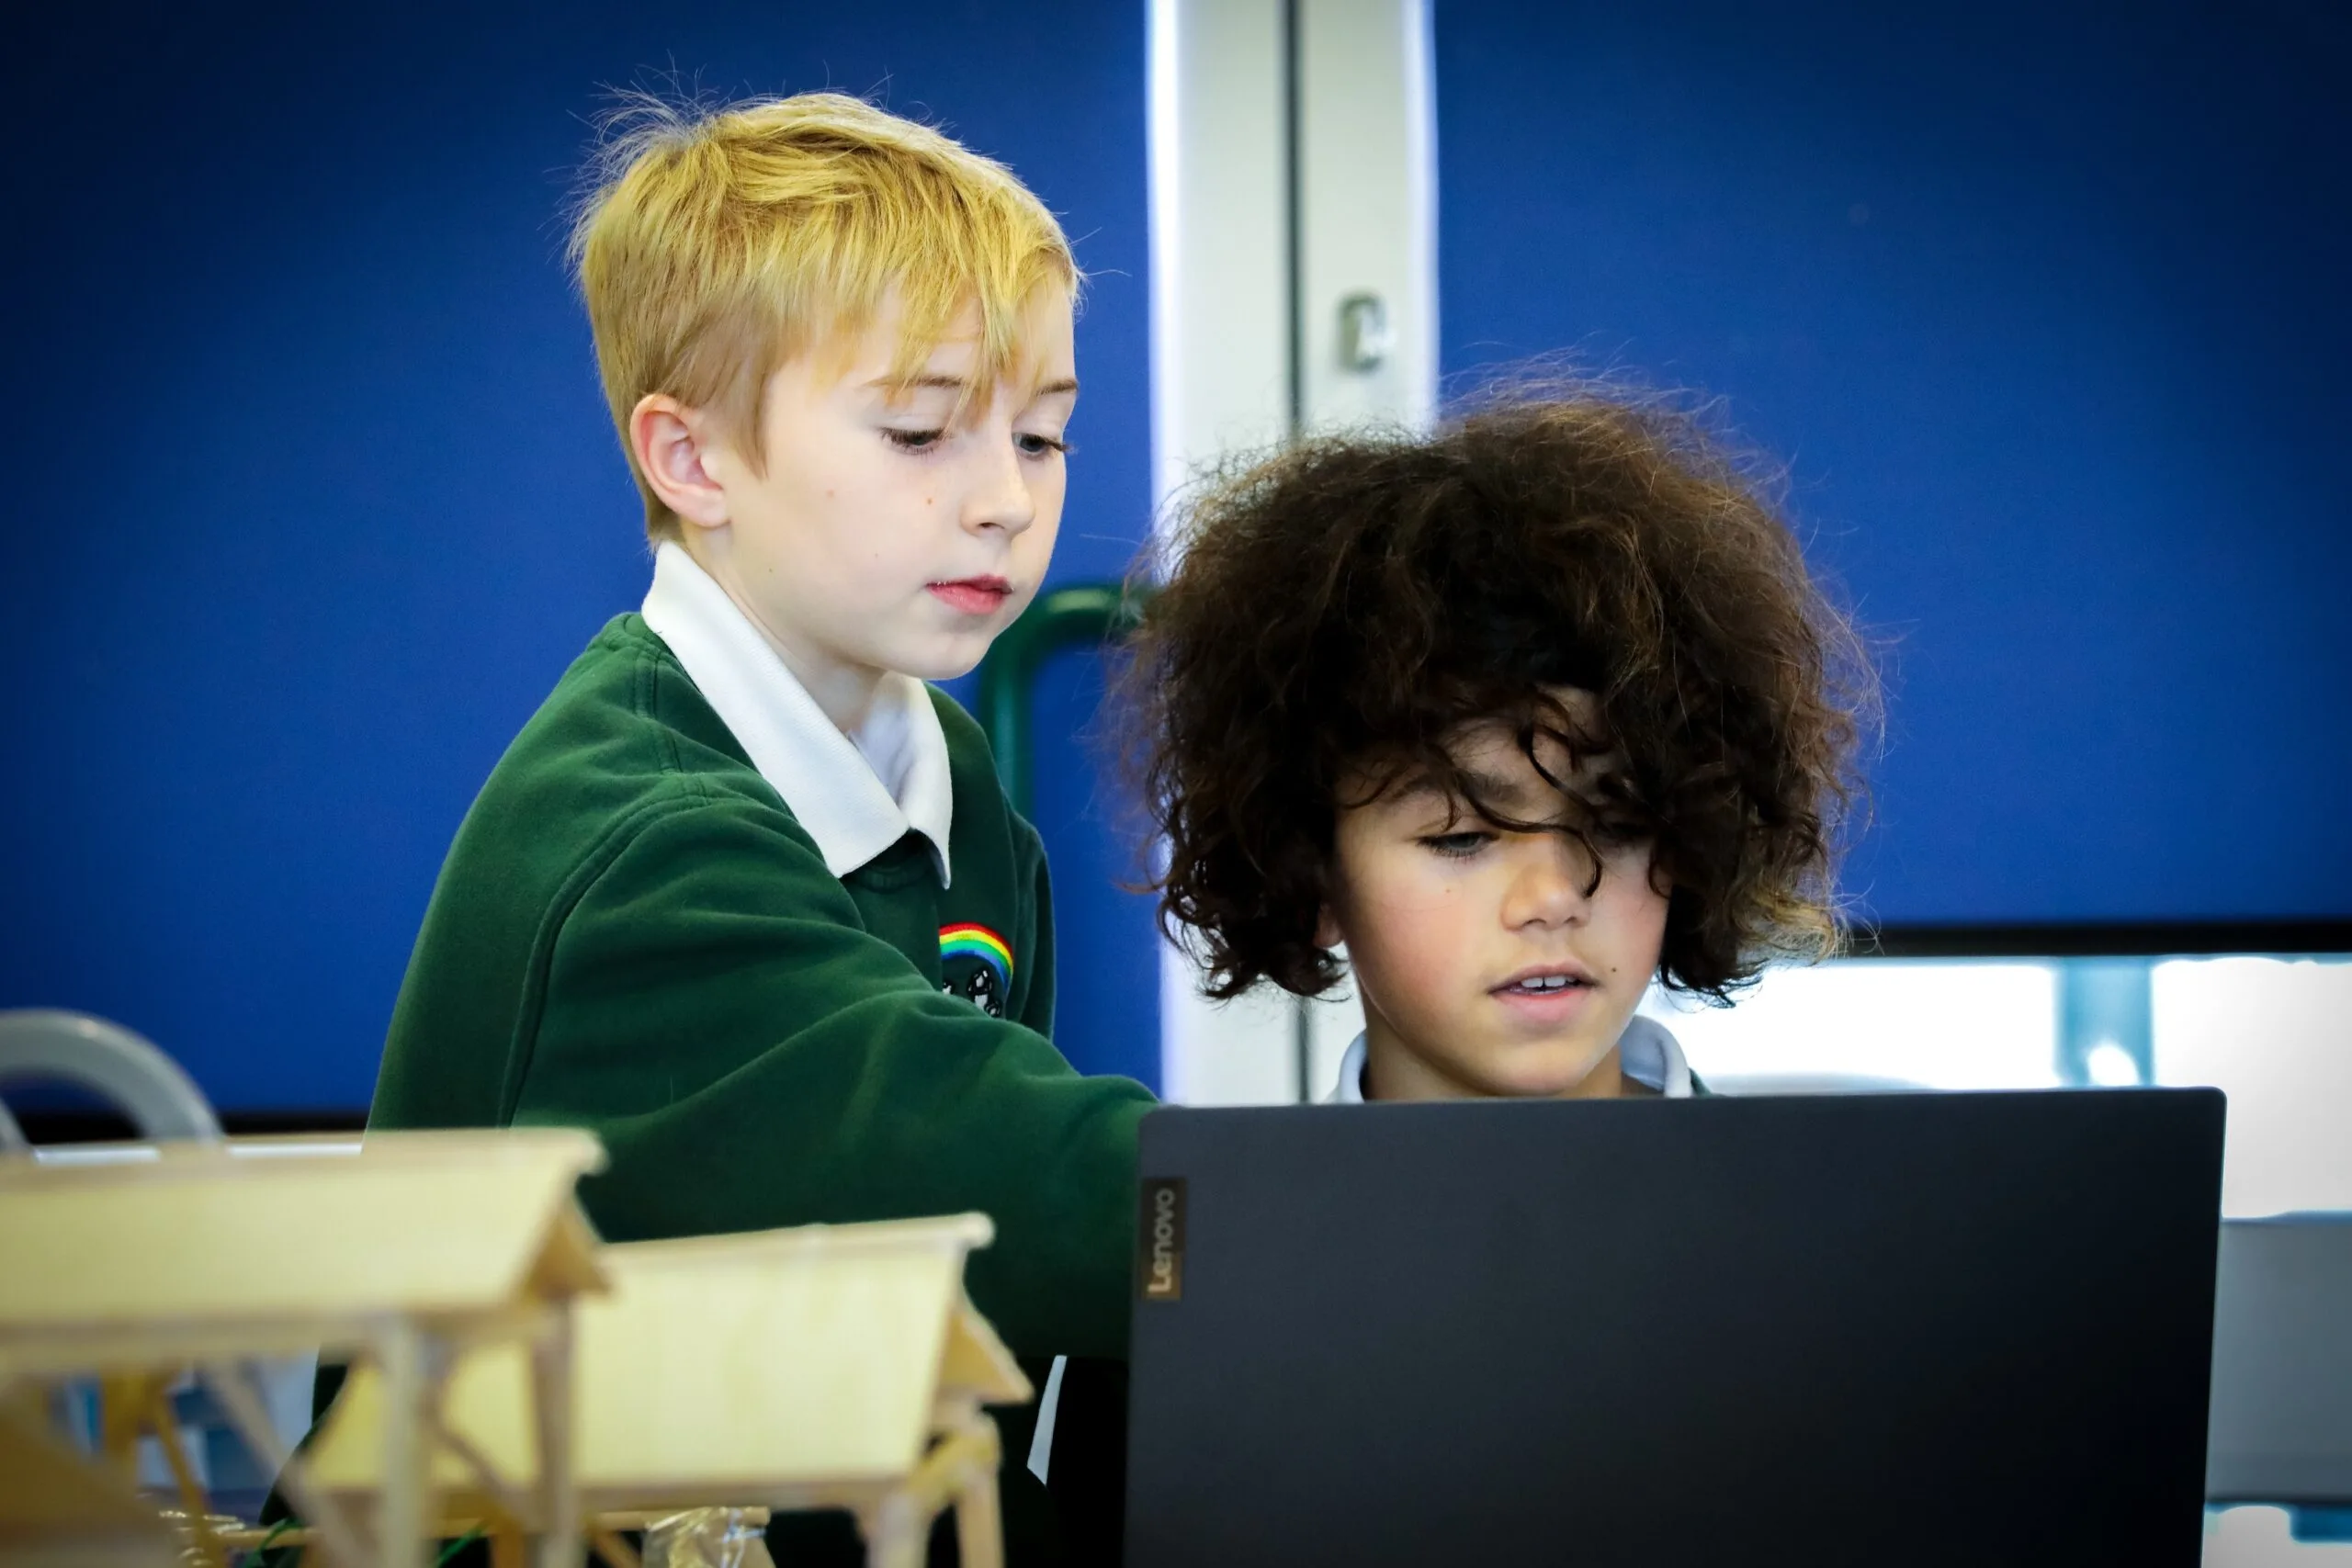
How to give your students structure as they learn programming skills
Reading Time: 5 minutesCreating a computer program involves many different skills — knowing how to code is just one part. When we teach programming to young people, we want to guide them to learn these skills in a structured way. The ‘levels of abstraction’ framework is a great tool for doing that. This blog describes…
-

Integrating generative AI into introductory programming classes
Reading Time: 6 minutesGenerative AI (GenAI) tools like GitHub Copilot and ChatGPT are rapidly changing how programming is taught and learnt. These tools can solve assignments with remarkable accuracy. GPT-4, for example, scored an impressive 99.5% on an undergraduate computer science exam, compared to Codex’s 78% just two years earlier. With such capabilities, researchers are…
-

Celebrating the community: Selin
Reading Time: 4 minutesWe are so excited to share another story from the community! Our series of community stories takes you across the world to hear from young people and educators who are engaging with creating digital technologies in their own personal ways. Selin and her robot guide dog IC4U. In this story we introduce…
-

Take part in the Hour of Code
Reading Time: 5 minutesLaunched in 2013, Hour of Code is an initiative to introduce young people to computer science using fun one-hour tutorials. To date, over 100 million young people have completed an hour of code with it. Although the Hour of Code website is accessible all year round, every December for Computer Science Education…
-

Mathematics and programming: exploring the links
Reading Time: 6 minutes“In my vision, the child programs the computer and, in doing so, both acquires a sense of mastery over a piece of the most modern and powerful technology and establishes an intimate contact with some of the deepest ideas from science, from mathematics, and from the art of intellectual model building.” –…
-

HeyTeddy is a conversation-based prototyping tool for Arduino
Reading Time: 2 minutesProgramming an Arduino to do simple things like turn on an LED or read a sensor is easy enough via the official IDE. However, think back to your first experiences with this type of hardware. While rewarding, getting everything set up correctly was certainly more of a challenge, requiring research that you…
-

The Ifs: Coding for kids, reading skills not required
Reading Time: 2 minutesThe Ifs: Coding for kids, reading skills not required Arduino Team — September 11th, 2019 Learning about how computers work and coding skills will be important for future generations, and if you’d like to get your kids started on this task—potentially before they can even read—the Ifs present an exciting new option. …
-

10 Tips for Building Twitch Extensions
Reading Time: 8 minutesA little introduction Twitch Extensions create new ways to bring Twitch streamers and viewers together, to create amazing content, and to connect games to a live broadcast. But like any new technology, it can feel overwhelming to start using it. I’m Breci, a member of the Twitch Developer community, I currently work…
-

Flowboard provides visual learning environment for coding
Reading Time: 2 minutesFlowboard provides visual learning environment for coding Arduino Team — June 10th, 2019 Embedded programming using the Arduino IDE has become an important part of STEM education, and while more accessible than ever before, getting started still requires some coding and basic electronics skills. To explore a different paradigm for starting out…
-

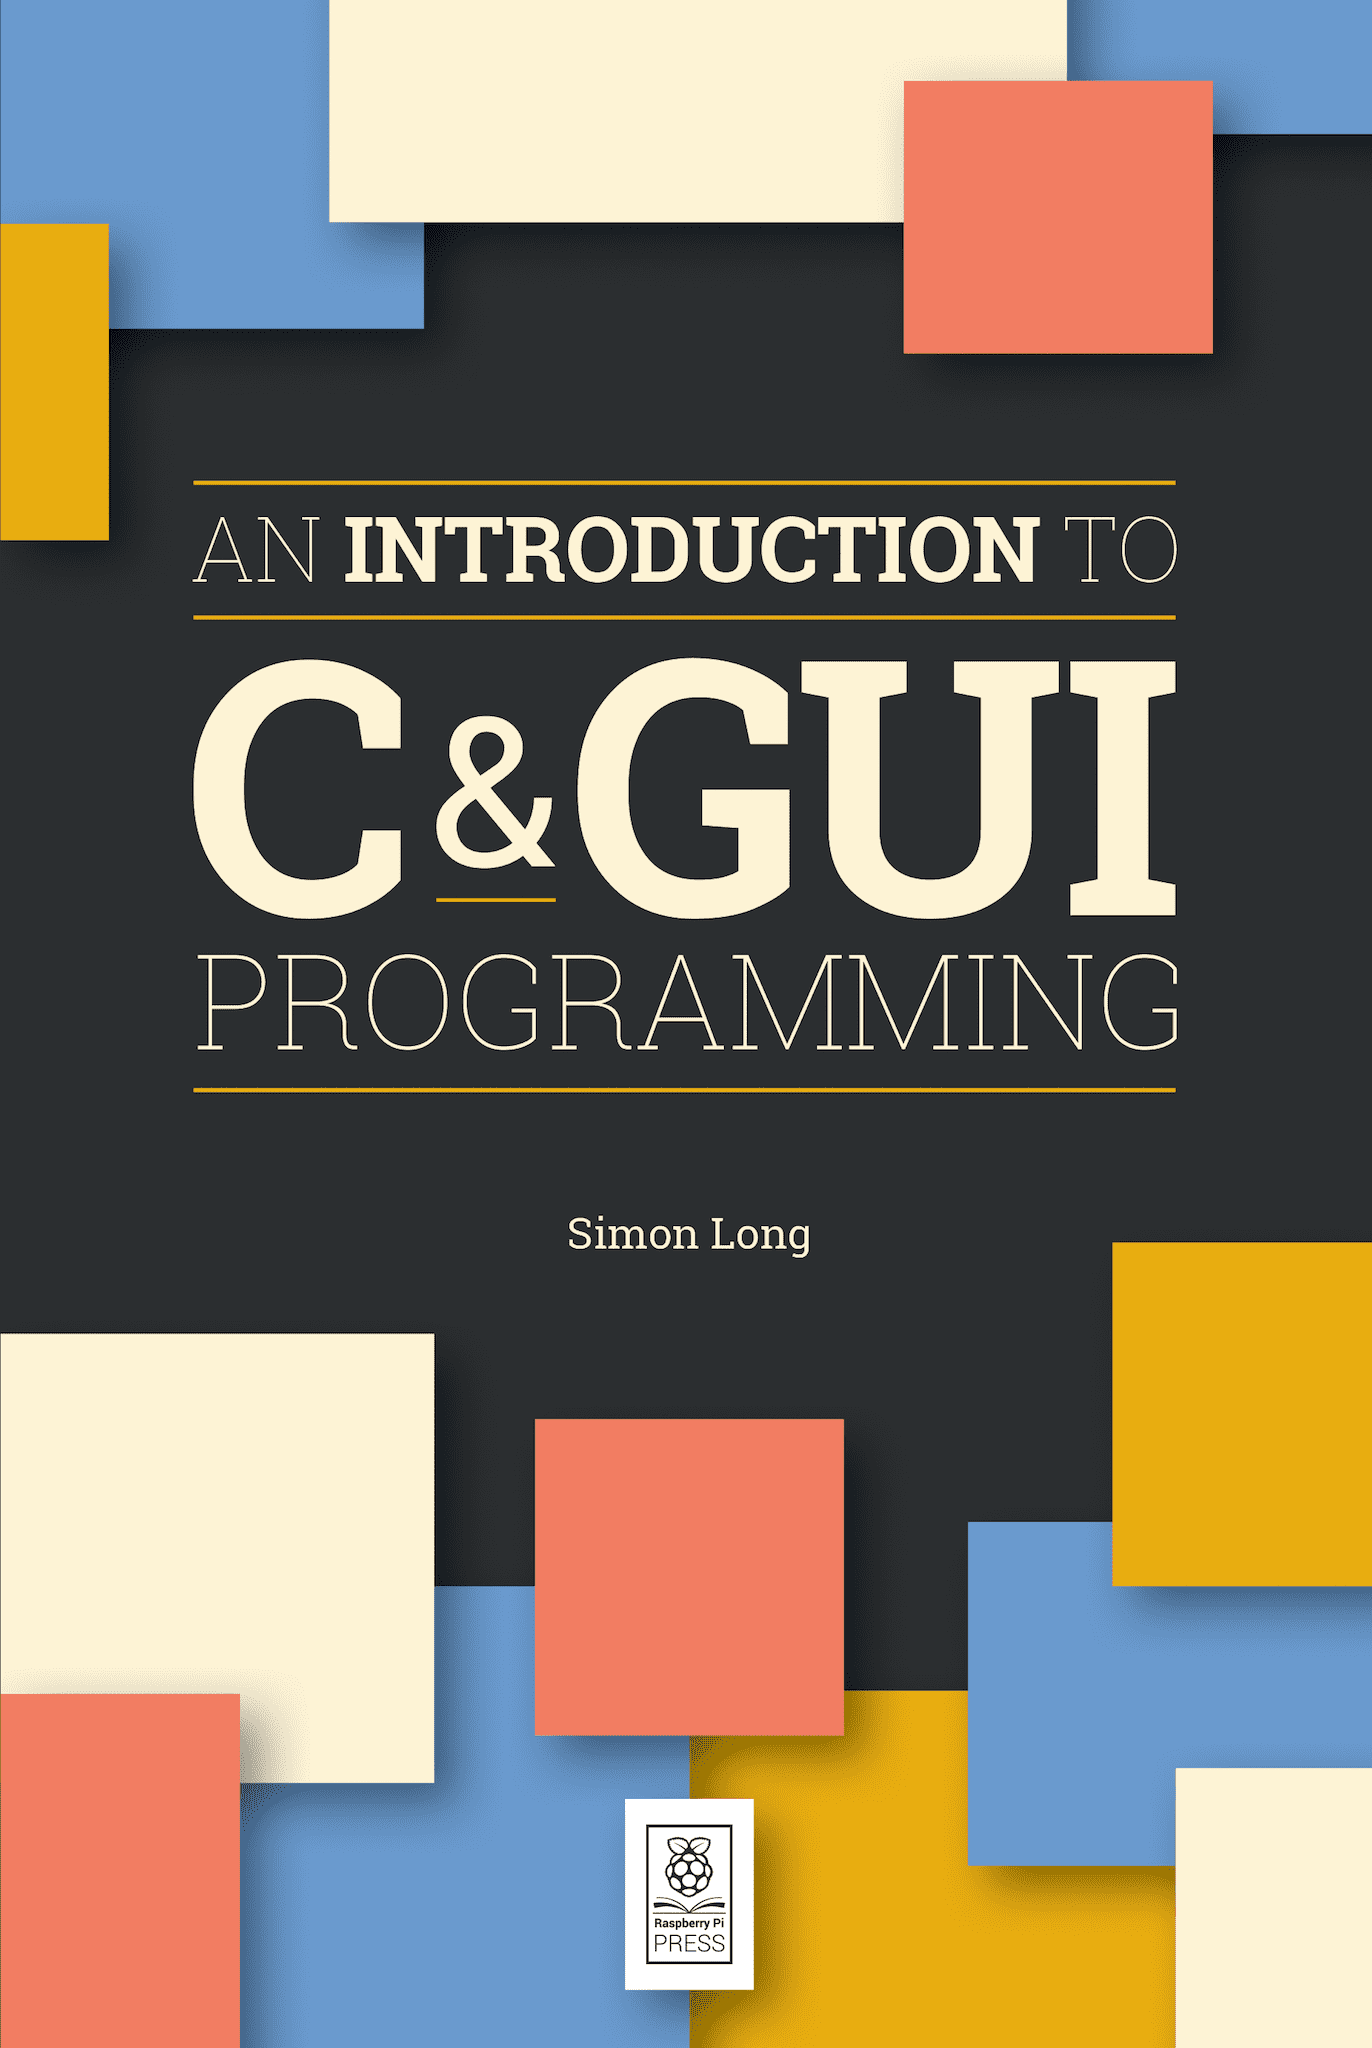
An Introduction to C & GUI Programming – the new book from Raspberry Pi Press
Reading Time: 5 minutesThe latest book from Raspberry Pi Press, An Introduction to C & GUI Programming, is now available. Author Simon Long explains how it came to be written… Learning C I remember my first day in a ‘proper’ job very well. I’d just left university, and was delighted to have been taken on…
-
Go memory ballast: How I learnt to stop worrying and love the heap
Reading Time: 11 minutesI’m a big fan of small code changes that can have large impact. This may seem like an obvious thing to state, but let me explain: These type of changes often involve diving into and understanding things one is not familiar with. Even with the most well factored code, there is a…
-

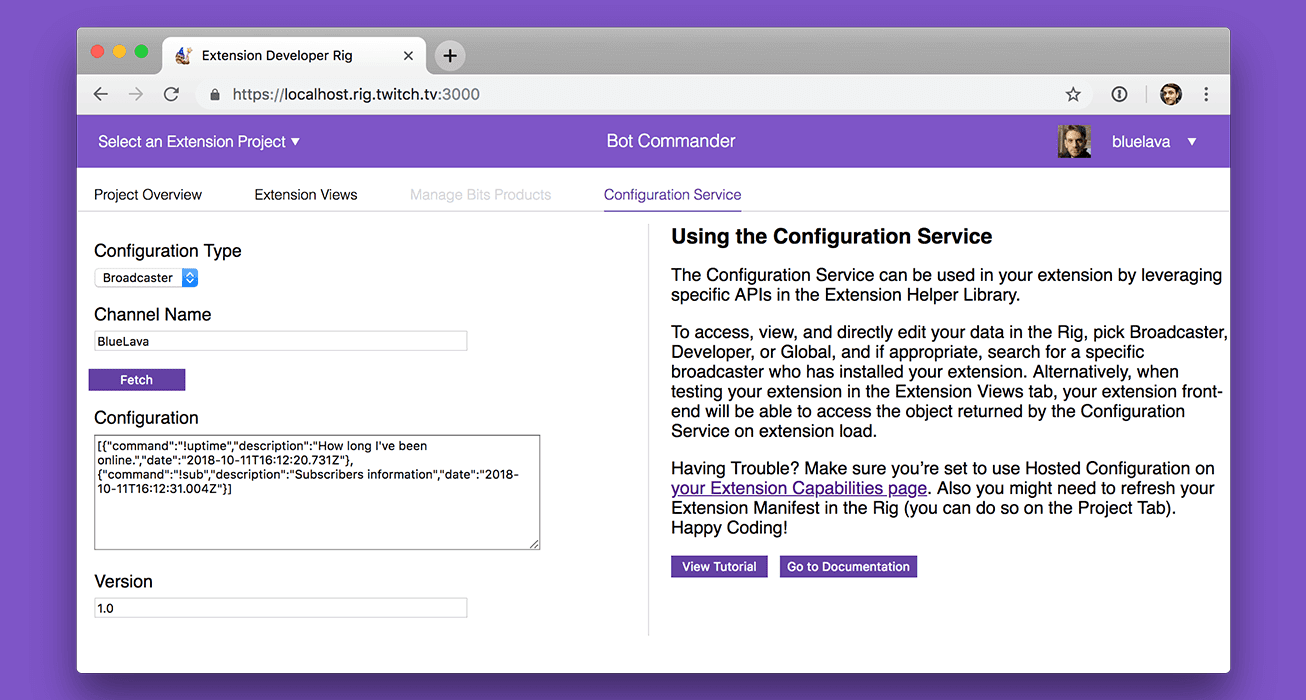
Store persistent data and reduce traffic with the Twitch Configuration Service
Reading Time: 4 minutesBuilding Extensions for Twitch keeps getting faster and easier. We recently announced the new and improved Developer Rig that helps developers build Extensions more quickly and intuitively. Today we’re announcing the Twitch Configuration Service. Configuration Service removes the burden of writing a back-end to store persistent channel- and Extension-specific data. It then…
-

Welcome to a new, more intuitive Developer Rig
Reading Time: 3 minutesThe Developer Rig concept is a cornerstone of Twitch’s developer outreach. Our vision for building Extensions on Twitch requires that we provide the tools that developers need to build and test Extensions quickly and intuitively. Since we launched the Developer Rig, we have made consistent improvements to start times, online and local…