Schlagwort: pong
-

Two NEW Arduino Plug and Make Kit projects recreate iconic vintage games
Reading Time: 4 minutesThe Plug and Make Kit is a toolbox you can use for infinite ideas. So what happens if you ask a mix of Arduino designers, engineers, and managers to sit down and brainstorm new projects to have fun with it? Well, at least one of them is guaranteed to come up with…
-

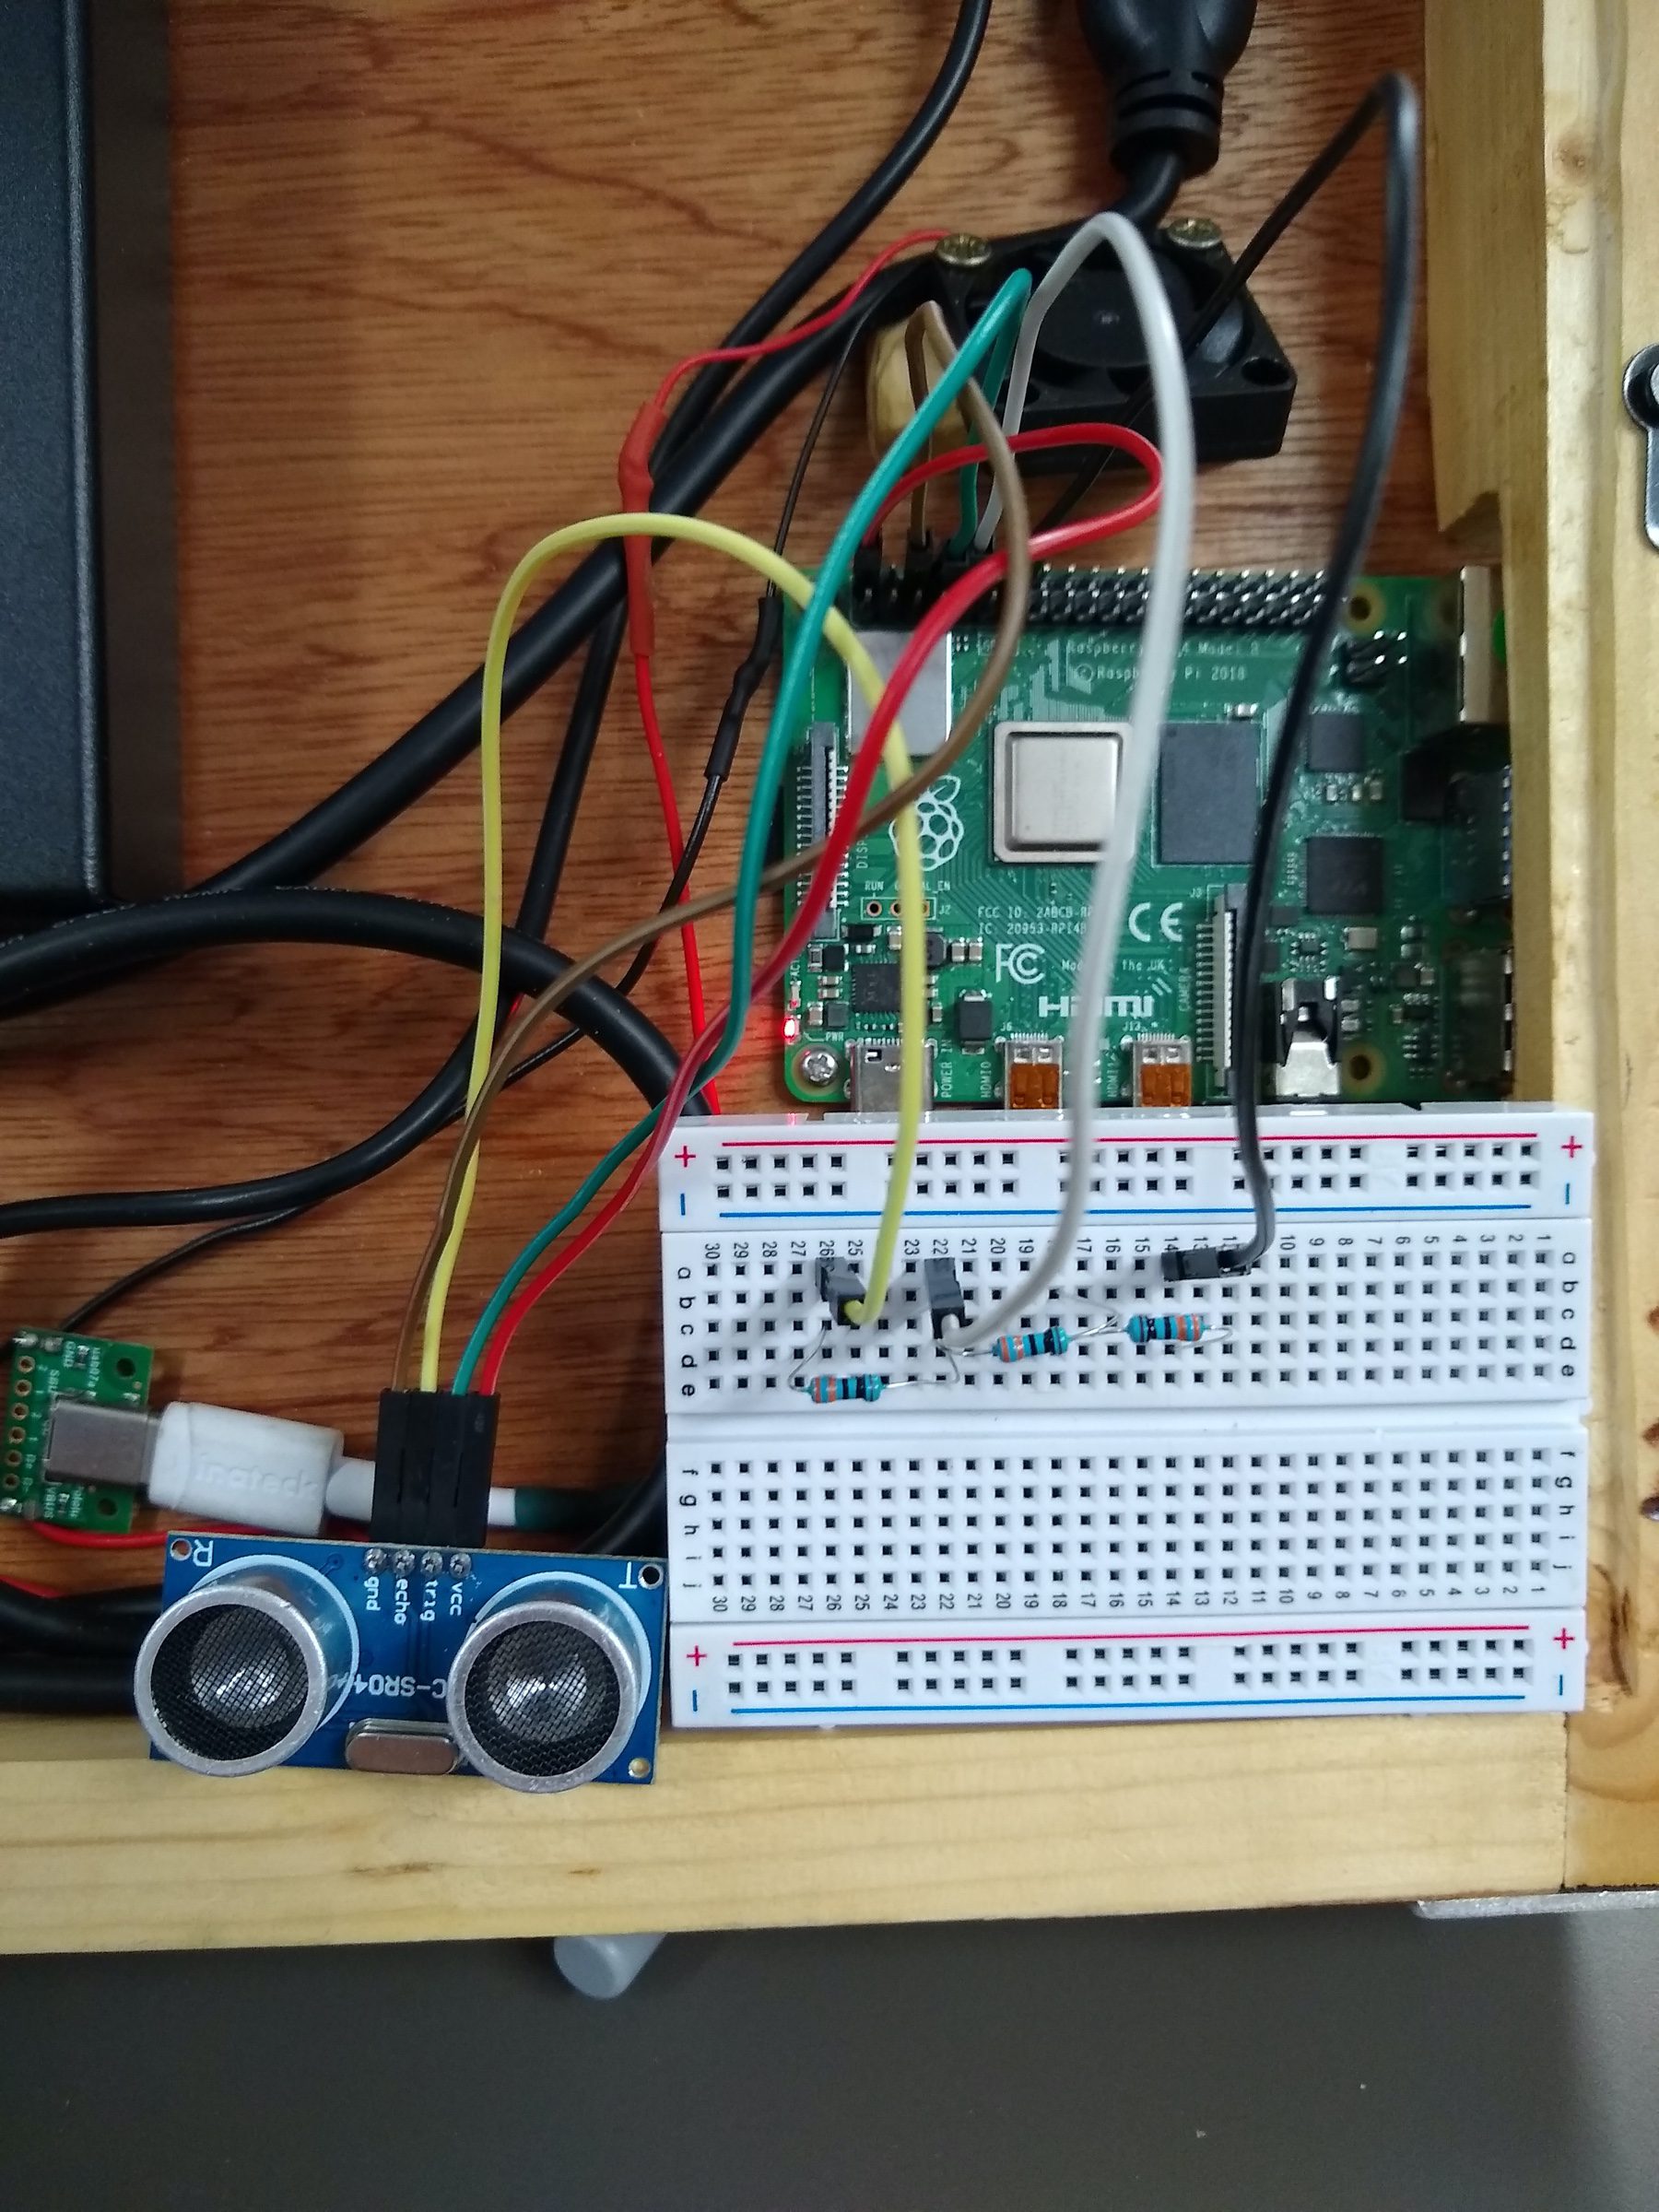
Play Pong with ultrasonic sensors and a Raspberry Pi | HackSpace magazine
Reading Time: 4 minutesDay three of our Pong celebration leads us here, to HackSpace magazine’s ultrasonic hack of Eben’s Code the Classics Pong tribute, Boing! If you haven’t yet bought your copy of Code the Classics, you have until 11:59pm GMT tonight to get £1 off using the discount code PONG. Click here to visit…
-

Create Boing!, our Python tribute to Pong
Reading Time: 7 minutesFollowing on from yesterday’s introduction to Pong, we’re sharing Boing!, the Python-based tribute to Pong created by Eben Upton exclusively for Code the Classics. Read on to get a detailed look at the code for Boing! You can find the download link for the Boing! code in the Code the Classics book,…
-

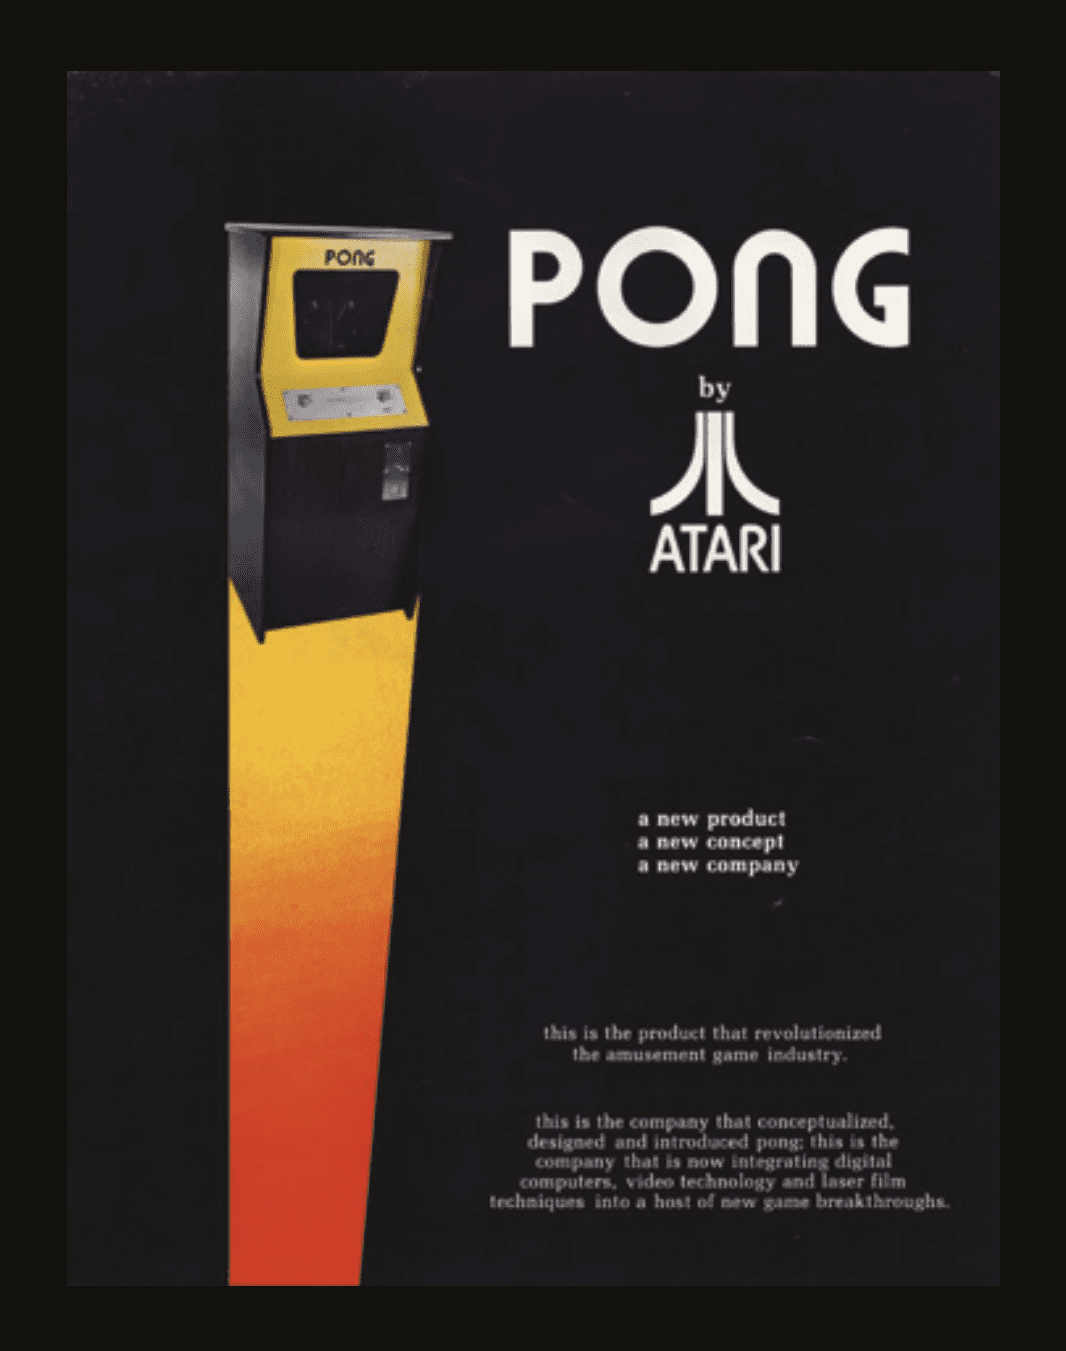
The History of Pong | Code the Classics
Reading Time: 7 minutesOne topic explored in Code the Classics from Raspberry Pi Press is the origin story and success of Pong, one of the most prominent games in early video game history. ‘The success of Pong led to the creation of Pong home consoles (and numerous unofficial clones) that could be connected to a…