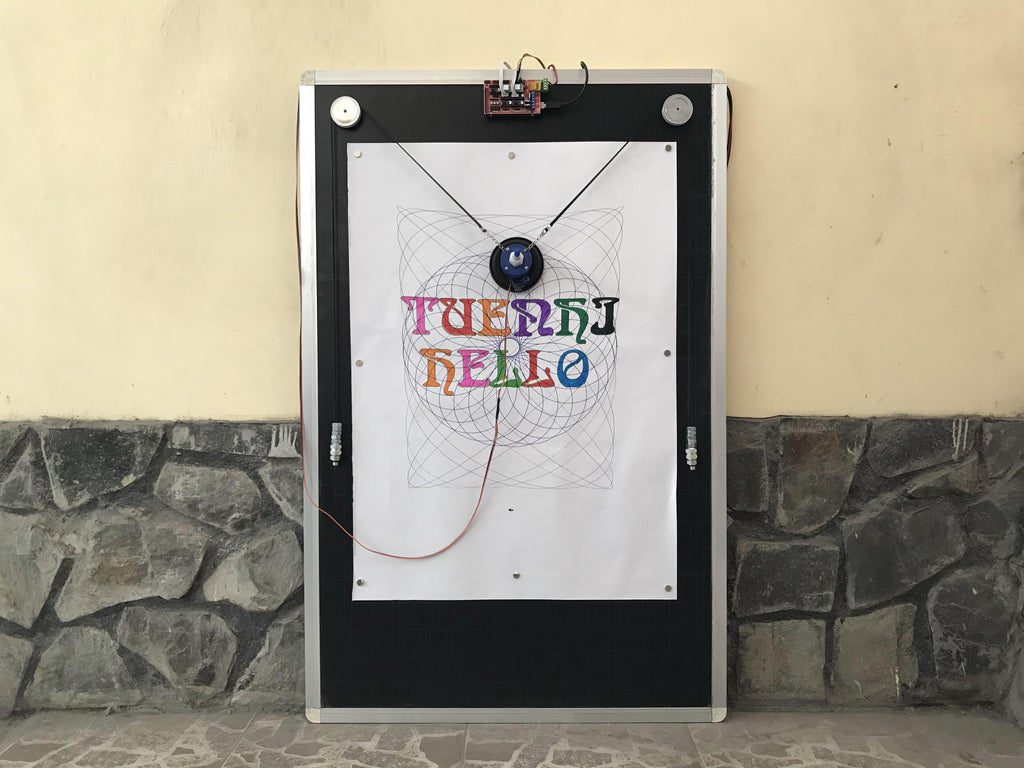
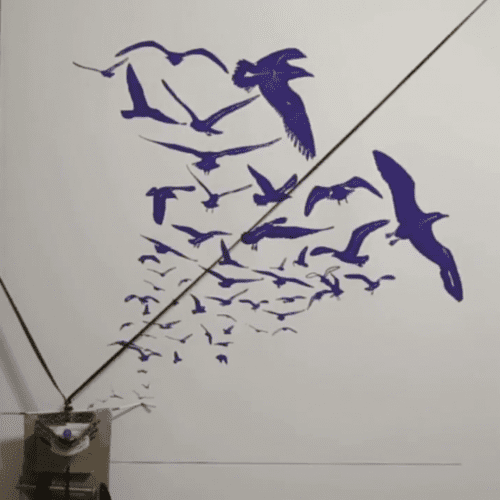
Transform trash into treasure with the DIY Bottle Plotter
Reading Time: 2 minutesManufacturers put a lot of effort into their packaging (there is an entire engineering discipline just for that) and some of it can be quite beautiful. But it usually still ends up in the landfill or, at best, in a recycling center. However, if you’re the type of person who can see the beauty in […]