Schlagwort: Pen Plotter
-

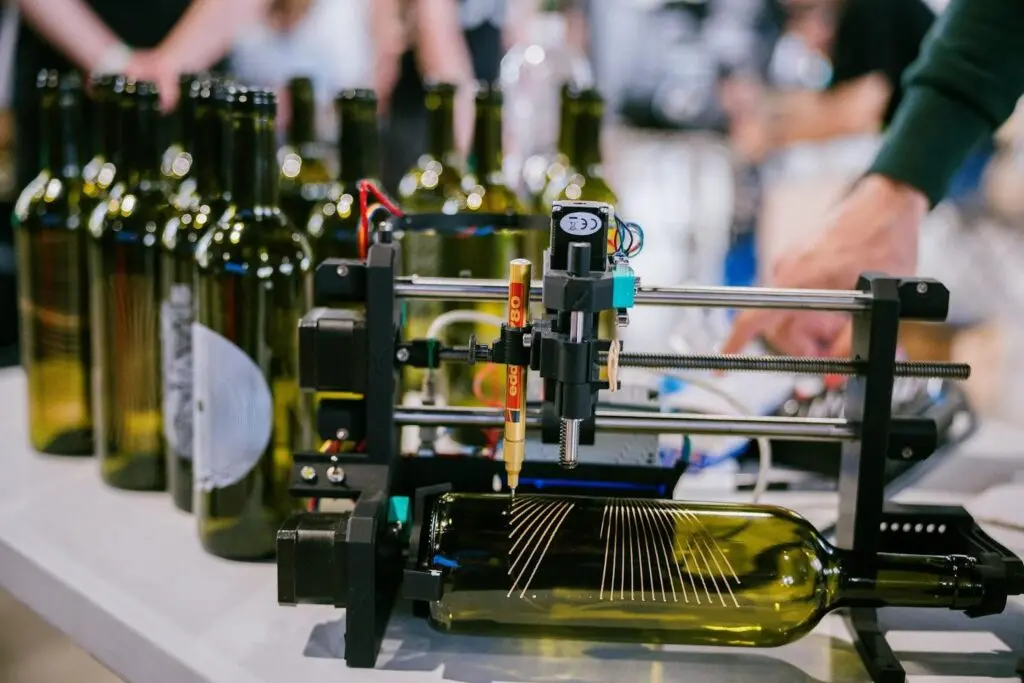
Transform trash into treasure with the DIY Bottle Plotter
Reading Time: 2 minutesManufacturers put a lot of effort into their packaging (there is an entire engineering discipline just for that) and some of it can be quite beautiful. But it usually still ends up in the landfill or, at best, in a recycling center. However, if you’re the type of person who can see…
-

Plotting AI-generated art onto paper
Reading Time: 2 minutesAI-generated art is all the rage right now, thanks to widespread sharing on social media. The appeal is obvious: anyone can utilize an online service to create a unique (and often hilarious) piece of art based on a simple prompt. To display that art, one can utilize a high-quality printer or a…
-

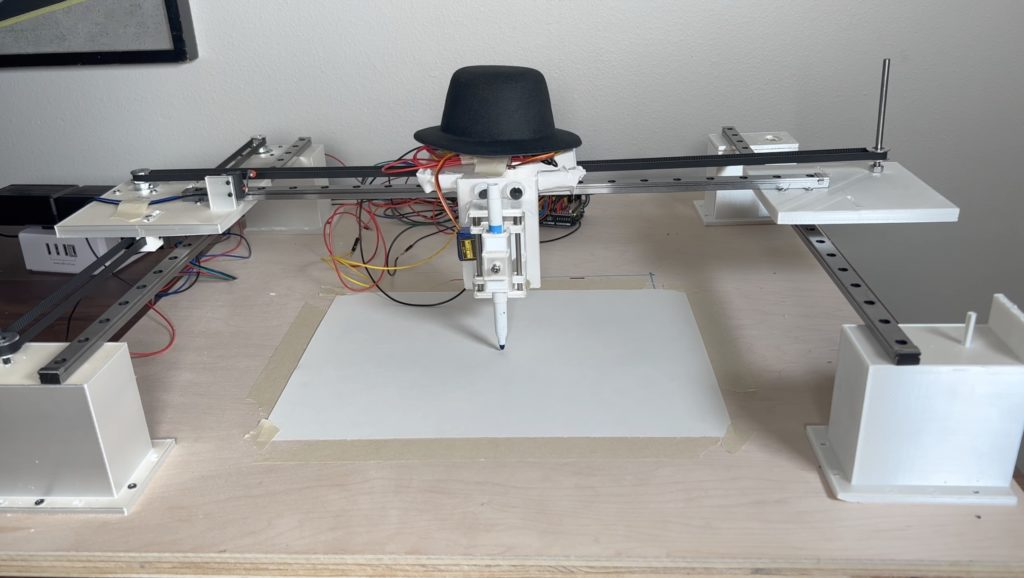
This pen plotter gets nervous when observed
Reading Time: 2 minutesThe whole purpose of machine automation is to eliminate human needs and errors. A CNC machine doesn’t get tired, doesn’t need breaks, and performs a task exactly the same way every time. But what if that weren’t true? What if machines experienced human emotions and let it affect their work like we…
-

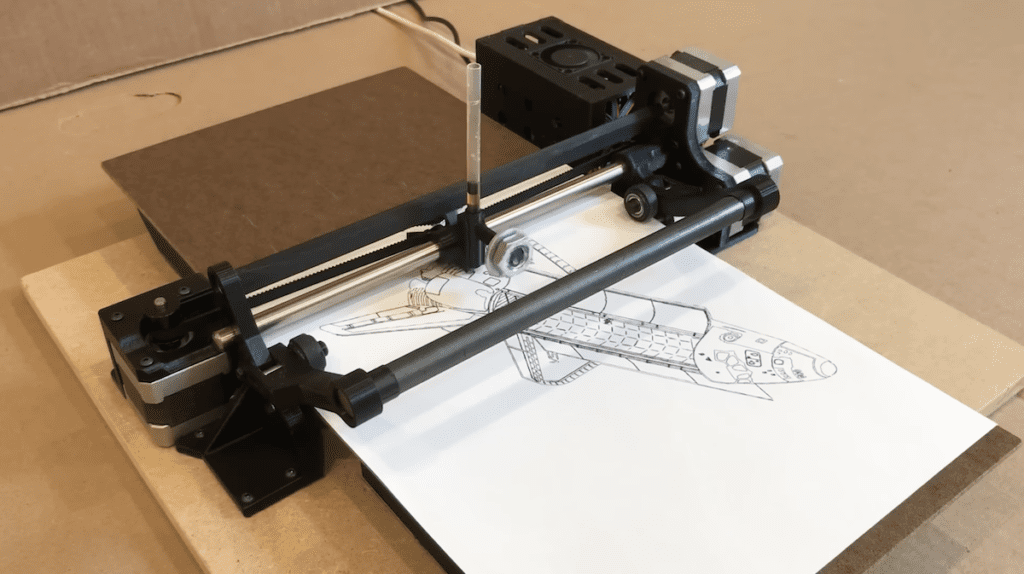
This high-speed Arduino pen plotter creates drawings in mere minutes
Reading Time: 2 minutesArduino Team — June 21st, 2022 Pen plotting projects are everywhere nowadays, with the vast majority using a couple of stepper motors for moving the writing utensil and a servo to raise or lower it. But they are quite slow due to the lack of rigid assembly and because the servo motor…
-

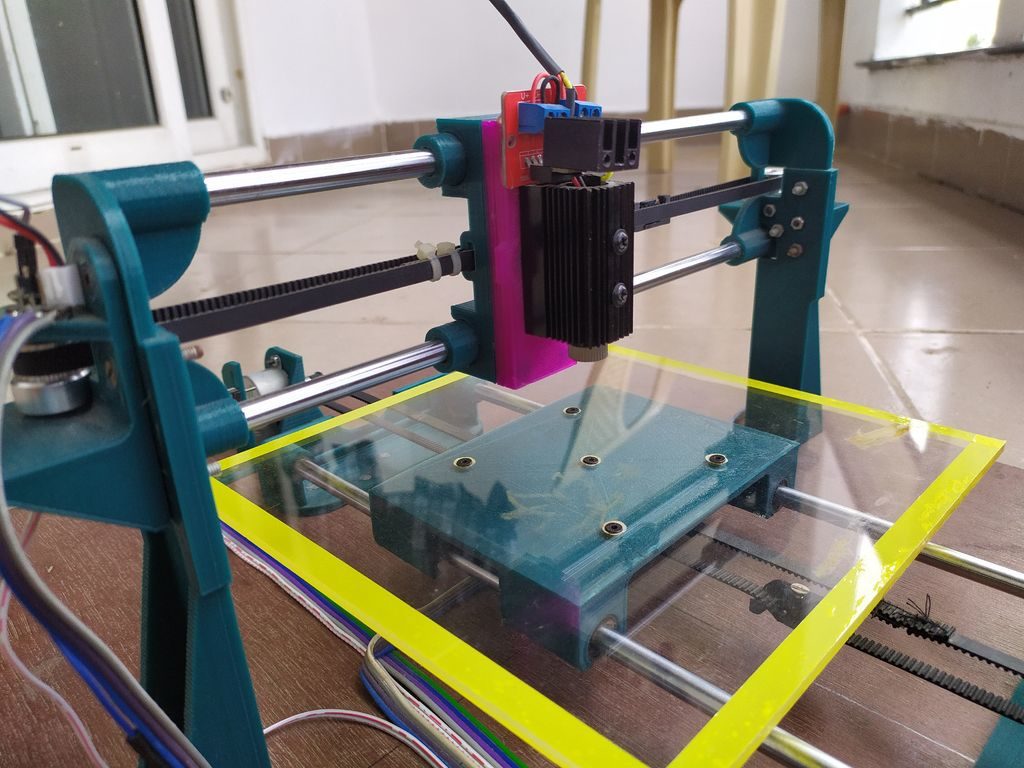
Pen plotter? Laser engraver? This DIY machine gives you both!
Reading Time: 2 minutesPen plotter? Laser engraver? This DIY machine gives you both! Arduino Team — October 30th, 2019 If you find yourself debating between a pen plotter or laser engraver, this project by Patrick Panikulam lets you have the best of both worlds in style. The DIY device pulls a writing instrument in the…
-

We love a good pen plotter
Reading Time: 2 minutesBrachioGraph touts itself as the cheapest, simplest possible pen plotter, so, obviously, we were keen to find out more. Because, if there’s one thing we like about our community, it’s your ability to recreate large, expensive pieces of tech with a few cheap components and, of course, a Raspberry Pi. So, does BrachioGraph…
-

Control a vintage Roland pen plotter with Raspberry Pi
Reading Time: < 1 minuteBy refitting a vintage Roland DG DXY-990 pen plotter using Raspberry Pi, the members of Liege Hackerspace in Belgium have produced a rather nifty build that writes out every tweet mentioning a specific hashtag. Liege Hackerspace member u/iooner first shared an image of the plotter yesterday, and fellow Redditors called for video…
-

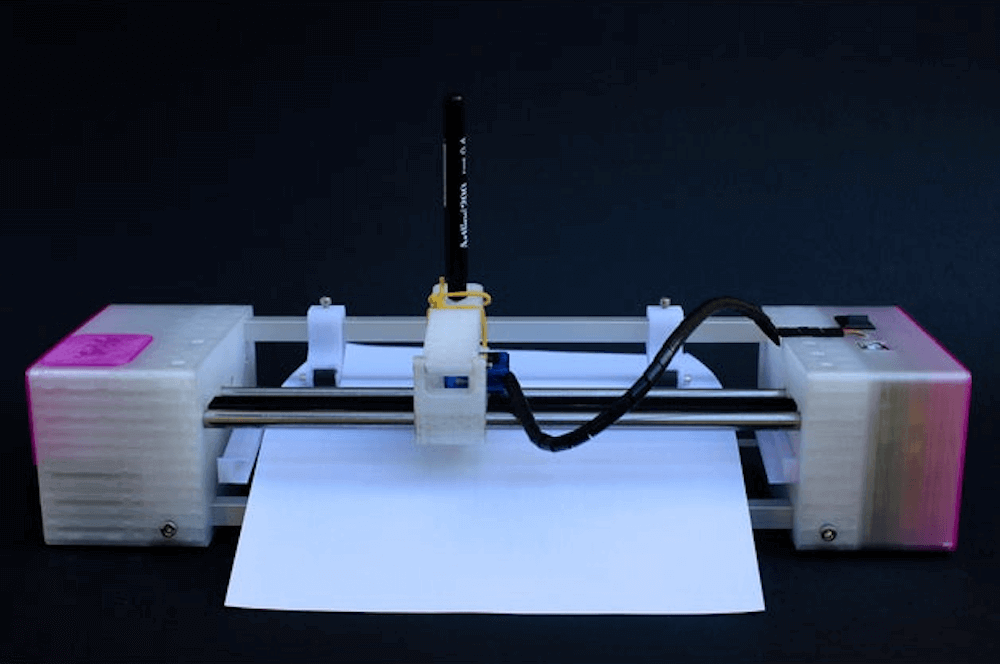
d.i.d. is a scalable 3D-printed pen plotter
Reading Time: 2 minutesd.i.d. is a scalable 3D-printed pen plotter Arduino Team — August 29th, 2019 While computer printers are readily available, if you’d like a plotting device that drags a pen, marker, or whatever you need across paper to create images, your options are more limited. To fill this gap, studioprogettiperduti has come up…