Schlagwort: OLED Display
-

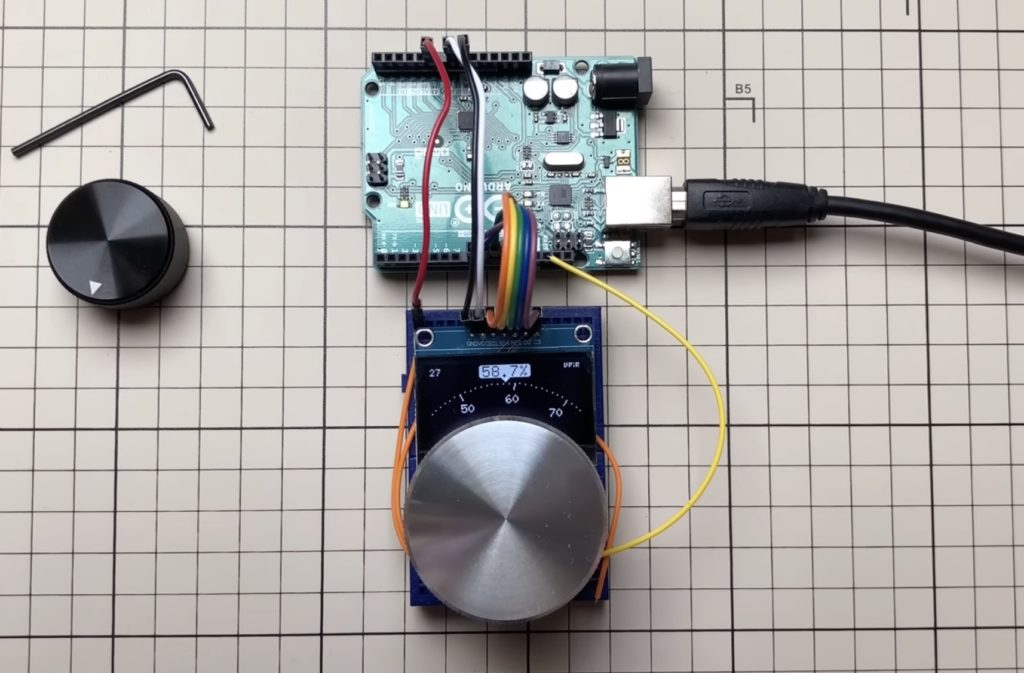
Take things up a notch by turning the humble OLED into a rotary dial
Reading Time: 2 minutesArduino Team — May 3rd, 2022 The 128×64 I2C/SPI OLED display is often included in a myriad of projects that need some way to show data, including text, shapes, or basic graphs. YouTuber ‘upir’ was able to take this concept one step further by turning his graphic OLED screen into a virtual circular dial…
-

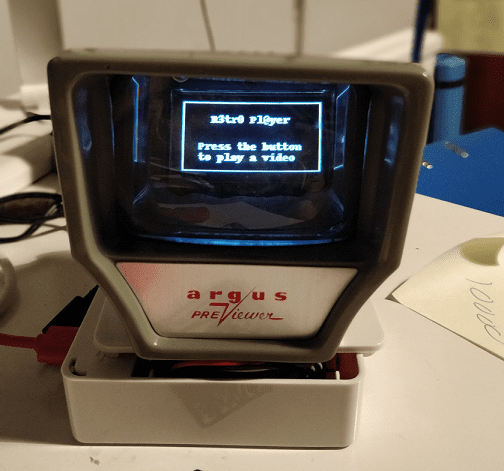
Raspberry Pi retro player
Reading Time: 2 minutesWe found this project at TeCoEd and we loved the combination of an OLED display housed inside a retro Argus slide viewer. It uses a Raspberry Pi 3 with Python and OpenCV to pull out single frames from a video and write them to the display in real time. TeCoEd names this…
-

Dragon Ball Z head-mounted Scouter computer replica
Reading Time: 2 minutesDragon Ball Z head-mounted Scouter computer replica Arduino Team — October 26th, 2018 Those familiar with the Dragon Ball Z franchise will recognize the head-mounted Scouter computer often seen adorning character faces. As part of his Goku costume, Marcin Poblocki made an impressive replica, featuring a see-through lens that shows the “strength”…