Schlagwort: new product
-

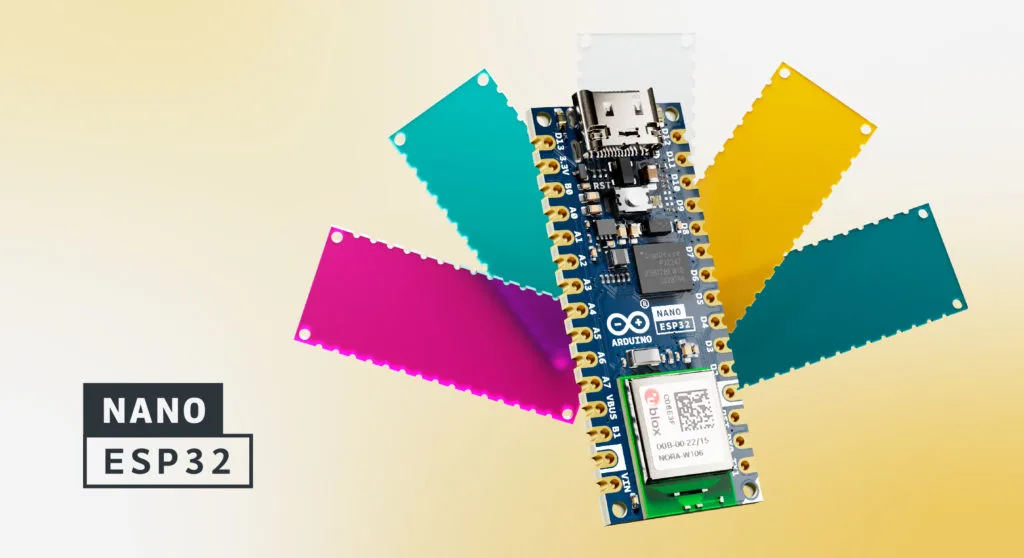
Introducing the Nano ESP32: THAT’S I(o)T!
Reading Time: 2 minutesCreate your first – or your next – IoT project with the new Arduino Nano ESP32. The latest addition to our wide range of tiny boards with mighty features pairs the accessibility and flexibility of the Arduino ecosystem with the potential of the low-power ESP32-S3 system-on-a-chip microcontroller. This means you can keep…
-

Arduino UNO R4 is a giant leap forward for an open source community of millions
Reading Time: 3 minutesThe history of making is now ready for the future: a 32-bit UNO will soon be available thanks to a powerful Renesas processor Here at Arduino we are thrilled to announce a new, revolutionary revision of the iconic UNO board, which will expand the concept of the open-source brand’s most iconic and popular…
-

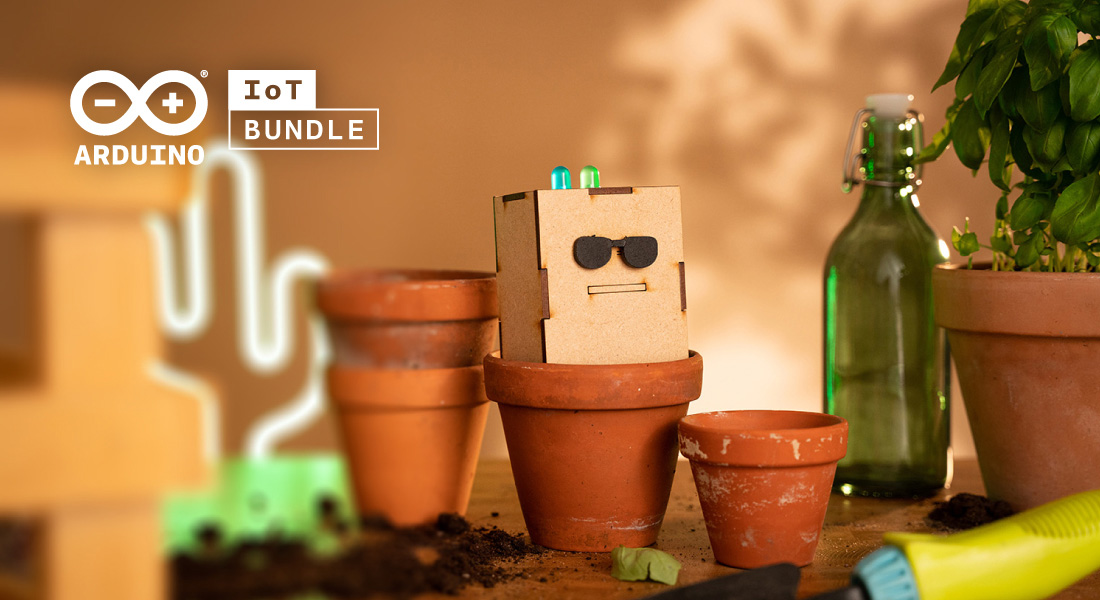
Introducing Arduino’s IoT Bundle and what it means for you
Reading Time: 4 minutesWe’re excited to announce the launch of the new Arduino IoT Bundle. This is built to help you dive into the complex and fascinating world of the Internet of Things with even more confidence and possibility — giving you the hardware, software, and components you need to create your own connected IoT…
-

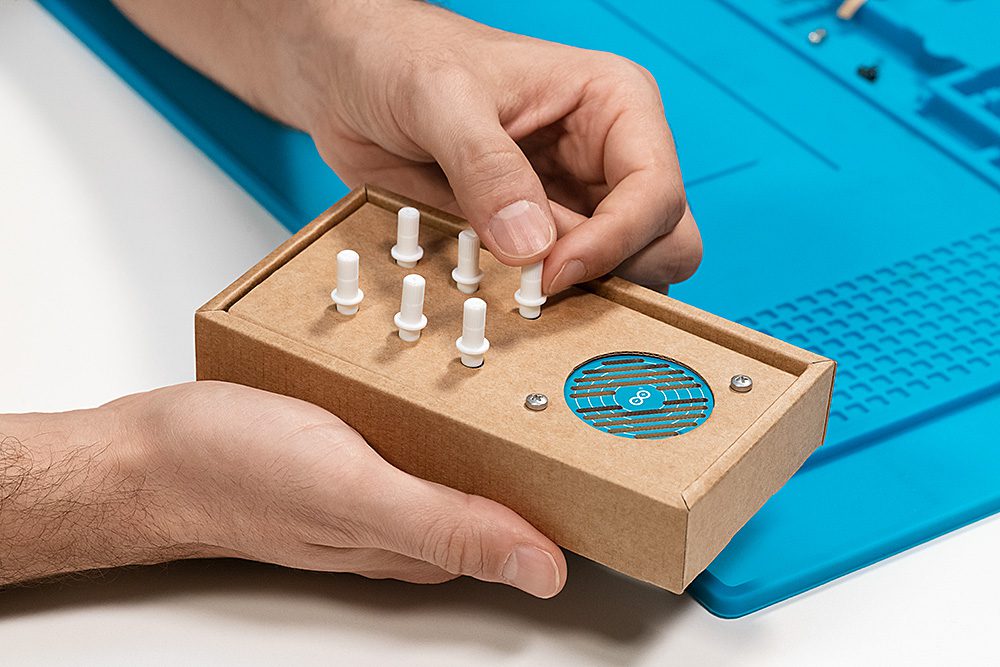
Are you ready to go back to the future?
Reading Time: 3 minutesArduino Make Your UNO Kit is finally here The first Arduino UNO was launched back in 2005, with a clear purpose to allow everyone who had an idea to make it possible through a simple and open interface. Many years have passed, technology has evolved, but we never forgot that initial thrill…
-

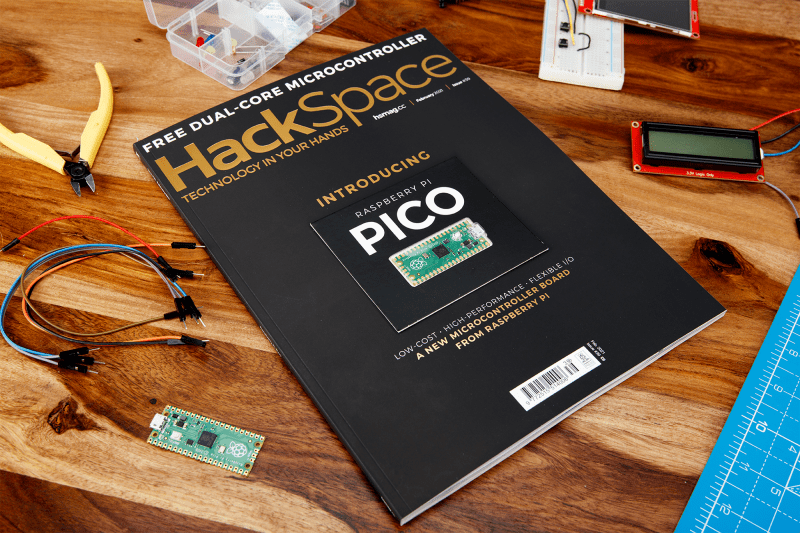
Meet Raspberry Silicon: Raspberry Pi Pico now on sale at $4
Reading Time: 9 minutesToday, we’re launching our first microcontroller-class product: Raspberry Pi Pico. Priced at just $4, it is built on RP2040, a brand-new chip developed right here at Raspberry Pi. Whether you’re looking for a standalone board for deep-embedded development or a companion to your Raspberry Pi computer, or you’re taking your first steps…
-

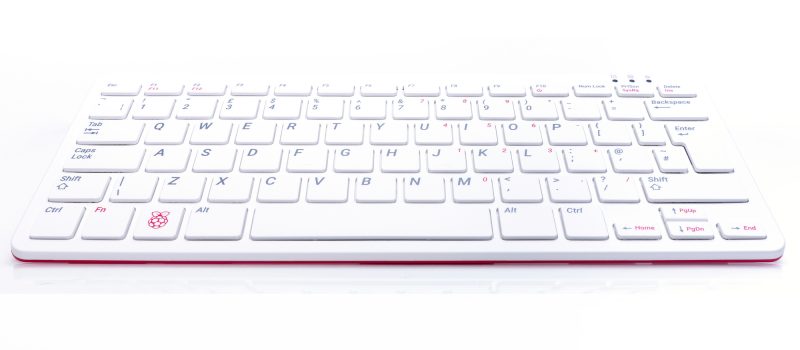
Raspberry Pi 400: the $70 desktop PC
Reading Time: 4 minutesRaspberry Pi has always been a PC company. Inspired by the home computers of the 1980s, our mission is to put affordable, high-performance, programmable computers into the hands of people all over the world. And inspired by these classic PCs, here is Raspberry Pi 400: a complete personal computer, built into a…
-

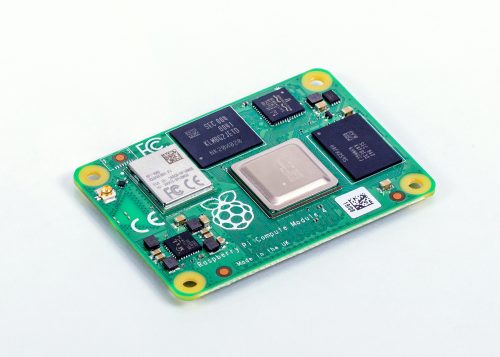
Raspberry Pi Compute Module 4 on sale now from $25
Reading Time: 5 minutesIt’s become a tradition that we follow each Raspberry Pi model with a system-on-module variant based on the same core silicon. Raspberry Pi 1 gave rise to the original Compute Module in 2014; Raspberry Pi 3 and 3+ were followed by Compute Module 3 and 3+ in 2017 and 2019 respectively. Only…
-

New book: The Official Raspberry Pi Camera Guide
Reading Time: 3 minutesTo coincide with yesterday’s launch of the Raspberry Pi High Quality Camera, Raspberry Pi Press has created a new Official Camera Guide to help you get started and inspire your future projects. The Raspberry Pi High Quality Camera Connecting a High Quality Camera turns your Raspberry Pi into a powerful digital camera.…
-

New product: Raspberry Pi High Quality Camera on sale now at $50
Reading Time: 5 minutesWe’re pleased to announce a new member of the Raspberry Pi camera family: the 12.3-megapixel High Quality Camera, available today for just $50, alongside a range of interchangeable lenses starting at $25. NEW Raspberry Pi High Quality Camera Subscribe to our YouTube channel: http://rpf.io/ytsub Help us reach a wider audience by translating…
-

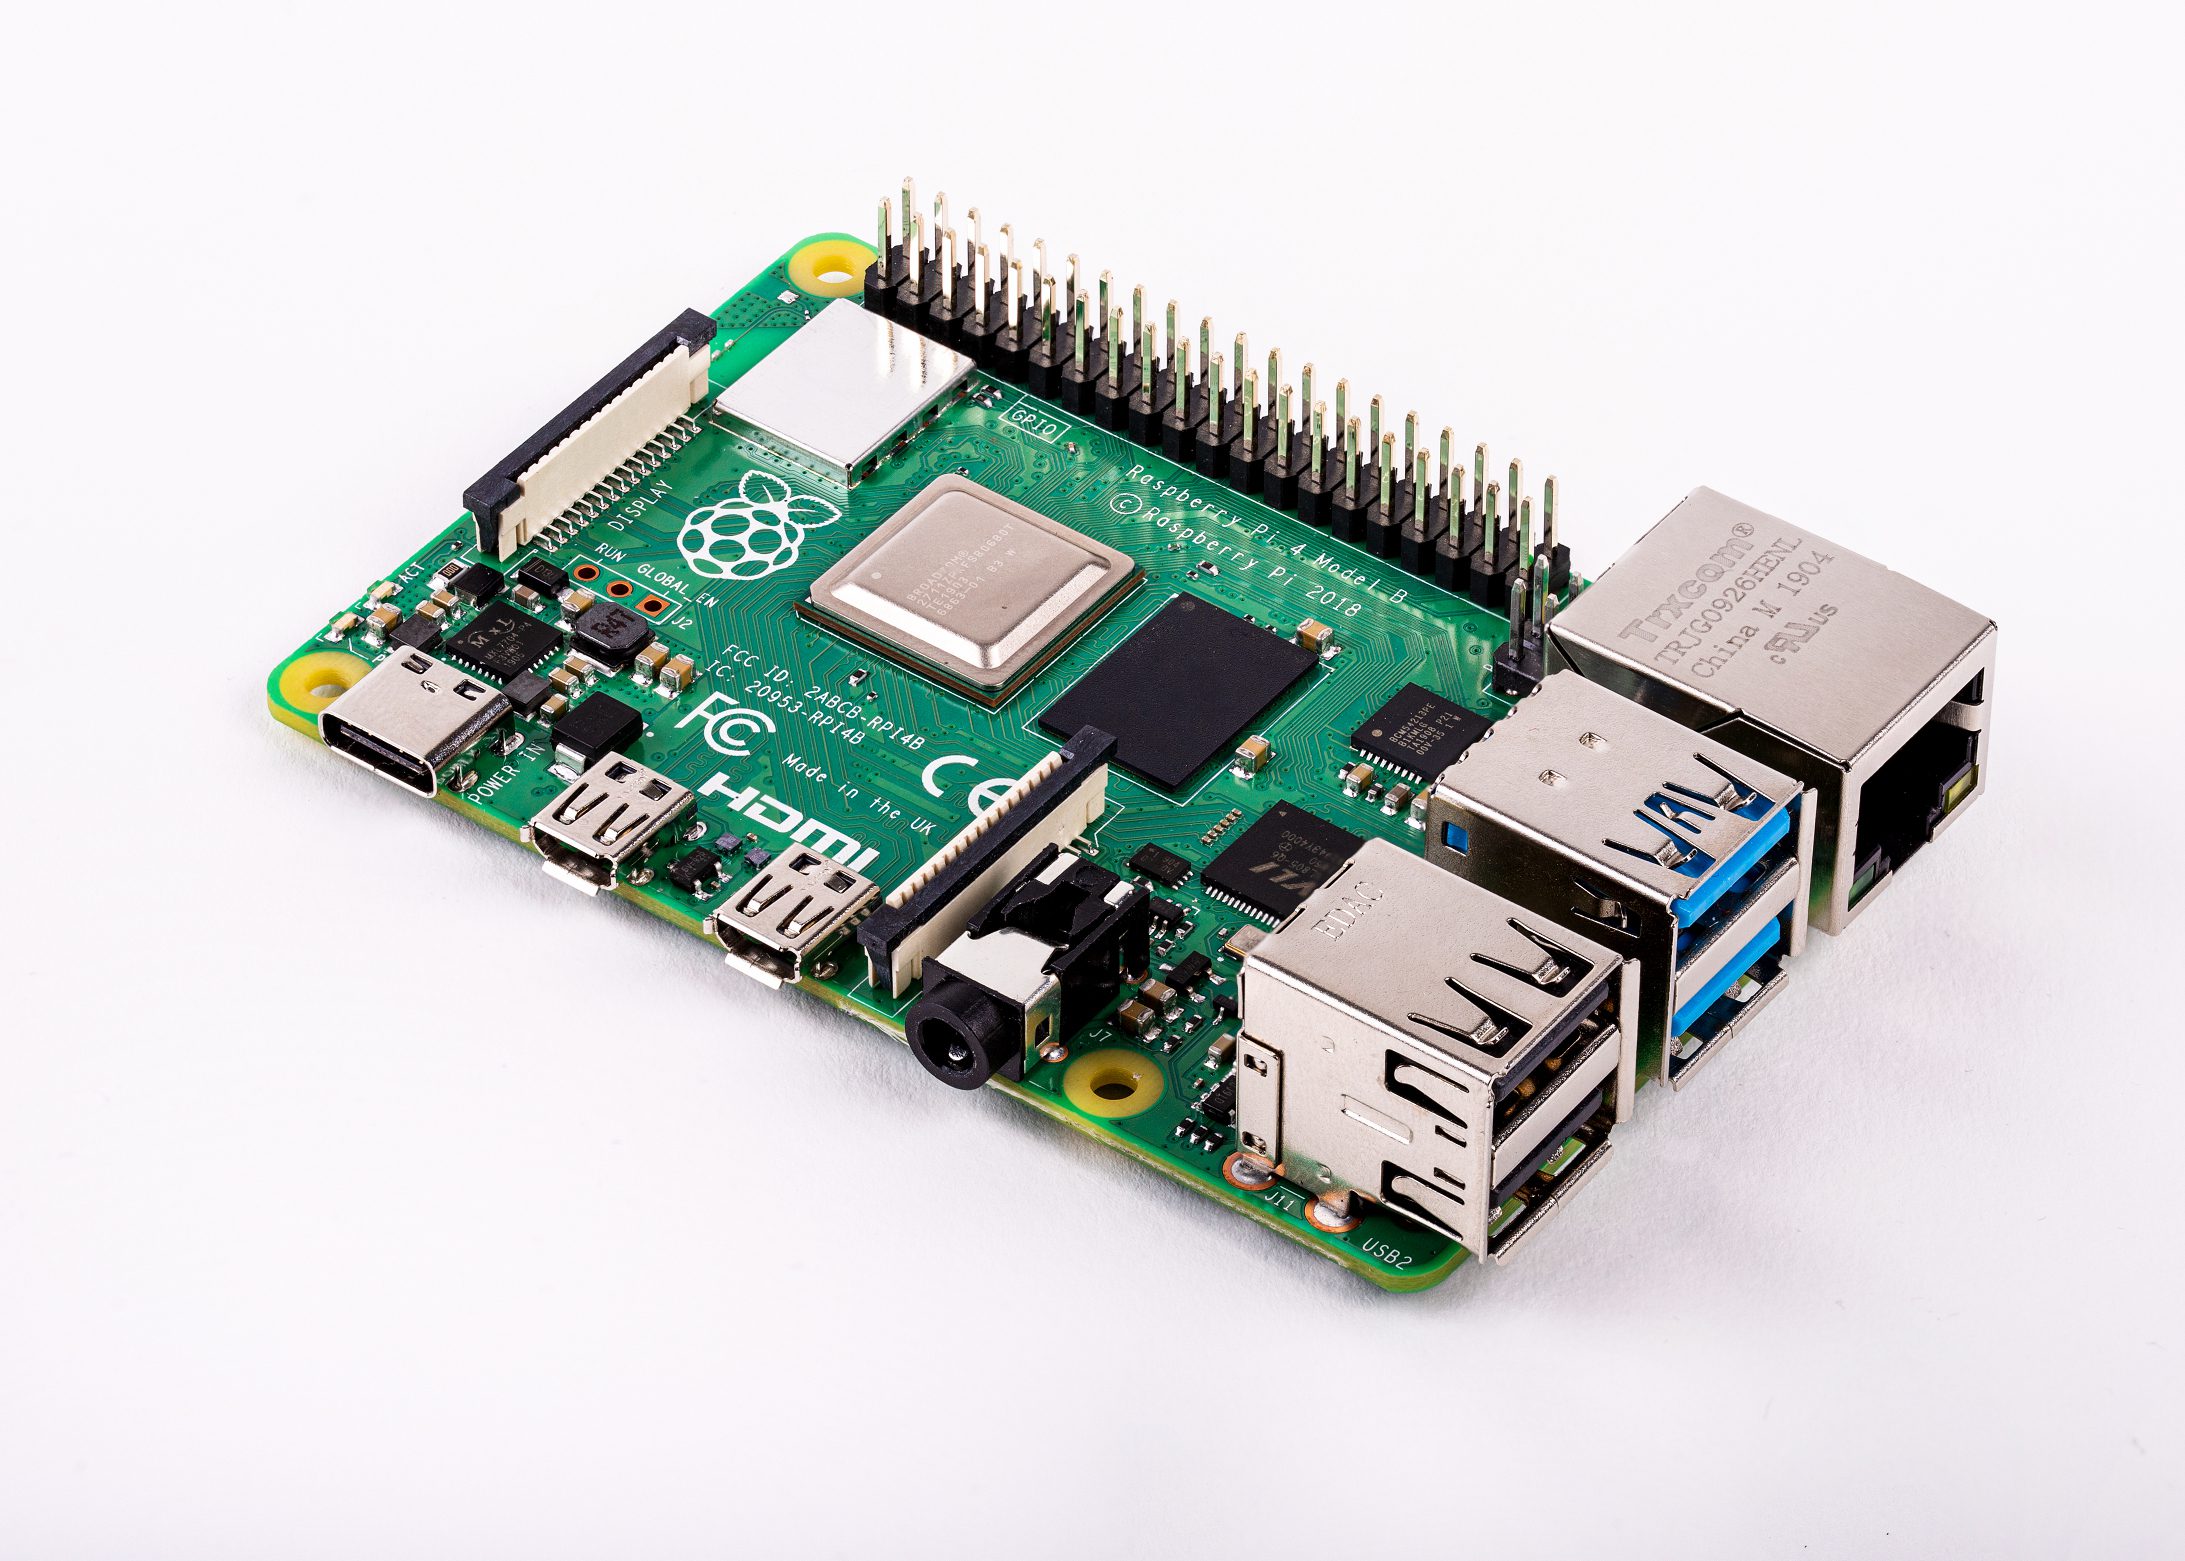
Raspberry Pi 4 on sale now from $35
Reading Time: 11 minutesWe have a surprise for you today: Raspberry Pi 4 is now on sale, starting at $35. This is a comprehensive upgrade, touching almost every element of the platform. For the first time we provide a PC-like level of performance for most users, while retaining the interfacing capabilities and hackability of the…
-

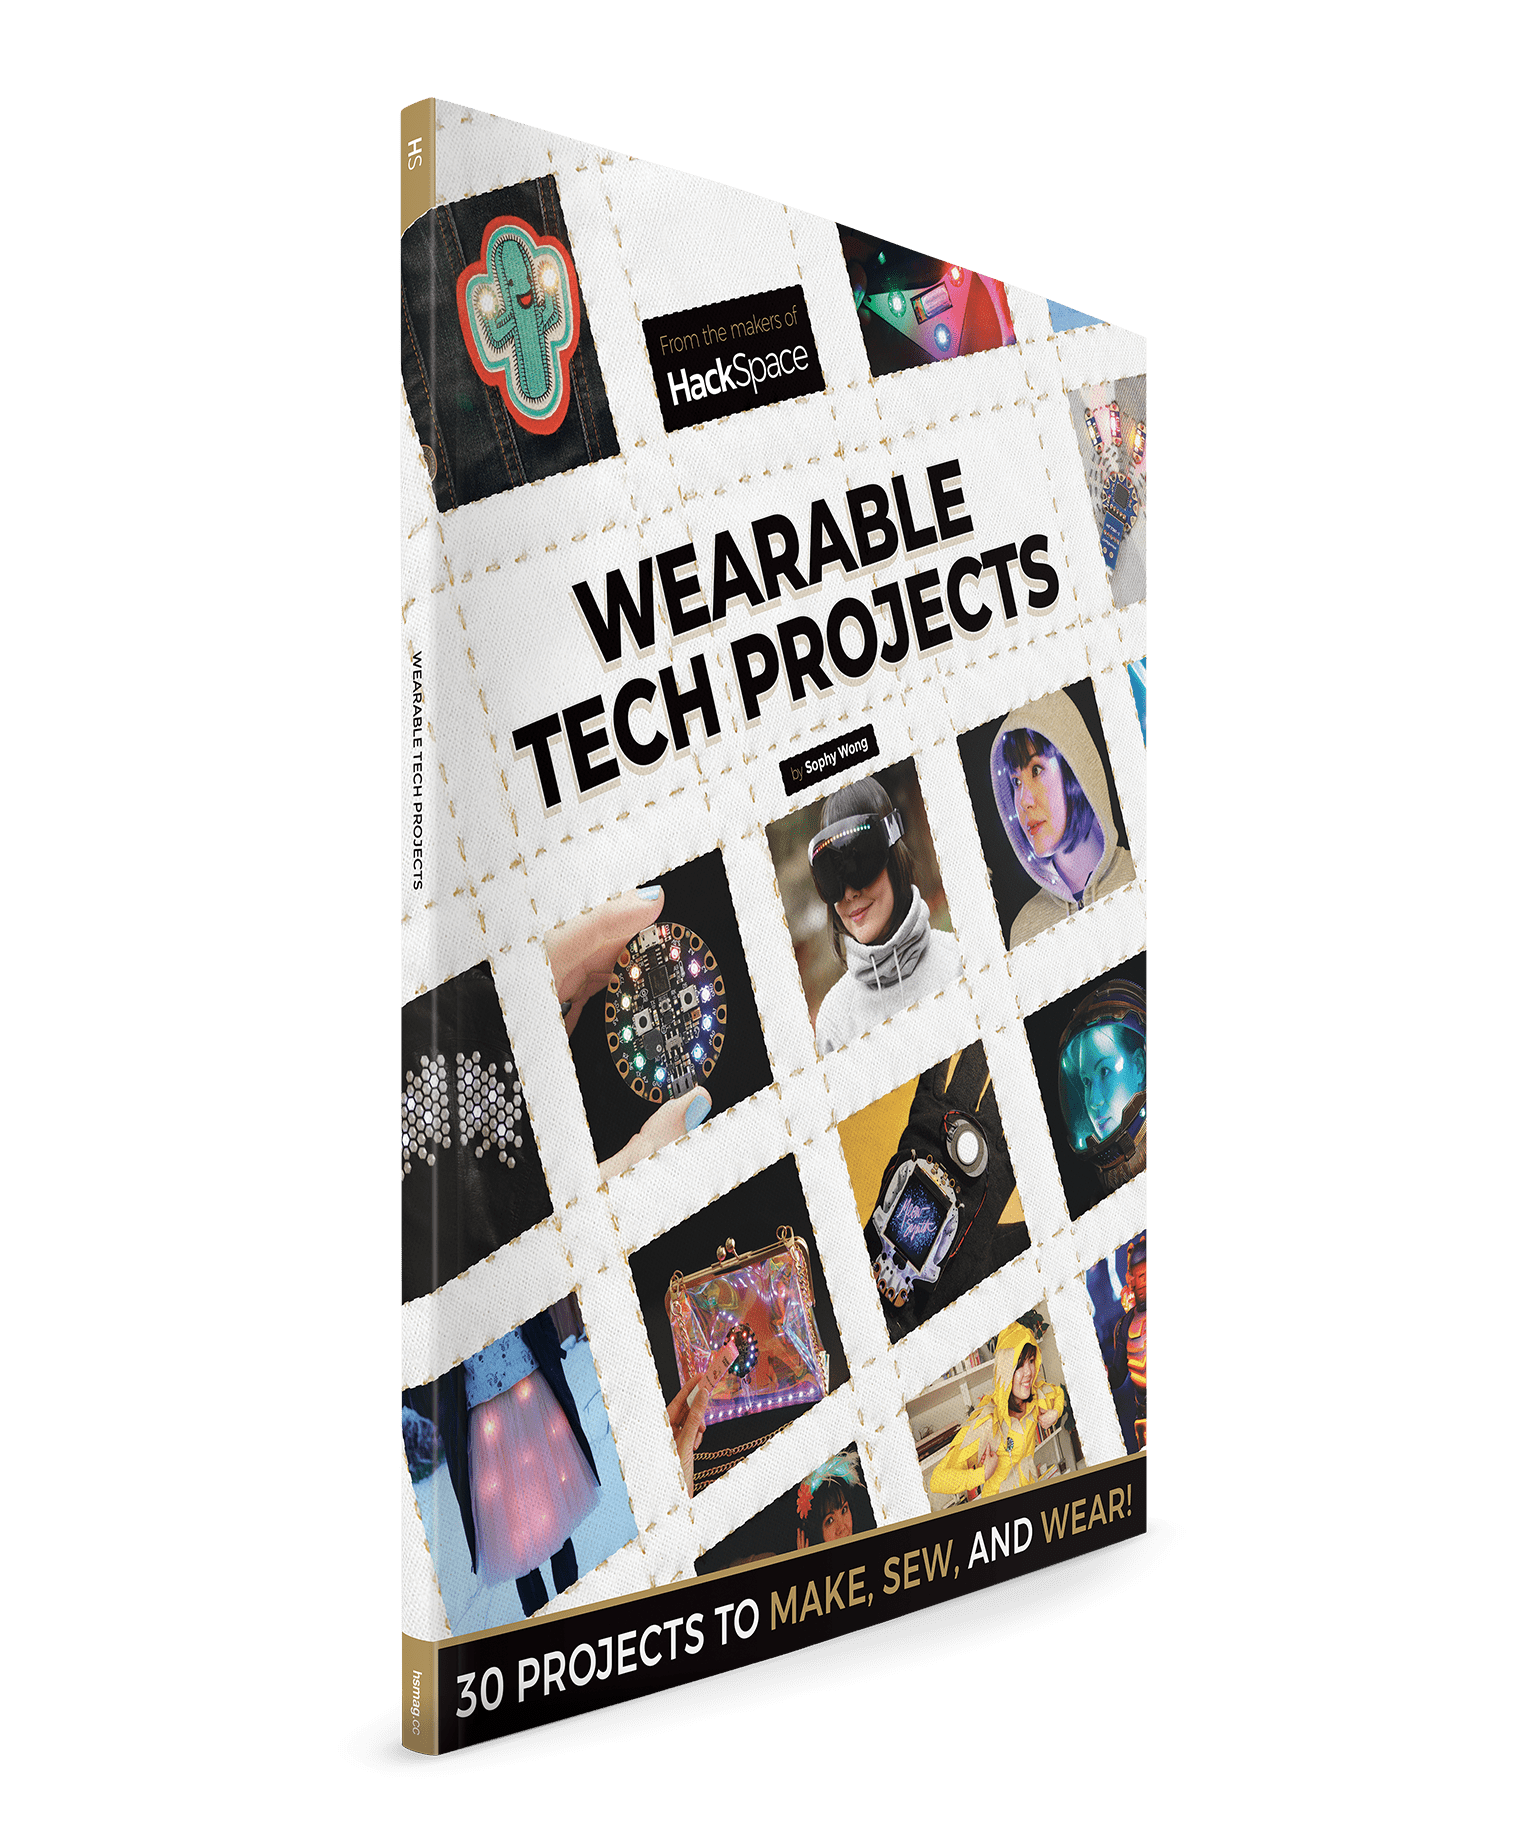
Create wearable tech with Sophy Wong and our new book | HackSpace magazine issue 18
Reading Time: 2 minutesForget Apple Watch and Fitbit — if we’re going to wear something electronic, we want to make it ourselves! Wearable Tech Projects, from the makers of HackSpace magazine, is a 164-page book packed with projects for the fashionable electronics enthusiast, with more than 30 projects which will blink, flash, and spark joy in…
-

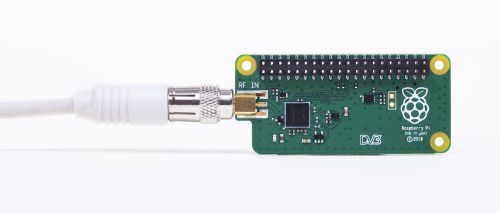
Introducing the Raspberry Pi TV HAT
Reading Time: 3 minutesToday we are excited to launch a new add-on board for your Raspberry Pi: the Raspberry Pi TV HAT, on sale now at $21.50. The TV HAT connects to the 40-pin GPIO header and to a suitable antenna, allowing your Raspberry Pi to receive DVB-T2 television broadcasts. Watch TV with your Raspberry…
-

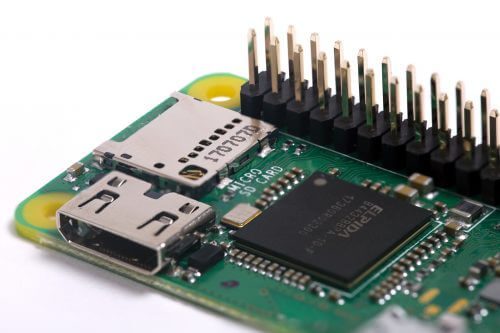
Zero WH: pre-soldered headers and what to do with them
Reading Time: 3 minutesIf you head over to the website of your favourite Raspberry Pi Approved Reseller today, you may find the new Zero WH available to purchase. But what it is? Why is it different, and what can you do with it? “If you like pre-soldered headers, and getting caught in the rain…” Raspberry…