Schlagwort: Nano ESP32
-

A lightweight file server running entirely on an Arduino Nano ESP32
Reading Time: 2 minutesHome file servers can be very useful for people who work across multiple devices and want easy access to their documents. And there are a lot of DIY build guides out there. But most of them are full-fledged NAS (network-attached storage) devices and they tend to rely on single-board computers. Those take…
-

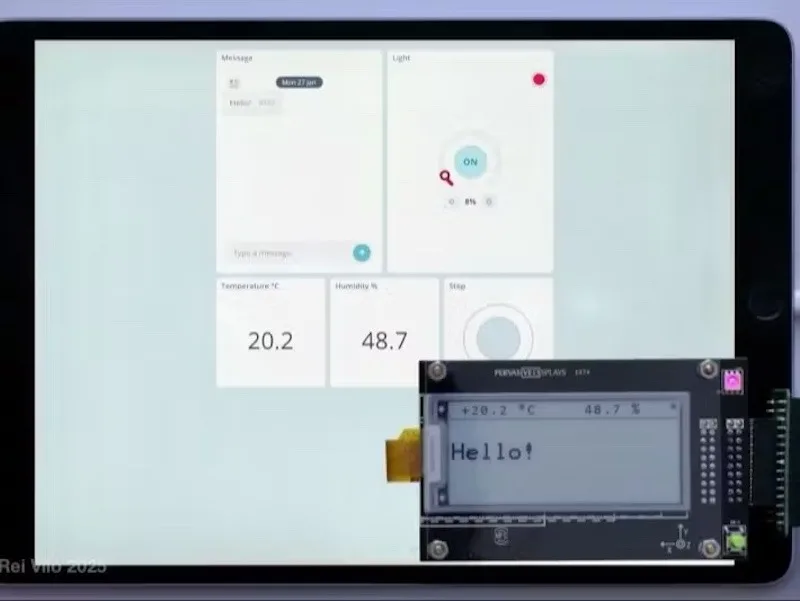
Build an e-paper weather display and message board using Arduino Cloud
Reading Time: 2 minutesIf you haven’t yet experimented with the Arduino Cloud, then you may not be aware of how powerful it is for Internet of Things (IoT) applications. Using the service and its online tools, you can quickly build and deploy smart IoT devices — often with little or no custom code required. Rei…
-

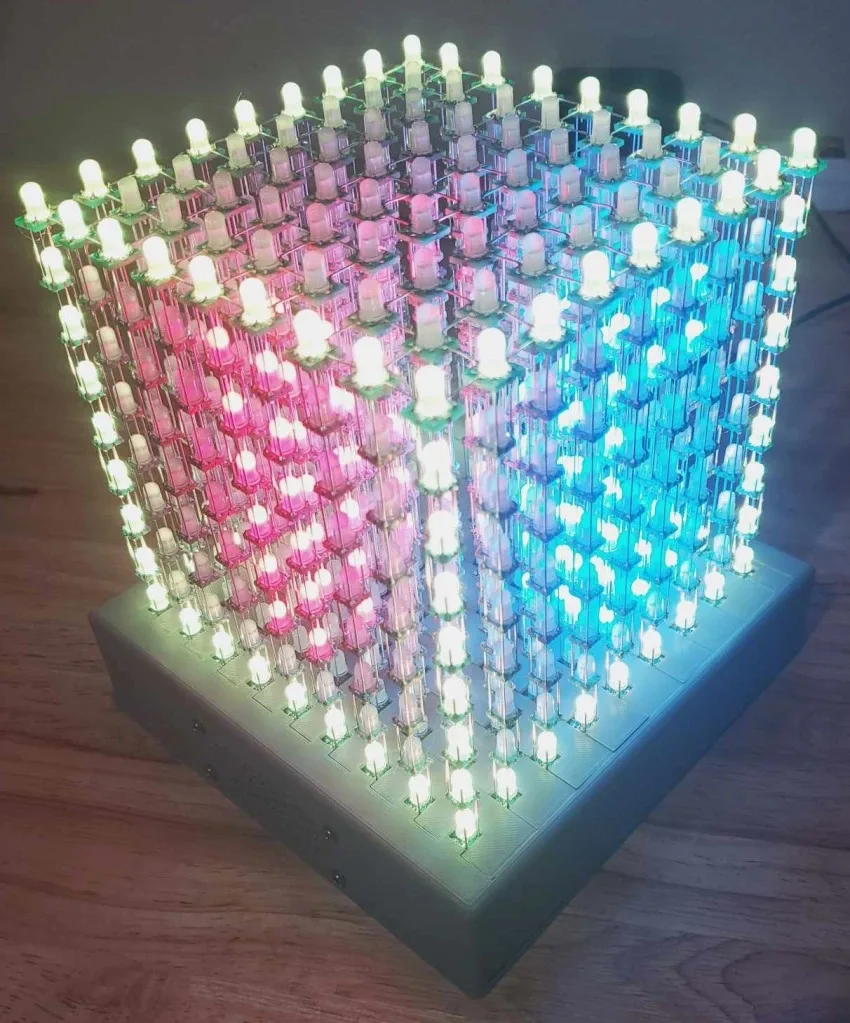
Displaying games on a 9x9x9 LED cube
Reading Time: 2 minutesMany modern video games may put your character inside of a virtual 3D environment, but you aren’t seeing that in three dimensions — your TV’s screen is only a 2D display, after all. 3D displays/glasses and VR goggles make it feel more like you’re in the 3D world, but it isn’t quite…
-

The Swervebot is an omnidirectional robot that combines LEGO and 3D-printed parts
Reading Time: 2 minutesRobotic vehicles can have a wide variety of drive mechanisms that range from a simple tricycle setup all the way to crawling legs. Alex Le’s project leverages the reliability of LEGO blocks with the customizability of 3D-printed pieces to create a highly mobile omnidirectional robot called Swervebot, which is controllable over Wi-Fi thanks…
-

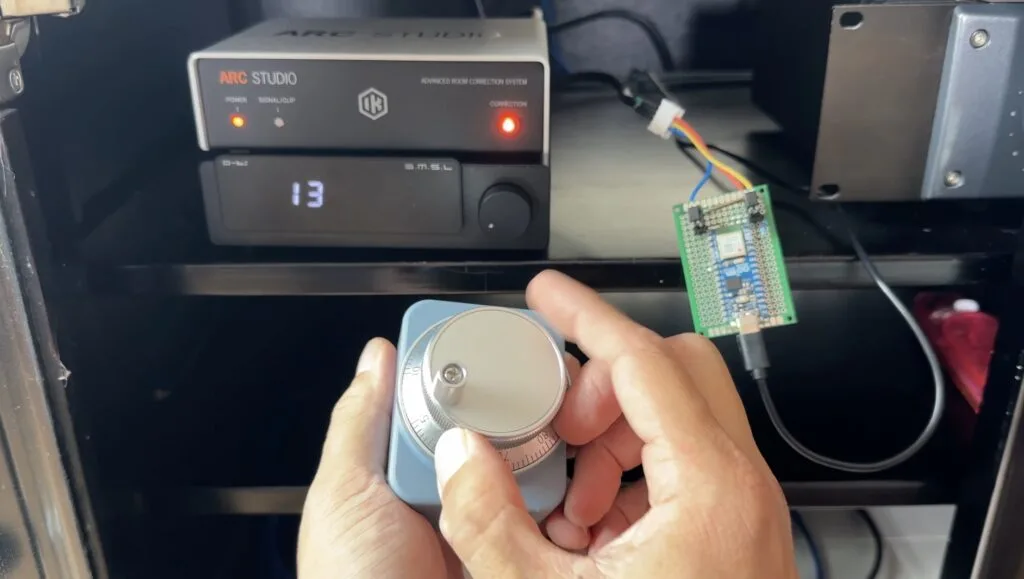
Control your volume with a wireless rotary encoder, as you deserve
Reading Time: 2 minutesEvery decent stereo sold since the invention of sound has included a knob on the front for adjusting volume. There are influencers and entire communities dedicated to evaluating the feel of those wonderful knobs. So why would you settle for the mushy volume buttons on a remote? Eric Tischer didn’t think he…
-

This nature-inspired display reacts to ambient sounds
Reading Time: 2 minutesWe all need ways to calm down and relax, and few things are as effective as nature itself. Taking inspiration from organic patterns and smooth, flowing waves, dzeng on Instructables has built an LED wall light that responds in real-time to the sounds within a room. The project started out as a 2D vector graphic that…
-
This unique wall sconce welcomes you home with warm light
Reading Time: 2 minutesHave you ever walked through your front door after a long day of work and realized that your home just isn’t as inviting as it seems like it should be? While it may not work miracles, some nice and welcoming lighting can make a big difference. That’s why Lauren Palazzi made this…
-

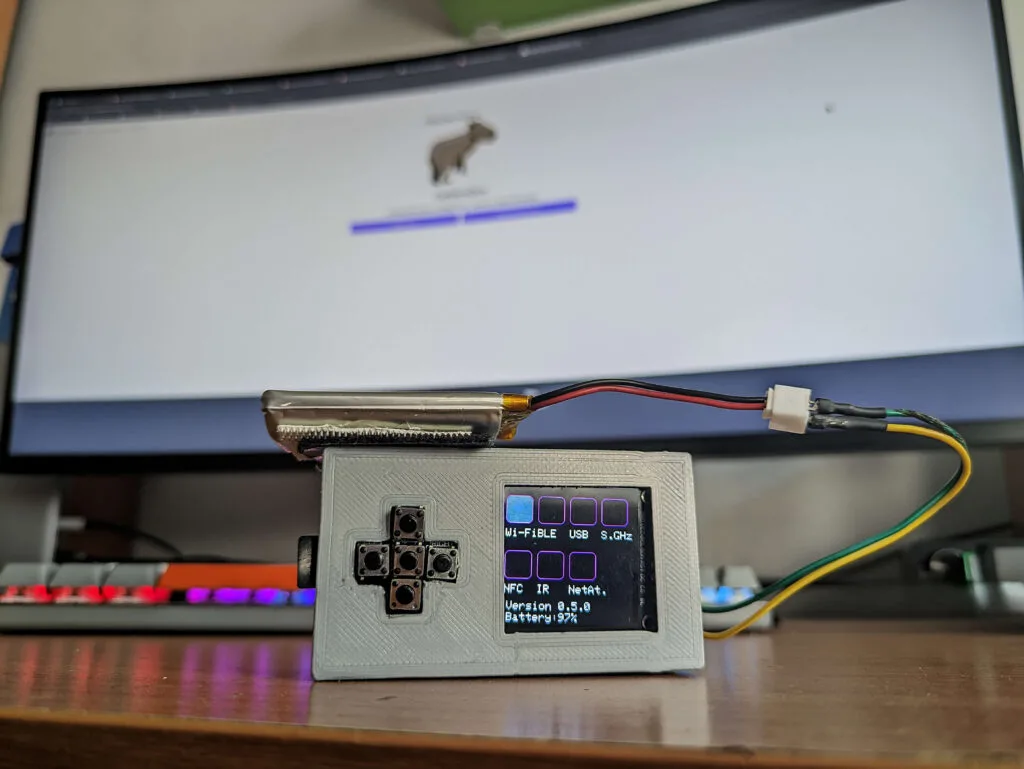
CapibaraZero: a student’s journey in reinventing hacking tools with Arduino
Reading Time: 2 minutesInventive, open-source, and cost-effective – these words perfectly describe CapibaraZero, a multifunctional security and hacking tool developed by young innovator Andrea Canale. Inspired by the popular Flipper Zero, a portable device used to interact with digital systems, Canale sought to create a more accessible, Arduino-based alternative. The original Flipper Zero, known for…
-

Marble art madness from a marvelous machine
Reading Time: 2 minutesMarbles are underrated. They’re very round, roll well, tend to be pretty shiny, and come in all sorts of neat colors. That last characteristic makes them suitable for artwork, like orbicular pixels. In his most ambitious project to date, Engineezy took advantage of those attributes (roundness and colorfulness) to build this amazing…
-
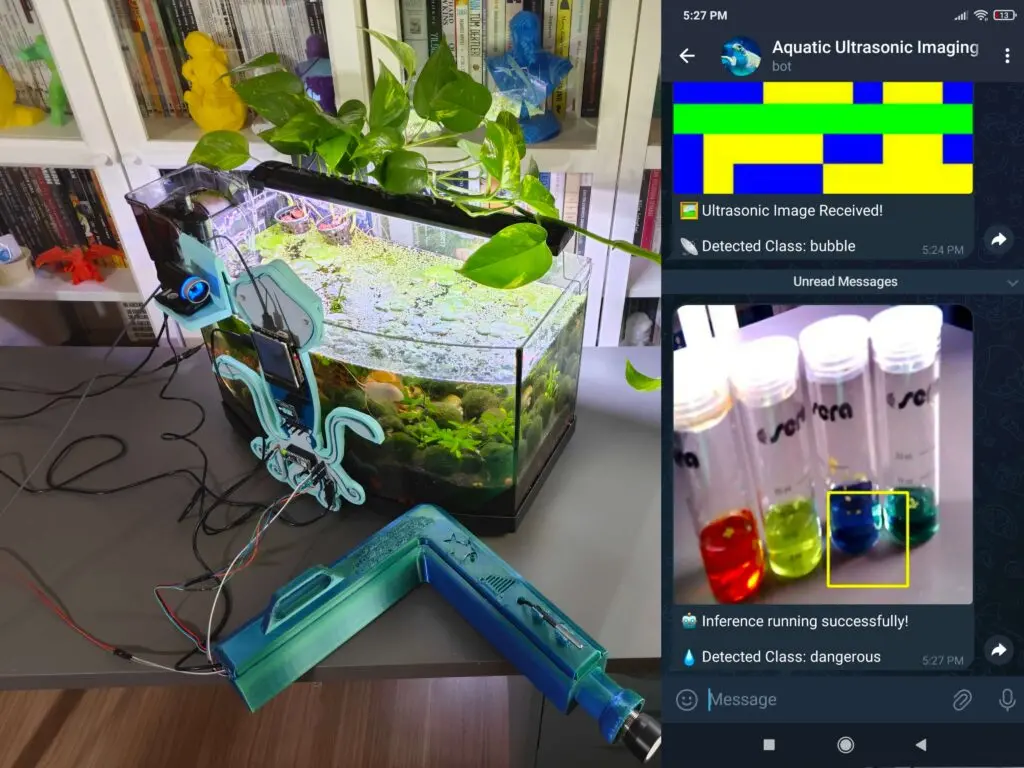
Assess your aquarium’s health with an AI-enabled ultrasonic sensor
Reading Time: 2 minutesBelow the surface of any body of water, harmful amounts of toxic gases and contaminates can accumulate, which leads to a loss in fish and plant populations if not fixed quickly. But because most water testing, especially in aquariums, is done primarily on the surface, vital information gets missed. Kutluhan Aktar’s automated testing…
-

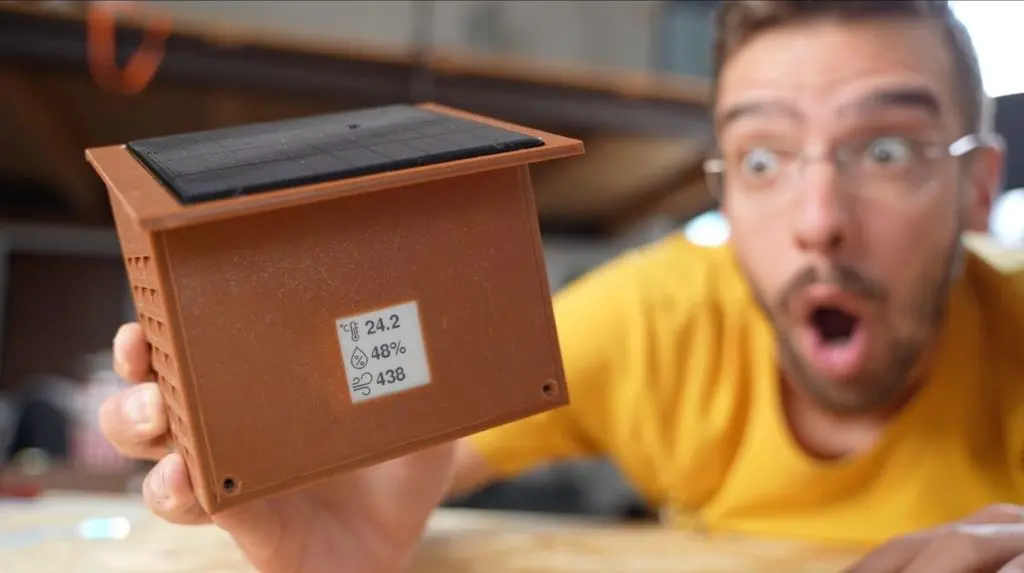
Celebrating Earth Day with a solar-powered E Ink weather station
Reading Time: 2 minutesThe world just recognized Earth Day and it was a good reminder that we all have a responsibility to protect the planet. Unfortunately, many of our devices suck up energy in direct opposition to that goal. But the market has proven that we aren’t willing to sacrifice convenience. Luckily, that isn’t always…
-

Machine learning makes fabric buttons practical
Reading Time: 2 minutesThe entire tech industry is desperate for a practical wearable HMI (Human Machine Interface) right now. The most newsworthy devices at CES this year were the Rabbit R1 and the Humane AI Pin, both of which are attempts to streamline wearable interfaces with and for AI. Both have numerous drawbacks, as do…
-

These custom Chucks are smokin’ hot kicks
Reading Time: 2 minutesOnce you get bored with the shoes on the shelves at Payless, you can dive into the fascinating world of custom sneakers. Converse Chuck Taylors are probably the most popular canvas for shoe customizers, as they offer plenty of room for paint and jewel bedazzling. But creative technologist Tigris Li took it…
-

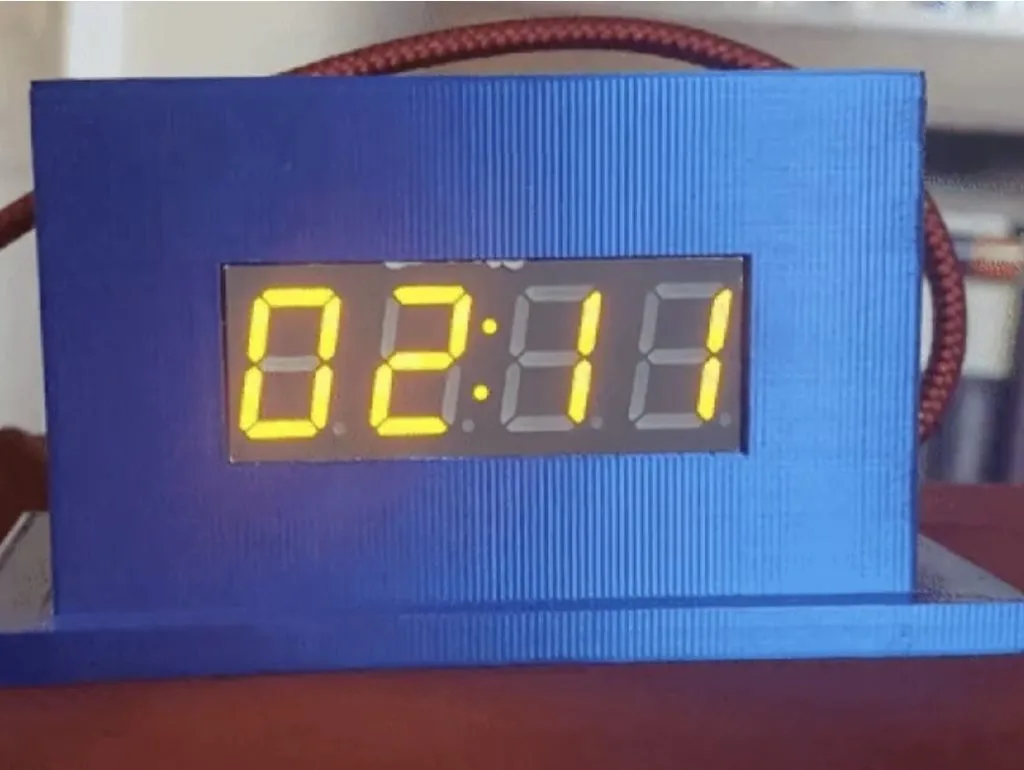
Building a minimalist network-updated digital clock with an Arduino Nano ESP32
Reading Time: 2 minutesThere are almost endless variations of clocks for sale on the internet today, but it is still easy to end up in a situation where you can’t quite find a model with the style and features you want. Marco Zonca ended up with that problem while searching for a new clock to…
-

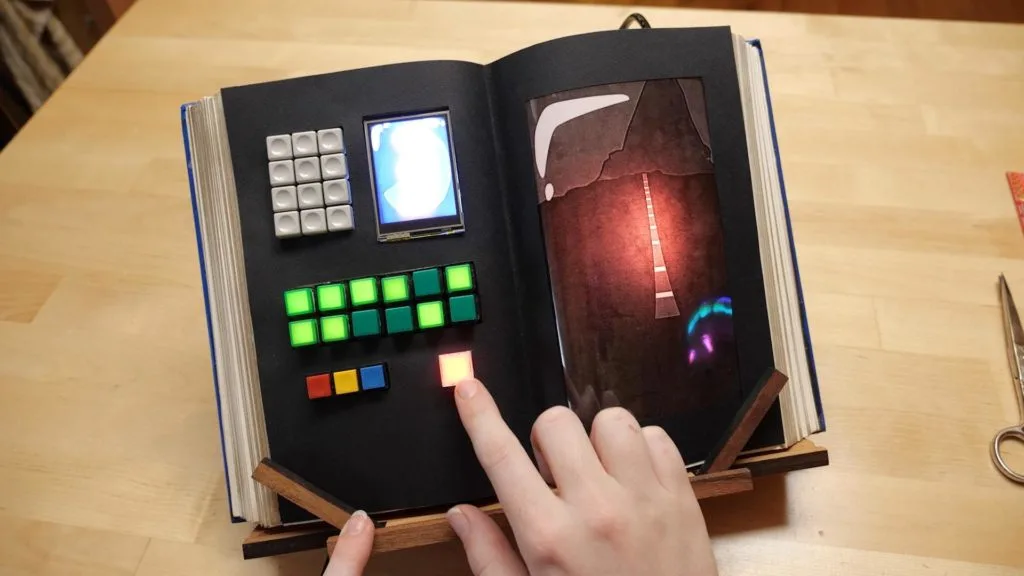
Replicating Penny’s computer book from Inspector Gadget
Reading Time: 2 minutesThe Inspector Gadget cartoon was, naturally, full of fun gadgets. Even the eponymous inspector’s niece, Penny, got some nifty gizmos. One notable example was her computer book, which was exactly what it sounds like. To pay homage to the classic cartoon, Becky Stern recreated Penny’s computer book using a pair of Arduino boards. It…
-

This spinning spiral clock is hypnotizing
Reading Time: 2 minutesSometimes makers come across products that they’d love to buy, but which are too expensive to justify. When that happens, the natural inclination of the maker is to build a DIY version. Such projects often end up costing way more — in both time and literal currency — than the product would…
-

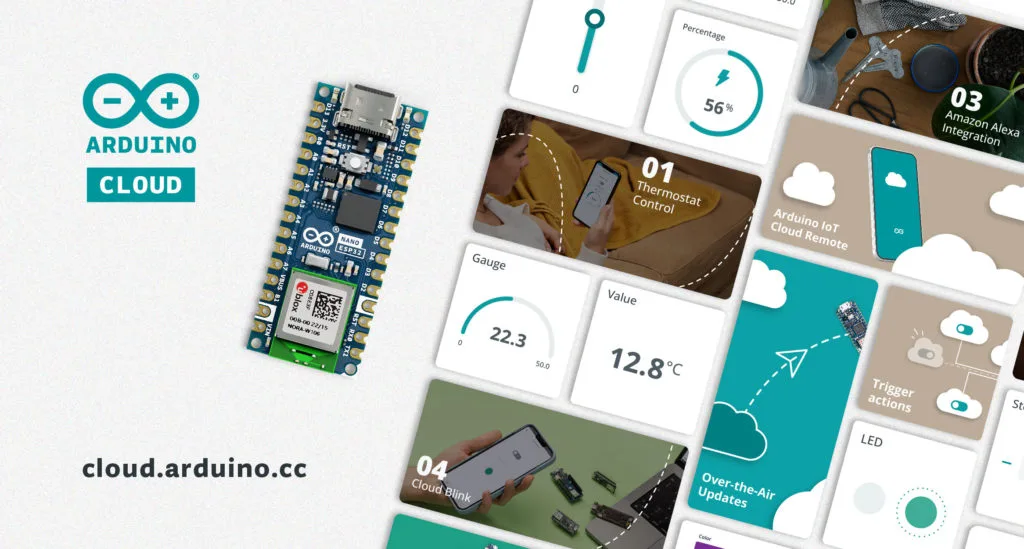
Get 30% off the Arduino Cloud Maker plan and a Nano ESP32 for just $1
Reading Time: 2 minutesAre you ready to elevate your IoT experience? Our exclusive fall offer is here, and it’s packed with incredible savings. With this promotion, you can enjoy a special 30% discount on the Arduino Cloud Maker yearly plan using the code “CLOUDNANO32.” Plus, when you select any other Arduino Cloud yearly plan (Entry,…
-

No need for buttons with this Arduino Cloud alarm clock
Reading Time: 2 minutesWhen Arduino first hit the maker scene, the world of embedded electronics was largely unconnected and offline. But as the IoT, home automation, and smart technology advanced, Arduino kept up. Today, there are a variety of Arduino development boards that offer built-in networking capability and you can use the Arduino Cloud to…
-
Your Arduino Nano ES32 can run Doom
Reading Time: 2 minutes“But can it run Doom?” is more than just a joke in the tech world. It is also a decent litmus test for the computing power of hardware. That test isn’t very relevant for modern computers, but it is still worth asking when discussing microcontrollers. Microcontrollers vary in dramatically in processing power and…
-

Play full-color games on this simple Arduino Nano ESP32-based handheld console
Reading Time: 2 minutesThere is a thriving Arduino gaming community, with many homebrew video games developed to run on Arduino development boards. Arduboy, for example, produces custom handheld consoles with games that can also run on Arduino hardware. However, many boards have microcontrollers with limited processing power and memory, which means the graphics have to…
-

Arduino Nano ESP32 becomes an ultra-low-powered, pocket-sized Linux PC
Reading Time: 2 minutesWhile many users get them confused, microcontroller development boards and single-board computers are very different things. Single-board computers can run full operating systems, like your desktop PC or laptop does. Microcontroller development boards, like those from Arduino, are usually limited to simpler firmware. But as microcontrollers become more powerful, the line gets…
-
Introducing support for the new Nano ESP32 board in Arduino Cloud
Reading Time: 2 minutesGreat news for Arduino enthusiasts! The new Nano ESP32, just released on July 17th, is now officially supported by the Arduino Cloud. This powerful combo brings MicroPython and IoT capabilities right to your fingertips, simplifying all your smart devices projects. The Nano ESP32‘s native MicroPython support empowers you to code in Python…