Retro cassette player gets modern MP3 playback and RFID functionality
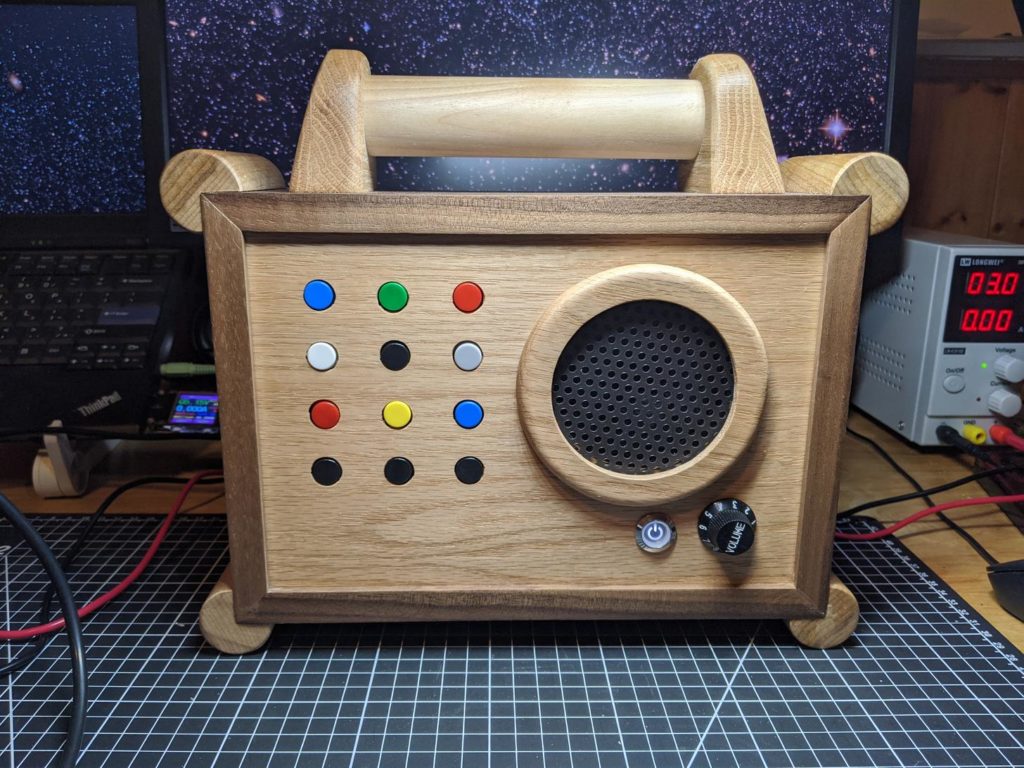
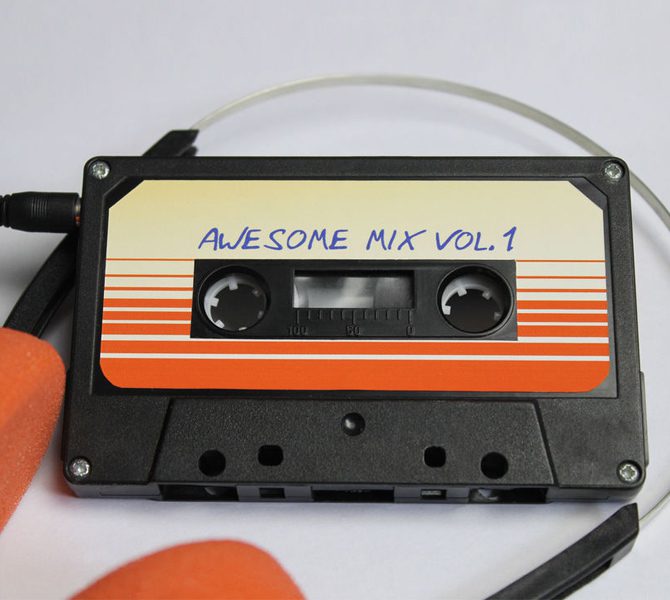
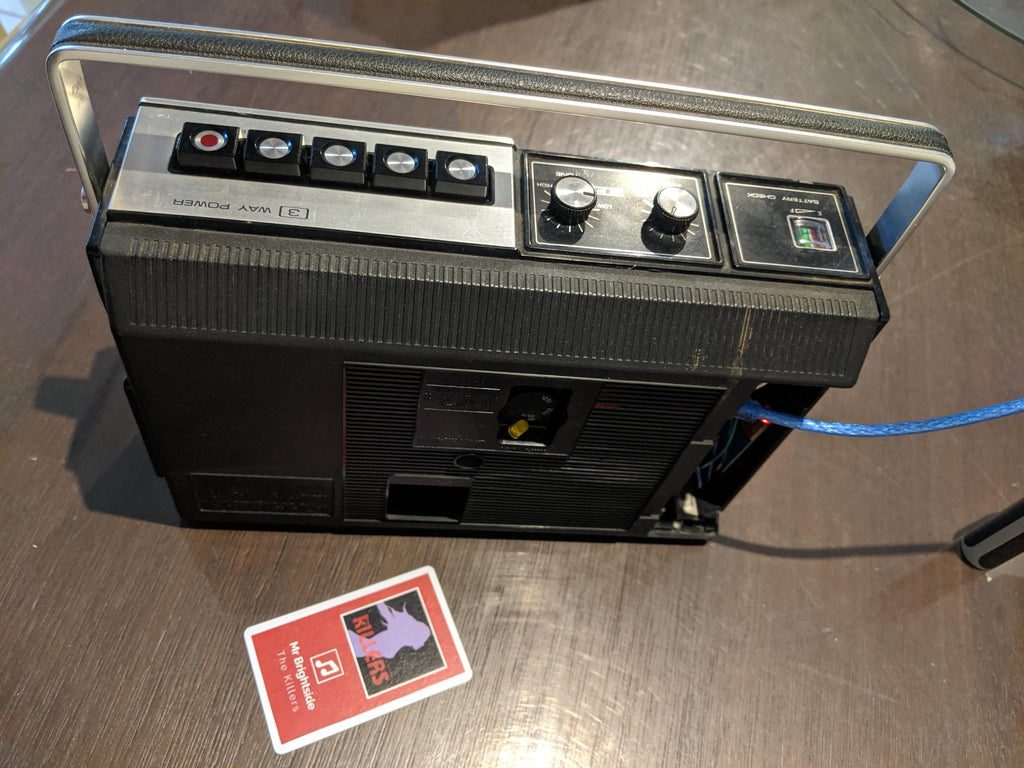
Reading Time: 2 minutesRetro cassette player gets modern MP3 playback and RFID functionality Arduino Team — November 9th, 2020 When creator mattb_138’s parents were cleaning out their house, he came across an old cassette player and decided to upgrade it with MP3 capabilities and an RFID interface. The newly-enhanced device uses an Arduino Nano for control, along with […]