Schlagwort: Model Rocketry
-

Gathering weather telemetry with a Nano 33 BLE Sense payload
Reading Time: 2 minutesMost model rockets don’t do anything practical — they just go up really fast and then come back down more slowly to land in a field somewhere. Those launches can still be a lot of fun to watch, but they aren’t exactly useful. However, the sky has plenty of data of worth…
-

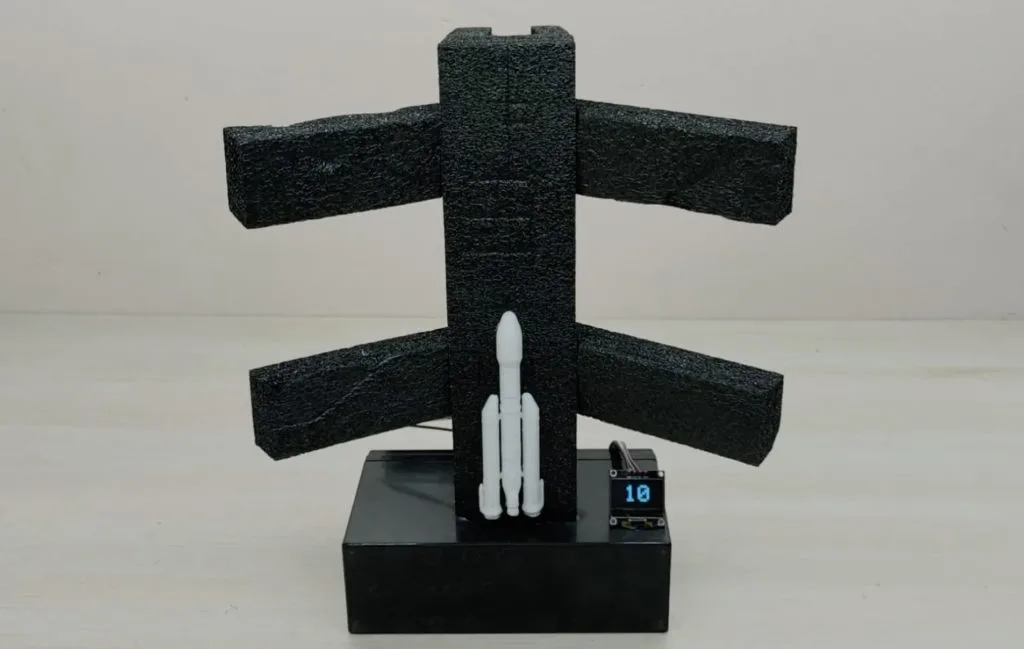
A delightful Chandrayaan-3 rocket launch model
Reading Time: 2 minutesIt may not get as much attention as NASA, Roscosmos, or even CNSA (China National Space Administration), but India’s space program has achieved some impressive goals. Just last year, in August of 2023, ISRO (Indian Space Research Organisation) completed their first soft landing on a celestial object with the Chandrayaan-3’s moon landing.…
-

Launch your model rockets over LoRaWAN with this MKR WAN 1310-powered system
Reading Time: 2 minutesDesigning, constructing, and launching your own model rockets is a great hobby for learning more about the world of aerodynamics, computer simulations, and physics as a whole. But when it comes to actually lighting the solid rocket fuel to achieve ignition, the user normally lights a fire directly on a fuse or…
-

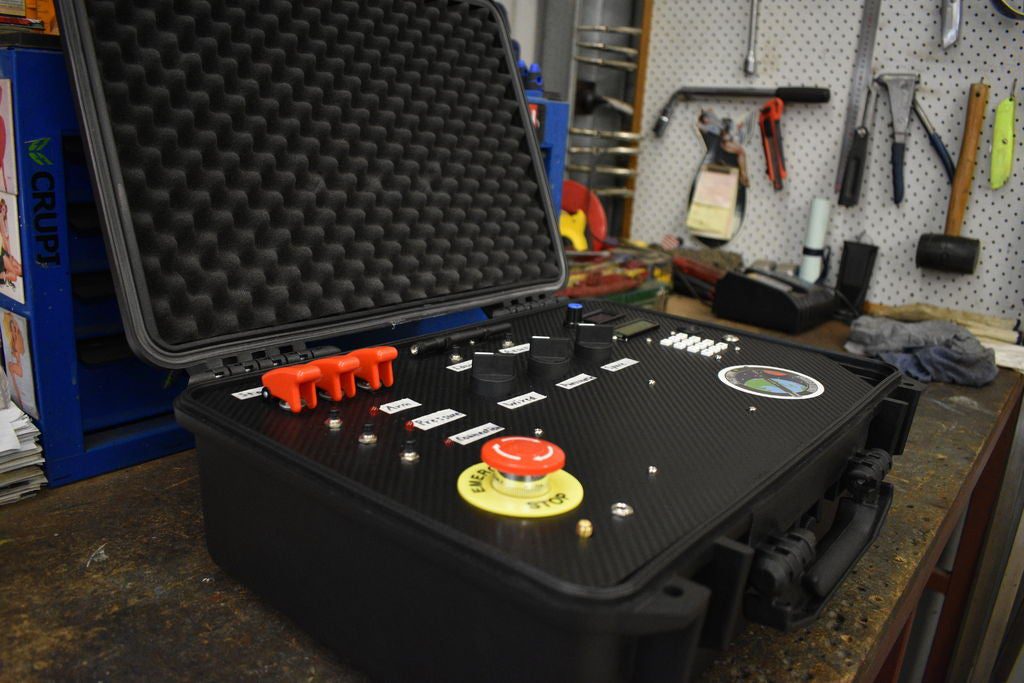
An amazingly overkill model rocket launch controller
Reading Time: 2 minutesAn amazingly overkill model rocket launch controller Arduino Team — April 28th, 2020 Eddy Robinson has spent the last six months building a model rocket complete with a thrust vector control system for stabilization, along with a correspondingly epic launch console. His “overkill controller” is packed inside a rugged case and flips…
-

An Arduino-based rocket motor thrust test stand
Reading Time: 2 minutesAn Arduino-based rocket motor thrust test stand Arduino Team — December 17th, 2018 If you enjoy model rocketry, you may wonder just what the thrust curve of the motors you’re using looks like. In order to answer that question, YouTuber ElementalMaker decided to construct his own test stand using an Arduino Uno coupled…