Schlagwort: mechanical keyboard
-

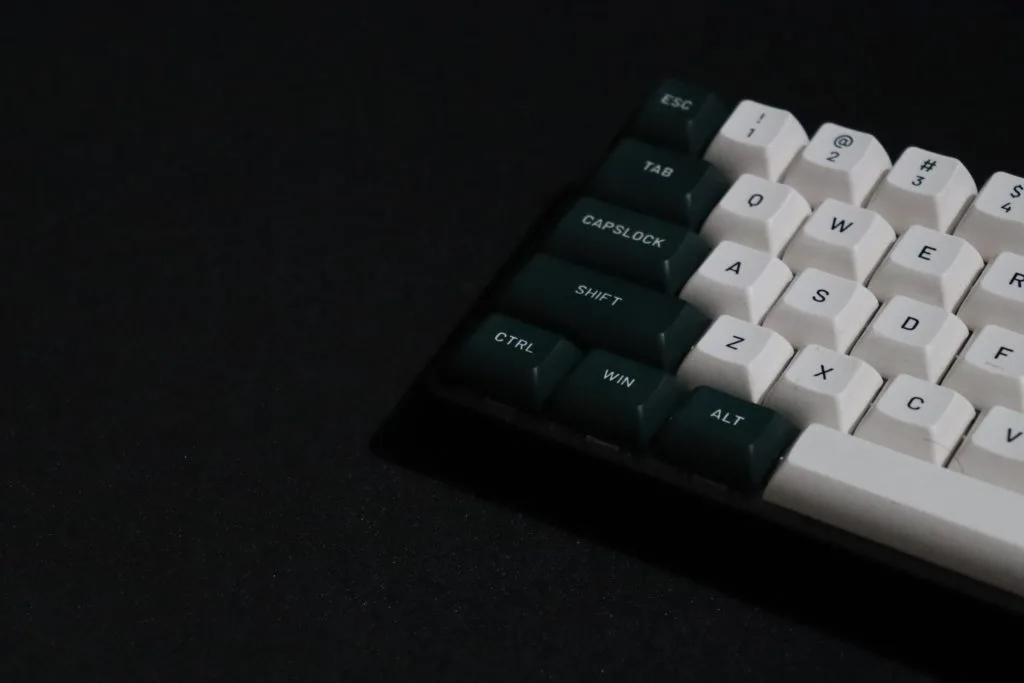
Build your own wireless hand-wired keyboards — a guide
Reading Time: 4 minutesThere are few feelings more satisfying than building your own home office or gaming setup from scratch. Sitting at your workstation knowing that everything is made just the way you like it, in exactly the way you imagined — it’s pretty neat. Today, it’s easier than ever to craft your own equipment…
-

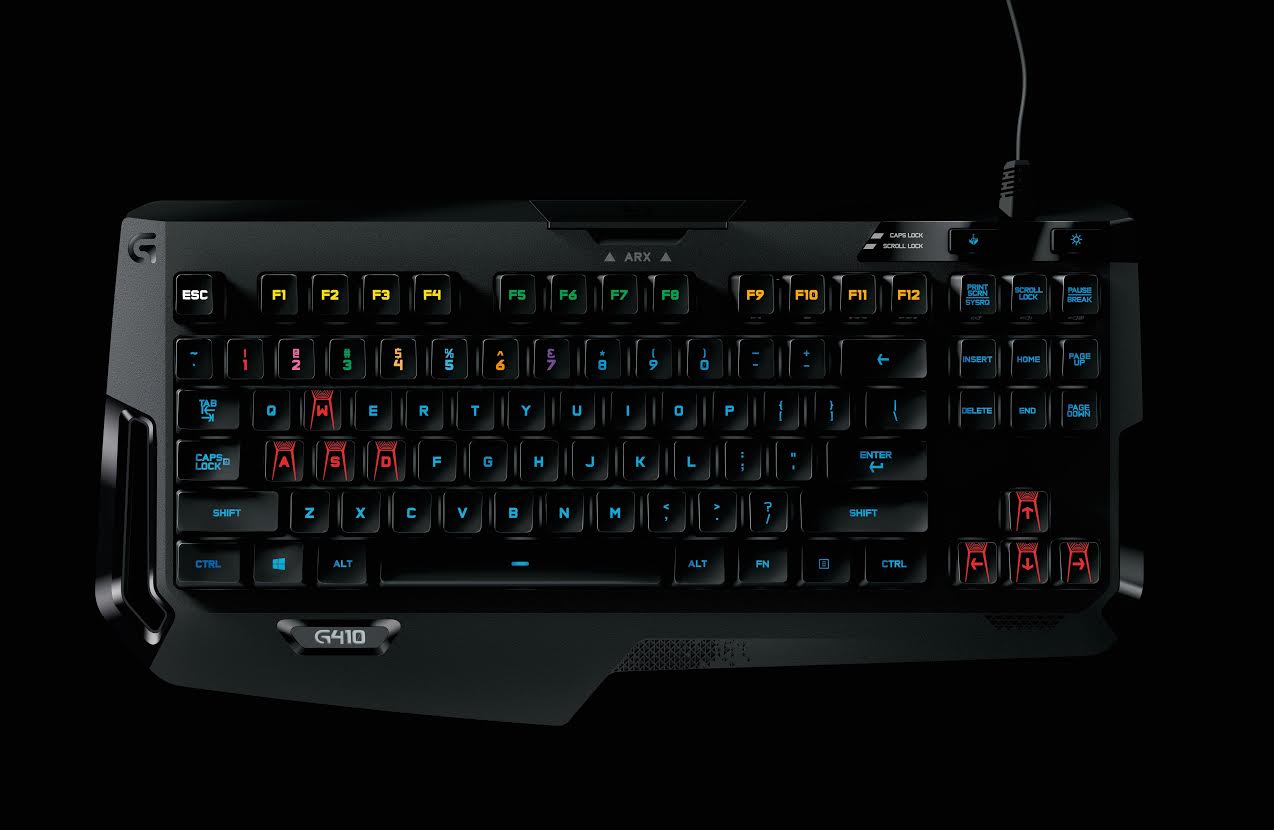
Logitech G präsentiert kompakte mechanische Tastatur!
Reading Time: 2 minutes„Wir haben eng mit Gamern und unseren E-Sport-Teams zusammengearbeitet, um diese ultra-leichte und langlebige Tastatur zu entwickeln“, erklärt Christoph Tschmelitsch, Country Manager Logitech Österreich. „Mit der G410 Atlas Spectrum sind wir auf die Wünsche unserer Fans eingegangen – die kompakte Größe gibt dem Spieler mehr Platz und Bewegungsfreiraum für die Mausführung. Außerdem…