Schlagwort: LED Display
-

Bike signal display keeps riders safe with machine learning
Reading Time: 2 minutesBike signal display keeps riders safe with machine learning Arduino Team — June 21st, 2020 Cycling can be fun, not to mention great exercise, but is also dangerous at times. In order to facilitate safety and harmony between road users on his hour-plus bike commute in Marseille, France, Maltek created his own LED…
-

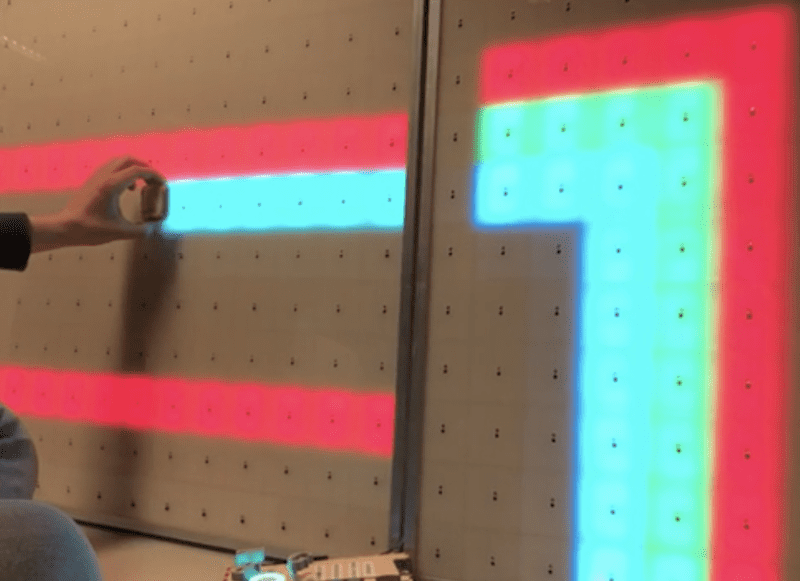
1,156 LEDs make up these dual acrylic light-up panels
Reading Time: 2 minutes1,156 LEDs make up these dual acrylic light-up panels Arduino Team — March 24th, 2020 What does one do with over 1,000 LEDs, white acrylic, and 288 IR sensors? If you’re Redditor “jordy_essen,” you create an interactive light panel. In one mode, the user pull a reflective tool across the sensors to…
-
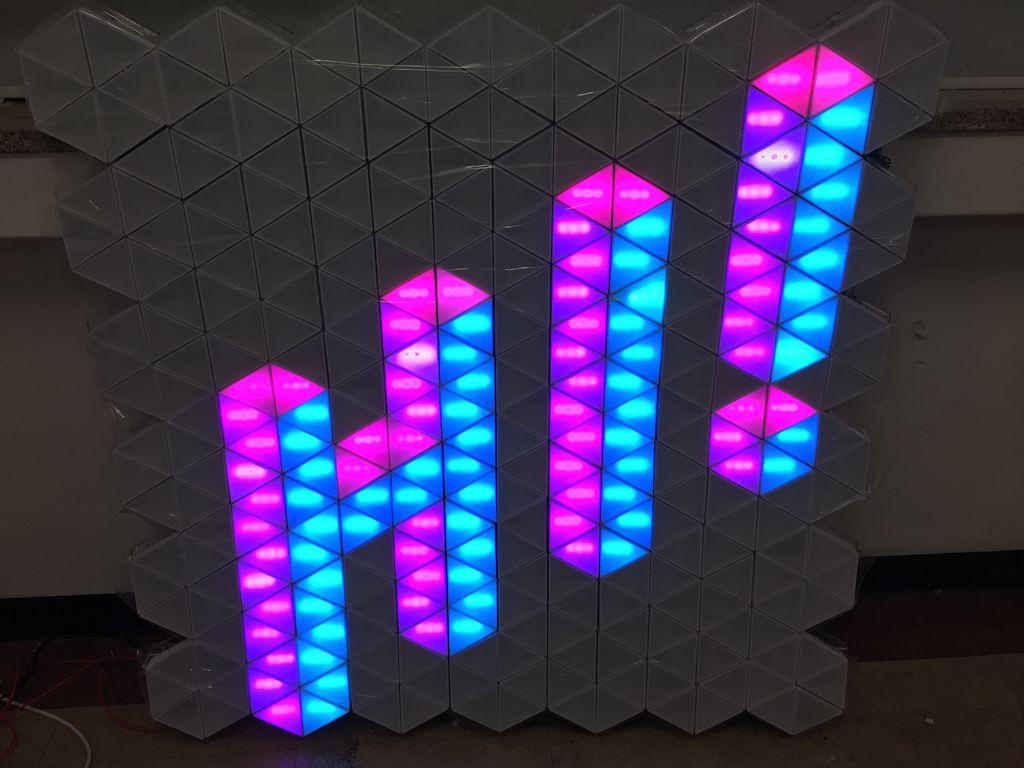
Hundreds of LED triangles combine for brilliant interactive display
Reading Time: 2 minutesHundreds of LED triangles combine for brilliant interactive display Arduino Team — January 6th, 2020 If you need another idea for how to creatively diffuse LED lighting, then look no further than the “Light Me Up!” project by Hyewon Shin, Eunjeong Ko, and Junsung Yi. Their setup uses 312 3D-printed and laser-cut…
-

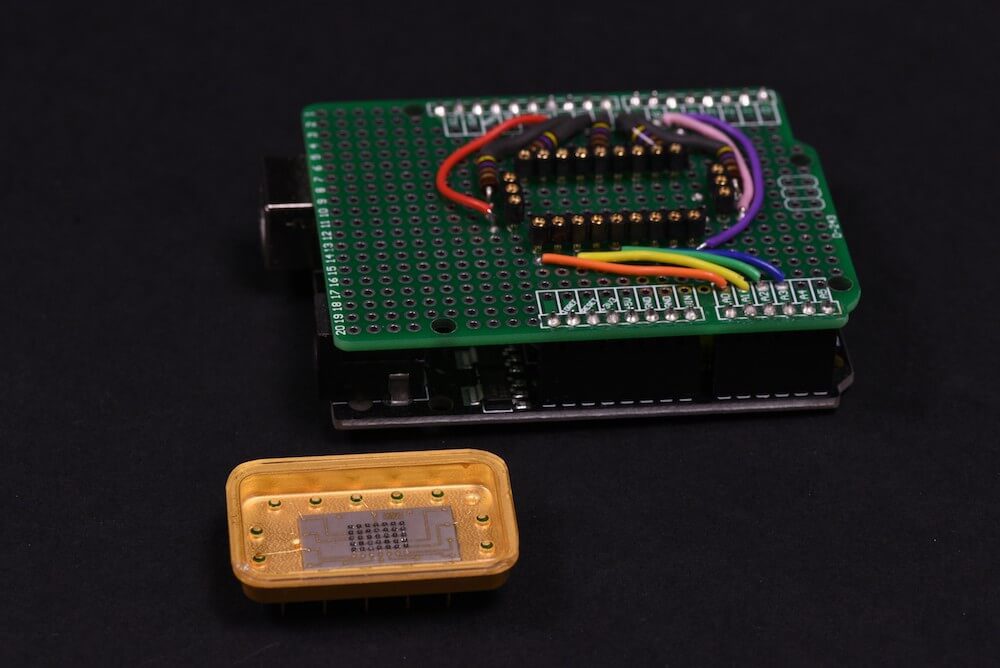
Vintage LED display prototype revived with Arduino
Reading Time: 2 minutesVintage LED display prototype revived with Arduino Arduino Team — August 22nd, 2019 Patrick Hickey has been collecting retro LED indicators and displays for decades, and his rarest item is an HP 5082-7002—a 5×7 dot matrix LED display in a beautiful gold and (possibly) sapphire enclosure. This device is so rare, in…
-
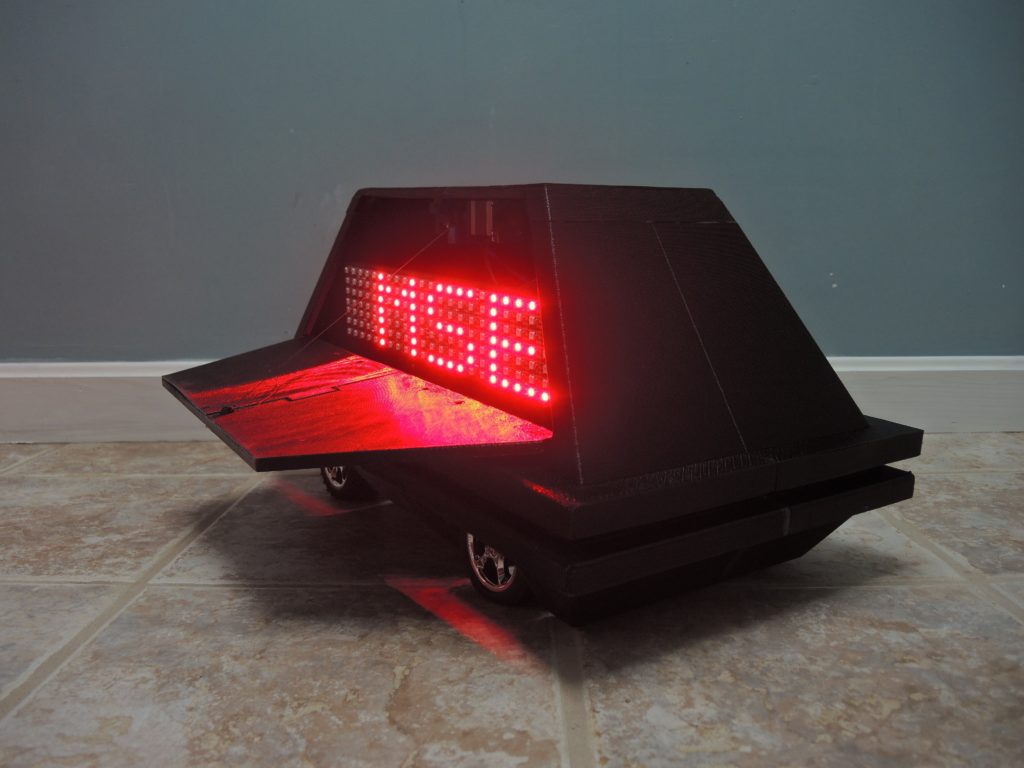
Star Wars mouse droid reveals hidden scrolling LED display
Reading Time: 2 minutesStar Wars mouse droid reveals hidden scrolling LED display Arduino Team — September 24th, 2018 In several iterations of the Star Wars saga, small black droids can be seen scurrying around imperial installations. While they tend to fade into the background or provide a fun distraction in the movies, the mouse droid…