Schlagwort: Laser Engraver
-

Improve laser engraving speeds with an Arduino-controlled turntable
Reading Time: 2 minutesEngraving items with a laser-based system at home is amazingly convenient for one-off parts, but what happens when the production volume needs to increase? For element14 Presents host Clem Mayer, this usually meant preparing many uniform pieces of engraving stock, opening the laser’s enclosure, placing down the material, and then finally running…
-

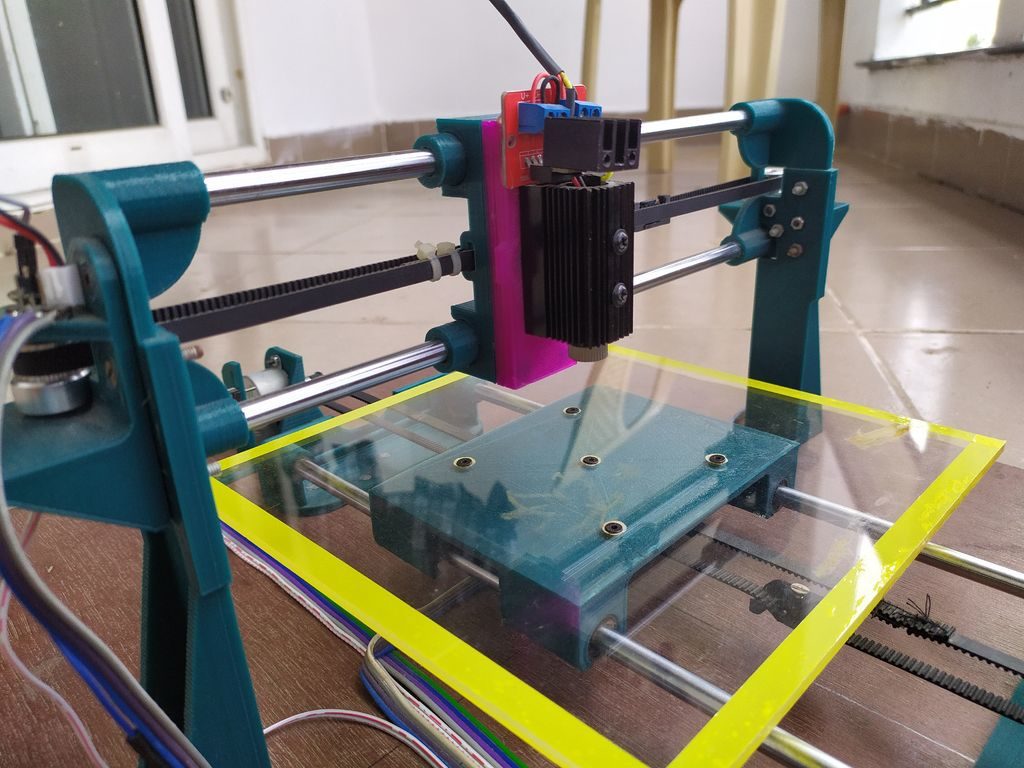
Mokey is an affordable DIY laser engraver
Reading Time: 3 minutesAll makers love lasers and they make great shop tools. Even low-power lasers can engrave a variety of materials. Cutting material requires more power, with the most popular cutting lasers being CO2 with power between 10W-100W. But the small, affordable solid state laser modules can cut some materials, like acrylic, if you…
-

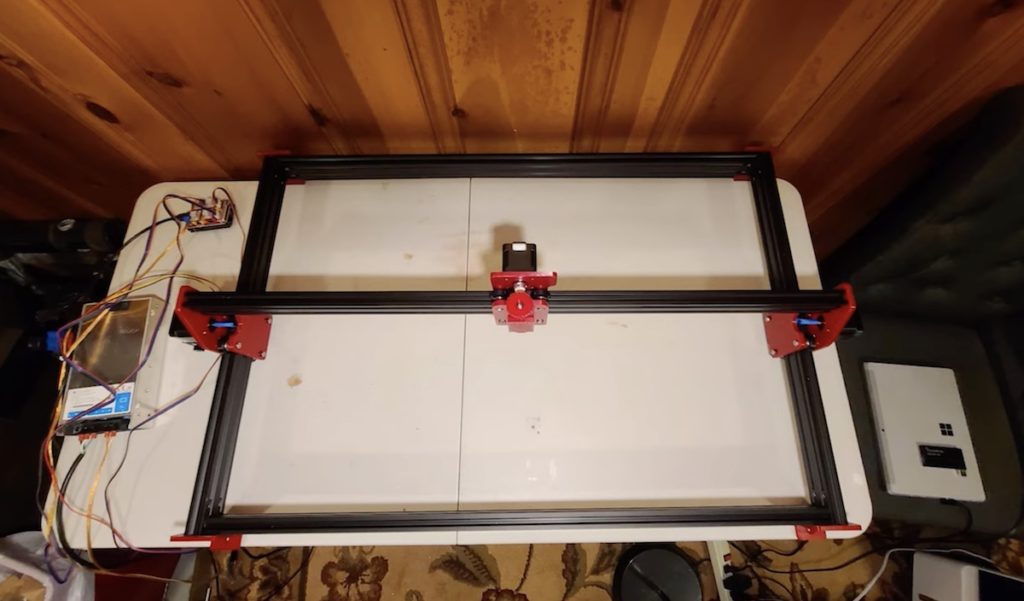
Pen plotter? Laser engraver? This DIY machine gives you both!
Reading Time: 2 minutesPen plotter? Laser engraver? This DIY machine gives you both! Arduino Team — October 30th, 2019 If you find yourself debating between a pen plotter or laser engraver, this project by Patrick Panikulam lets you have the best of both worlds in style. The DIY device pulls a writing instrument in the…