Schlagwort: Keyboards

  • Build your own wireless hand-wired keyboards — a guide

    Build your own wireless hand-wired keyboards — a guide

    Reading Time: 4 minutes

    There are few feelings more satisfying than building your own home office or gaming setup from scratch. Sitting at your workstation knowing that everything is made just the way you like it, in exactly the way you imagined — it’s pretty neat.

    Today, it’s easier than ever to craft your own equipment by hand, at home. Tools like Arduino make it possible to build sophisticated, high-tech devices that sometimes work even better than anything you can find in a store.

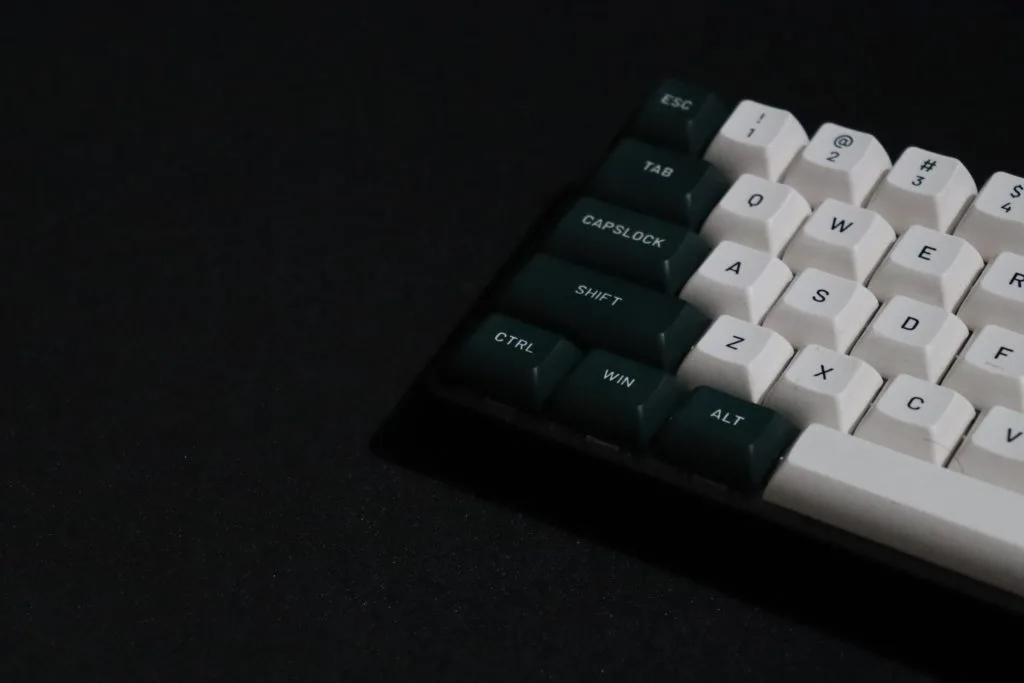
    In this article, we’ll focus on keyboards — specifically, wireless hand-wired keyboards. We’ll show you what they are, what you need to get started, and how Arduino users have tackled the challenge of designing their own.

    What is a hand-wired keyboard?

    Most store-bought keyboards use something called a PCB, or printed circuit board. A PCB is used to connect the different electronic components inside the keyboard to one another.

    In a hand-wired keyboard, there is no PCB. Instead, the components are connected by wires, by hand. This way, you have complete control over how your keyboard is designed, allowing you to assemble a keyboard that looks, feels, and works exactly how you want it to.

    Why should you make a hand-wired keyboard?

    We all know the feeling of using a keyboard that doesn’t feel quite right. And if you work from a desk, spend a lot of time gaming, or just enjoy hammering away at a keyboard for any other reason, having the right setup makes all the difference.

    Taking a DIY approach gives you the control and freedom to devise a hand-wired keyboard that is just right for you, your needs, your preferences, and your aesthetic. Not to mention, it’s a ton of fun!

    What you need to get started

    Building your own hand-wired keyboard doesn’t require a huge amount of resources or materials, and it can be done fairly cheaply with a bit of prior research and preparation. Here are the main components you’ll need:

    • A switch plate to give the keyboard structure and support your keys
    • Switches (enough for each keycap)
    • Solder wire and electrical wire
    • A 1N4148 diode for each switch
    • Wire to connect the rows and columns to the controller
    • Spacers and screws
    • Solder and a soldering iron kit

    Make your own hand-wired keyboards with Arduino

    When it comes to building your own keyboard with Arduino, you don’t need to look any further than Joe Scotto. Over the last several months, Scotto has mastered the art of building hand-wired keyboards, amassing an impressive collection of creations, and now he’s sharing his expertise with the world.

    Scotto says, “Something about handwriting just hits different, it feels like I actually built the board… if that makes sense.”

    On top of sharing his work on Reddit, Scotto also has a YouTube channel where he goes into depth about how to construct hand-wired keyboards, some of the main challenges involved, what you need to get started, and more.

    Check out some of his most popular videos below:

    [youtube https://www.youtube.com/watch?v=hjml-K-pV4E?feature=oembed&w=500&h=281]
    [youtube https://www.youtube.com/watch?v=7azQkSu0m_U?feature=oembed&w=500&h=281]
    [youtube https://www.youtube.com/watch?v=m7Q5ZjqN-ao?feature=oembed&w=500&h=281]

    Some useful tips

    Let’s run through a few tips to be aware of when creating your keyboard, so you can avoid mistakes and get the most out of the experience.

    • Know what size you want in advance. Keyboards come in a range of sizes and each one has its own pros and cons. For example, gamers tend to prefer smaller keyboards in a 60% of 65% layout, whereas for office use you might want something bigger like a TKL.
    • Be careful with soldering. Solder can produce dangerous fumes, so make sure you do this part of the process in a well-ventilated area and take precautions.
    • Don’t worry about making mistakes, embrace them! It’s unlikely that your very first attempt at a hand-wired keyboard will be perfect. That’s fine — it’s an opportunity to tweak, improve, and learn.
    • Consider adding in some neat extra features like a reset switch. You can also experiment with “split keyboards” where each side is distinct from the other.
    • A well-made, hand-wired keyboard is an impressive piece of hardware. Don’t forget to post your results online and share with the Arduino community!

    Get creative with Arduino

    Hand-wired keyboards are just one example of the many things you can make in your very own home using Arduino and a few other components. The Arduino Project Hub is full of other examples and in-depth guides from the community members to inspire and inform your next project.

    Visit our home page to learn more about Arduino and find out how to get started with your own projects.

    The post Build your own wireless hand-wired keyboards — a guide appeared first on Arduino Blog.

    Website: LINK

  • What’s inside the Raspberry Pi 4 Desktop Kit?

    What’s inside the Raspberry Pi 4 Desktop Kit?

    Reading Time: 4 minutes

    The Raspberry Pi 4 Desktop Kit is the perfect gift for any budding maker, coder, or Raspberry Pi fanatic. Get yours today from Raspberry Pi Approved Resellers across the globe, and the Raspberry Pi Store, Cambridge.

    What’s inside the Raspberry Pi 4 Desktop Kit?

    Subscribe to our YouTube channel: http://rpf.io/ytsub Help us reach a wider audience by translating our video content: http://rpf.io/yttranslate Buy a Raspberry Pi from one of our Approved Resellers: http://rpf.io/ytproducts Find out more about the #RaspberryPi Foundation: Raspberry Pi http://rpf.io/ytrpi Code Club UK http://rpf.io/ytccuk Code Club International http://rpf.io/ytcci CoderDojo http://rpf.io/ytcd Check out our free online training courses: http://rpf.io/ytfl Find your local Raspberry Jam event: http://rpf.io/ytjam Work through our free online projects: http://rpf.io/ytprojects Do you have a question about your Raspberry Pi?

    What’s inside?

    The Official Raspberry Pi 4 Desktop Kit includes all you need to hook up your Raspberry Pi to an HDMI monitor or TV and get started.

    Raspberry Pi Desktop Kit

    Raspberry Pi 4 4GB

    Released earlier this year, the Raspberry Pi 4 is the latest development from the Raspberry Pi team. Available in 1GB, 2GB and 4GB variants, the Raspberry Pi Desktop Kit is powerful enough to replace your humble desktop computer.

    Official Raspberry Pi keyboard

    Snazzy Raspberry Pi keyboard

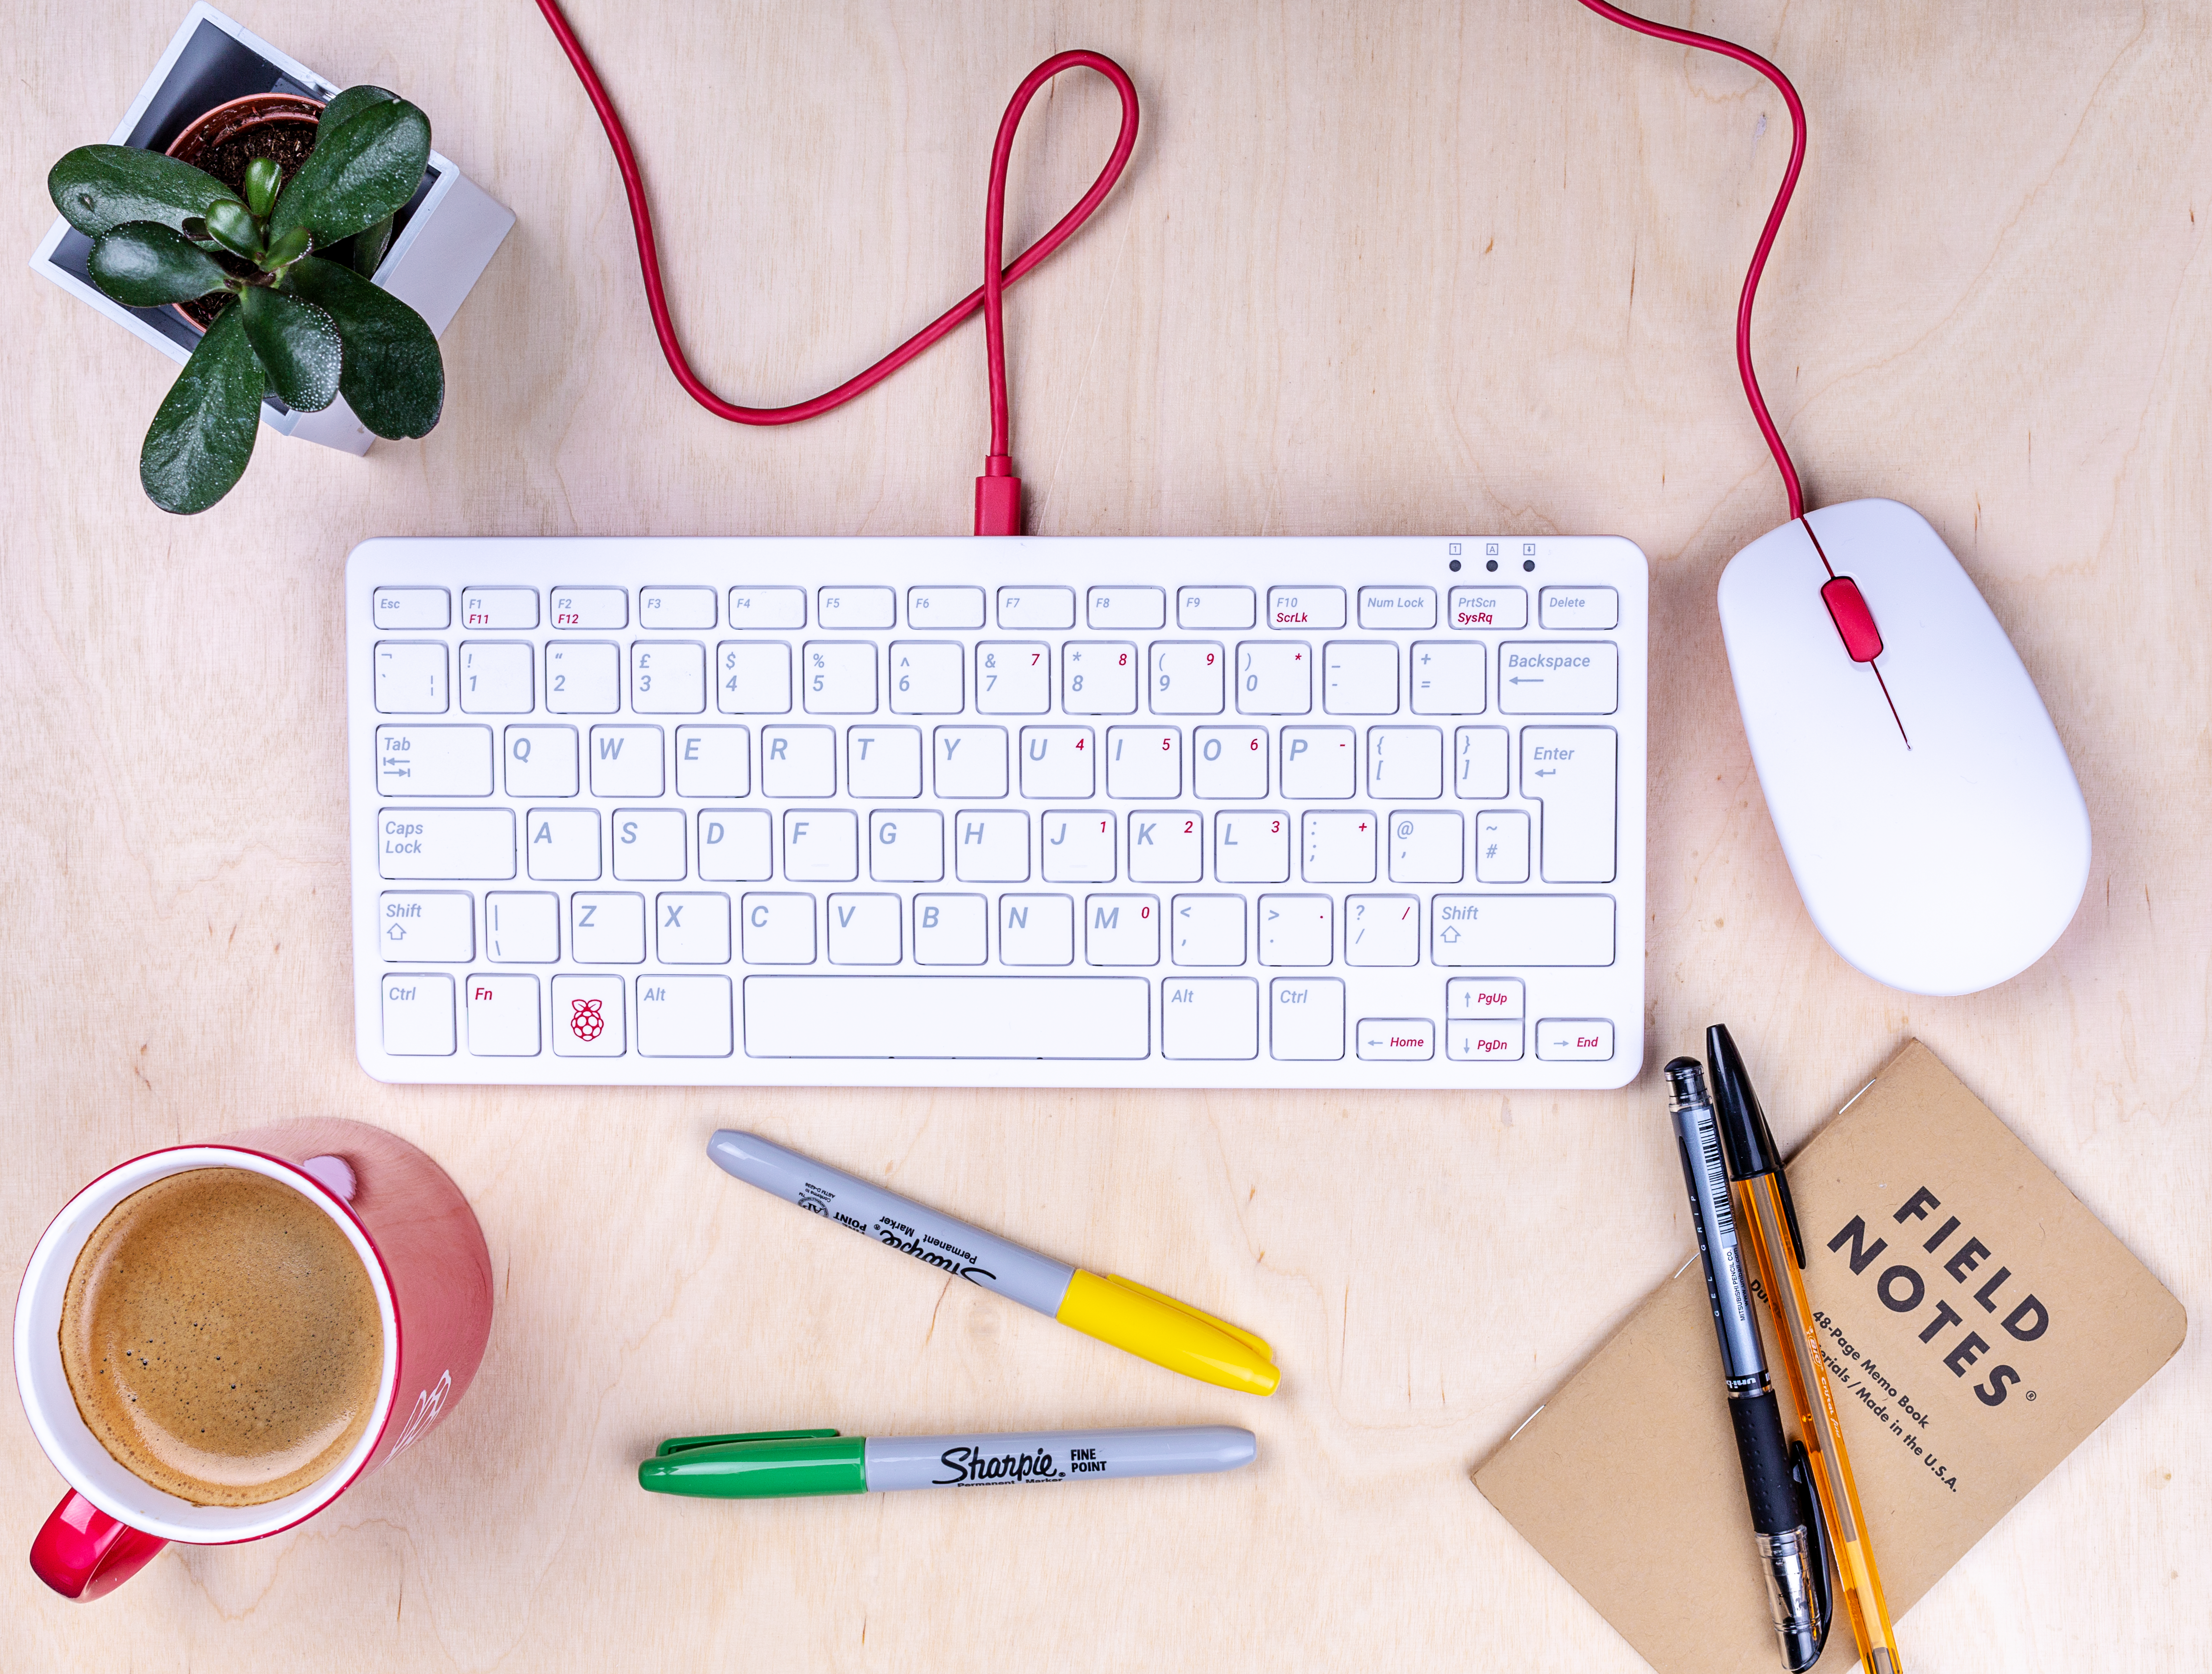
    Designed with Raspberry Pi users in mind, the new official keyboard is both aesthetically and functionally pleasing. Available in various language layouts, the keyboard also contains a USB hub, allowing for better cable management on the go.

    Official Raspberry Pi mouse

    Natty Raspberry Pi mouse

    Light-weight and comfortable to use, the official mouse is the perfect pairing for our keyboard.

    Official Raspberry Pi case

    Or this side?

    Protect your Raspberry Pi from dust and tea spills with the newly-designed Raspberry Pi 4 case. How did we design it? Find out more here.

    Official Raspberry Pi Beginners Guide

    Updated for the new Raspberry Pi 4, our Official Beginners Guide contains all the information needed to get up and running with your new computer and provides several projects to introduce you to the world of coding. It’s great, but don’t take our word for it; Wired said “The beginners guide that comes with the Desktop Kit is the nicest documentation I’ve seen with any hardware, possibly ever. ”

    Official Raspberry Pi USB-C Power Adapter

    We’ve updated the Raspberry Pis power supply to USB-C, allowing your new computer to receive all the juice it needs to run while supporting add-ons like HATs and other components.

    16GB micro SD Card with NOOBS

    Plugin and get started. With the NOOBS pre-loaded on a micro SD card, you can get up and running straight away, without the need to spend time installing your OS.

    2x Raspberry Pi Micro HDMI leads

    Two?! The Raspberry Pi 4 includes two micro HDMI connectors, which means you can run two monitors from one device.

    The immense feeling of joy that you’re making a difference in the world

    We’re a charity. 100% of the profit we make when you purchase official Raspberry Pi products goes to support the work of the Raspberry Pi Foundation, and its mission to put the power of computing and digital making into the hands of people all over the world. Thank you!

    Get your Raspberry Pi 4 Desktop Kit

    To find your nearest Raspberry Pi Approved reseller, visit our products page or the Raspberry Pi Store, Cambridge. We’re constantly working with new suppliers to ensure more availability of Raspberry Pi products across the world.

    BONUS: Un-unboxing video for Christmas

    Un-unboxing the Raspberry Pi 4 Desktop Kit

    Subscribe to our YouTube channel: http://rpf.io/ytsub Help us reach a wider audience by translating our video content: http://rpf.io/yttranslate Buy a Raspberry Pi from one of our Approved Resellers: http://rpf.io/ytproducts Find out more about the #RaspberryPi Foundation: Raspberry Pi http://rpf.io/ytrpi Code Club UK http://rpf.io/ytccuk Code Club International http://rpf.io/ytcci CoderDojo http://rpf.io/ytcd Check out our free online training courses: http://rpf.io/ytfl Find your local Raspberry Jam event: http://rpf.io/ytjam Work through our free online projects: http://rpf.io/ytprojects Do you have a question about your Raspberry Pi?

    Website: LINK

  • Designing distinctive Raspberry Pi products

    Designing distinctive Raspberry Pi products

    Reading Time: 6 minutes

    If you have one of our official cases, keyboards or mice, or if you’ve visited the Raspberry Pi Store in Cambridge, UK, then you know the work of Kinneir Dufort. Their design has become a part of our brand that’s recognised the world over. Here’s an account from the team there of their work with us.

    Over the last six years, our team at Kinneir Dufort have been privileged to support Raspberry Pi in the design and development of many of their products and accessories. 2019 has been another landmark year in the incredible Raspberry Pi story, with the opening of the Raspberry Pi store in February, the launch of the official keyboard and mouse in April, followed by the launch of Raspberry Pi 4 in June.

    We first met Eben, Gordon and James in 2013 when we were invited to propose design concepts for an official case for Raspberry Pi Model B. For the KD team, this represented a tremendously exciting opportunity: here was an organisation with a clear purpose, who had already started making waves in the computing and education market, and who saw how design could be a potent ingredient in the presentation and communication of the Raspberry Pi proposition.

    Alongside specific design requirements for the Model B case, the early design work also considered the more holistic view of what the 3D design language of Raspberry Pi should be. Working closely with the team, we started to define some key design principles which have remained as foundations for all the products since:

    • Visibility of the board as the “hero” of the product
    • Accessibility to the board, quickly and simply, without tools
    • Adaptability for different uses, including encouragement to “hack” the case
    • Value expressed through low cost and high quality
    • Simplicity of form and detailing
    • Boldness to be unique and distinctively “Raspberry Pi”

    Whilst maintaining a core of consistency in the product look and feel, these principles have been applied with different emphases to suit each product’s needs and functions. The Zero case, which started as a provocative “shall we do this?” sketch visual sent to the team by our Senior Designer John Cowan-Hughes after the original case had started to deliver a return on investment, was all about maximum simplicity combined with adaptability via its interchangeable lids.

    Photo of three Raspberry Pi Zero cases from three different angles, showing the lid of a closed case, the base of a closed case, and an open case with an apparently floating lid and a Raspberry Pi Zero visible inside.

    The ‘levitating lid’ version of the Zero case is not yet publically available

    Later, with the 3A+ case, we started with the two-part case simplicity of the Zero case and applied careful detailing to ensure that we could accommodate access to all the connectors without overcomplicating the injection mould tooling. On Raspberry Pi 4, we retained the two-part simplicity in the case, but introduced new details, such as the gloss chamfer around the edge of the case, and additional material thickness and weight to enhance the quality and value for use with Raspberry Pi’s flagship product.

    After the success of the KD design work on Raspberry Pi cases, the KD team were asked to develop the official keyboard and mouse. Working closely with the Raspberry Pi team, we explored the potential for adding unique features but, rightly, chose to do the simple things well and to use design to help deliver the quality, value and distinctiveness now integrally associated with Raspberry Pi products. This consistency of visual language, when combined with the Raspberry Pi 4 and its case, has seen the creation of a Raspberry Pi as a new type of deconstructed desktop computer which, in line with Raspberry Pi’s mission, changes the way we think about, and engage with, computers.

    The launch of the Cambridge store in February – another bold Raspberry Pi move which we were also delighted to support in the early planning and design stages – provides a comprehensive view of how all the design elements work together to support the communication of the Raspberry Pi message. Great credit should go to the in-house Raspberry Pi design team for their work in the development and implementation of the visual language of the brand, so beautifully evident in the store.

    Small tabletop model of the side walls, rear walls, front windows, and floor of the Raspberry Pi Store. The model is annotated with handwritten Post-It notes in a variety of colours.

    An early sketch model of the Raspberry Pi Store

    In terms of process, at KD we start with a brief – typically discussed verbally with the Raspberry Pi team – which we translate into key objectives and required features. From there, we generally start to explore ideas with sketches and basic mock-ups, progressively reviewing, testing and iterating the concepts.

    Top-down photo of a desk covered with white paper on which are a couple of Raspberry Pis and several cases. The hands of someone sketching red and white cases on the paper are visible. Also visible are the hands of someone measuring something with digital calipers, beside a laptop on the screen of which is a CAD model of a Raspberry Pi case.

    Sketching and modelling and reviewing

    For evaluating designs for products such as the cases, keyboard and mouse, we make considerable use of our in-house 3D printing resources and prototyping team. These often provide a great opportunity for the Raspberry Pi team to get hands on with the design – most notably when Eben took a hacksaw to one of our lovingly prepared 3D-printed prototypes!

    Phone photo of Eben sitting at a desk and hacksawing a white 3D-printed prototype Raspberry Pi case

    EBEN YOUR FINGERS

    Sometimes, despite hours of reviewing sketches and drawings, and decades of experience, it’s not until you get hands-on with the design that you can see further improvements, or you suddenly spot a new approach – what if we do this? And that’s the great thing about how our two teams work together: always seeking to share and exchange ideas, ultimately to produce better products.

    Photo of three people sitting at a table in an office handling and discussing 3D-printed Raspberry Pi case prototypes

    There’s no substitute for getting hands-on

    Back to the prototype! Once the prototype design is agreed, we work with 3D CAD tools and progress the design towards a manufacturable solution, collaborating closely with injection moulding manufacturing partners T-Zero to optimise the design for production efficiency and quality of detailing.

    One important aspect that underpins all our design work is that we always start with consideration for the people we are designing for – whether that’s a home user setting up a media centre, an IT professional using Raspberry Pi as a web server, a group of schoolchildren building a weather station, or a parent looking to encourage their kid to code.

    Engagement with the informed, proactive and enthusiastic online Raspberry Pi community is a tremendous asset. The instant feedback, comments, ideas and scrutiny posted on Raspberry Pi forums is powerful and healthy; we listen and learn from this, taking the insight we gain into each new product that we develop. Of course, with such a wide and diverse community, it’s not easy to please everyone all of the time, but that won’t stop us trying – keep your thoughts and feedback coming to [email protected]!

    If you’d like to know more about KD, or the projects we work on, check out our blog posts and podcasts at www.kinneirdufort.com.

    Website: LINK

  • We asked our engineers your Raspberry Pi 4 questions…

    We asked our engineers your Raspberry Pi 4 questions…

    Reading Time: < 1 minute

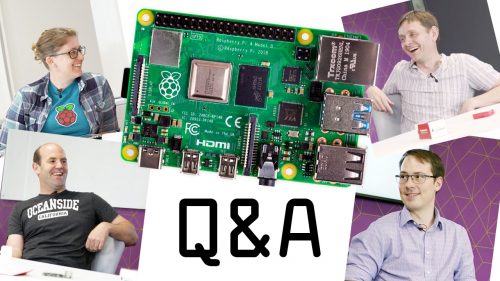
    We collected some of the most common Raspberry Pi 4 questions asked by you, our community, and sat down with Eben Upton, James Adams, and Gordon Hollingworth to get some answers.

    Raspberry Pi 4 Q&A

    We grilled our engineers with your Raspberry Pi 4 questions Subscribe to our YouTube channel: http://rpf.io/ytsub Help us reach a wider audience by translating our video content: http://rpf.io/yttranslate Buy a Raspberry Pi from one of our Approved Resellers: http://rpf.io/ytproducts Find out more about the #RaspberryPi Foundation: Raspberry Pi http://rpf.io/ytrpi Code Club UK http://rpf.io/ytccuk Code Club International http://rpf.io/ytcci CoderDojo http://rpf.io/ytcd Check out our free online training courses: http://rpf.io/ytfl Find your local Raspberry Jam event: http://rpf.io/ytjam Work through our free online projects: http://rpf.io/ytprojects Do you have a question about your Raspberry Pi?

    Do you have more questions about our new board or accessories? Leave them in the comments of our YouTube video, or in the comments below, and we’ll collect some of the most commonly asked questions together for another Q&A session further down the line.

    Website: LINK

  • Buy the official Raspberry Pi keyboard and mouse

    Buy the official Raspberry Pi keyboard and mouse

    Reading Time: 4 minutes

    Liz interjects with a TL;DR: you can buy our official (and very lovely) keyboard and mouse from today from all good Raspberry Pi retailers. We’re very proud of them. Get ’em while they’re hot!

    Alex interjects with her own TL;DR: the keyboard is currently available in six layouts – English (UK), English (US), Spanish, French, German, and Italian – and we plan on producing more soon. Also, this video…what is…why is my left hand so weird at typing?!

    New and official Raspberry Pi keyboard and mouse

    It does what keyboards and mice do. Well, no, not what MICE do, but you get it.

    Over to Simon for more on the development.

    Magical mystery tour

    When I joined Raspberry Pi, there was a feeling that we should be making our own keyboards and mice, which could be sold separately or put into kits. My first assignment was the task of making this a reality.

    It was clear early on that the only way we could compete on plastic housings and keyboard matrix assemblies was to get these manufactured and tested in China – we’d love to have done the job in the UK, but we just couldn’t get the logistics to work. So for the past few months, I have been disappearing off on mysterious trips to Shenzhen in China. The reason for these trips was a secret to my friends and family, and the only stories I could tell were of the exotic food I ate. It’s a great relief to finally be able to talk about what I’ve been up to!

    I’m delighted to announce the official Raspberry Pi keyboard with integrated USB Hub, and the official Raspberry Pi mouse.

    Raspberry Pi official keyboard

    Raspberry Pi official mouse

    The mouse is a three-button, scroll-wheel optical device with Raspberry Pi logos on the base and cable, coloured to match the Pi case. We opted for high-quality Omron switches to give the click the best quality feel, and we adjusted the weight of it to give it the best response to movement. I think you’ll like it.

    Raspberry Pi official mouse

    Raspberry Pi official keyboard

    The keyboard is a 78-key matrix, like those more commonly found in laptop computers. This is the same compact style used in previous Pi kits, just an awful lot nicer. We went through many prototype revisions to get the feel of the keys right, reduce the light leaks from the Caps Lock and Num Lock LEDs (who would have thought that red LEDs are transparent to red plastics?) and the surprisingly difficult task of getting the colours consistent.

    Country-specific keyboards

    The PCB for the keyboard and hub was designed by Raspberry Pi, so we control the quality of components and assembly.

    We fitted the best USB hub IC we could find, and we worked with Holtek on custom firmware for the key matrix management. The outcome of this is the ability for the Pi to auto-detect what country the keyboard is configured for. We plan to provide a range of country-specific keyboards: we’re launching today with the UK, US, Germany, France, Italy, Spain – and there will be many more to follow.

    And even if I say so myself, it’s really nice to have the matching kit of keyboard, mouse and Raspberry Pi case on your desk. Happy coding!

    Buy yours today

    The Raspberry Pi official keyboard and mouse are both available from our Approved Resellers. You can find your nearest Approved Reseller by selecting your country in the drop-down menu on our products pages.

    Raspberry Pi starter kit

    The official keyboard, in the English (UK) layout, and the mouse are also available at the Raspberry Pi shop in Cambridge, UK, and can be purchased individually or as part of our new Raspberry Pi Starter Kit, exclusive to our shop (for now!)

    Website: LINK