Schlagwort: home automation
-

Using Smart Home Tech to Care for Your Pets
Reading Time: 5 minutesSmart home technology has a ton of useful and fascinating use cases for humans, but what about our pets? For most of us, our furry friends are members of the family, and if we can make modifications to our home to help them, we do it. The good news here is that…
-

Improve Your Cooking with Home Automation
Reading Time: 4 minutesCooking is something many of us love to do at home. There are few feelings more rewarding and satisfying than throwing together a delicious meal in your own kitchen and sharing it with family or friends. However, cooking can be tough. There are lots of things to pay attention to, lots that…
-

Transform the way you organize your home with Arduino
Reading Time: 4 minutesOne of the wonderful things about living in the modern world is having full cupboards, pantries, and wardrobes. But this privilege also comes with downsides — managing all the various items we own can be a headache and can lead to confusion and stress. The good news is that storage doesn’t have…
-
40+ Ideas For Your Next Home Automation Project with Arduino Cloud
Reading Time: 3 minutesArduino Team — September 2nd, 2022 Home automation has increasingly become a need in our lives. Without even noticing it we have been adding connected elements to our homes and buildings to make our lives easier and nowadays we are surrounded by electronic devices that monitor our environment, control our lighting systems…
-
Connect your space heater to the Arduino Cloud and control it via Alexa
Reading Time: 2 minutesArduino Team — October 13th, 2021 Being able to design your own custom smart home device is a great way to both have fun experimenting with various hardware/software and to escape the walled IoT device ecosystems that so many users find themselves trapped within. One maker who goes by mrdesha came up with…
-
Self-contained, Arduino Cloud-connected home monitoring module
Reading Time: 3 minutesHome monitoring is a big part of home automation, but it’s often overshadowed. Our attention tends to get hijacked by cool projects that perform physical actions. Whether it’s turning the lights on, changing their color, running a robot vacuum cleaner, pulling on the blinds or watering the garden. All these actions are…
-
Automate your home on the cheap with this Arduino setup
Reading Time: 2 minutesArduino Team — July 6th, 2021 All too often, those who are new to Arduino struggle with creating large projects due to a lack of experience and components. This can be frustrating, but Instructables user MAKE_IT WITH_ME decided to tackle this issue by designing a super cheap way to automate home circuitry from just a single…
-

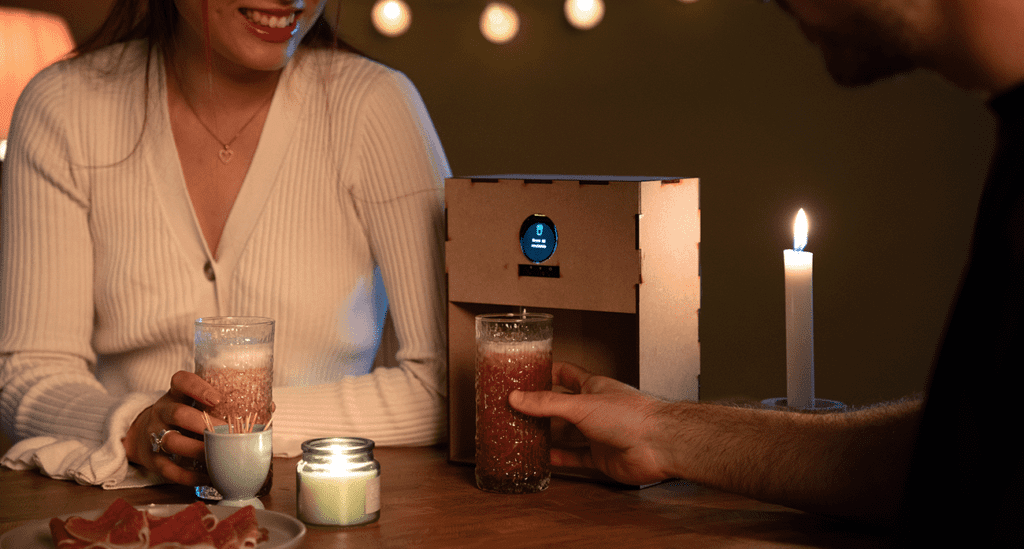
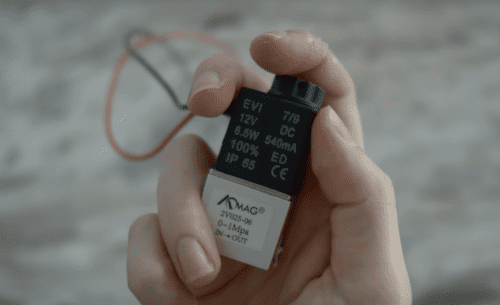
Raspberry Pi automatically refills your water bottle
Reading Time: 3 minutesYouTuber Chris Courses takes hydration seriously, but all those minutes spent filling up water bottles take a toll. 15 hours per year, to be exact. Chris regularly uses three differently sized water bottles and wanted to build something to fill them all to their exact measurements. [youtube https://www.youtube.com/watch?v=S3okv0jYZUc?feature=oembed&w=500&h=281] (Polite readers may like…
-

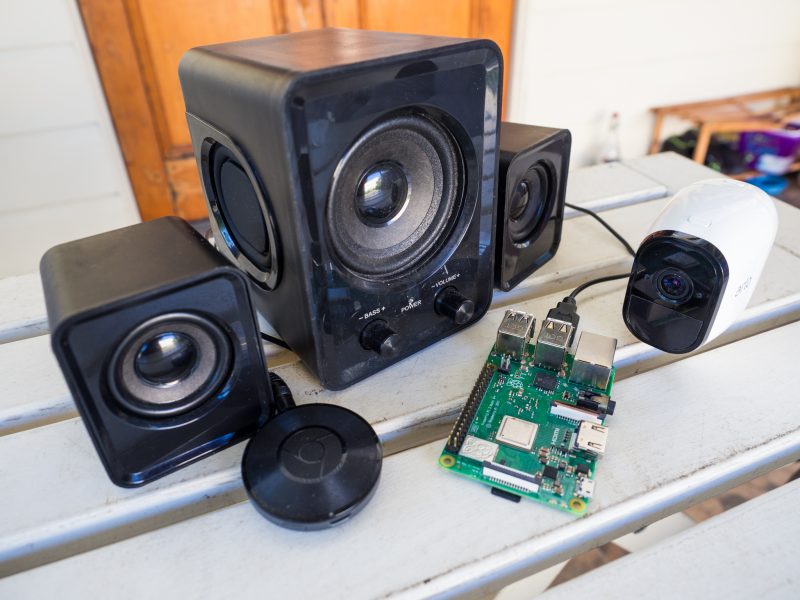
Deter burglars with a Raspberry Pi chatbot
Reading Time: 3 minutesHow to improve upon the standard burglar deterring method of leaving lights switched on? Dennis Mellican turned to Raspberry Pi for a much more effective solution. It actually proved too effective when a neighbour stopped by, but more on that in a bit. Here you can see Dennis’s system in action scaring…
-

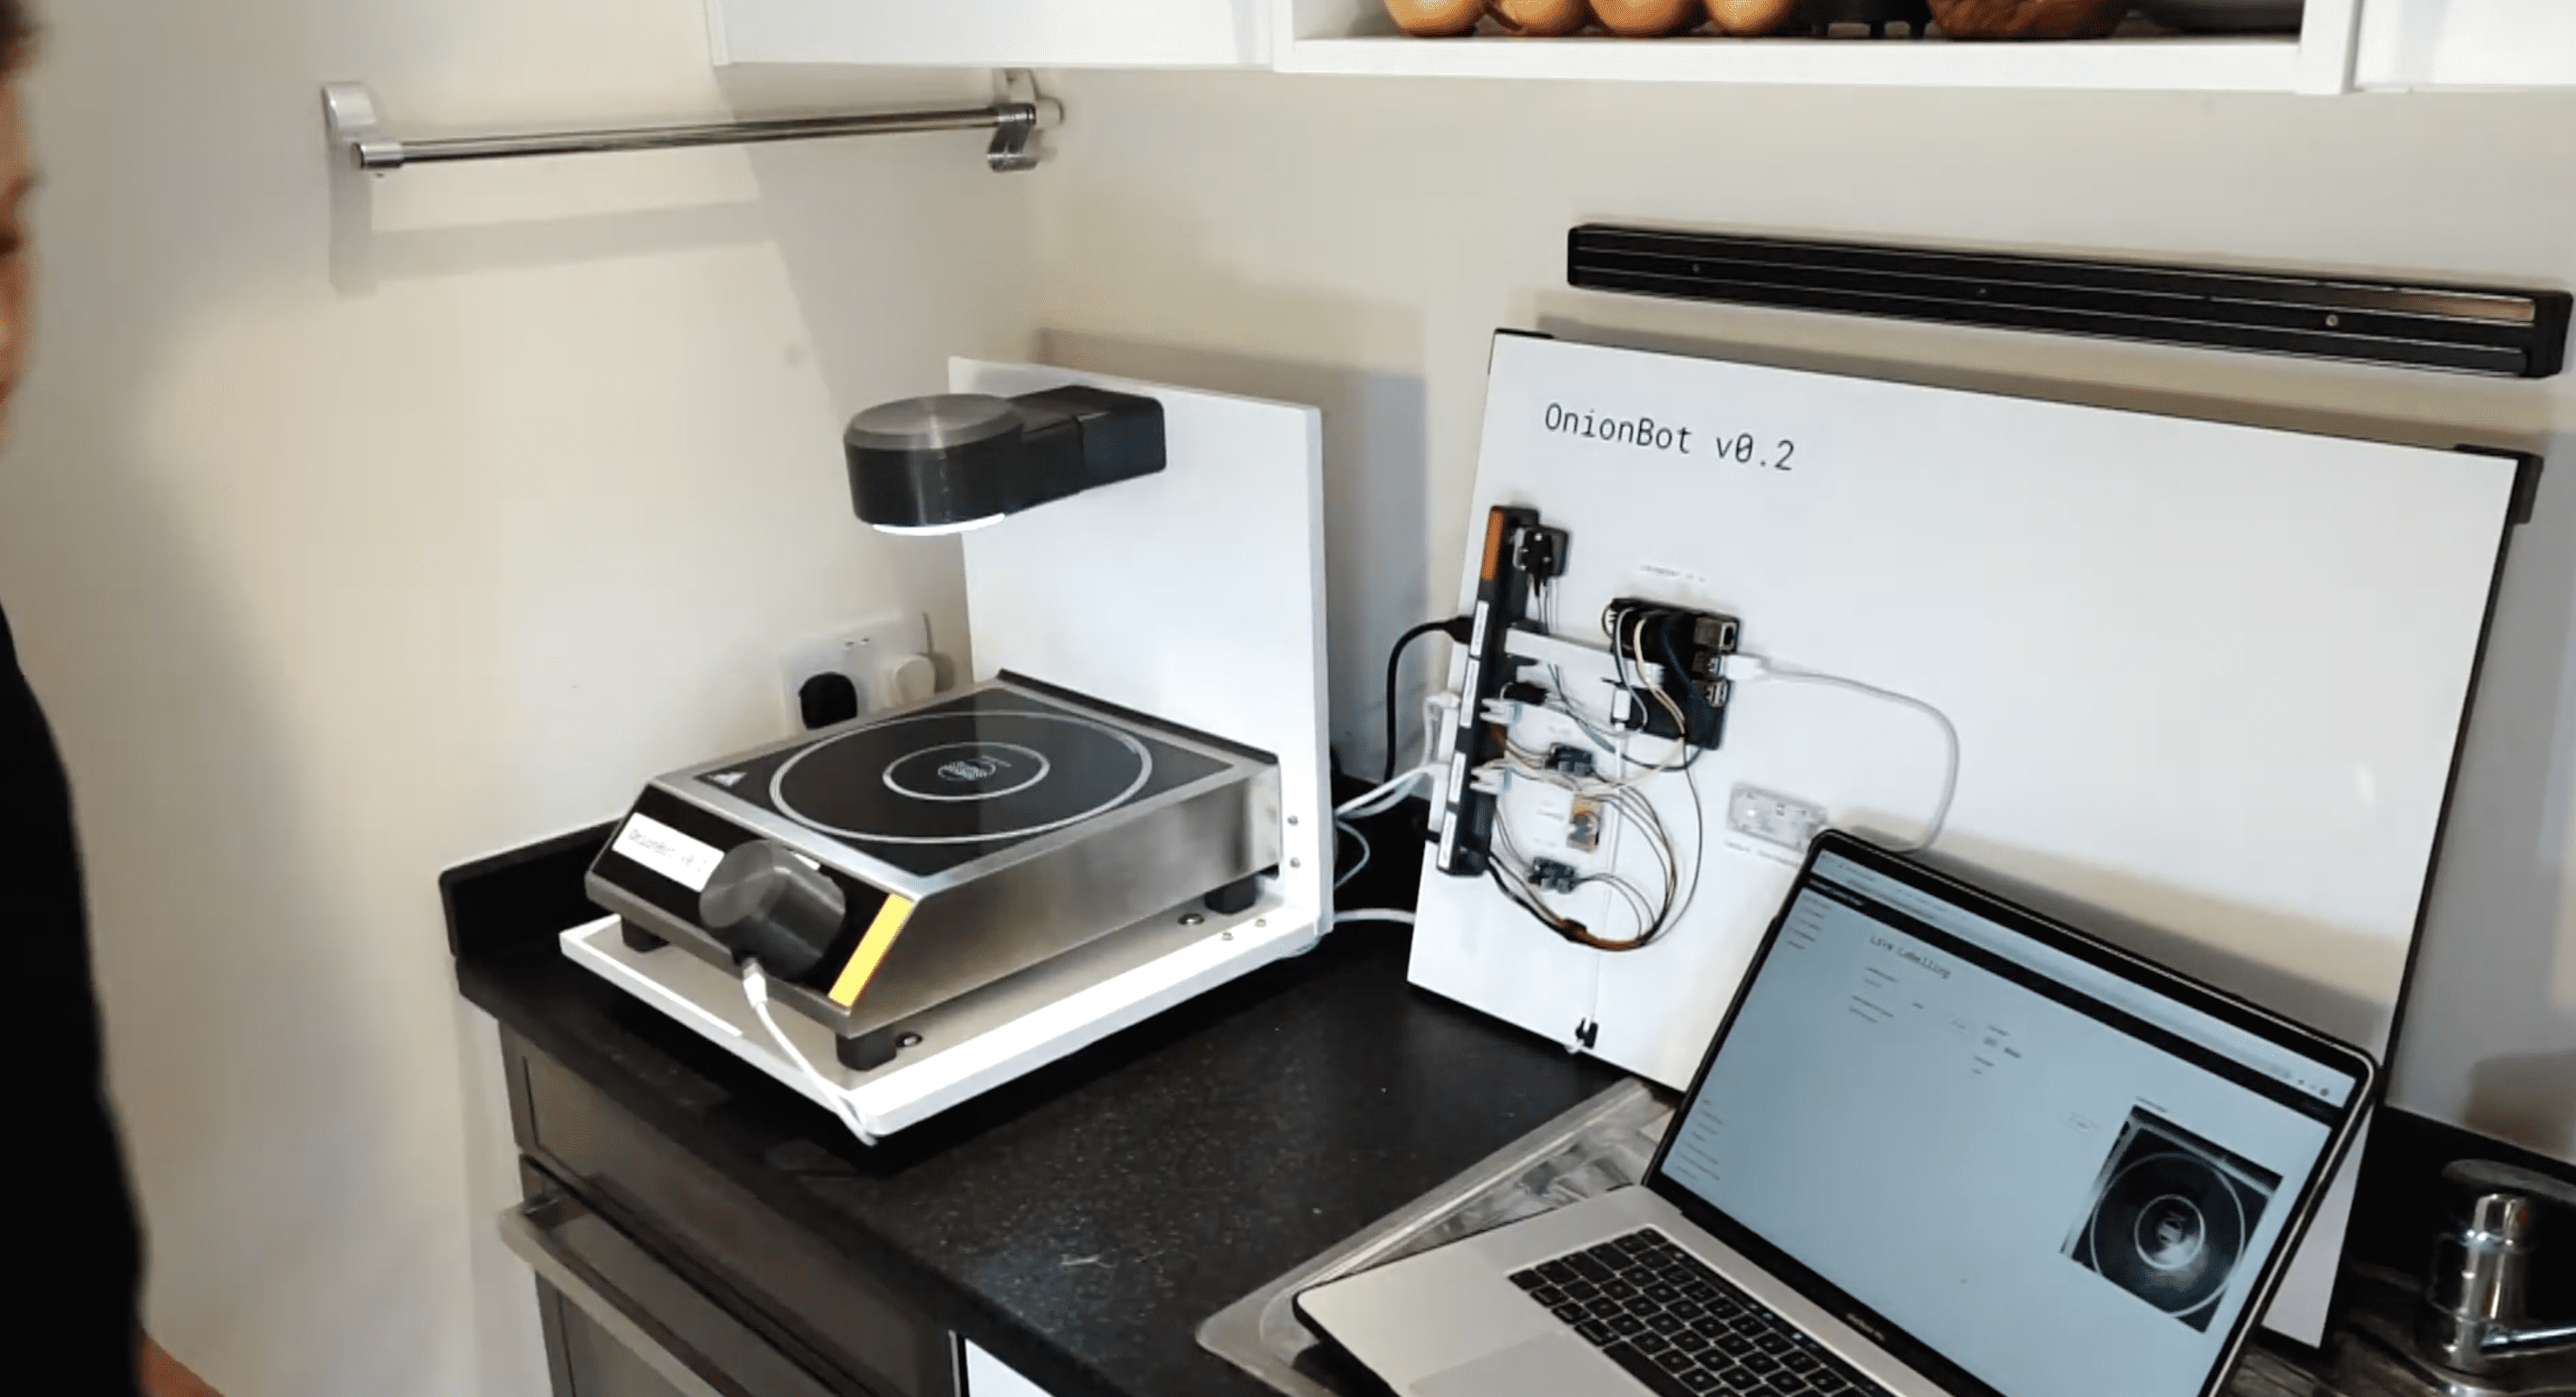
Hire Raspberry Pi as a robot sous-chef in your kitchen
Reading Time: 3 minutesDesign Engineering student Ben Cobley has created a Raspberry Pi–powered sous-chef that automates the easier pan-cooking tasks so the head chef can focus on culinary creativity. [youtube https://www.youtube.com/watch?v=W4utRCyo5C4?feature=oembed&w=500&h=281] Ben named his invention OnionBot, as the idea came to him when looking for an automated way to perfectly soften onions in a pan…
-

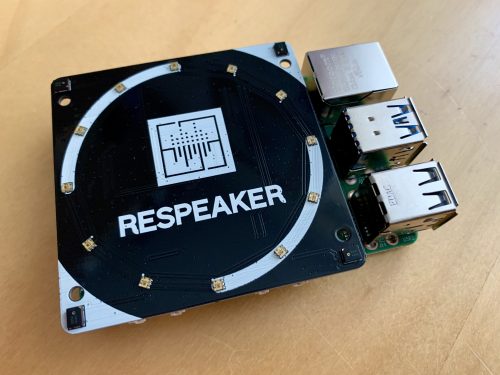
Talk to your Raspberry Pi | HackSpace 36
Reading Time: 4 minutesIn the latest issue of HackSpace Magazine, out now, @MrPJEvans shows you how to add voice commands to your projects with a Raspberry Pi 4 and a microphone. You’ll need: It’s amazing how we’ve come from everything being keyboard-based to so much voice control in our lives. Siri, Alexa, and Cortana are…
-

Build an IoT device with Ubuntu Appliance and Raspberry Pi
Reading Time: 4 minutesThe new Ubuntu Appliance portfolio provides free images to help you turn your Raspberry Pi into an IoT device: just install them to your SD card and you have all the software you need to make a media server, get started with home automation, and more. Canonical’s Rhys Davies is here to…
-

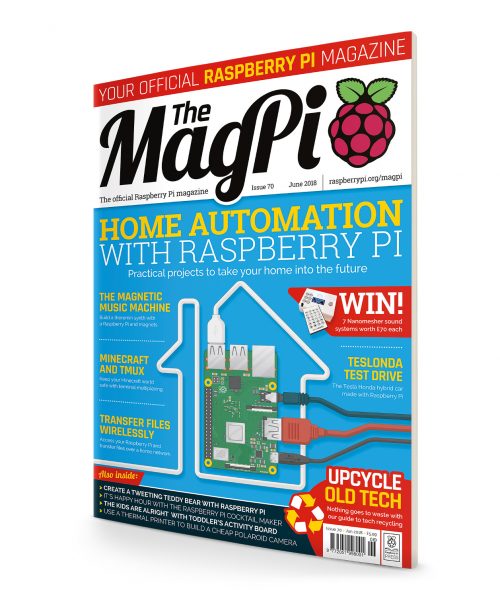
MagPi 70: Home automation with Raspberry Pi
Reading Time: 3 minutesHey folks, Rob here! It’s the last Thursday of the month, and that means it’s time for a brand-new The MagPi. Issue 70 is all about home automation using your favourite microcomputer, the Raspberry Pi. Home automation in this month’s The MagPi! Raspberry Pi home automation We think home automation is an…
-

Gladys Project: a Raspberry Pi home assistant
Reading Time: 4 minutesIf, like me, you’re a pretty poor time-keeper with the uncanny ability to never get up when your alarm goes off and yet still somehow make it to work just in time — a little dishevelled, brushing your teeth in the office bathroom — then you too need Gladys. Raspberry Pi home…