Schlagwort: Ham Radio
-

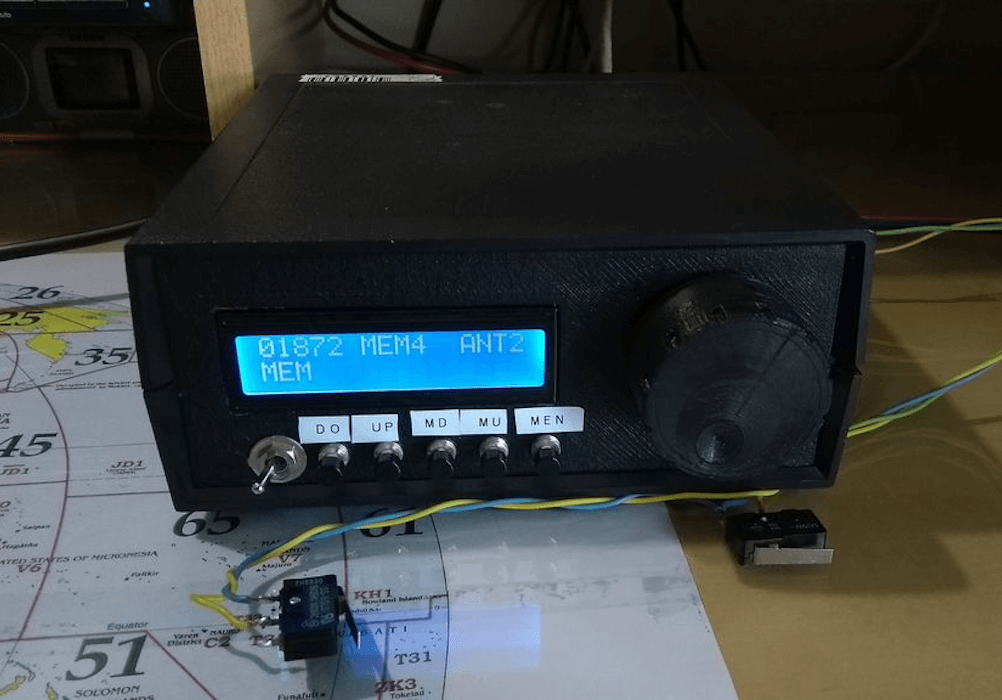
Building an experimental magnetic loop antenna with a stepper motor and an Arduino
Reading Time: 2 minutesHam radio allows for the broadcast and reception of non-commercial radio signals across vast distances with relatively inexpensive equipment. As the name implies, ham radio relies on antennas to function, and most designs can take up large amounts of space. An alternative antenna is the magnetic loop design which has a tall…
-

Send text messages over ham radio with the HamMessenger
Reading Time: 2 minutesArduino Team — July 27th, 2021 Ham radio, or amateur radio, is a hobby enjoyed by millions of enthusiasts around the world. The FCC in the US and similar organizations in other countries provide amateur radio licenses that allow hobbyists to communicate on designated radio bands. Most ham radio operators communicate by…
-

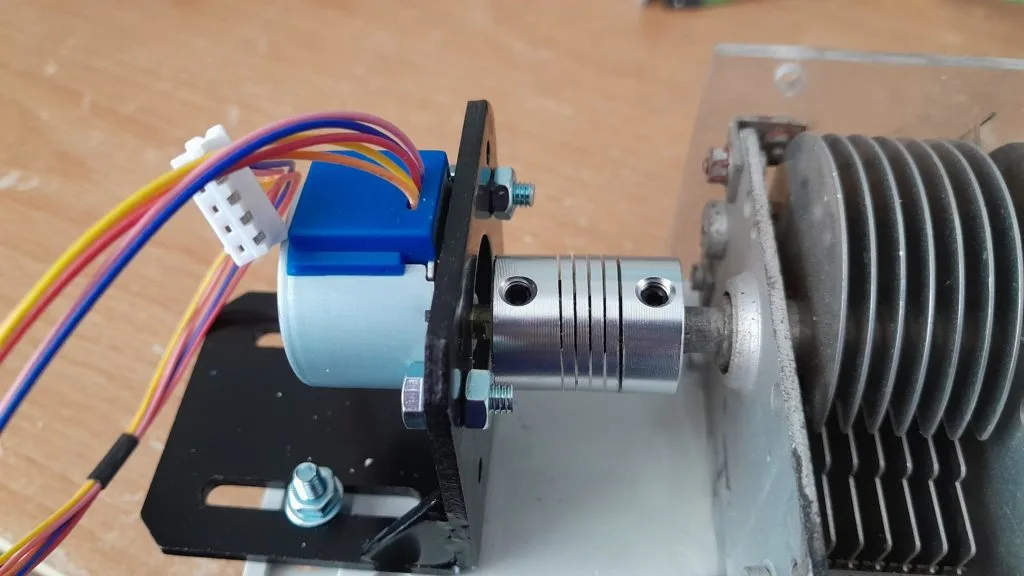
Using an Arduino/CNC shield setup for ham radio control
Reading Time: < 1 minuteUsing an Arduino/CNC shield setup for ham radio control Arduino Team — March 16th, 2020 Loop antennas for ham radios use heavy duty variable capacitors for tuning. Since such capacitors need to be physically turned for adjustment, radio enthusiast Jose B.O. made his own remote rig using an Arduino Uno and…
-
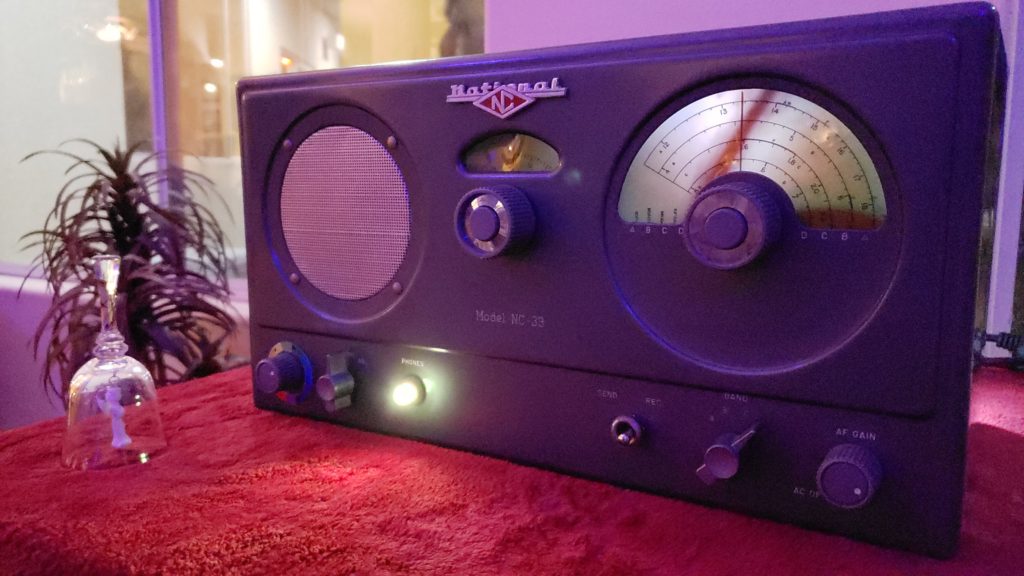
Vintage ham radio transformed into epic party game prop
Reading Time: 2 minutesVintage ham radio transformed into epic party game prop Arduino Team — October 2nd, 2018 Maker Thomas Meston needed a “mysterious looking device” that allows players to enter codes obtained via an original party game. What he came up with is entitled “Dr. Hallard’s Dream Transmission Box,” and consists of an Arduino,…