Hey Google! Meet Arduino Cloud
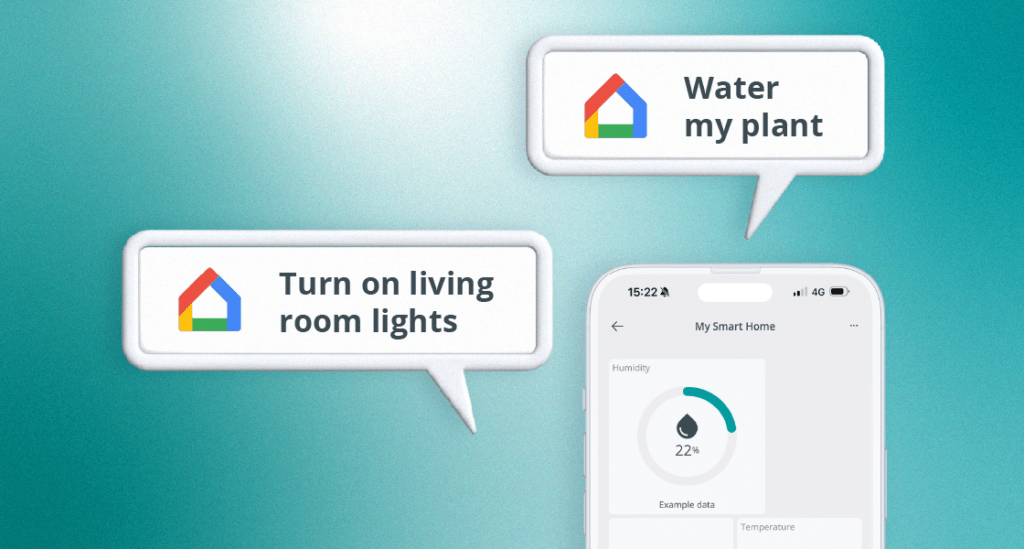
Reading Time: 3 minutesWe’re excited to announce that the Arduino Cloud now supports Google Home! This means you can now interact with your devices, simply through your Google Home Assistant: use voice commands, the Google Home app, or create new routines integrating Arduino solutions. This new integration expands our ecosystem of compatible applications, which already includes Alexa. The […]