Schlagwort: GIGA R1 WiFi
-

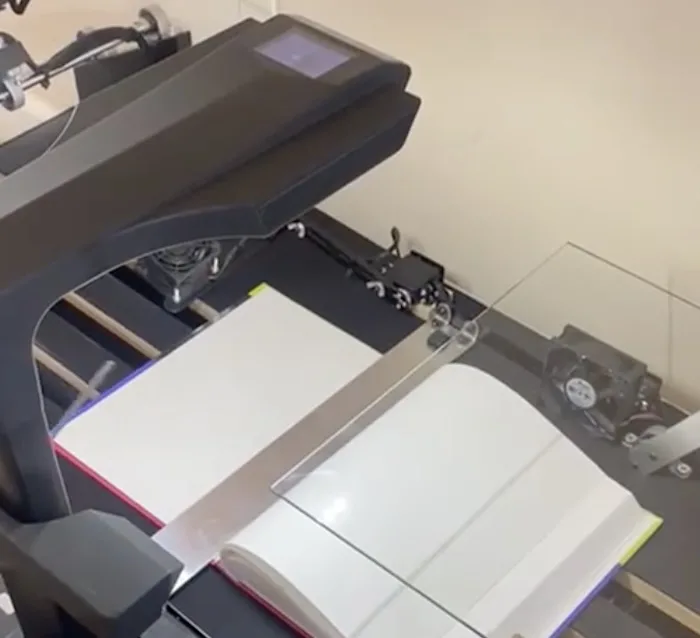
This machine automatically scans books from cover to cover
Reading Time: 2 minutesHard data is hard to find, but roughly 100 million books were published prior to the 21st century. Of those, a significant portion were never available in a digital format and haven’t yet been digitized, which means their content is effectively inaccessible to most people today. To bring that content into the…
-

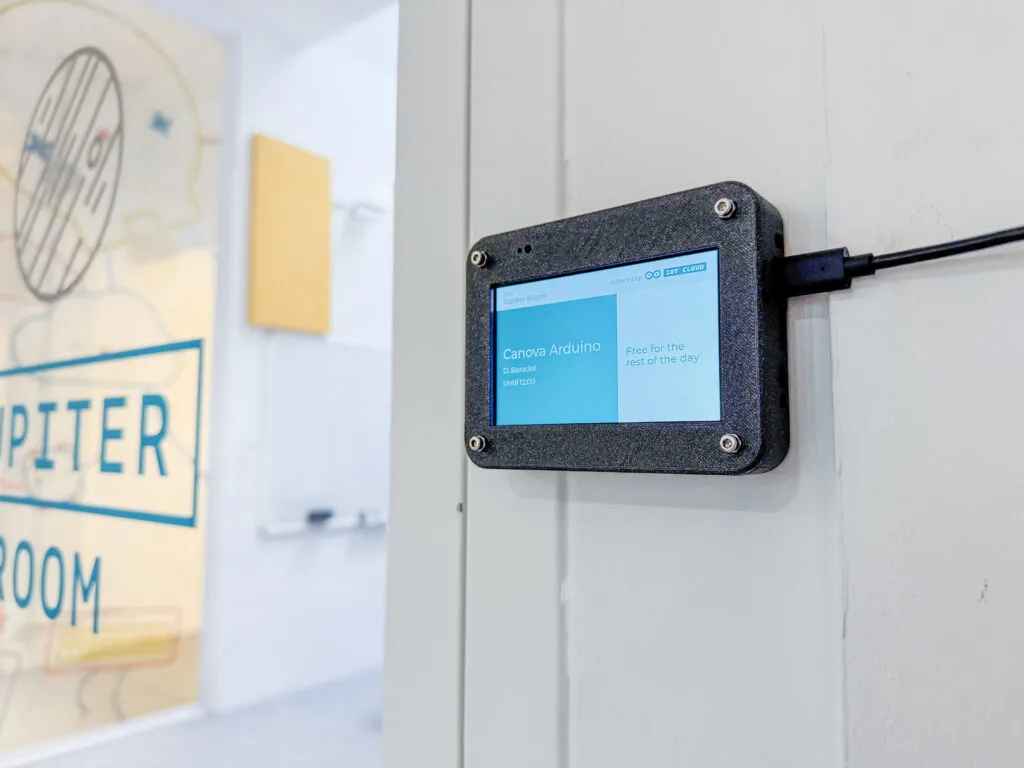
Deploy your smart meeting room management system with Arduino GIGA
Reading Time: 3 minutesManaging shared spaces, especially meeting rooms, can be a headache in busy offices. At Arduino, we’ve experienced it firsthand in our flexible and dynamic offices around the world – where colleagues could often be seen wandering around with their laptops, trying to find a quiet place for videocalls or brainstorming sessions. We started…
-
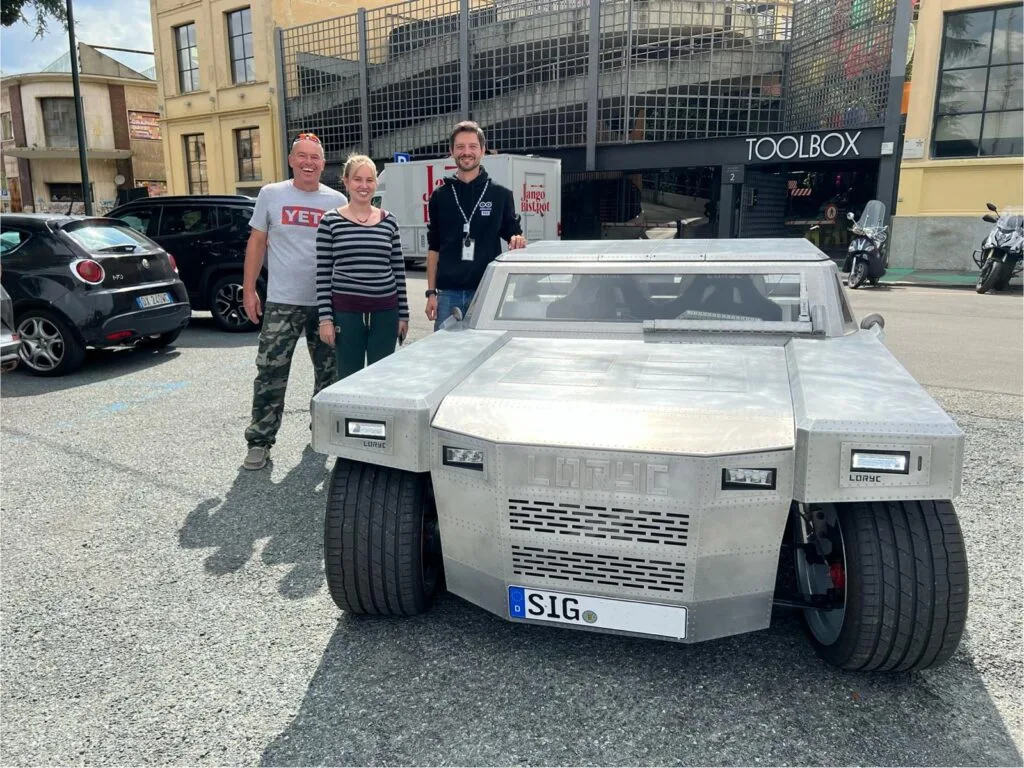
It’s silver, it’s green, it’s the Batteryrunner! An Arduino-powered, fully custom electric car
Reading Time: 5 minutesInventor Charly Bosch and his daughter Leonie have crafted something truly remarkable: a fully electric, Arduino-powered car that’s as innovative as it is sustainable. Called the Batteryrunner, this vehicle is designed with a focus on environmental impact, simplicity, and custom craftsmanship. Get ready to be inspired by a car that embodies the…
-

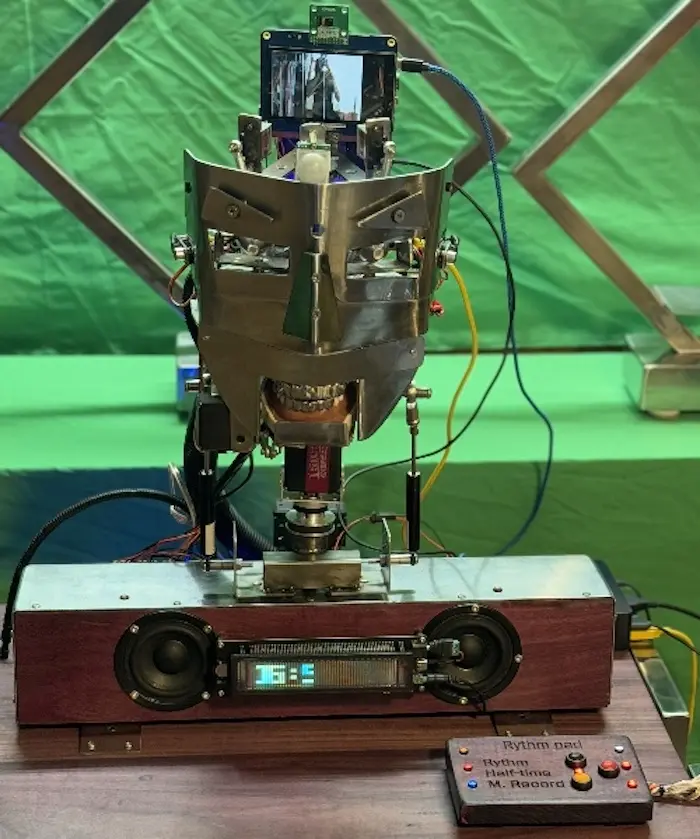
This perplexing robotic performer operates under the control of three different Arduino boards
Reading Time: 2 minutesEvery decade or two, humanity seems to develop a renewed interest in humanoid robots and their potential within our world. Because the practical applications are actually pretty limited (given the high cost), we inevitably begin to consider how those robots might function as entertainment. But Jon Hamilton did more than just wonder,…
-
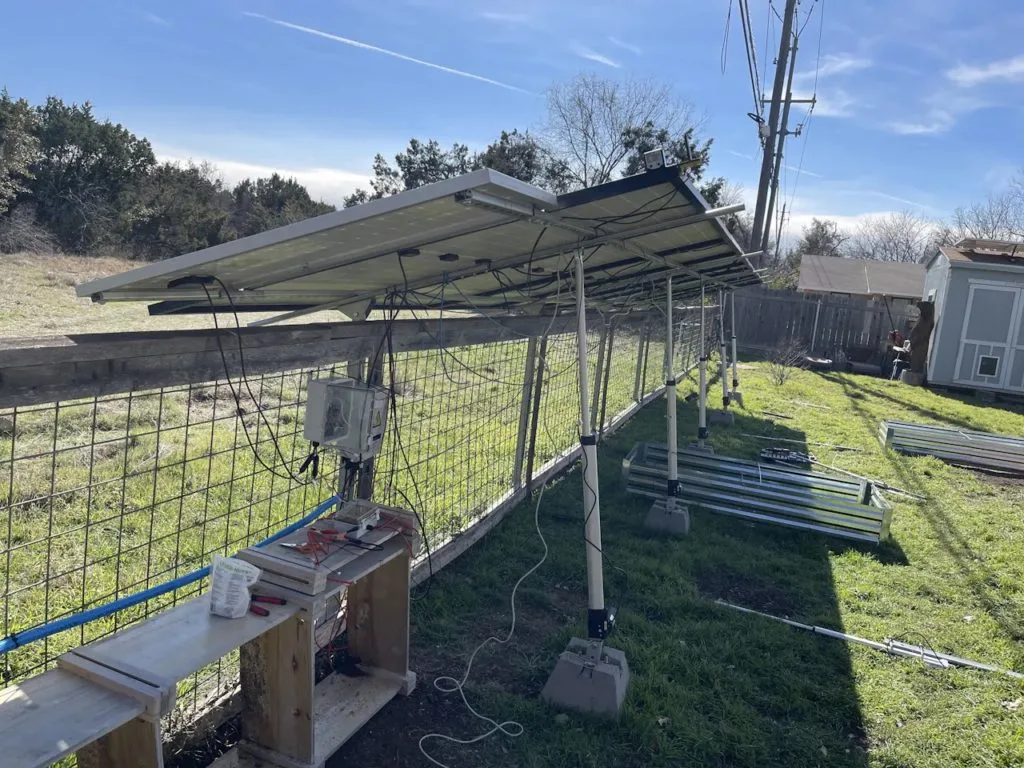
Controlling 3.6kW of solar EV charging with an Arduino GIGA R1 WiFi
Reading Time: 2 minutesThe EV (electric vehicle) versus ICE (internal combustion engine) debate is more complicated that it may seem, but one fact is quite simple: it is much easier to generate electricity at home than it is to refine fossil fuels. This means that it is possible power a vehicle for free after the…
-

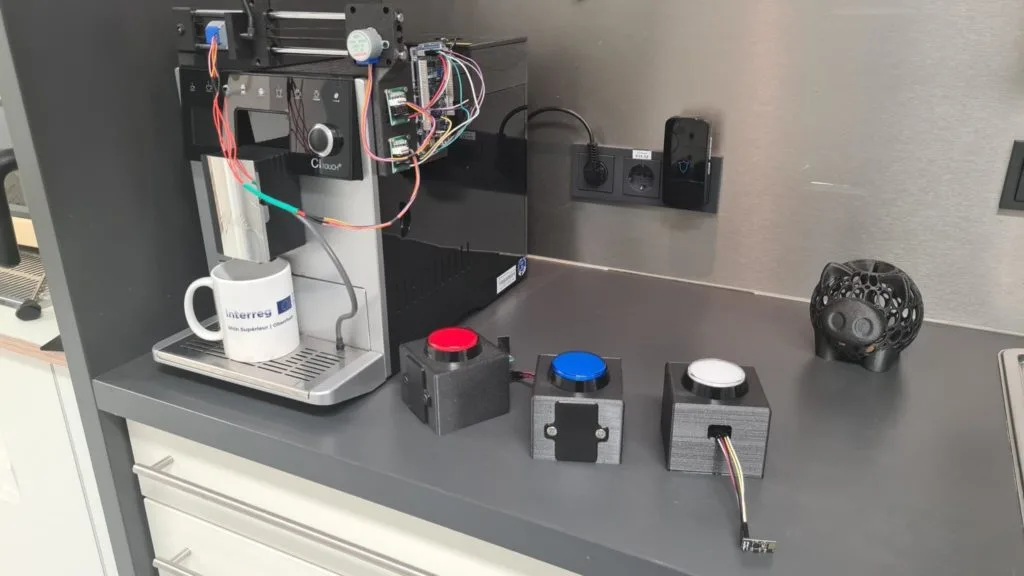
This Arduino GIGA R1 WiFi project turns a coffee maker into a more accessible appliance
Reading Time: 2 minutesWhile many of the things we interact with every day have become more usable by people with disabilities, the kitchen remains as one important area of our lives that still lacks many accessibility features. One of these commonplace appliances is the coffee maker and its array of small buttons or even a…
-

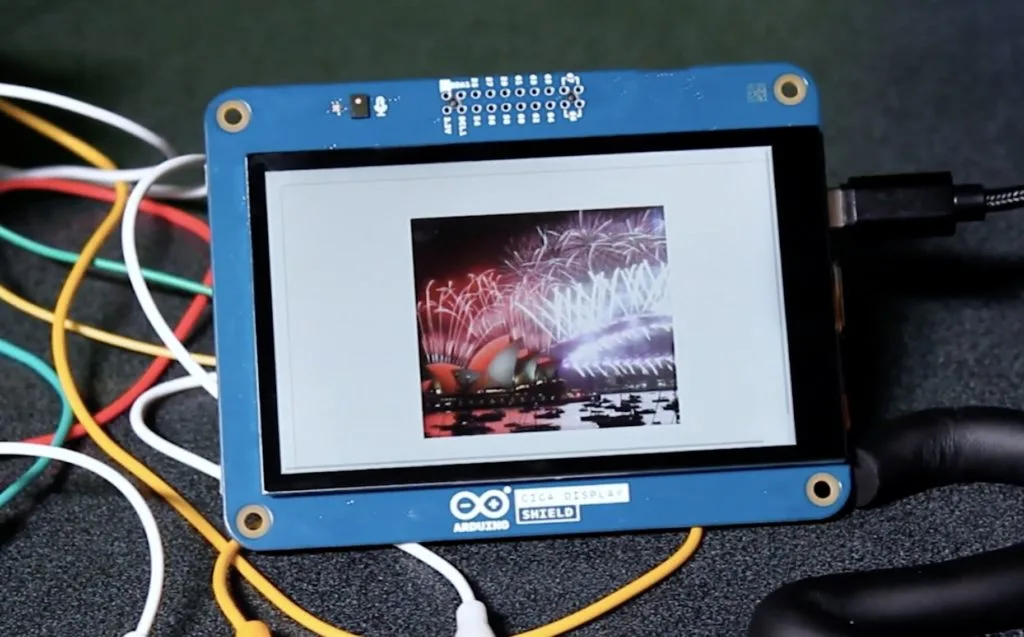
Garrita is an Arduino GIGA Display-powered slideshow
Reading Time: 2 minutesWatching back a slideshow of some of your favorite times of the past years is a great way to reflect on what’s happened and get excited for the future. The Electronic Cats crew wanted to incorporate this concept into a more simplified, interactive form which resulted in the Garrita project. Garrita is a…
-

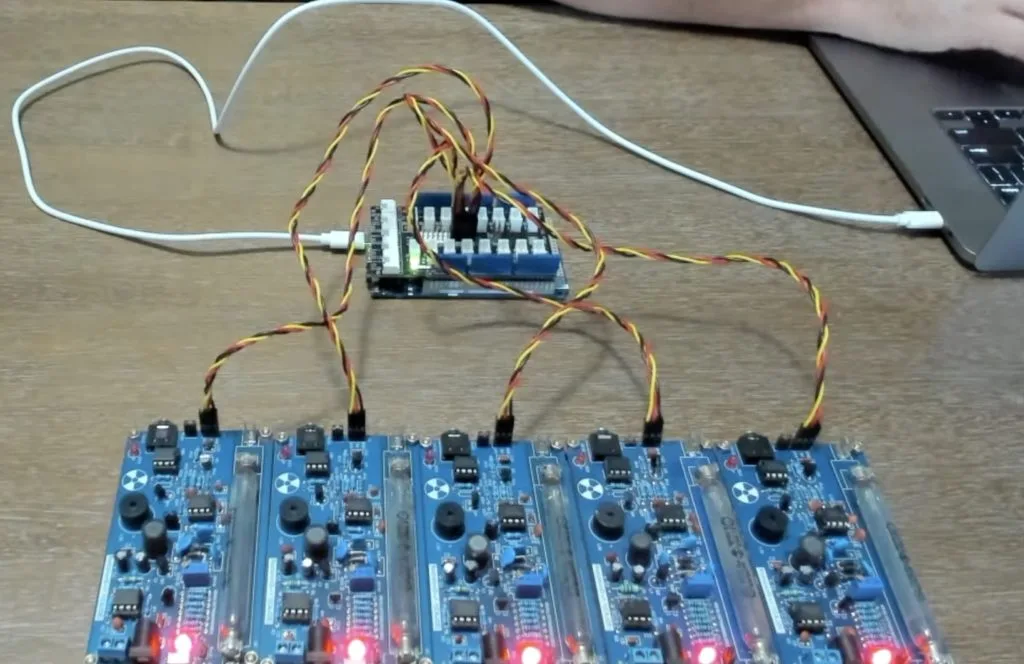
Radioactively generated music with the Arduino GIGA R1 WiFi and Ableton Live
Reading Time: 2 minutesYou’ve seen movies and TV shows with Geigers counters: handheld devices that click when they detect radiation — the faster the clicks, the stronger the radiation. Those clicks are actually the result of inert gas briefly made conductive by bursts of energy released by ionizing radiation particles entering the sealed Geiger–Müller tube.…
-

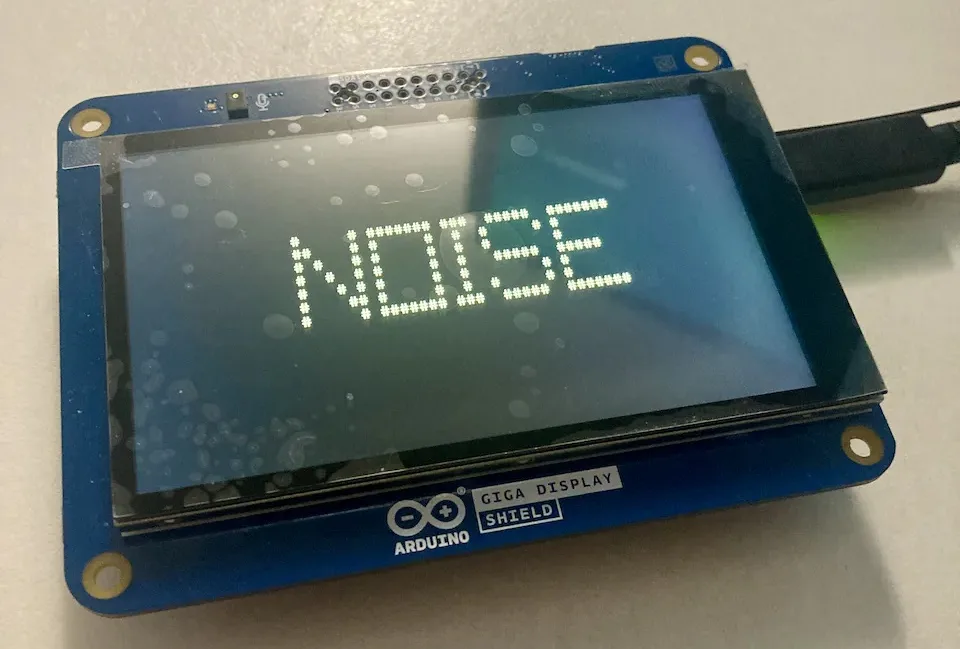
Classifying audio on the GIGA R1 WiFi from purely synthetic data
Reading Time: 2 minutesOne of the main difficulties that people encounter when trying to build their edge ML models is gathering a large, yet simultaneously diverse, dataset. Audio models normally require setting up a microphone, capturing long sequences of sounds, and then manually removing bad data from the resulting files. Shakhizat Nurgaliyev’s project, however, eliminates the…
-

Creating a ChatGPT client with the Arduino GIGA R1 WiFi and GIGA R1 Display Shield
Reading Time: 2 minutesChatGPT is certainly the best-known large language model (LLM) available today and it has a lot to offer. But you can’t run it locally and instead you must use OpenAI’s online service to access its functionality. That doesn’t, however, mean that you’re out of luck if you want to use ChatGPT on…
-
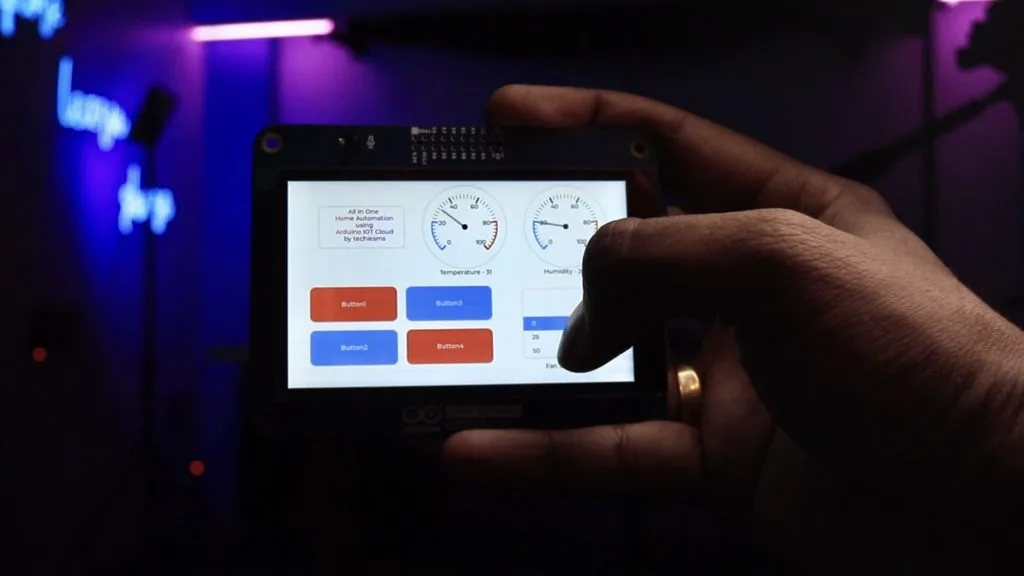
This all-in-dashboard uses the Arduino GIGA Display Shield to control appliances
Reading Time: 2 minutesIn a previous video about controlling household appliances and lighting fixtures from the Arduino Cloud, Sachin Soni of the techiesms YouTube channel designed a custom PCB that allows an Arduino Nano ESP32 to toggle a series of relays. But since then, he realized that his project needed a faster and more permanent method…
-

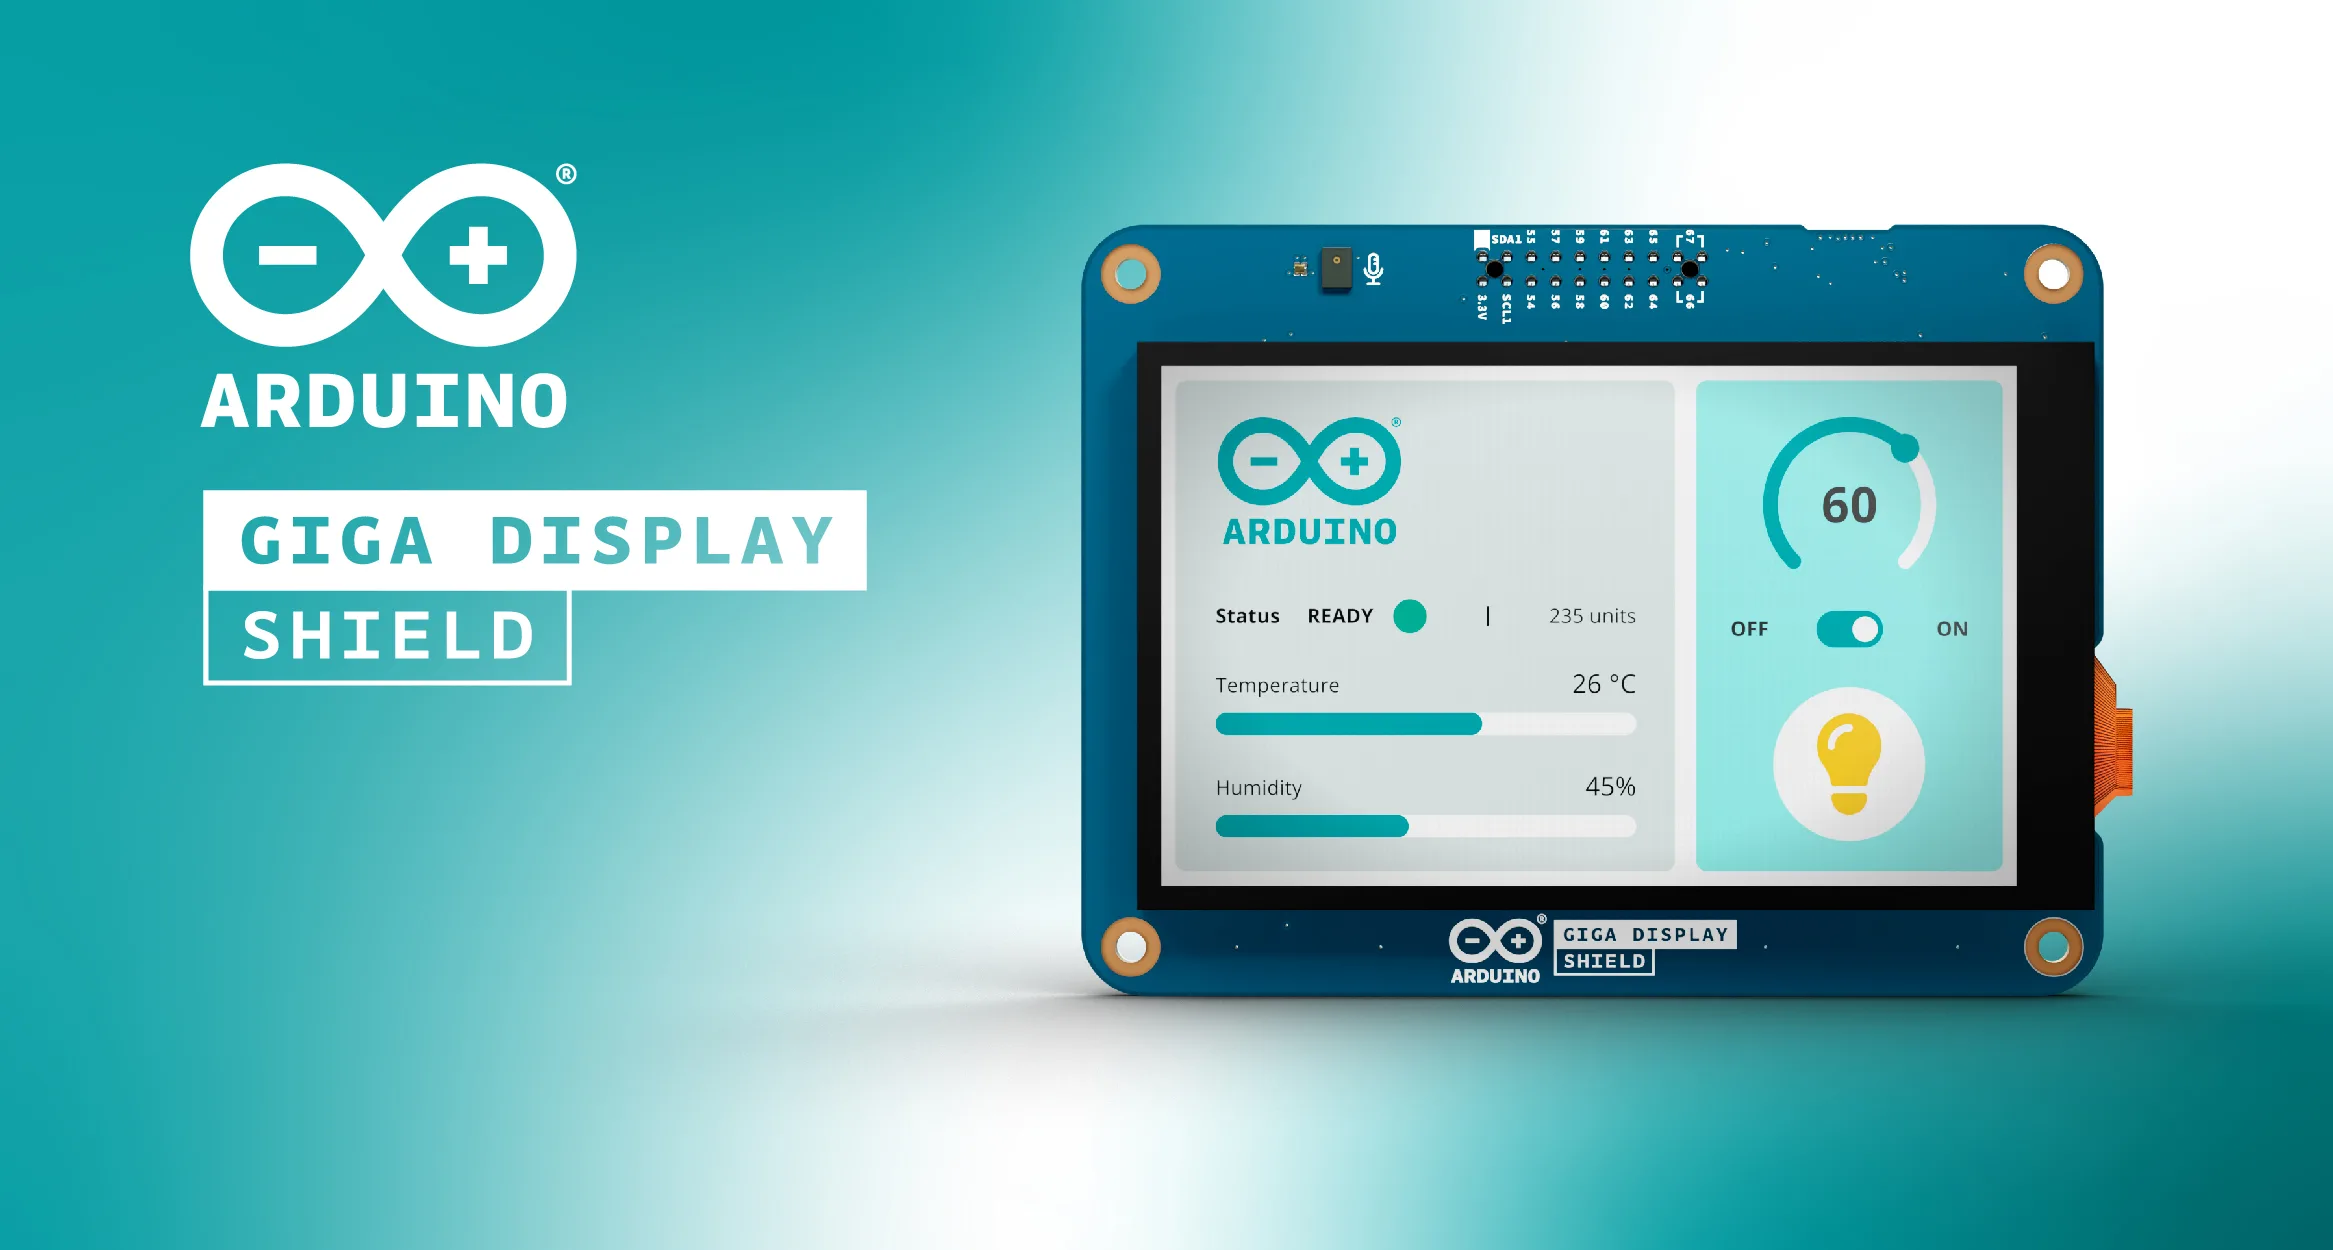
The new Arduino GIGA Display Shield: Nice touch!
Reading Time: 2 minutesA few months ago, we promised you that the GIGA R1 WiFi would allow you to “think bigger and be more creative than ever”. Now, we are happy to announce you can step up your game even further, with the introduction of the Arduino GIGA Display Shield — an innovative touchscreen solution…
-

This GIGA R1 WiFi-powered wearable detects falls using a Transformer model
Reading Time: 2 minutesFor those aged 65 and over, falls can be one of the most serious health concerns they face either due to lower mobility or decreasing overall coordination. Recognizing this issue, Naveen Kumar set out to produce a wearable fall-detecting device that aims to increase the speed at which this occurs by utilizing…
-

Makers, get ready to step up your game with the GIGA R1 WiFi
Reading Time: 3 minutesA new board joins the Arduino family, and it’s the most powerful ever designed for makers, engineers and creators: today we’re announcing the GIGA R1 WiFi. Bridging you from great fun to amazing performance, it opens the door to infinite possibilities in robotics, IoT, music, computer vision, digital fabrication, and any kind…