Schlagwort: GIGA Display Shield
-

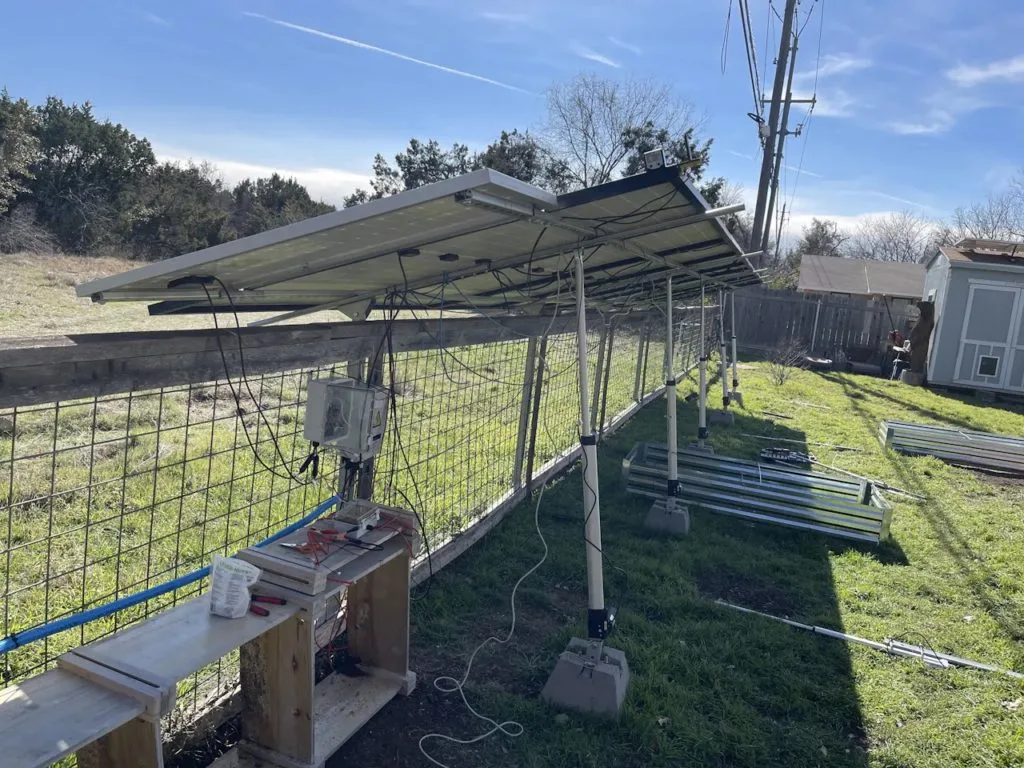
Controlling 3.6kW of solar EV charging with an Arduino GIGA R1 WiFi
Reading Time: 2 minutesThe EV (electric vehicle) versus ICE (internal combustion engine) debate is more complicated that it may seem, but one fact is quite simple: it is much easier to generate electricity at home than it is to refine fossil fuels. This means that it is possible power a vehicle for free after the…
-

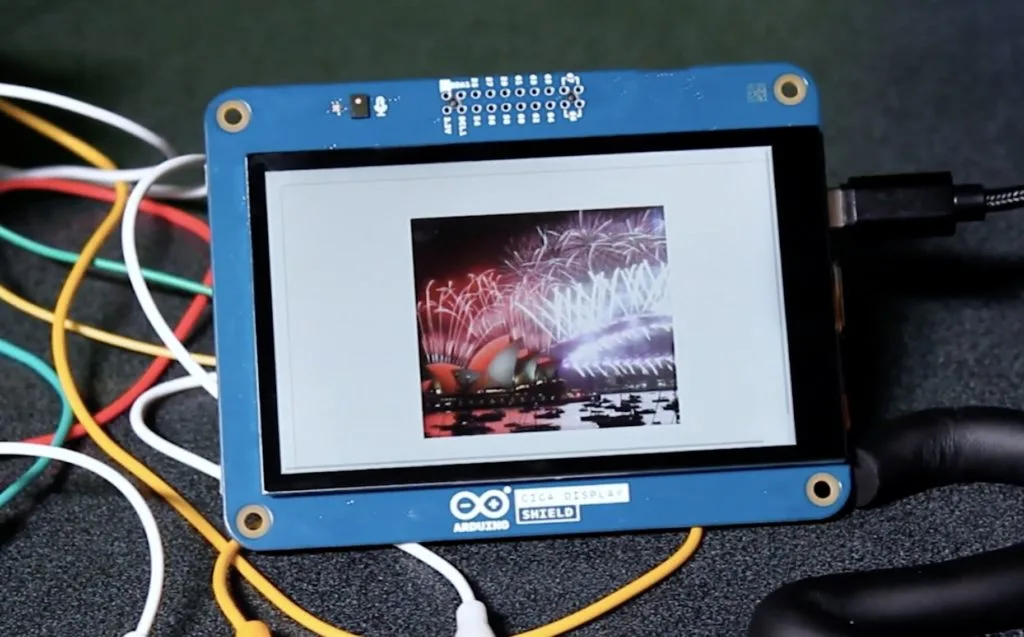
Garrita is an Arduino GIGA Display-powered slideshow
Reading Time: 2 minutesWatching back a slideshow of some of your favorite times of the past years is a great way to reflect on what’s happened and get excited for the future. The Electronic Cats crew wanted to incorporate this concept into a more simplified, interactive form which resulted in the Garrita project. Garrita is a…
-

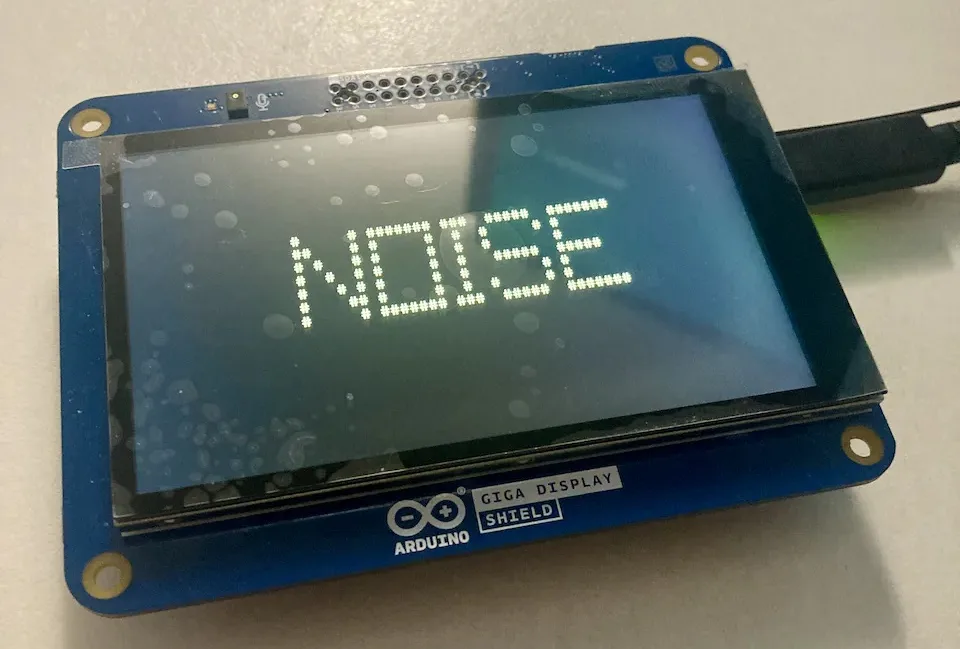
Classifying audio on the GIGA R1 WiFi from purely synthetic data
Reading Time: 2 minutesOne of the main difficulties that people encounter when trying to build their edge ML models is gathering a large, yet simultaneously diverse, dataset. Audio models normally require setting up a microphone, capturing long sequences of sounds, and then manually removing bad data from the resulting files. Shakhizat Nurgaliyev’s project, however, eliminates the…
-

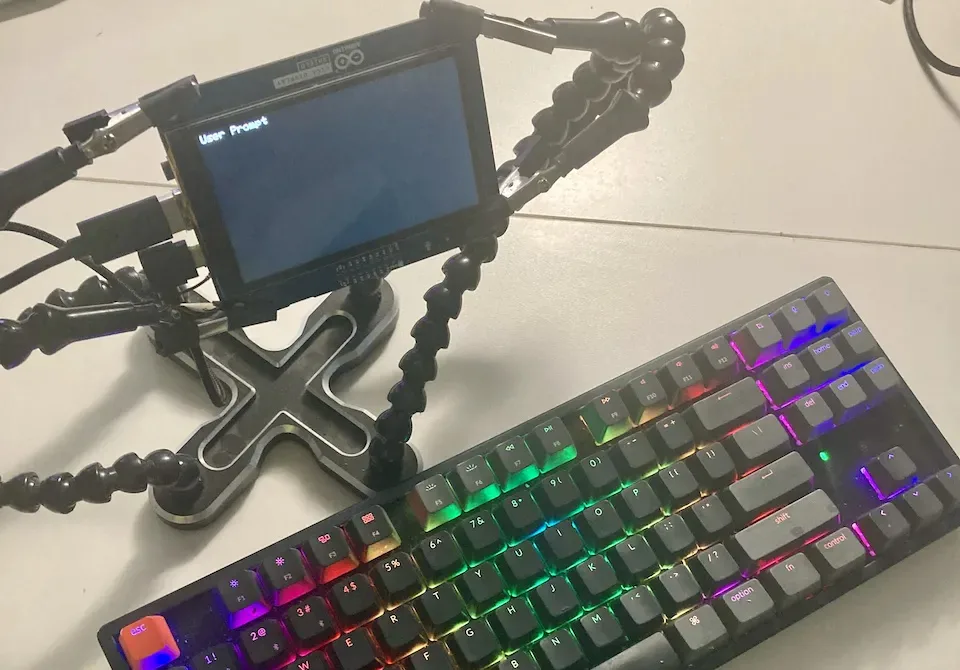
Creating a ChatGPT client with the Arduino GIGA R1 WiFi and GIGA R1 Display Shield
Reading Time: 2 minutesChatGPT is certainly the best-known large language model (LLM) available today and it has a lot to offer. But you can’t run it locally and instead you must use OpenAI’s online service to access its functionality. That doesn’t, however, mean that you’re out of luck if you want to use ChatGPT on…
-

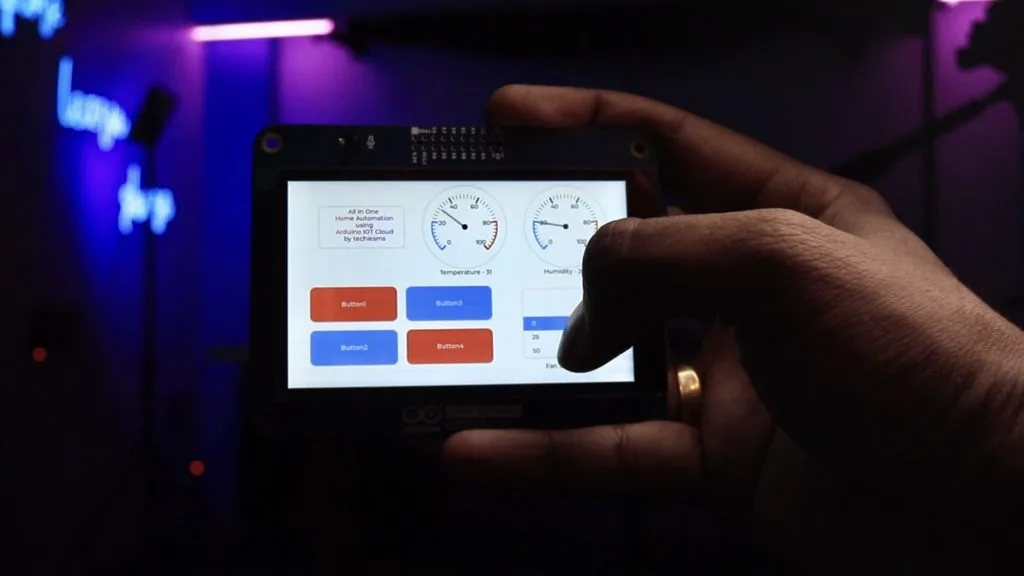
This all-in-dashboard uses the Arduino GIGA Display Shield to control appliances
Reading Time: 2 minutesIn a previous video about controlling household appliances and lighting fixtures from the Arduino Cloud, Sachin Soni of the techiesms YouTube channel designed a custom PCB that allows an Arduino Nano ESP32 to toggle a series of relays. But since then, he realized that his project needed a faster and more permanent method…
-

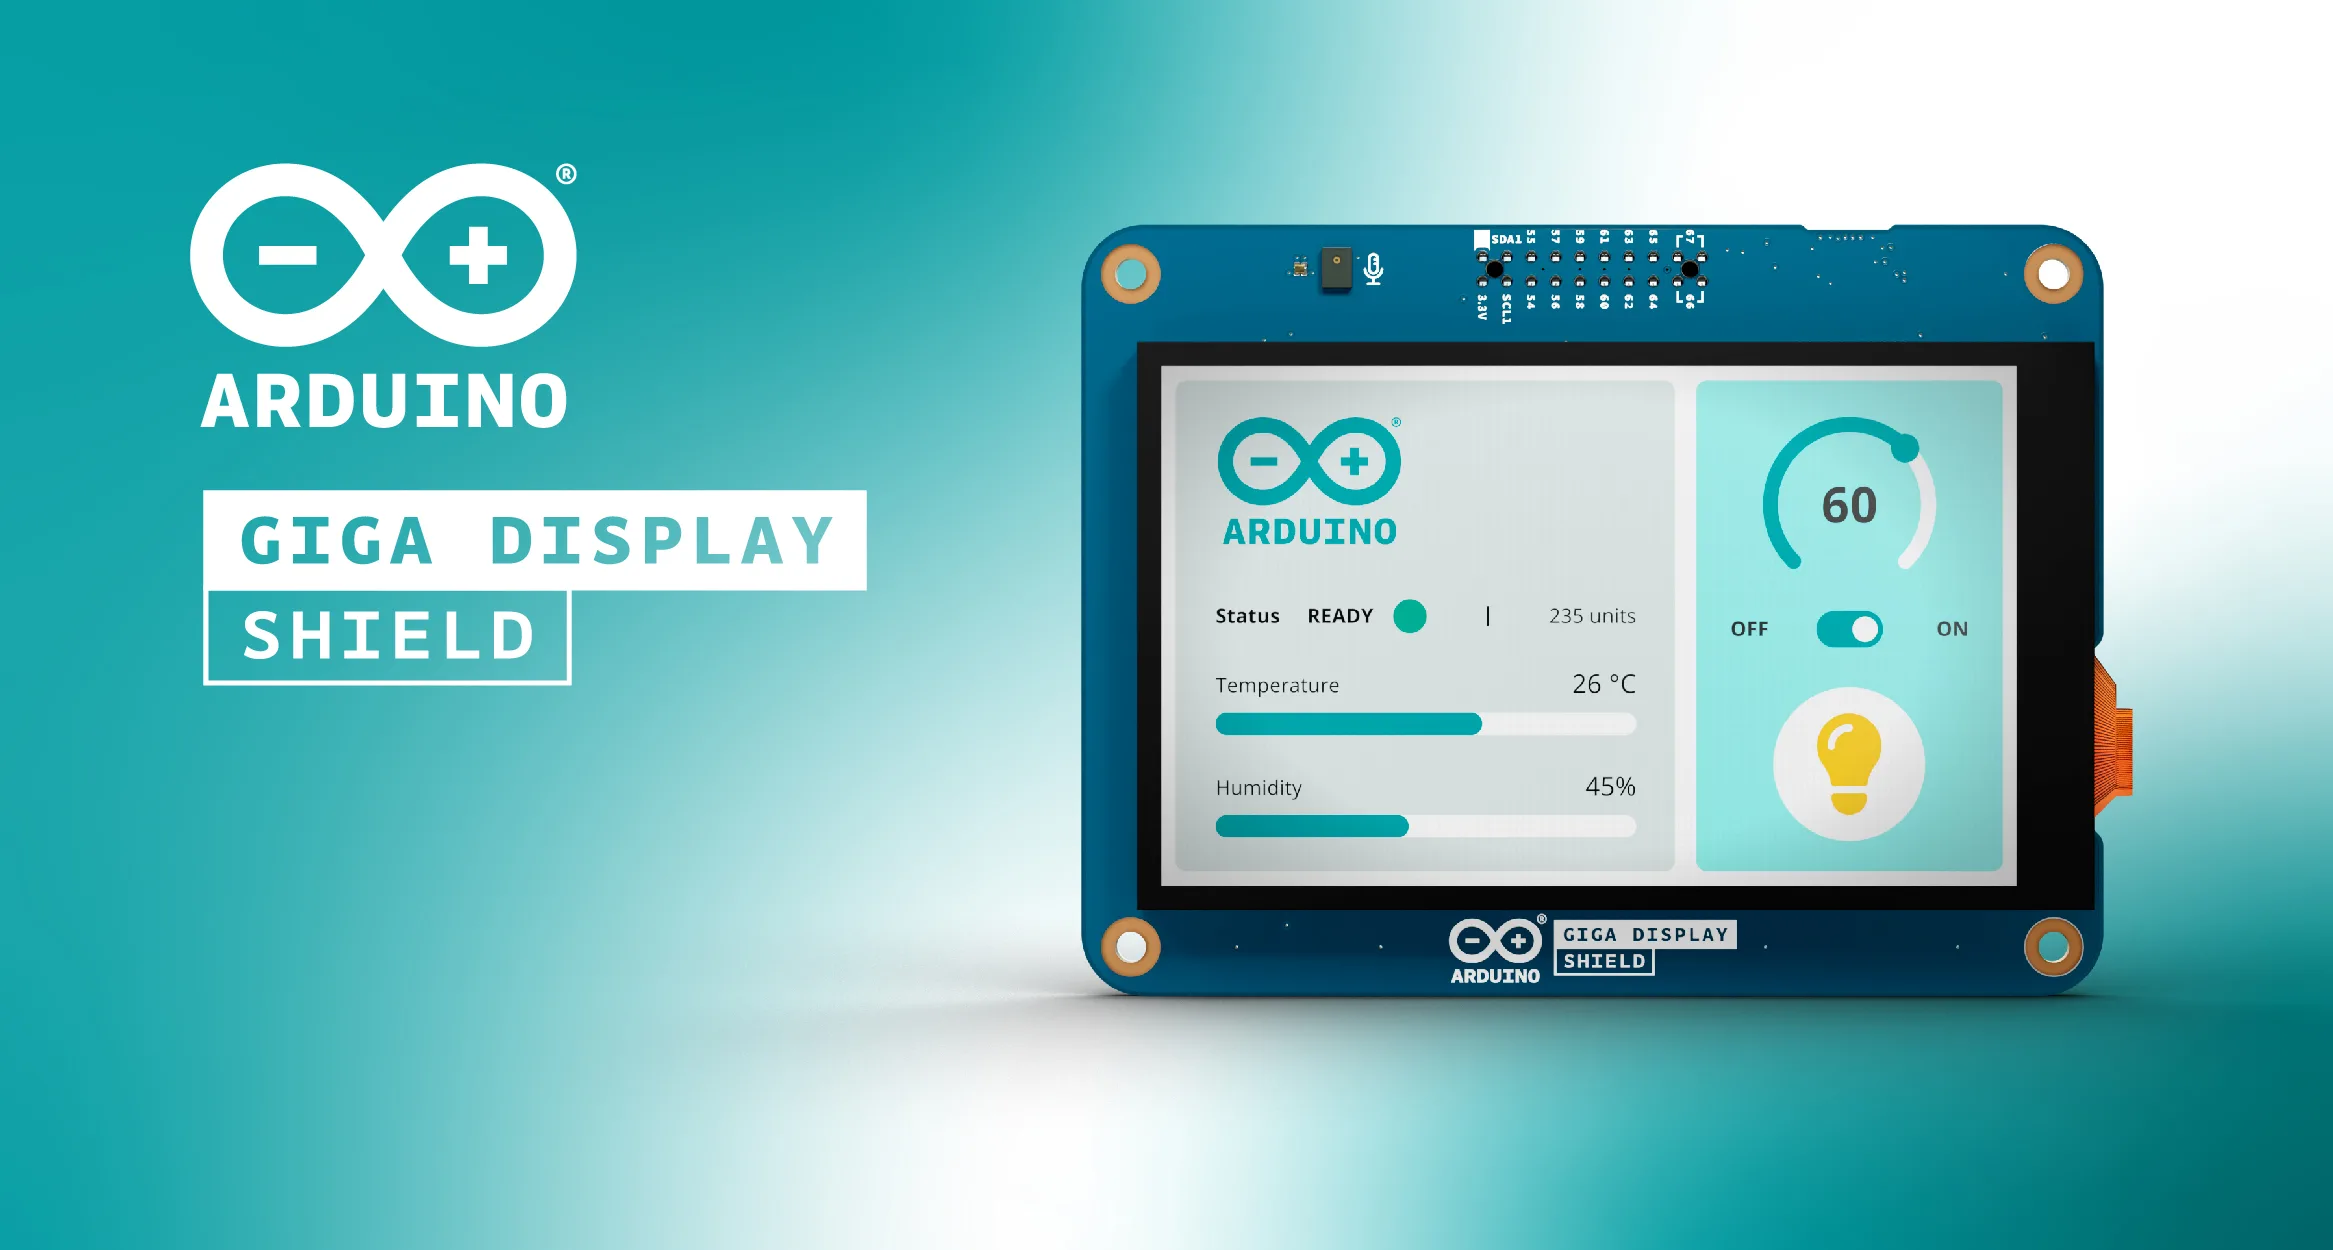
The new Arduino GIGA Display Shield: Nice touch!
Reading Time: 2 minutesA few months ago, we promised you that the GIGA R1 WiFi would allow you to “think bigger and be more creative than ever”. Now, we are happy to announce you can step up your game even further, with the introduction of the Arduino GIGA Display Shield — an innovative touchscreen solution…