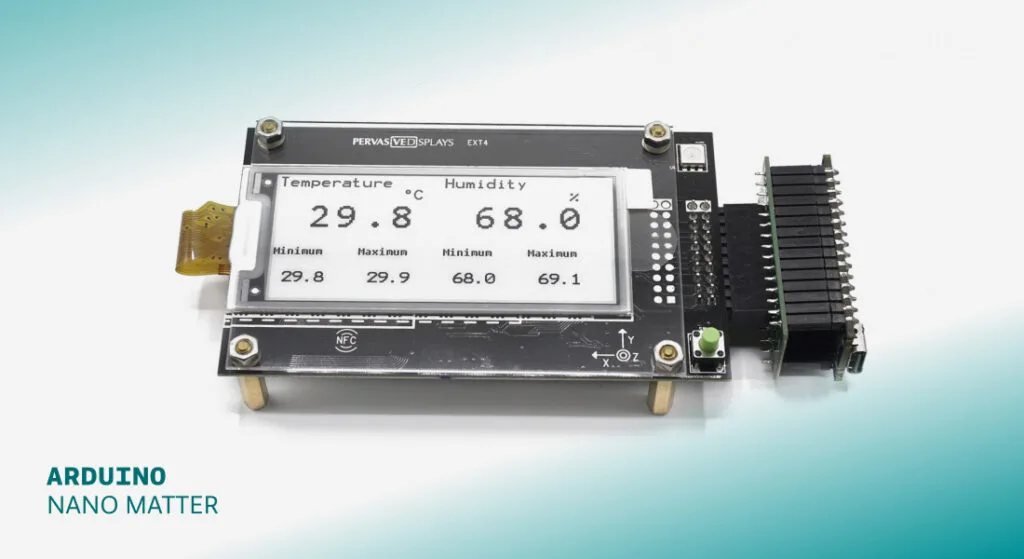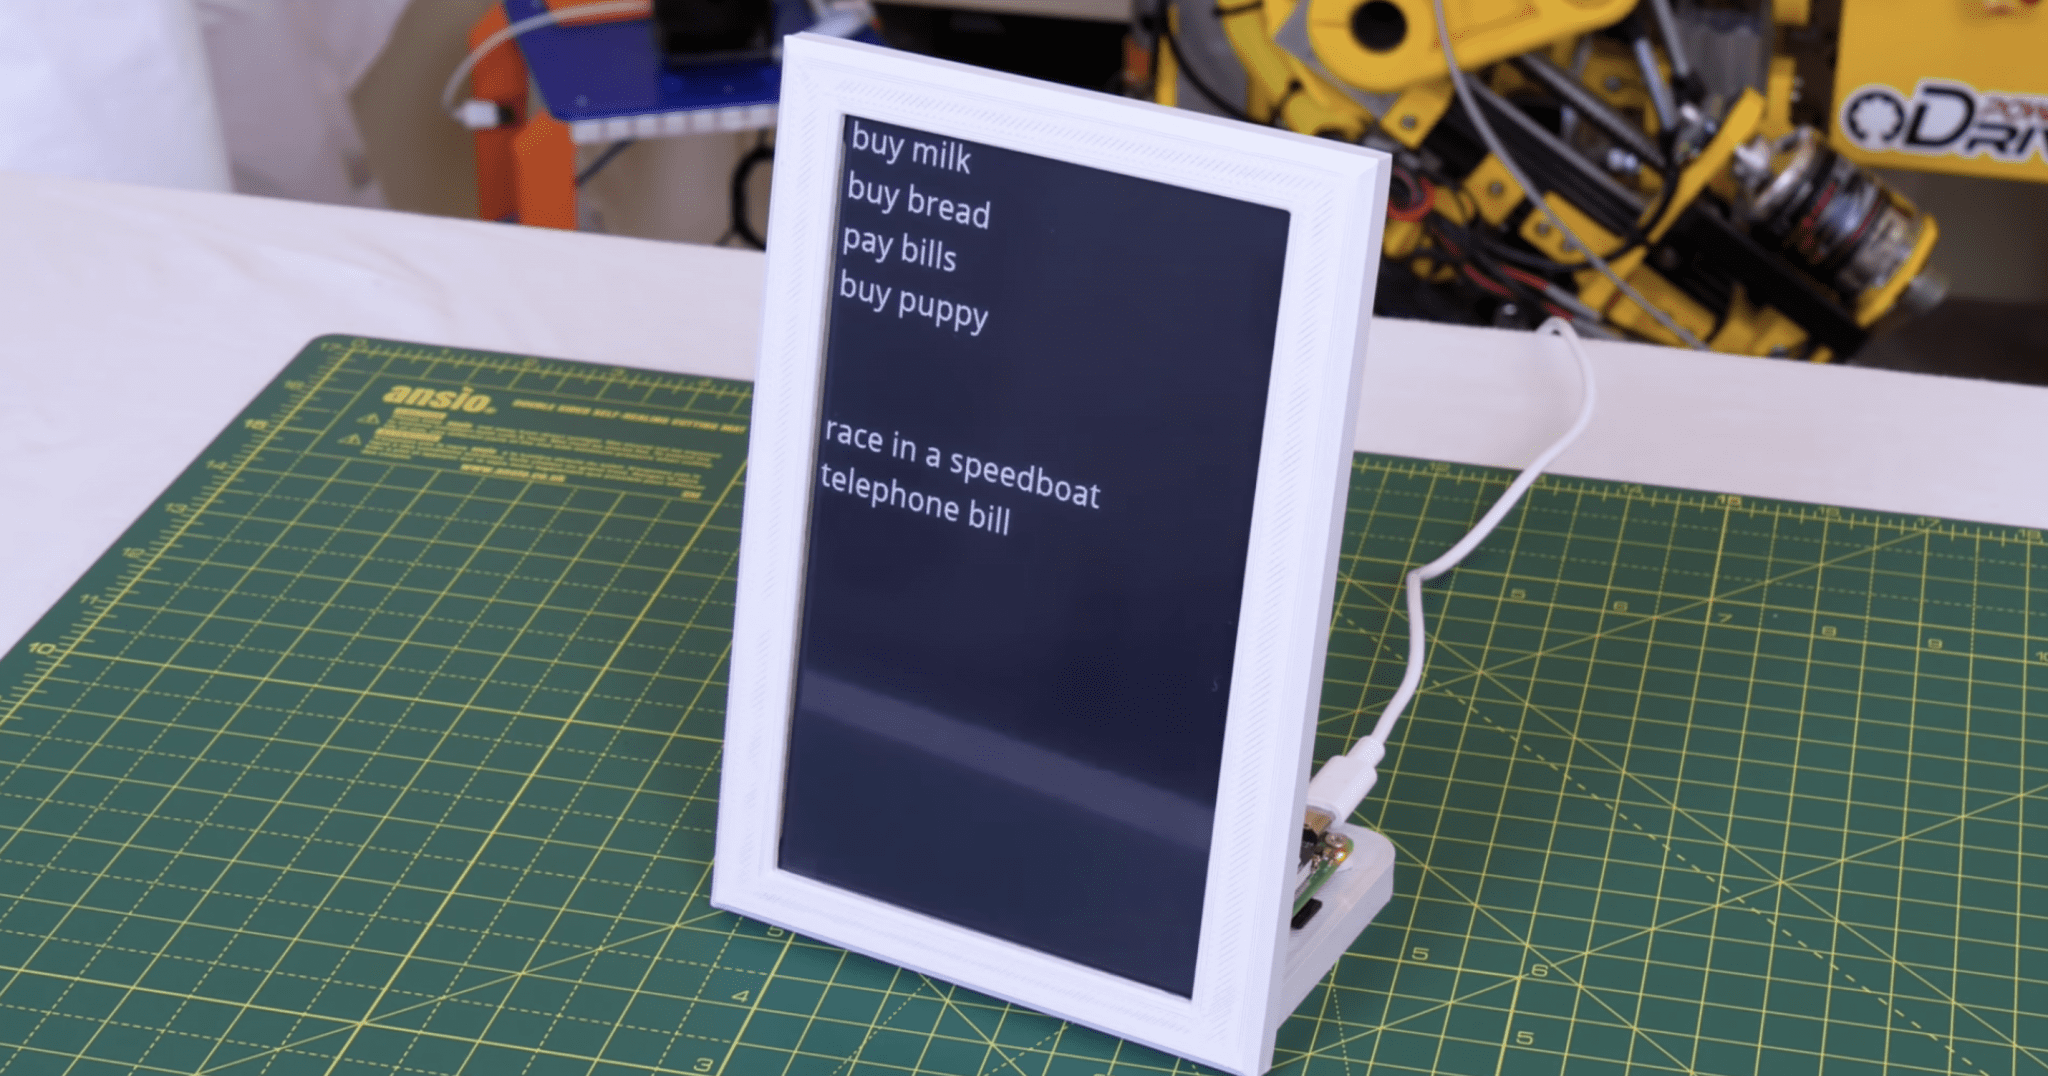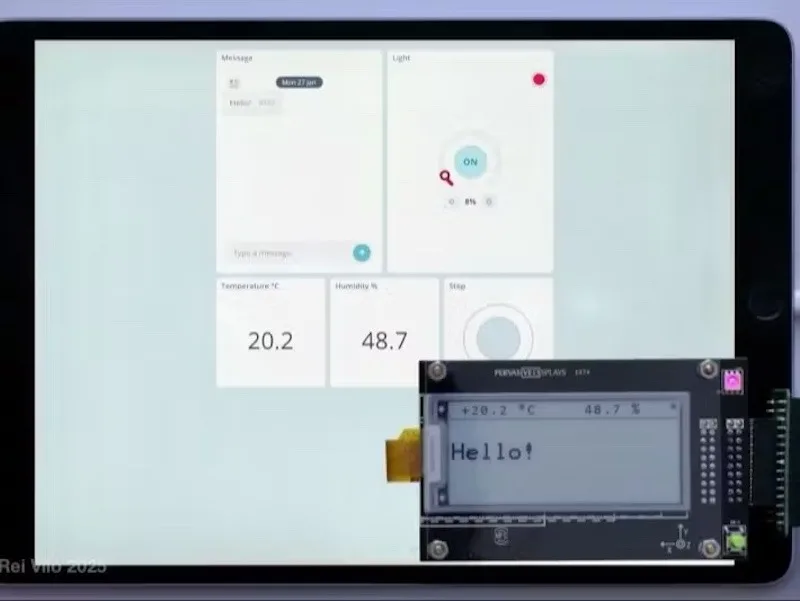
Build an e-paper weather display and message board using Arduino Cloud
Reading Time: 2 minutesIf you haven’t yet experimented with the Arduino Cloud, then you may not be aware of how powerful it is for Internet of Things (IoT) applications. Using the service and its online tools, you can quickly build and deploy smart IoT devices — often with little or no custom code required. Rei Vilo’s Remote E-Paper […]