Schlagwort: dslr

  • DSLR Motion Capture with Raspberry Pi and OpenCV

    DSLR Motion Capture with Raspberry Pi and OpenCV

    Reading Time: 3 minutes

    One of our favourite makers, Pi & Chips (AKA David Pride), wanted to see if they could trigger a DSLR camera to take pictures by using motion detection with OpenCV on Raspberry Pi.

    You could certainly do this with a Raspberry Pi High Quality Camera, but David wanted to try with his swanky new Lumix camera. As well as a Raspberry Pi and whichever camera you’re using, you’ll also need a remote control. David sourced a cheap one from Amazon, since he knew full well he was going to be… breaking it a bit.

    Breaking the remote a bit

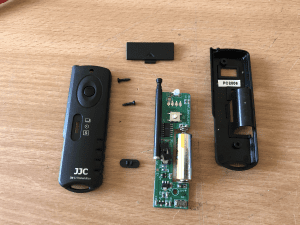
    When it came to the “breaking” part, David explains: “I was hoping to be able to just re-solder some connectors to the button but it was a dual function button depending on depth of press. I therefore got a set of probes out and traced which pins on the chip were responsible for the actual shutter release and then *carefully* managed to add two fine wires.”

    Further breaking

    Next, David added Dupont cables to the ends of the wires to allow access to the breadboard, holding the cables in place with a blob of hot glue. Then a very simple circuit using an NPN transistor to switch via GPIO gave remote control of the camera from Python.

    Raspberry Pi on the right, working together with the remote control’s innards on the left

    David then added OpenCV to the mix, using this tutorial on PyImageSearch. He took the basic motion detection script and added a tiny hack to trigger the GPIO when motion was detected.

    He needed to add a delay to the start of the script so he could position stuff, or himself, in front of the camera with time to spare. Got to think of those angles.

    David concludes: “The camera was set to fully manual and to a really nice fast shutter speed. There is almost no delay at all between motion being detected and the Lumix actually taking pictures, I was really surprised how instantaneous it was.”

    The whole setup mounted on a tripod ready to play

    Here are some of the visuals captured by this Raspberry Pi-powered project…

    Take a look at some more of David’s projects over at Pi & Chips.

    Website: LINK

  • OpenAstroTracker is a tracking and GoTo mount for DSLR astrophotography

    OpenAstroTracker is a tracking and GoTo mount for DSLR astrophotography

    Reading Time: 2 minutes

    OpenAstroTracker is a tracking and GoTo mount for DSLR astrophotography

    Arduino TeamFebruary 26th, 2020

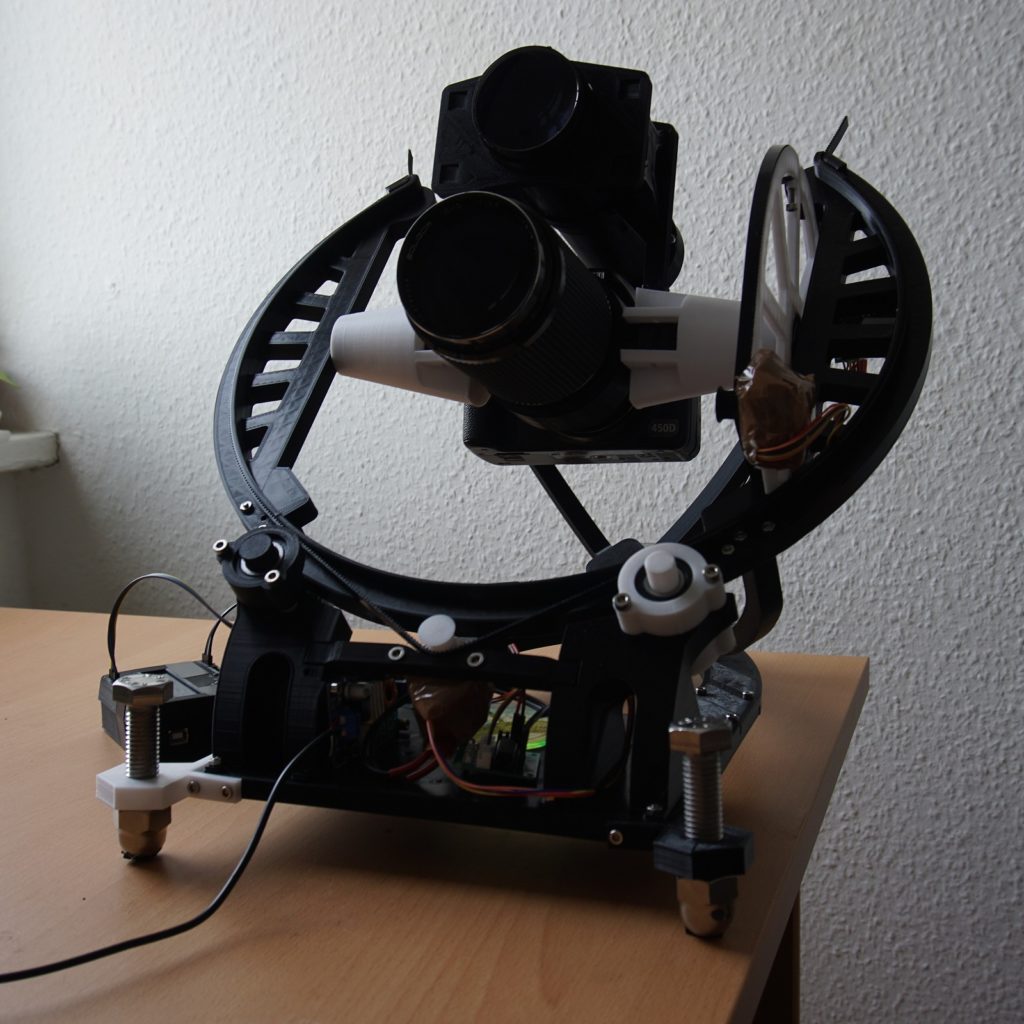
    Stars appear to stand still, but wait a few minutes and they won’t be in quite the same place. This means that if you want to take a long-exposure image of the sky with your DSLR you’ll have to either embrace the streaks, or use tracking hardware to compensate for this movement. Naturally, this specialized equipment can be quite expensive, but a seen here, you can now make your own 3D-printed OpenAstroTracker controlled by an Arduino Uno.

    The device features a 16×2 LED display/keypad shield, along with an optional Bluetooth module for interface. When set up, it slowly rotates the camera to compensate for star movements via two steppers on a gimbal assembly. 

    Print files for the OpenAstroTracker are available on Thingiverse and code can be found on GitHub if you’d like to examine the design or even build your own. Its creator also plans to sell it as a DIY kit — and you can sign up to be notified when it’s available.

    [youtube https://www.youtube.com/watch?v=cEigJ27LQq8?feature=oembed&w=500&h=281]

    Website: LINK