Schlagwort: dashboard
-

A flurry of Arduino Cloud updates spell sunshine for makers
Reading Time: 4 minutesArduino Cloud updates are like buses! They all come along at once. But that just makes it all the more exciting when we get to tell you about the new things happening in Arduino’s awesome SaaS system. So let’s jump right in there and take a look at tags, filters, blinks and…
-

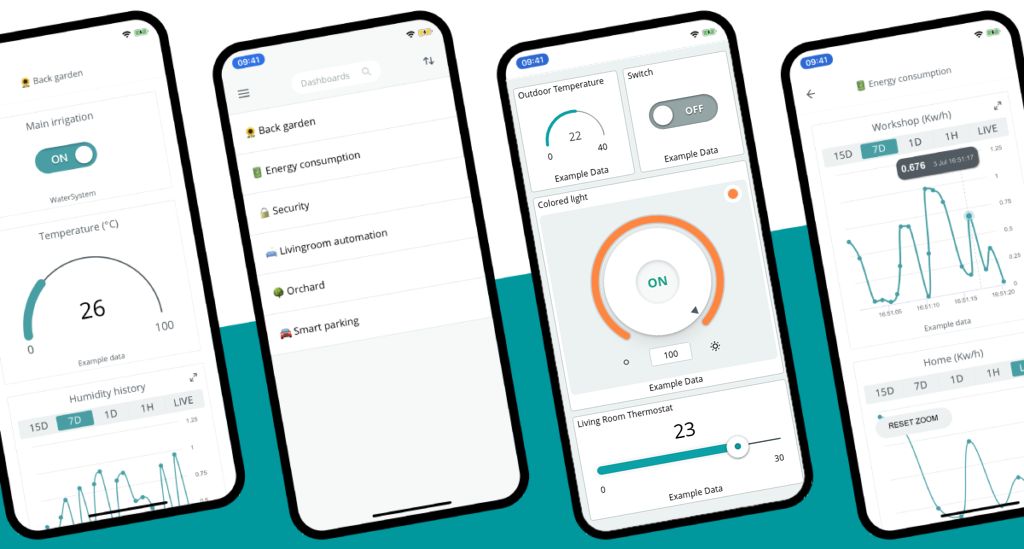
Arduino Cloud gets mobile dashboards and Facebook login
Reading Time: 3 minutesYou’ve now got a way to optimize your Arduino Cloud dashboards for small screens, and Facebook login for the smartphone apps and your account. It’s been a busy few weeks! Only yesterday we rolled out LoRaWAN connectivity in Arduino Cloud using The Things Stack. Now we’ve even more great features to tell…
-

Arduino Cloud widgets and data downloads get a design overhaul
Reading Time: 3 minutesArduino Cloud’s dashboards and widgets are some of its most popular features. It’s what turns the Cloud into your ultimate control center for all kinds of projects, from home automation to industrial monitoring. We’re constantly looking for ways to improve the user experience, and we’ve just rolled out some small, but very…
-
Create projects fast, with no coding, using Oplà IoT Kit templates
Reading Time: 3 minutesCreate projects fast, with no coding, using Oplà IoT Kit templates Arduino Team — July 30th, 2021 Templates are here for the Oplà IoT Kit. This is a new feature that takes you from unboxing your kit to uploading a sketch and getting a project up and running in record time. And…
-

Target ships Xbox One early to user, gets banned by Microsoft
Reading Time: 3 minutesThat’s right, user ‚Moonlightswami‘, got his pre-ordered Xbox One from Target ‚a little‘ early. He unboxed the console, posted a video of it and shared some game and dashboard details. Sadly, his console and account got banned and also his initial unboxing was taken down by Microsoft: „And now my console is banned. Interesting. Legally purchased game,…
-

Erste Entertainment Partner von Xbox One vorgestellt
Reading Time: 2 minutesSeit Jahren arbeitet Xbox mit führenden Entertainment-Marken zusammen, um Nutzern neben dem Spielen eine vielfältige Palette an Unterhaltungsmöglichkeiten zu bieten: die besten Spiele, die besten Multiplayer-Features, Musik, Filme, Sport und vieles mehr – alles an einem Ort. Zusätzlich zu Live TV wird das Angebot von Premium Unterhaltungs-Apps, die speziell für das Wohnzimmer…