Schlagwort: Controllers
-

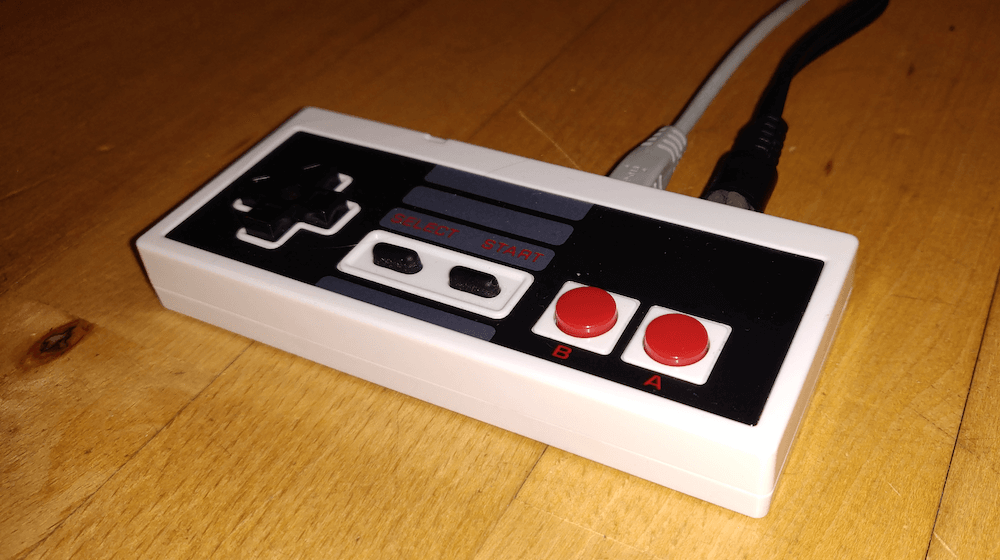
An Arduino Tetris console inside of an NES controller
Reading Time: 2 minutesAn Arduino Tetris console inside of an NES controller Arduino Team — March 3rd, 2020 Tetris was as a perfect complement to Nintendo’s original Game Boy when it came out in 1989, and now “Copper Dragon” has been able to fit an entire system for it — sans monitor or speakers — inside…
-

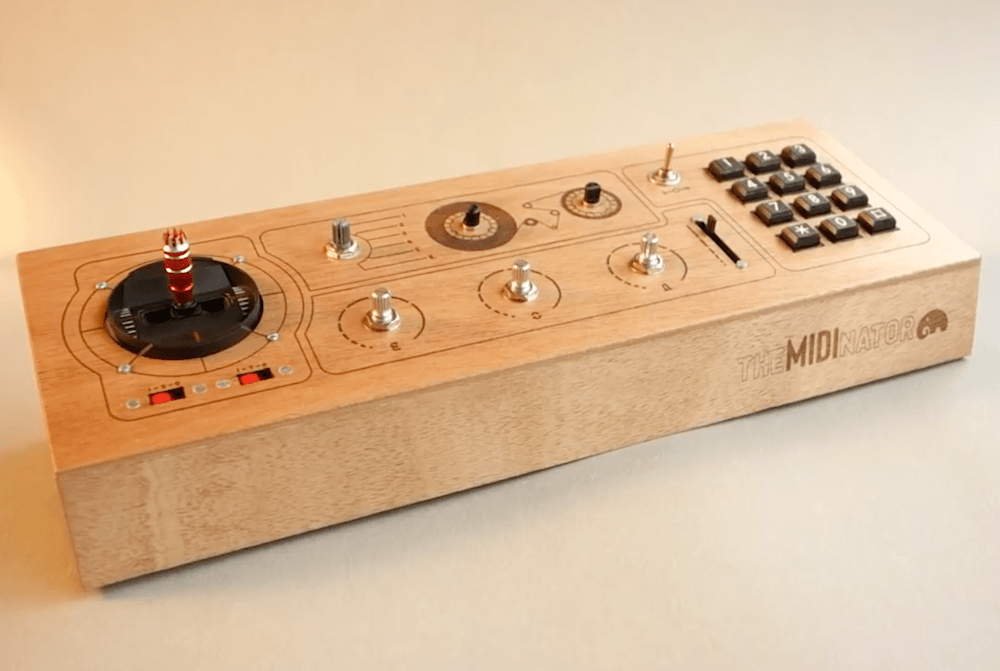
theMIDInator is a marvelous MIDI controller
Reading Time: 2 minutestheMIDInator is a marvelous MIDI controller Arduino Team — December 9th, 2019 While you may know on some level that an Arduino can help you make music, you probably haven’t seen as good an implementation as this MIDI controller by Switch & Lever. The device features a numeric pad for note input,…
-

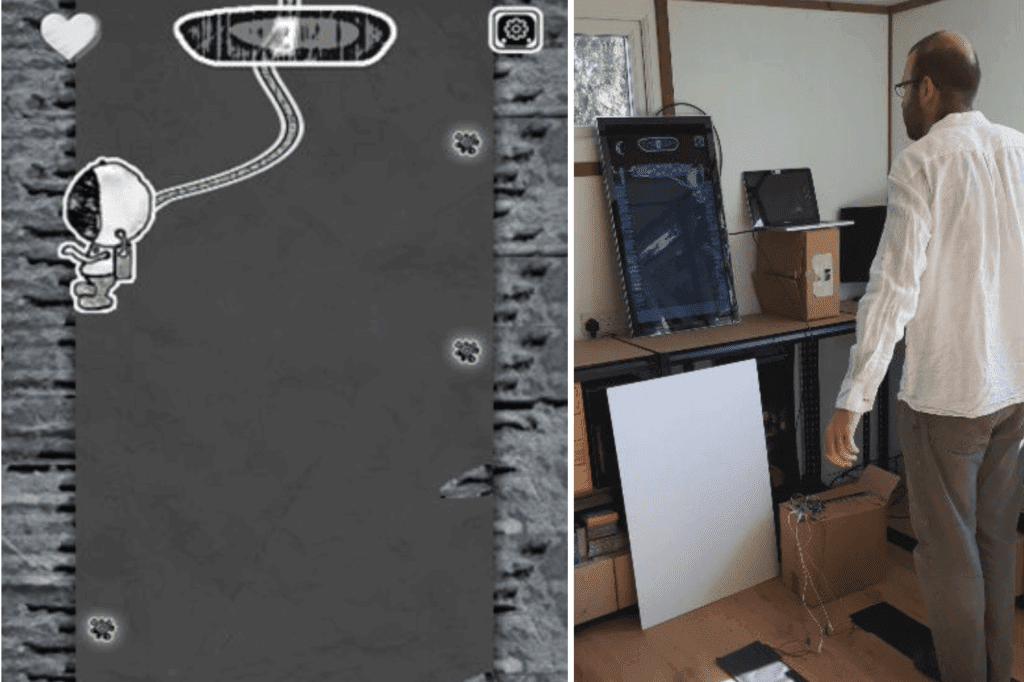
Creating a physical game controller with Arduino
Reading Time: 2 minutesCreating a physical game controller with Arduino Arduino Team — September 3rd, 2019 Steven Goodwin wrote a JavaScript game called Space Bounce where a character in a space suit has to jump from one side of a mine shaft to another, collecting roughly star-shaped objects, while avoiding spikes. It’s a simple yet…
-

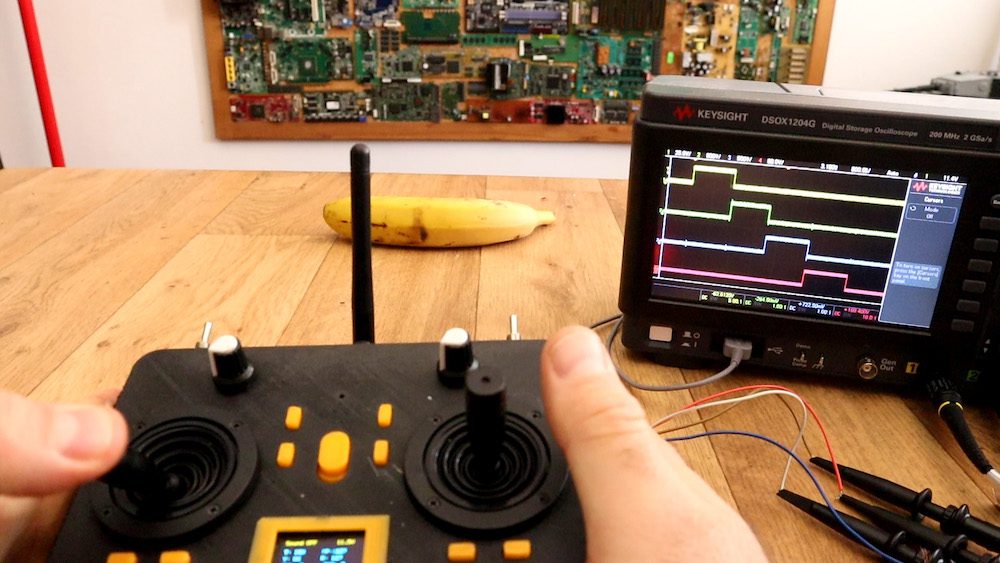
This DIY radio controller resembles one you’d find on the market
Reading Time: 2 minutesThis DIY radio controller resembles one you’d find on the market Arduino Team — March 13th, 2019 If you’ve ever considered constructing your own wireless RC transmitter, be sure to check out this build by Electronoobs. The device uses an nRF24L01+ module to transmit inputs from a pair of joysticks and toggle…
-

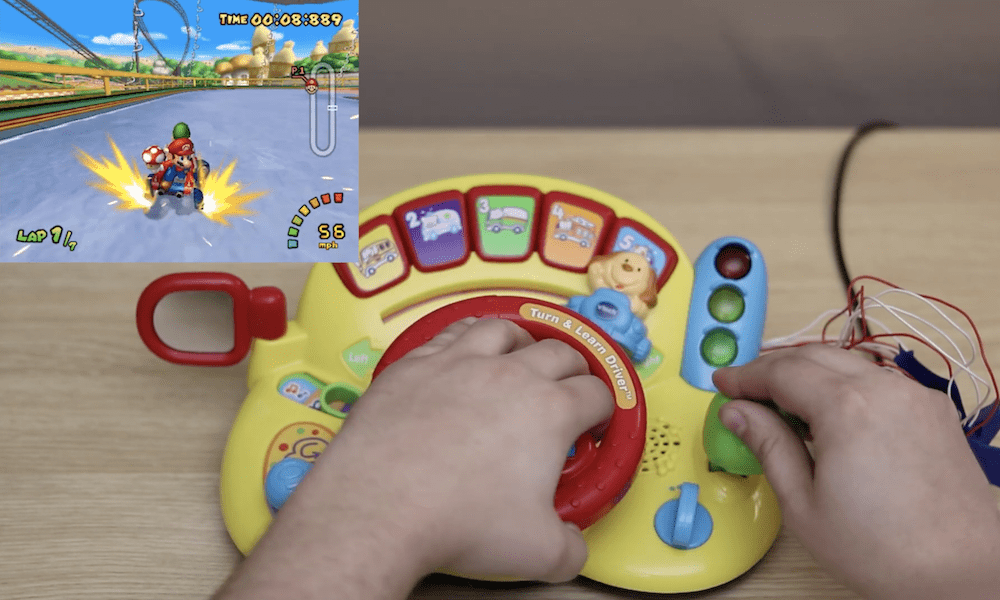
Play Mario Kart: Double Dash with a hacked VTech steering wheel
Reading Time: < 1 minutePlay Mario Kart: Double Dash with a hacked VTech steering wheel Arduino Team — February 19th, 2019 YouTuber “Insert Controller Here” has been creating gaming controllers out of a variety of objects, like bananas, mayonnaise, and meat. For his latest iteration, the YouTuber decided to convert a VTech Turn and Learn…