Schlagwort: Camera Slider
-

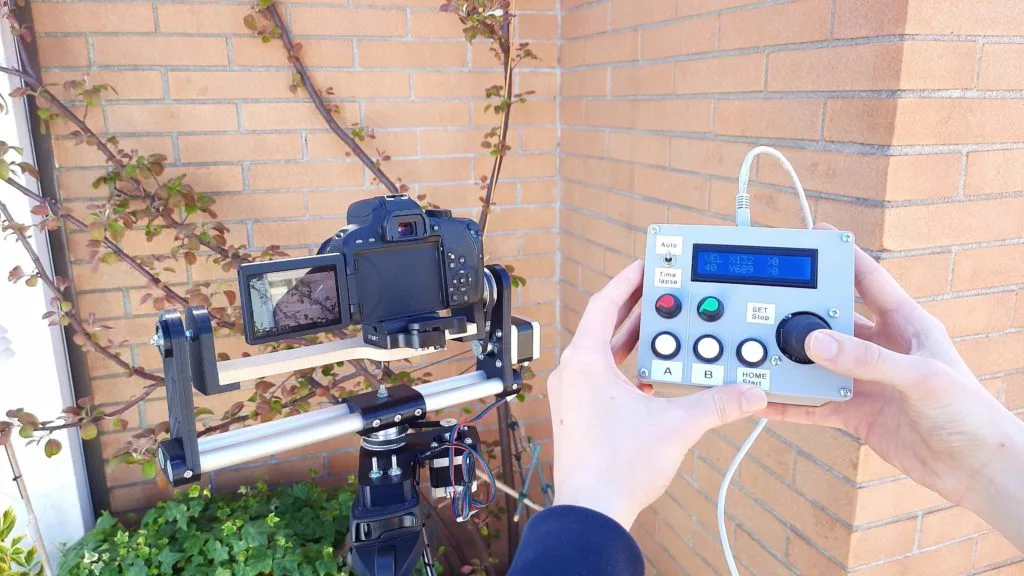
Easily create your own robotic camera operator
Reading Time: 2 minutesIf you do any kind of video content creation and you still rely entirely on static shots, then you’re missing out on an opportunity to generate visual interest that draws viewers in. Dynamic shots can do a lot to increase the production value of your videos, but most people can’t afford to…
-

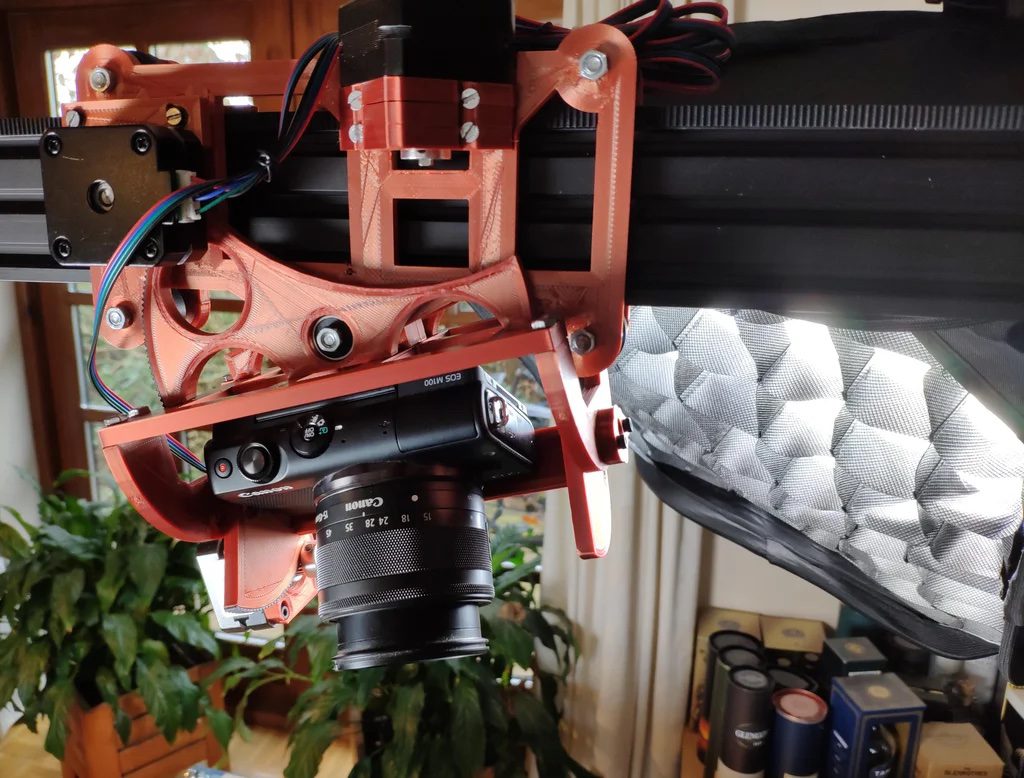
Transforming a 3D printer into a four-axis camera slider
Reading Time: 2 minutesArduino Team — August 19th, 2022 When creating videos, making smooth, level movements at a constant speed is often a very important requirement, as sudden changes can leave viewers uncomfortable. But rather than purchasing an expensive gimbal-stabilized rig or a commercial motorized camera platform, Instructables user dslrdiy decided to devise their own four-axis system using…
-

Camera assistant takes shots of your workbench from above
Reading Time: < 1 minuteArduino Team — April 6th, 2021 “Have you ever wished you had an extra pair of hands in the workshop to handle the camera, while you were concentrating on your project?” KronBjron has, which led them to create an automated overhead camera assistant to help document instructional videos. The device hangs a…
-

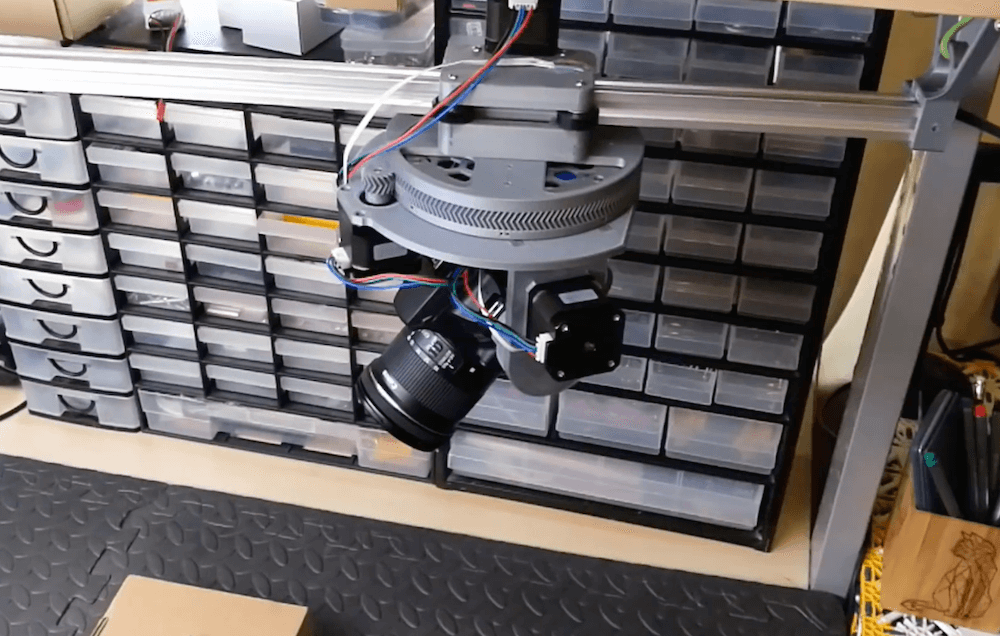
Capture cinematic shots with this motorized slider and pan-tilt camera mount
Reading Time: 2 minutesCapture cinematic shots with this motorized slider and pan-tilt camera mount Arduino Team — July 6th, 2020 DIY camera sliders are a great way to get professional-looking video shots on an amateur budget, but few can compare to the quality of this project by “isaac879.” His device features a pan/tilt mechanism outlined in…
-

Capture cinematic shots with this object-tracking camera slider
Reading Time: 2 minutesCapture cinematic shots with this object-tracking camera slider Arduino Team — April 23rd, 2019 When filming your projects—or day-to-day life—static shots can be fun, but having a moving perspective often looks even better. The challenge is keeping the camera pointed at your subject, which maker Saral Tayal addresses with his automated slider.…