Schlagwort: automation
-

Can I build my own robot with Arduino?
Reading Time: 5 minutesWhen you think of automation, what’s the first image that comes to mind? For many of us, it’s a robot. From the blocky, square-headed characters of sci-fi comic fame to household more complex creations like the Replicants of Blade Runner — robots have captured our collective imagination for a long time. It’s…
-

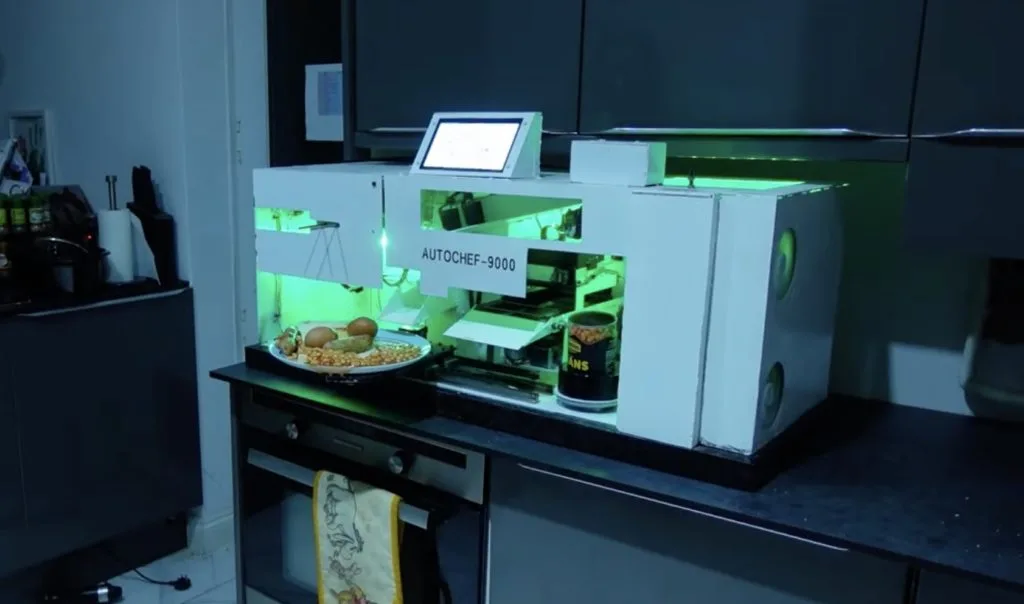
Autochef-9000 can cook an entire breakfast automatically
Reading Time: 2 minutesFans off Wallace and Gromit will all remember two things about the franchise: the sort of creepy — but mostly delightful — stop-motion animation and Wallace’s Rube Goldberg-esque inventions. YouTuber Gregulations was inspired by Wallace’s Autochef breakfast-cooking contraption and decided to build his own robot to prepare morning meals. Gregulations wanted his Autochef-9000 to…
-

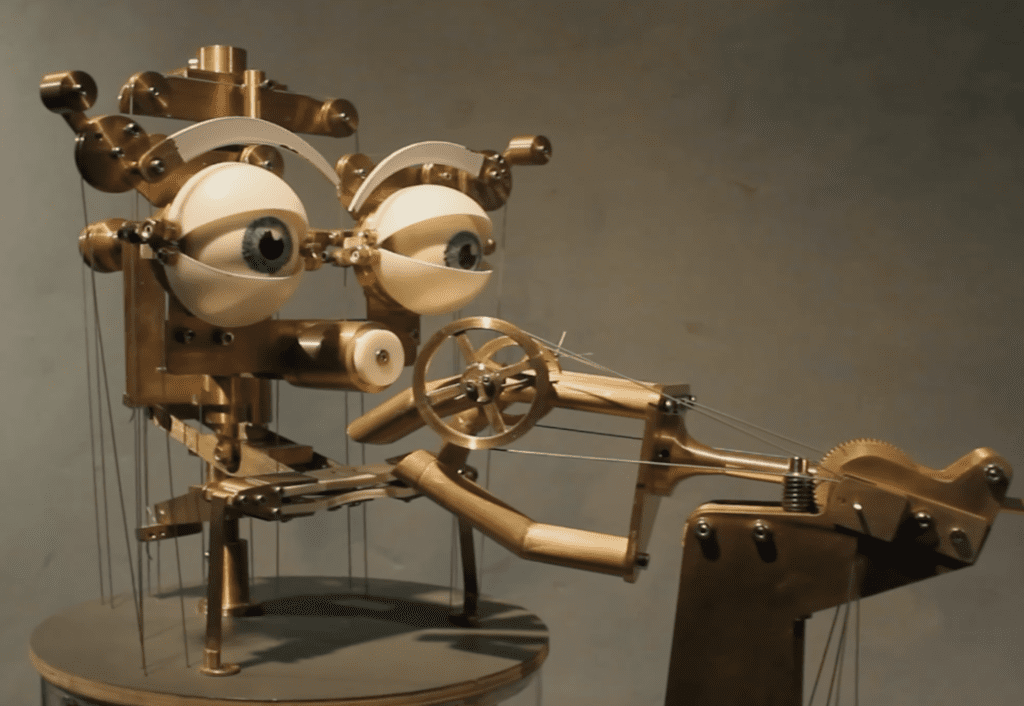
Brenda is classic automata nightmare fuel
Reading Time: 2 minutesArduino Team — July 5th, 2022 Art is a strange thing. Sometimes its purpose is purely aesthetic. Sometimes it makes a statement. And sometimes it exists to disturb. Kinetic art is no different and some robots fall into this category. Graham Asker’s art elicits pondering on the relationship between humans and robots,…
-

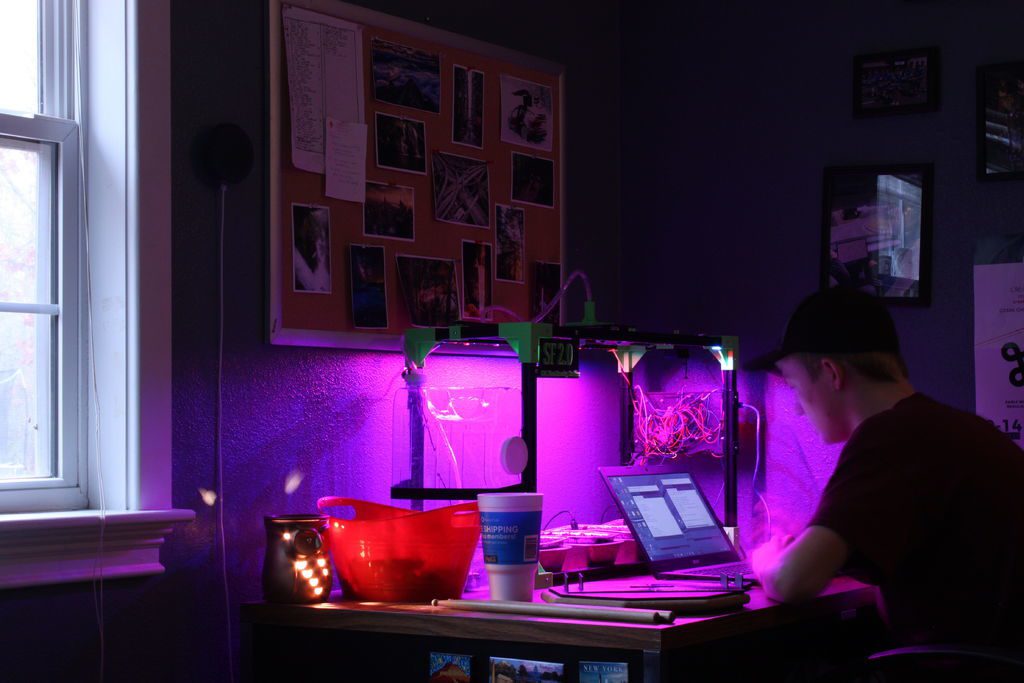
Protect your veggies from hail with a Raspberry Pi Zero W
Reading Time: 2 minutesTired of losing vegetable crops to frequent summertime hail storms, Nick Rogness decided to build something to protect them. And the result is brilliant! Digital Garden with hail protection Tired of getting your garden destroyed by hail storms? I was, so I did something about it…maker style! “I live in a part…
-

The grilled cheese-making robot of your dreams
Reading Time: 3 minutesUmmm…YES PLEASE! Cheeseborg: The Grilled Cheese Robot! More cool stuff at http://www.tabb.me and http://www.evankhill.com Cheeseborg has one purpose: to create the best grilled cheese it possibly can! Cheeseborg is fully automated, voice activated, and easy to move. With Google Assistant SDK integration, Cheeseborg can even be used as a part of your…
-

Motion-controlled water fountain…for cats!
Reading Time: 2 minutesTired of the constant trickle of your cat’s water fountain? Set up motion detection and put your cat in control. Cats are fickle My cat, Jimmy, loves drinking from running water. Or from the sink. Or from whatever glass I am currently using. Basically, my cat loves drinking out of anything that…
-

Automated plant tending with Arduino
Reading Time: 2 minutesAutomated plant tending with Arduino Arduino Team — May 8th, 2019 Do you like plants, but not so much tending to and watering them? If that sounds like you, then you might be interested in your own CNC growing machine. The system—created by 15-year-old maker “daily3dprinting”—is controlled by an Arduino Uno, and…
-

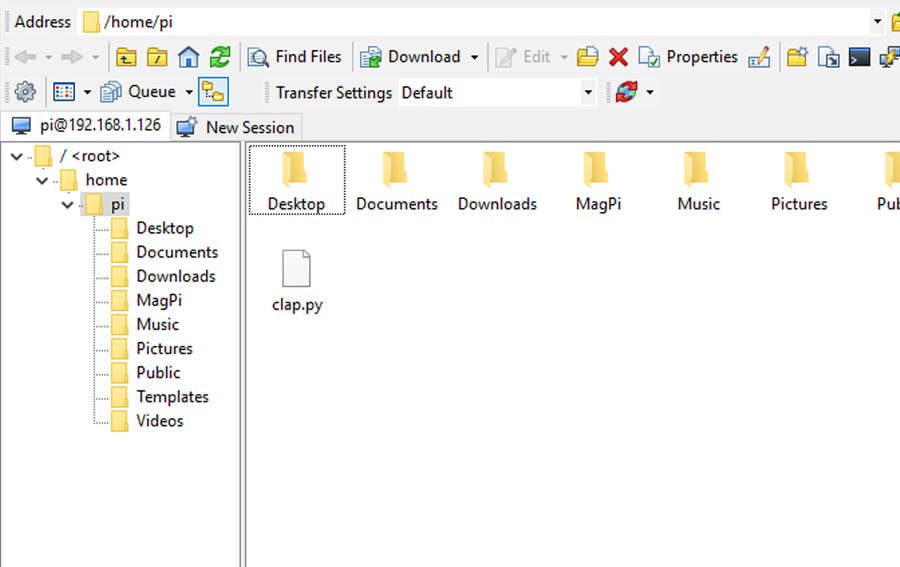
Clap on, clap off with the Raspberry Pi Clapper 👏👏
Reading Time: 2 minutesWhile many people use off-the-shelf automation setups for their electrical appliances, Ash Puckett’s Raspberry Pi Clapper pays homage to the king of infomercial classics. Remember this? The Clapper (1989) Uploaded by Travis Doucette on 2013-06-03. Build your own Raspberry Pi Clapper Sometimes, the best Raspberry Pi projects don’t need thousands of lines of…
-

Winners of the Arduino/Distrelec Automation & Robotics Contest announced!
Reading Time: 3 minutesWinners of the Arduino/Distrelec Automation & Robotics Contest announced! Arduino Team — October 2nd, 2018 Earlier this year, Distrelec launched an Automation & Robotics Contest that invited our community to help advance Industry 4.0 leveraging the Arduino ecosystem. Submissions were required to use Arduino hardware—ranging from WiFi (MKR1000 and Yún Rev2) to GSM/narrowband…
-

Eight(ish) Raspberry Pi projects for the summer
Reading Time: 4 minutesThe sun is actually shining here in Cambridge, and with it, summer-themed Raspberry Pi projects are sprouting like mushrooms across our UK-based community (even though mushrooms don’t like hot weather…). So we thought we’d gather some of our favourite Pi-powered projects perfect for the sun-drenched outdoors. Air quality monitors and solar radiation…
-

Hacker House’s Zero W–powered automated gardener
Reading Time: 3 minutesAre the plants in your home or office looking somewhat neglected? Then build an automated gardener using a Raspberry Pi Zero W, with help from the team at Hacker House. Make a Raspberry Pi Automated Gardener See how we built it, including our materials, code, and supplemental instructions, on Hackster.io: https://www.hackster.io/hackerhouse/automated-indoor-gardener-a90907 With…