How to work from home with Raspberry Pi | The Magpi 93
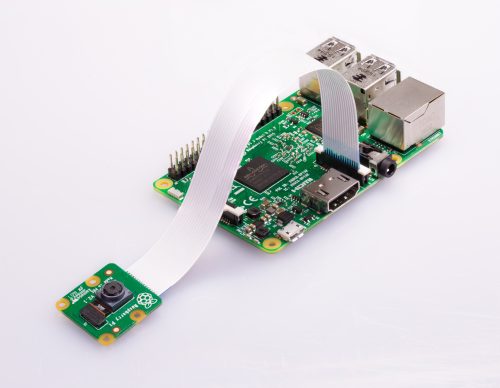
Reading Time: 7 minutesIf you find yourself working or learning, or simply socialising from home, Raspberry Pi can help with everything from collaborative productivity to video conferencing. Read more in issue #92 of The MagPi, out now. 01 Install the camera If you’re using a USB webcam, you can simply insert it into a USB port on Raspberry […]