Schlagwort: art
-

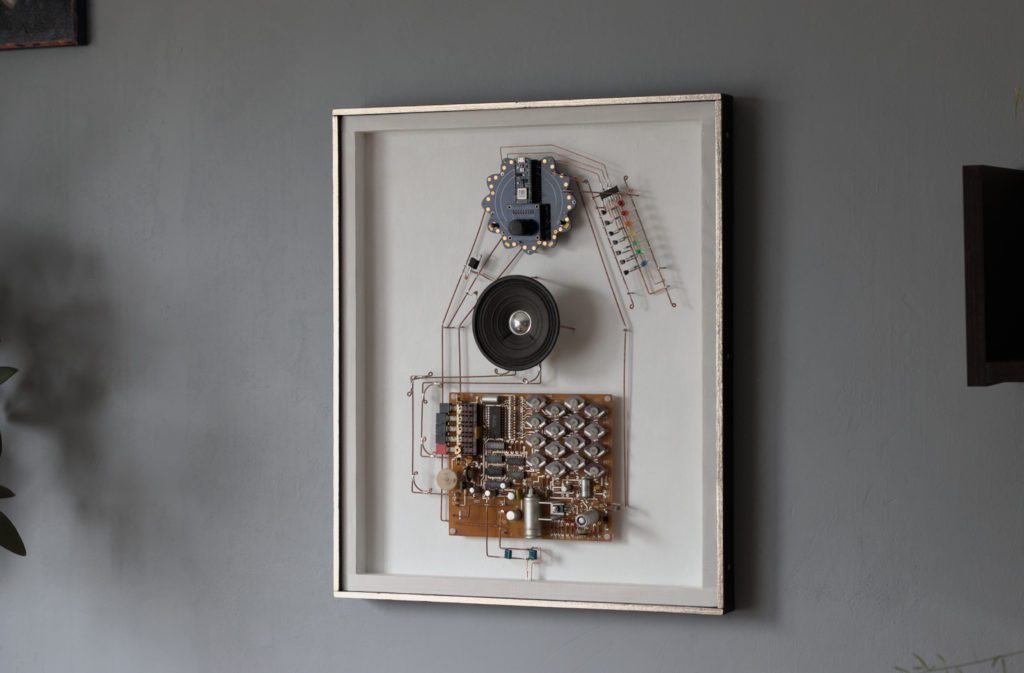
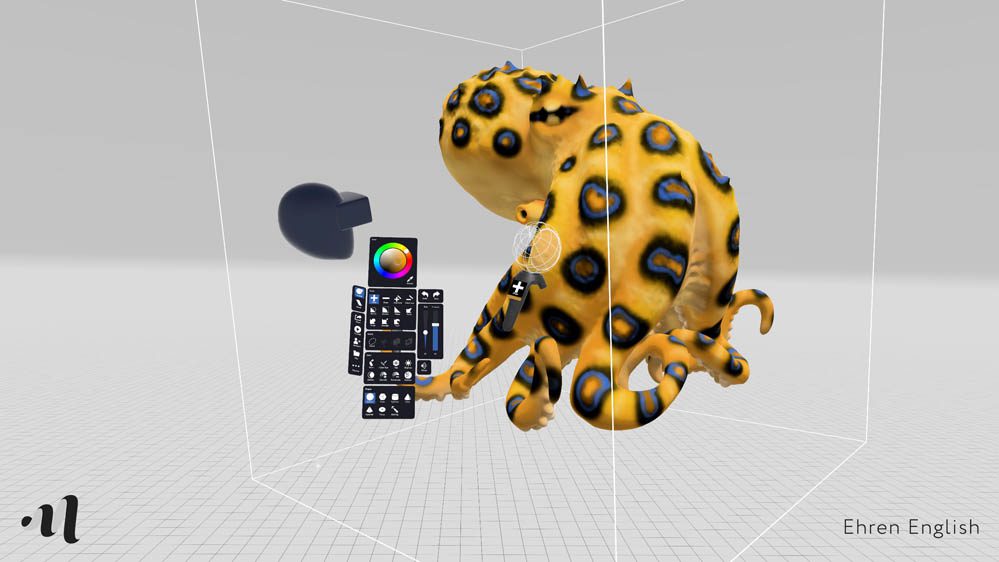
Technology meets creativity in two interactive art student projects
Reading Time: 2 minutesArt and engineering are not separate concepts. There is a great deal of overlap between the two and many modern disciplines increasingly blur those lines. Mónica Riki is an “electronic artist and creative coder” who embodies that idea: you might remember her and her incredible Arduino UNO R4-powered installations from our blog…
-

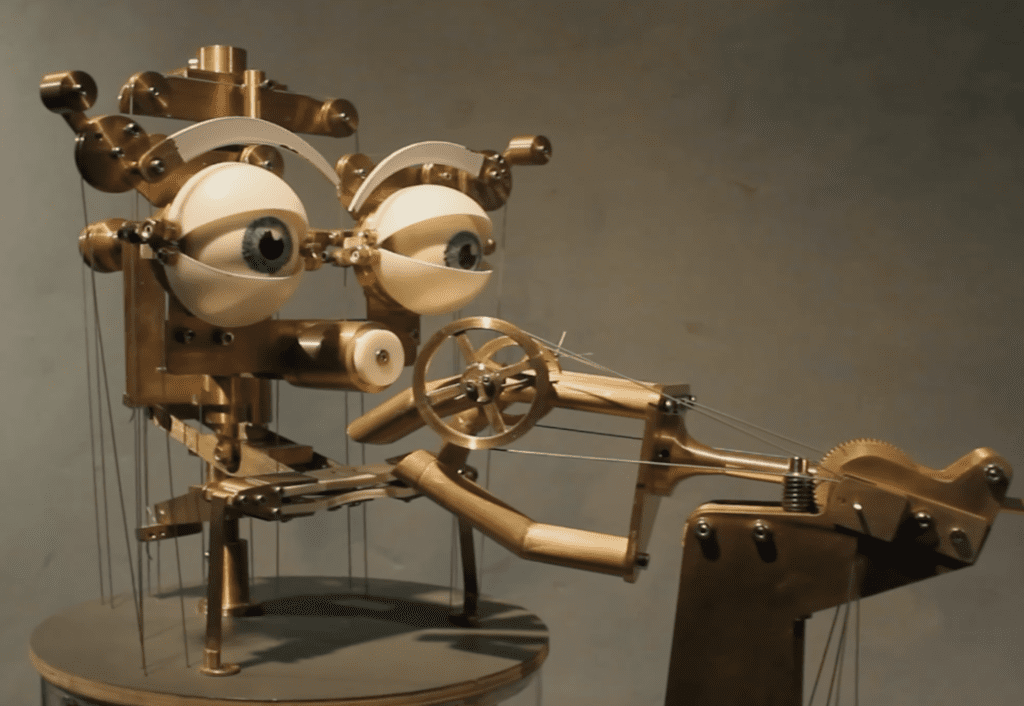
Flux is a kinetic art installation brought to life with Arduino
Reading Time: 2 minutesArt may be subjective, but all of our readers can appreciate the technology that goes into kinetic art. That term encompasses any piece of art that incorporates movement, which means it can be as simple as a sculpture that turns in the wind. But by integrating electronics, artists can achieve impressive effects.…
-

Art class stinks! Learn with smell in art class using this olfactory display
Reading Time: 3 minutesBy Maria Nikoli, Interaction Designer, MSc., Malmö University Smelling is crucial to our everyday living. But how well do we really understand the role that smells play in our day-to-day? Ask someone who temporarily lost their sense of smell because of COVID-19. They’ll probably tell you about how incredibly boring eating became all…
-

This piece of art knows when it’s being photographed thanks to tinyML
Reading Time: 2 minutesThis piece of art knows when it’s being photographed thanks to tinyML Arduino Team — September 9th, 2022 Nearly all art functions in just a single direction by allowing the viewer to admire its beauty, creativity, and construction. But Estonian artist Tauno Erik has done something a bit different thanks to embedded…
-

Brenda is classic automata nightmare fuel
Reading Time: 2 minutesArduino Team — July 5th, 2022 Art is a strange thing. Sometimes its purpose is purely aesthetic. Sometimes it makes a statement. And sometimes it exists to disturb. Kinetic art is no different and some robots fall into this category. Graham Asker’s art elicits pondering on the relationship between humans and robots,…
-

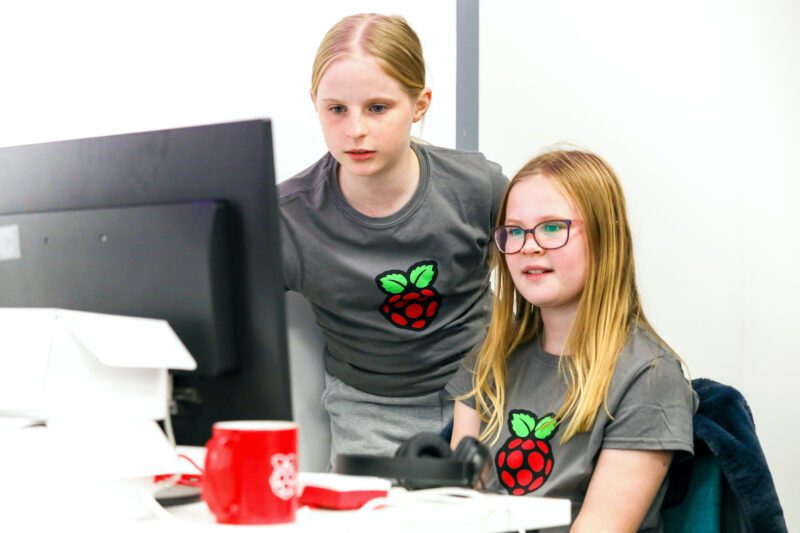
Coding for kids: Art, games, and animations with our new beginners’ Python path
Reading Time: 7 minutesPython is a programming language that’s popular with learners and educators in clubs and schools. It also is widely used by professional programmers, particularly in the data science field. Many educators and young people like how similar the Python syntax is to the English language. That’s why Python is often the first…
-

Raspberry Pi interactive wind chimes
Reading Time: 2 minutesGrab yourself a Raspberry Pi, a Makey Makey, and some copper pipes: it’s interactive wind chime time! Perpetual Chimes Perpetual Chimes is a set of augmented wind chimes that offer an escapist experience where your collaboration composes the soundscape. Since there is no wind indoors, the chimes require audience interaction to gently…
-

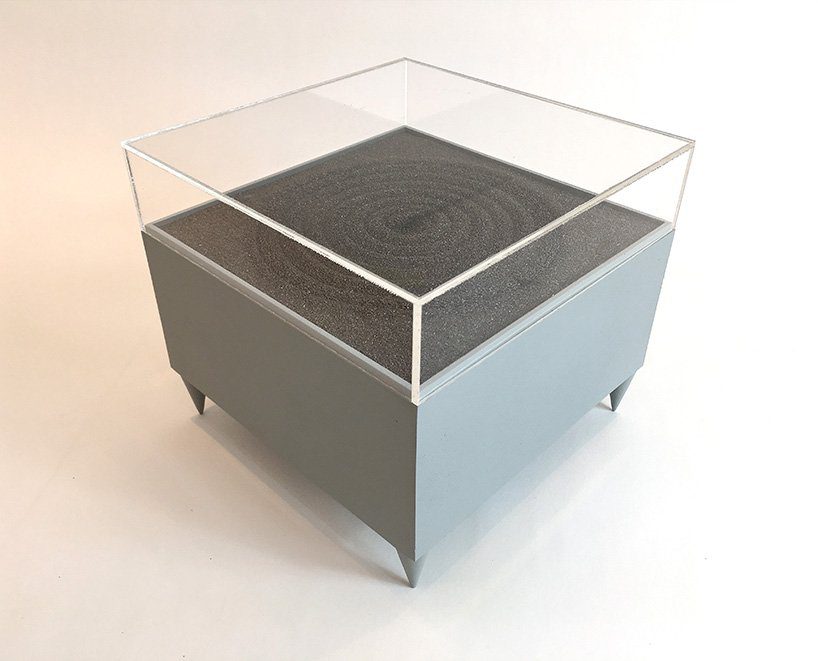
These interactive drawing machines are inspired by Japanese zen gardens
Reading Time: 2 minutesThese interactive drawing machines are inspired by Japanese zen gardens Arduino Team — August 27th, 2019 Artist Jo Fairfax has created automated drawing machines inspired by carefully manicured Japanese rock gardens, AKA zen gardens. The mesmerizing artwork uses magnets and motors that move underneath a bed of iron filings, generating soothing shapes…
-

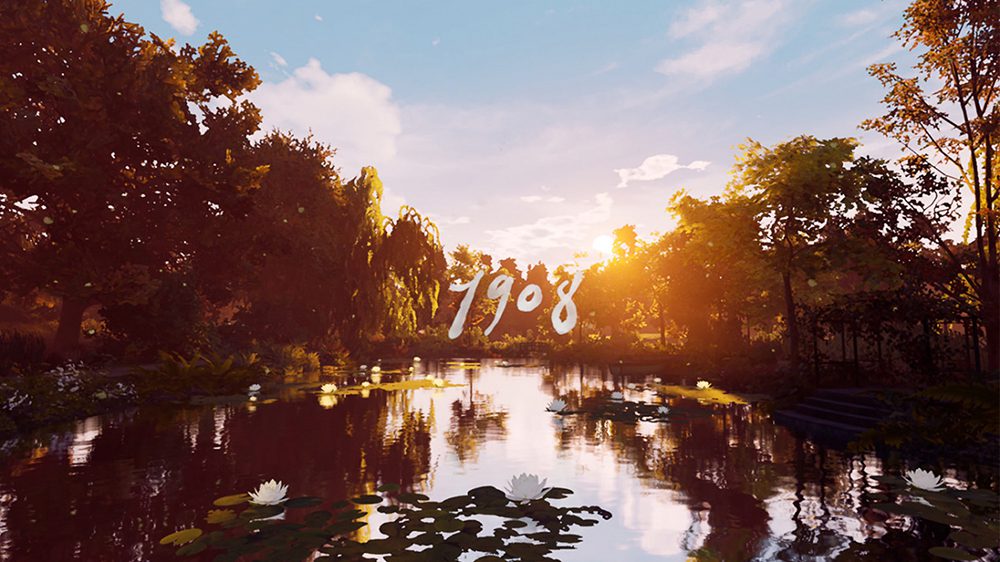
Get obsessed with art in Lucid Realities Studio’s Viveport Developer Story
Reading Time: 2 minutesIn the first of our latest series of Viveport Developer Stories, we took a trip over to Paris, France to visit with the team at Lucid Realities Studio. Winner of the third annual VDA award in the Arts & Culture category with the experience Claude Monet – The Water Lily obsession, they…
-

Bringing a book to life with Raspberry Pi | Hello World #9
Reading Time: 4 minutesSian Wheatcroft created an interactive story display to enable children to explore her picture book This Bear, That Bear. She explains the project, and her current work in teaching, in the newest issue of Hello World magazine, available now. The task of promoting my first children’s picture book, This Bear, That Bear,…
-

This machine creates images using Skittles as pixels
Reading Time: 2 minutesThis machine creates images using Skittles as pixels Arduino Team — July 9th, 2019 Skittles candies come in various vibrant colors. While they may be a tasty treat, JohnO3 had another idea: to create an amazing automated display for the little circles. His device, dubbed the “Skittle Pixel8r,” uses an Arduino Mega…
-

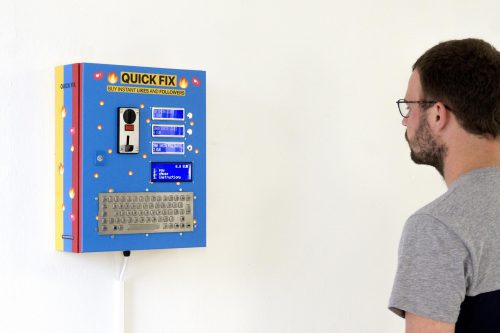
Quick Fix — a vending machine for likes and followers
Reading Time: 2 minutesSometimes we come across a project that just scores a perfect 10 on all fronts. This is one of them: an art installation using Raspberry Pi that has something interesting to say, does it elegantly, and is implemented beautifully (nothing presses our buttons like a make that’s got a professionally glossy finish…
-

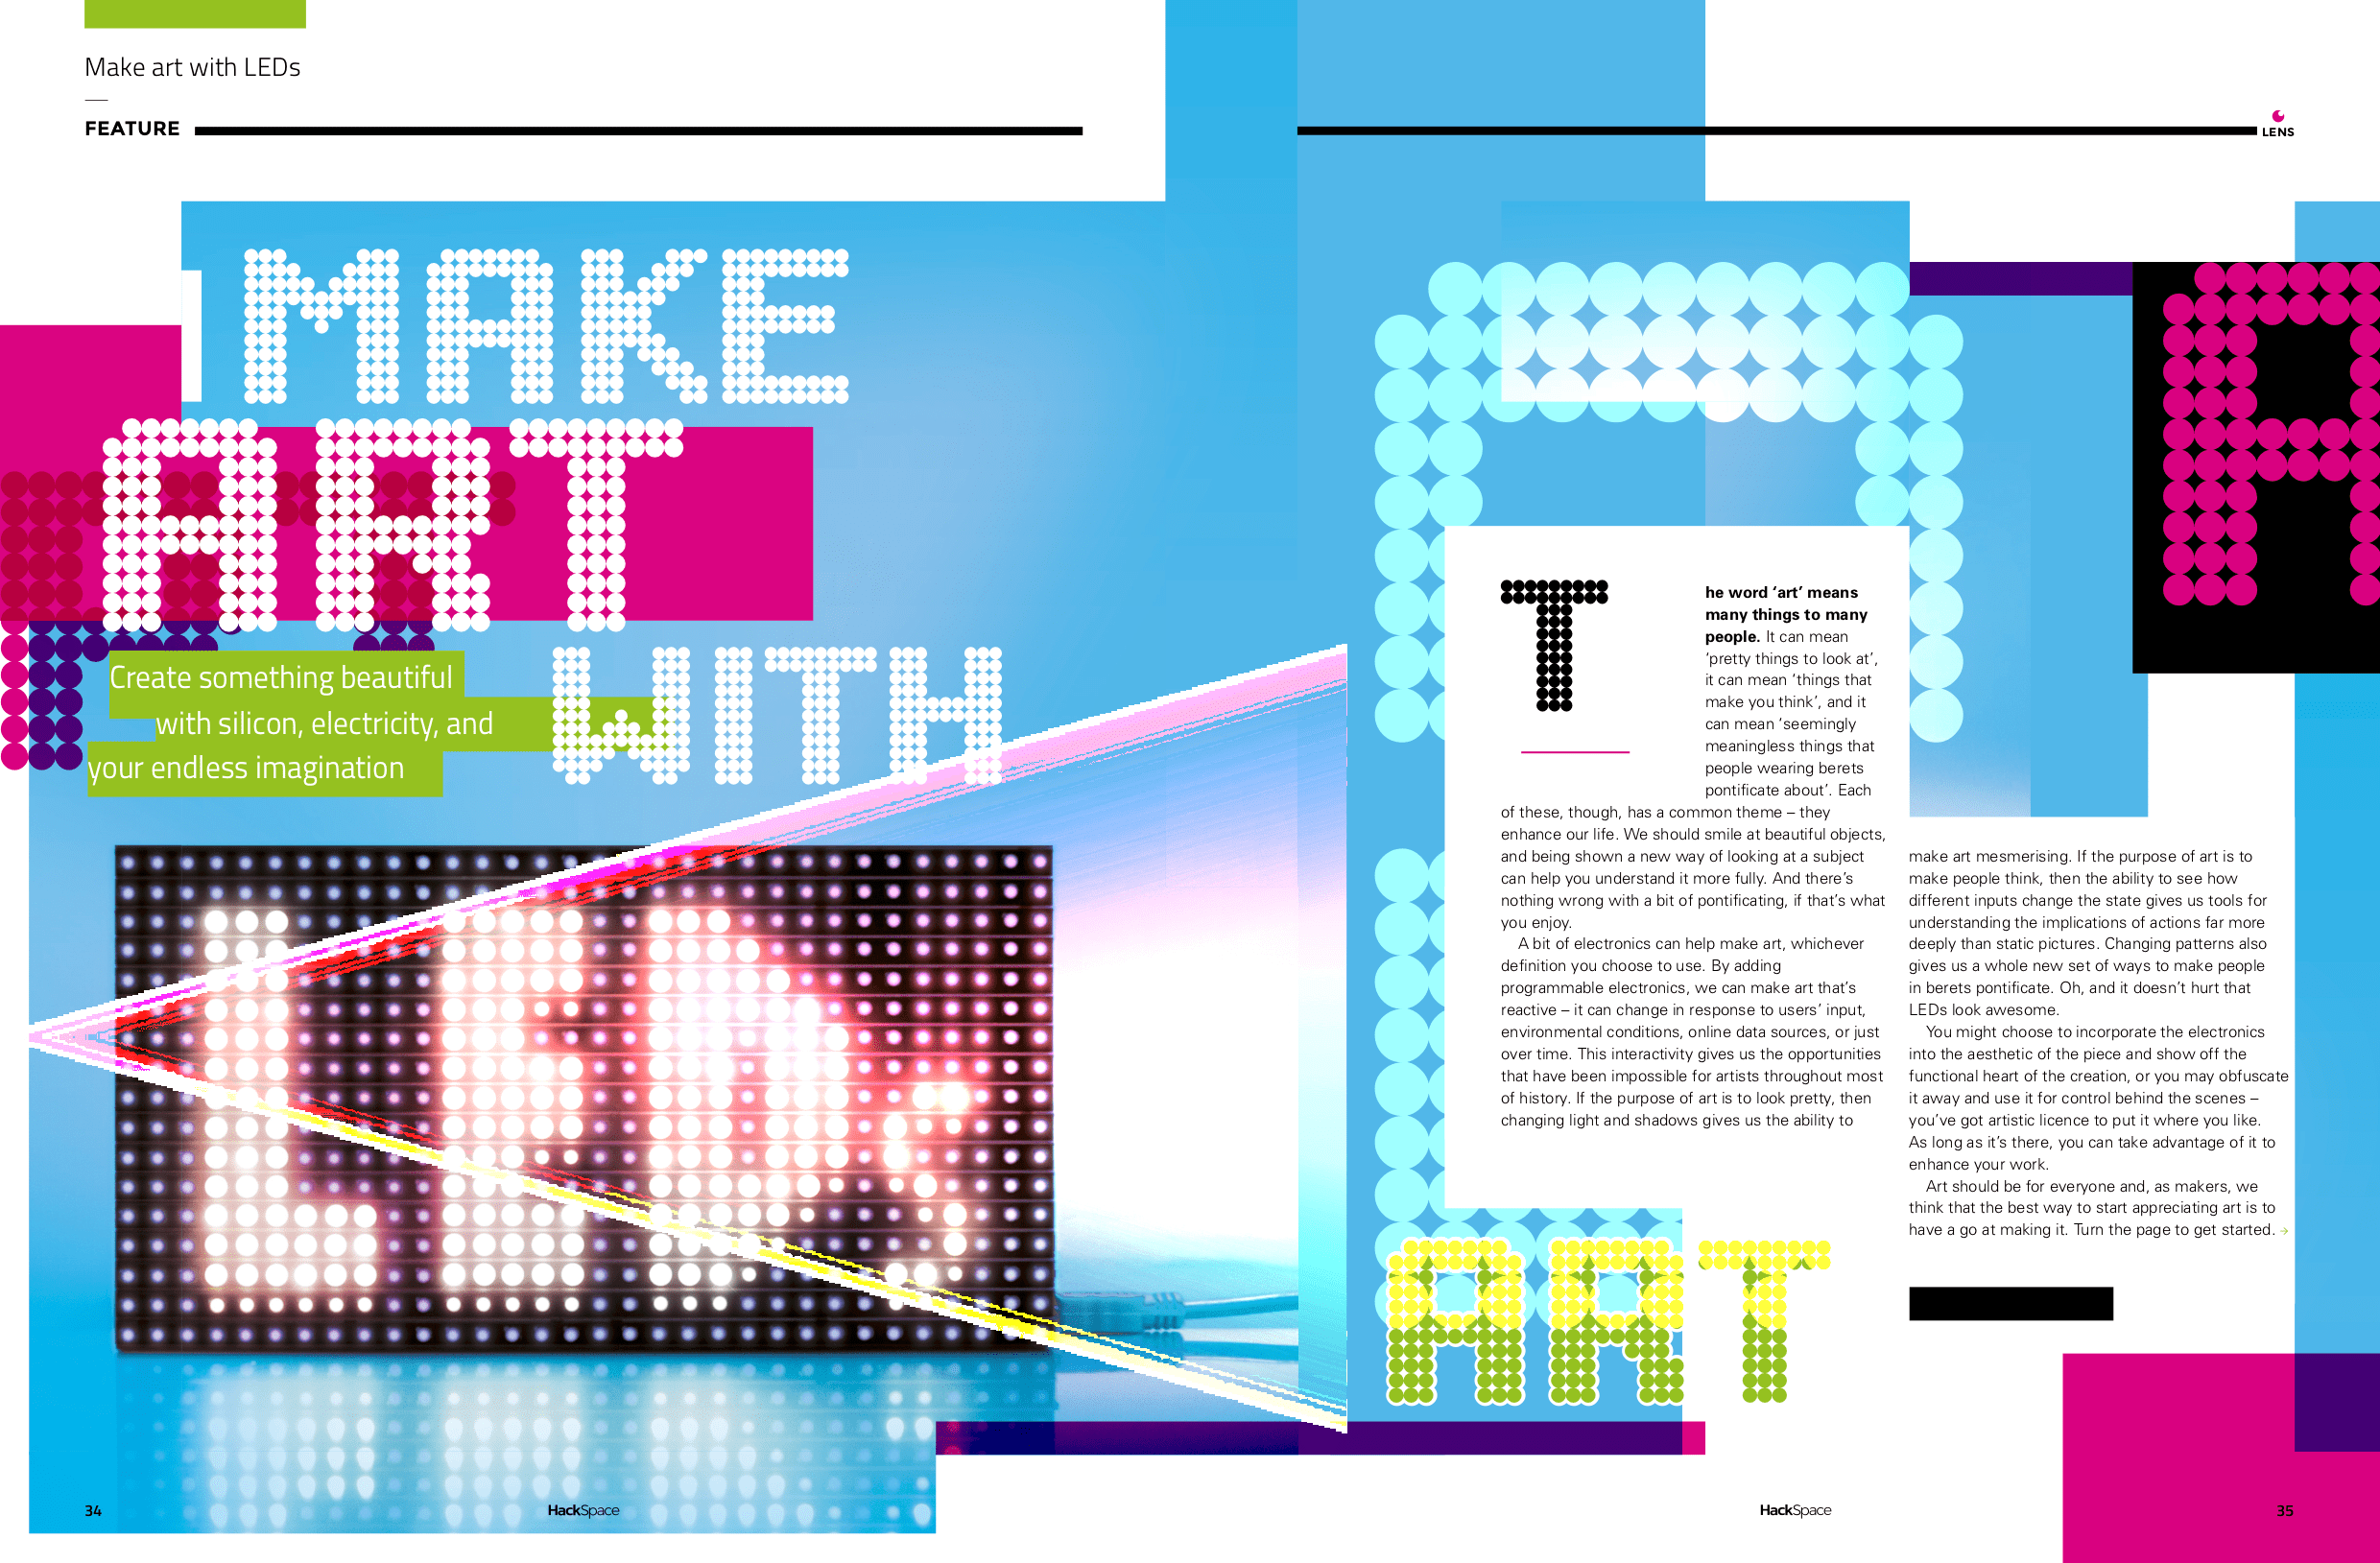
Make art with LEDs | HackSpace magazine #16
Reading Time: 3 minutesCreate something beautiful with silicon, electricity, your endless imagination, and HackSpace magazine issue 16 — out today! LEDs are awesome Basically, LEDs are components that convert electrical power into light. Connect them to a power source (with some form of current limiter) in the right orientation, and they’ll glow. Each LED has…
-
Play multiple sounds simultaneously with a Raspberry Pi
Reading Time: 2 minutesPlaying sound through a Raspberry Pi is a simple enough process. But what if you want to play multiple sounds through multiple speakers at the same time? Lucky for us, Devon Bray figured out how to do it. Play multiple audio files simultaneously with Raspberry Pi Artist’s Website: http://www.saradittrich.com/ Blog Post: http://www.esologic.com/multi-audio/ Ever…
-

Adding the Pi to Picasso with wireless digital graffiti
Reading Time: 3 minutesIt looks like the Nintendo Wii Remote (Wiimote) has become a staple in many maker toolkits! Case in point: with the help of a Raspberry Pi and the cwiid Python library, David Pride turned the popular piece of tech into a giant digital graffiti spraycan. Using the Wiimote with a Raspberry Pi While it’s…
-

Creating virtual art with MasterpieceVR
Reading Time: 8 minutesVR is revolutionizing the 3D production process, and MasterpieceVR is on the forefront. We talked to the company’s Marketing Officer, Brendan de Montigny, about their most recent updates and how MasterpieceVR can help both traditional and 3D artists to thrive. MasterpieceVR is available now on Viveport. [youtube https://www.youtube.com/watch?v=ZKieI3TnVHY] Hello! Tell us a…
-

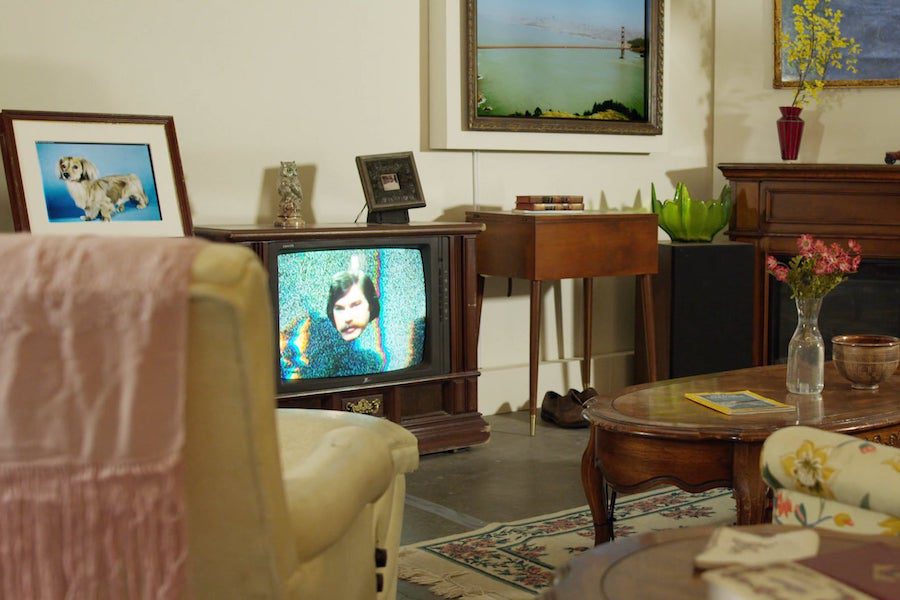
Salvaged Arduino powers animated House Party
Reading Time: 2 minutesSalvaged Arduino powers animated House Party Arduino Team — October 25th, 2018 What can you do with items that are destined for the dump? As seen here, if you’re Neil Mendoza, you transform old furniture, TVs, computers, art, and even an Arduino Zero that somehow ended up in the trash into a…
-

Pay for art with your mugshot
Reading Time: 2 minutesPay for art with your mugshot Arduino Team — September 17th, 2018 As reported here, digital artist Matthias Dörfelt has created an art vending machine in an attempt to increase awareness around blockchain possibilities, as well as how we handle our personal information. Face Trade, now on display at Art Center Nabi…
-

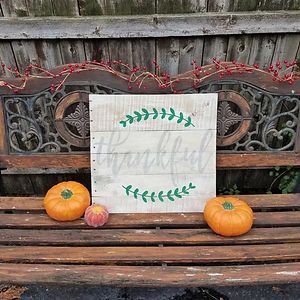
Transform A Wooden Pallet Into 5 Stenciled Signs Perfect For Fall
Reading Time: < 1 minute[unable to retrieve full-text content] Website: LINK
-
9 Simple And Delicious Potato Recipes That Your Friends Will Love [video]
Reading Time: < 1 minute[unable to retrieve full-text content] Website: LINK
-

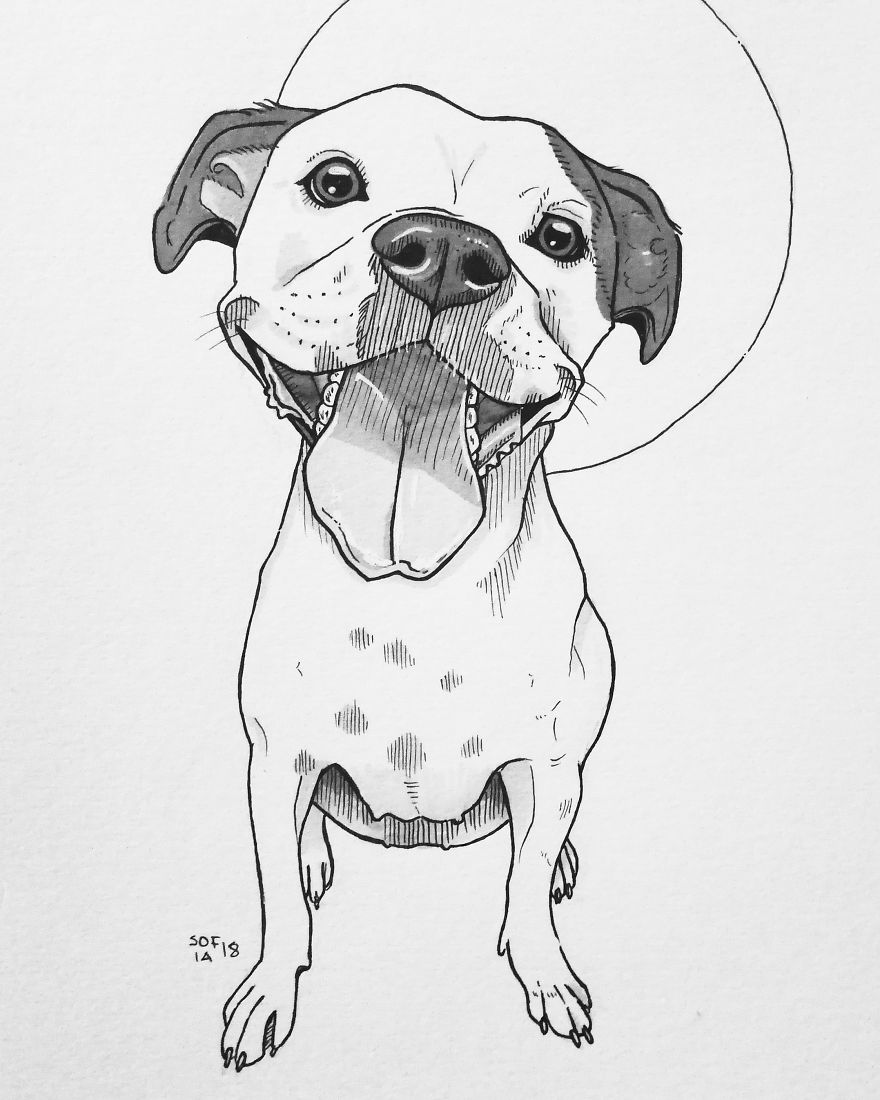
I Drew 30 Different Dogs In A 30-Day Challenge
Reading Time: 3 minutesHello, I’m a Finnish artist Sofia Härö. I’ve always had a love for dogs as well as art. When I decided to combine these two, the result was #30canines art challenge. Drawing 30 dogs in 30 days was a joy and a challenge. All of the drawings are done by hand, in…
-
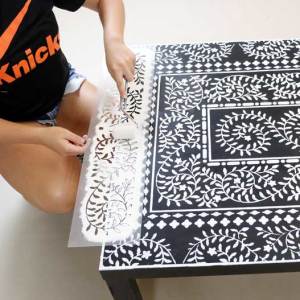
Take Your Ikea Coffee Table From Bland To Grand With An Inlay Stencil Kit
Reading Time: < 1 minute[unable to retrieve full-text content] Website: LINK


![9 Simple And Delicious Potato Recipes That Your Friends Will Love [video]](https://www.blogdot.tv/wp-content/uploads/2018/09/9-simple-and-delicious-potato-recipes-that-your-friends-will-love-video.jpg)