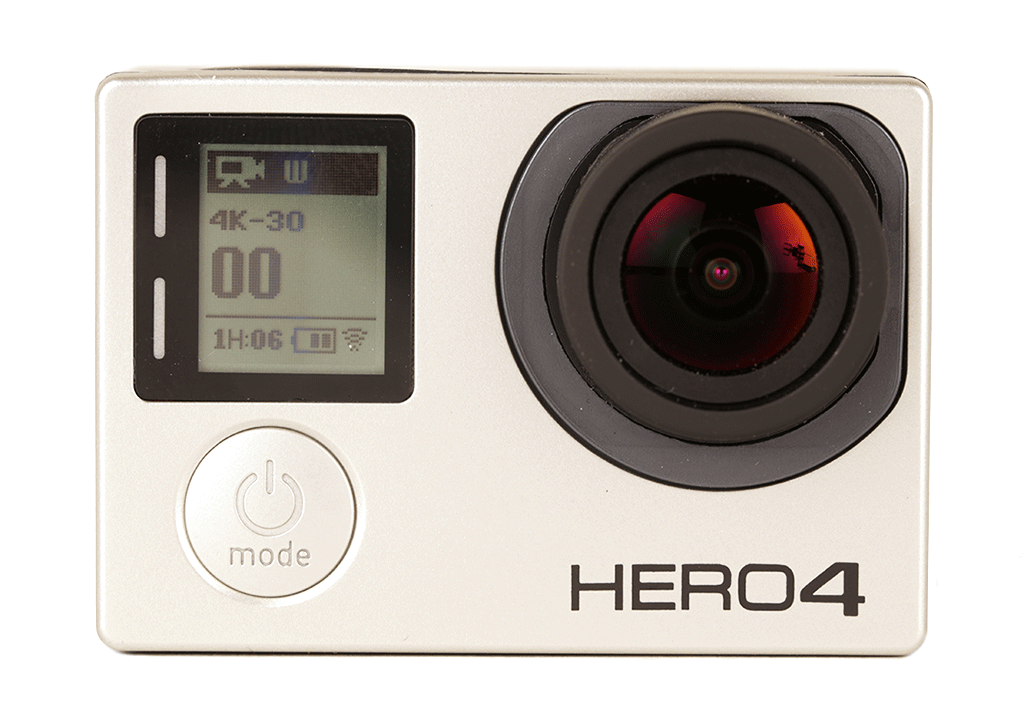
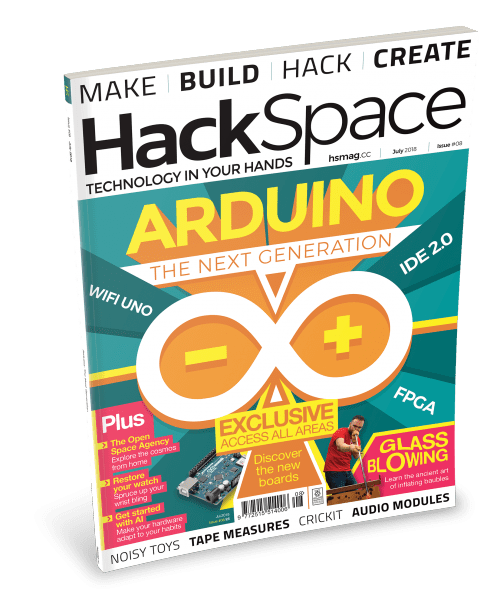
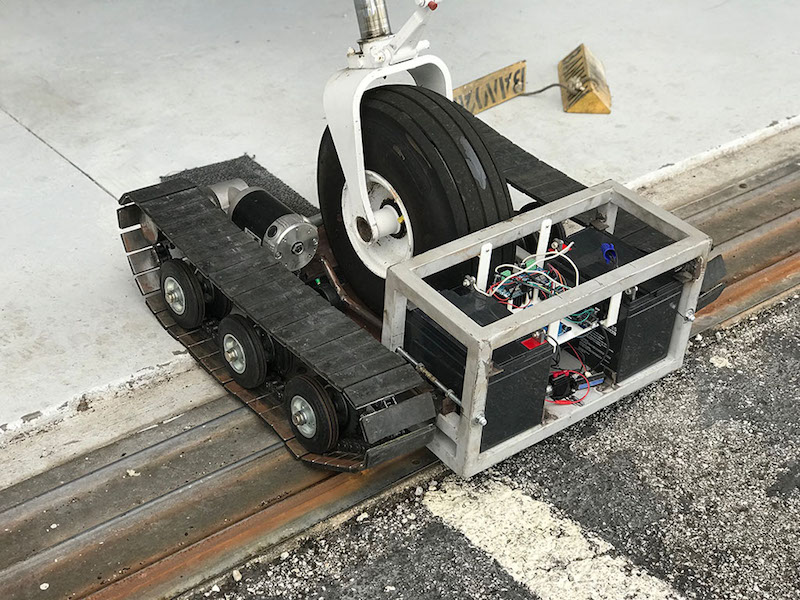
Schlagwort: arduino

  • “Magical” fountain bends time under Arduino control

    “Magical” fountain bends time under Arduino control

    Reading Time: < 1 minute

    “Magical” fountain bends time under Arduino control

    Arduino TeamJuly 16th, 2018

    Years ago, engineer and photographer Harold “Doc” Edgerton figured out how to “bend time” by pulsing a strobe light at the nearly the same speed as droplets of water, making them appear to move in slow motion, freeze, or even more backwards. Today, Nick Lim of jolliFactory has created the same effect, controlled by an Arduino Nano.

    His excellent build is outlined here, including a surprisingly simple circuit that controls the pump, solenoid valve, and LED illumination via a trio of MOSFETs. 

    One simply places the fountain over a water supply, which pumps it up into the solenoid valve, allowing 45 drops to fall per second. The lights then strobe at this speed—or slightly faster or slower—producing the time-bending display shown in the video below.

    [youtube https://www.youtube.com/watch?v=VGA6nyVZCIo?feature=oembed&w=500&h=281]

    Website: LINK

  • An Arduino “Whack-a-Button” Reaction Game

    An Arduino “Whack-a-Button” Reaction Game

    Reading Time: < 1 minute

    An Arduino “Whack-a-Button” Reaction Game

    Arduino TeamJuly 16th, 2018

    After Instructables user R0RSHACH’s son won a place at the World Scout Jamboree in 2019, the maker decided to create a fairground-style game for fundraising. 

    The resulting device is akin to a Whack-a-Mole or Batak game that can be found at high-end gyms, and features eight large light-up buttons per player on a wooden frame.

    When activated, an Arduino Mega turns on the button-lights in sequence to test how long it takes participants to push each one. While it can be made in a single-player version, the two-player game looks like a lot more fun, allowing participants to compete on opposing boards. 

    Code and instructions are available here, and you can see it demonstrated in the videos below.

    [youtube https://www.youtube.com/watch?v=EOvo6Ga6lLo?feature=oembed&w=500&h=281]

    [youtube https://www.youtube.com/watch?v=tgFIRdTokmk?feature=oembed&w=500&h=281]

    Website: LINK

  • imPulse is an energy harvesting alternative for bicycles

    imPulse is an energy harvesting alternative for bicycles

    Reading Time: 2 minutes

    imPulse is an energy harvesting alternative for bicycles

    Arduino TeamJuly 16th, 2018

    Javier Betancor is developing a system that collects power as you ride a bike, with the goal of powering data collection and lighting. “imPulse” uses a stepper motor for power generation, along with a geared hub to make the motor spin at multiples of the wheel speed.

    While the project is still a prototype, the headlights and rear lighting assemblies already look very good, and CAD files as well as Arduino code are available here.

    The aim of this project is to provide a cost-effective alternative to power generation on bikes using conventional stepper motors while adding other capabilities, such as: 

    – An integrated data logging system to monitor power generated on each trip.

    – A smart lighting system with addressable LEDs, working as indicators, braking lights and headlights, incorporating Light Dependant Resistors (LDRs) to sense the environment and to reduce the risk of glare.

    – Power Distribution Board (PDB) to charge two different/generic powerbanks. While one powerbank is charged, the other one is used to supply energy to the system.

    You can see a prototype of the lighting system in the video below, using an Arduino Uno for control as a turn signal and brake light, as well as a constant beam for visibility. Find additional information and follow along with Betancor’s progress in his Hackaday log. 

    [youtube https://www.youtube.com/watch?v=0edCI_3f-R0?feature=oembed&w=500&h=281]

    Website: LINK

  • Stepper motor utilized as a rotary encoder with Arduino

    Stepper motor utilized as a rotary encoder with Arduino

    Reading Time: < 1 minute

    Stepper motor utilized as a rotary encoder with Arduino

    Arduino TeamJuly 16th, 2018

    Stepper motors work by alternating a series of magnets in order to rotate its shaft by a certain angle. When the shaft is manually twisted, these magnets produce an electrical signal in a predictable pattern, which as shown in the video below, can be used as an encoder with the help of an Arduino Uno.

    More information, including a circuit diagram and the Arduino code used for the stepper-NeoPixel and stepper-stepper examples can be found here. While the write-up notes that this stepper-encoder won’t work reliably if turned too slowly, it seems to work quite well at the fairly low speed shown in the demonstrations.

    I want to tell you how to make incremental encoder from stepper motor. When we turning shaft of stepper motor it works like generator. It generates certain impulses on its coils. After some signal processing, we get same impulses as incremental encoder. This encoder has one problem, it can drop steps if you turning very slowly. But for many applications, it doesn’t matter.

    [youtube https://www.youtube.com/watch?v=fQ19661UGx8?feature=oembed&w=500&h=281]

    Website: LINK

  • Dual ultrasonic sensors combine for 2D echolocation

    Dual ultrasonic sensors combine for 2D echolocation

    Reading Time: 2 minutes

    Dual ultrasonic sensors combine for 2D echolocation

    Arduino TeamJuly 13th, 2018

    Ultrasonic sensors are great tools for measuring linear distance or object presence. As shown in this experiment by “lingib,” two sensors can also be combined to determine not just linear distance to a sensor, but its position in an X/Y plane.

    For his experiment, he hooked two of these units up to an Arduino Uno at a known distance from each other, with one emitter blanked out with masking tape. The non-blanked emitter pulses an ultrasonic signal, which is bounced back to it as well as the second sensor by the measured object. From the time it takes to receive the return signal, distance to each sensor can be inferred, giving a triangle with each side known. Trigonometry is then used to pinpoint the item’s position, and a Processing sketch displays coordinates on lingib’s computer.

    This Instructable explains how to pinpoint the location of an object using an Arduino, two ultrasonic sensors, and Heron’s formula for triangles. There are no moving parts.

    Heron’s formula allows you to calculate the area of any triangle for which all sides are known. Once you know the area of a triangle, you are then able to calculate the position of a single object (relative to a known baseline) using trigonometry and Pythagoras.

    The accuracy is excellent. Large detection areas are possible using commonly available HC-SR04, or HY-SRF05, ultrasonic sensors.

    Construction is simple … all you require is a sharp knife, two drills, a soldering iron, and a wood saw.

    [youtube https://www.youtube.com/watch?v=R1r_Ga148gw?feature=oembed&w=500&h=375]

    Website: LINK

  • Morse code input for Android with Arduino

    Morse code input for Android with Arduino

    Reading Time: 2 minutes

    Morse code input for Android with Arduino

    Arduino TeamJuly 12th, 2018

    Morse code may not be as widely used as in its heyday, but it still certainly has its adherents. One avid user is Tanya Finlayson, who has been using this as her method of communication for roughly 40 years. Now, with the Gboard phone keyboard supporting input via dots and dashes, the world of Android computing has been opened up to her as well.

    In order to get button presses to the phone, Ken Finlayson used an Arduino Leonardo to read inputs from a trio of buttons, indicating dot, dash, and mode select. The third button allows for phone navigation in addition to text input. Because of its built-in HID capabilities via the ATmega32U4 chip, the Leonardo is a great choice for this application, demonstrated in the video below. 

    Many people cannot use keyboards and touchscreens to control their digital devices. Instead, they use custom hardware switches that emulate typing, swiping, and tapping. The Android operating system provides software that allows these switches to control Android devices, and recently Google provided a new Morse Keyboard within the Gboard keyboard for people who find this method easier for text entry.

    This experiment is a DIY hardware adapter that enables assistive tech developers to connect existing switch based input systems to their Android device. Once connected, 2 switch assistive systems (with an additional switch for mode switching) can control both the standard Android accessibility functions as well as text entry through Morse on Gboard.

    This experiment is built using Arduino and is compatible with most standard assistive 2 switch systems with 1/8” mono outputs.

    [youtube https://www.youtube.com/watch?v=ksfuH13F87I?feature=oembed&w=500&h=281]

    Website: LINK

  • Camera questions user, saves photographic response

    Camera questions user, saves photographic response

    Reading Time: 2 minutes

    Camera questions user, saves photographic response

    Arduino TeamJuly 12th, 2018

    Cultural probes aim to elicit unique responses by asking people to respond to a question, many times in the form of a photograph. While disposable cameras once worked quite nicely for this purpose, their relative rarity today meant a new digital alternative was needed. For this, Interaction Research Studio came up with a series of ProbeTools that anyone can make and customize.

    The most basic type in this series of cameras is known as the TaskCam, which features a 3D-printed frame and an Arduino Uno at its core. A shield with several snap-off sections provides user interface, including a trio of buttons, and a display that shows questions that are read off of a micro SD card. Users then respond to queries with photographs, saved with the corresponding question for future analysis.

    TaskCams recreate the proven Cultural Probe technique of relabelling disposable cameras with requests for pictures. The 3D Printed TaskCam is the basic workhorse of the collection, robust and flexible enough to use across multiple studies.

    The 3D Printed TaskCam has a small screen on the back that shows a scrollable list of requests for pictures. Researchers can load their own list of requests onto the camera to prepare for a study. When users take a picture, the image is tagged with the current request, and stored on a standard flash drive that can be removed for downloading.

    The casing for the 3D Printed TaskCam can be printed successfully without support materials even on low-end printers. The device requires a custom Arduino shield,  buy online at cost price, or follow the open-source plans to make yourself. Smart power management mean that two AA batteries provide more than enough power for an entire user study.

    You can find more details on ProbeTools here, as well as in Designboom’s recent article. 

    Website: LINK

  • Audio preamplifier with tiny OLED display and unique case

    Audio preamplifier with tiny OLED display and unique case

    Reading Time: 2 minutes

    Audio preamplifier with tiny OLED display and unique case

    Arduino TeamJuly 11th, 2018

    As spotted here, Sam Izdat decided to make a preamplifier for a friend who provides voice talent for audiobooks and the like. The primary audio circuitry for the build is provided by a purchased PCB based on the INA217 chip from TI, but from there things get a bit more interesting.

    To complete the project, Izdat added a tiny Arduino-powered OLED display. This shows a VU meter, along with a variety of other animations, seen through a window in the enclosure made from a broken wristwatch. 

    The device was prototyped using an Arduino Uno, while a Nano was embedded in the final product, allowing everything to fit into the unique compartmentalized enclosure that he constructed.

    The amplifier is based on the Texas Instruments INA217 chip, with an Arduino Nano and 128×64 OLED display providing the visualization. [Sam] was able to find a bare PCB for a typical INA217 implementation on eBay for a few bucks (see what we mean?), which helped get him started and allowed him to spend more time on the software side of things. His visualization code offers a number of interesting display modes, uses Fast Hartley Transforms, and very nearly maxes out the Arduino.

    Website: LINK

  • Robot transforms to slide under doors and more

    Robot transforms to slide under doors and more

    Reading Time: 2 minutes

    Robot transforms to slide under doors and more

    Arduino TeamJuly 11th, 2018

    While the STAR, or Sprawl Turned Autonomous Robot, is more than capable of traveling over obstacles with its three-pointed wheels, it can also make itself thin enough to simply slide under others as needed. This clever design uses an Arduino Pro Mini for control, and normally moves around like a tank, rolling on six wheels that are turned by two motors.

    When the task calls for it to go under something, a third motor cranks these wheels to nearly parallel with the floor, shrinking the robot down to a very slim profile—so thin, in fact, that it can actually slide under a door as seen in the video below! 

    Print files and more information on the build can be found here, while the original paper upon which this robot is based is also available.

    [youtube https://www.youtube.com/watch?v=722XO0xlWLE?feature=oembed&w=500&h=281]

    Website: LINK

  • Tell time on a three-module voltmeter clock

    Tell time on a three-module voltmeter clock

    Reading Time: 2 minutes

    Tell time on a three-module voltmeter clock

    Arduino TeamJuly 11th, 2018

    Father’s Day 2018 has come and gone, but it’s never too early to start planning for next year. As seen here, Michael Teeuw decided to build a clock out of three analog voltmeters for his dad in 2017. After getting sidetracked last year, he was finally able to complete it on time for 2018!

    Teeuw’s clock features a trio of indicators, properly scaled and labeled for hours, minutes, and seconds, with control via an Arduino Nano, along with an RTC module for accurate timekeeping. Each indicator is housed in its own 3D-printed module, with white LEDs added for visibility. 

    If you’d like to build your own, Teeuw’s code is available on GitHub and the 3D print files can be found on Thingiverse.

    Website: LINK

  • Bucky Glow is an Arduino-controlled LED dodecahedron

    Bucky Glow is an Arduino-controlled LED dodecahedron

    Reading Time: 2 minutes

    Bucky Glow is an Arduino-controlled LED dodecahedron

    Arduino TeamJuly 3rd, 2018

    After successfully building a gigantic geometric interactive light structure, Jonathan Bumstead decided to do things in a more approachable manner, creating a more a reasonably-sized dodecahedron controlled by an Arduino Nano. The device, named “Bucky Glow,” uses 11 RGB LEDs to light up each side with the exception of the bottom pentagon section.

    While it doesn’t have its own light, the base does have a few interesting tricks of its own, with both an opening for programming the Arduino, along with female headers that allow you to access 11 of its I/O pins. This means that you can hook up your own sensors to create your own interactive contraption without designing everything from scratch, and an app interface is even available if you’d like to forgo programming, at least initially.

    The Bucky Glow is an interactive LED dodecahedron consisting of 11 LEDs, which are controlled with an Arduino Nano. Using the Arduino programming environment, you can create endless light-up patterns. The Bucky Glow also includes break-out header pins, so you have access to eleven digital I/O pins, a TX (transmit) pin, a RX (receive) pin, reset pin, and ground pin. These pins enable you to connect the Bucky Glow to sensors (e.g. capacitive touch, infrared, ultrasonic), motors, MIDI jacks, and any other electronics you can think of. There are tons of unique ways to make the Bucky Glow musical and interactive.

    More info on the Bucky Glow can be found in Bumstead’s write-up here, and kits are on sale via the demo video’s description.

    [youtube https://www.youtube.com/watch?v=sajVwUVmrJY?feature=oembed&w=500&h=281]

    Website: LINK

  • Robotic Connect Four lets you play remotely

    Robotic Connect Four lets you play remotely

    Reading Time: < 1 minute

    Robotic Connect Four lets you play remotely

    Arduino TeamJuly 3rd, 2018

    In order to restore some tactile feeling to remotely-played board games, maker “lyudatan” created a pair of Arduino Uno-based Connect Four robots. 

    When a player makes a move by dropping a disc into a slot, this is recorded by an IR proximity sensor on the first board. The data is then transmitted via an Ethernet shield to a web server.

    The second board uses a stepper motor to position discs above the correct slot, and drops them using a servo motor. This process is repeated until the game is done, allowing two players to play the game at a distance.

    [youtube https://www.youtube.com/watch?v=fomDjJ11hS8?feature=oembed&w=500&h=281]

    Code for the project is available here.

    Website: LINK

  • An auto-curing chamber for SLA prints

    An auto-curing chamber for SLA prints

    Reading Time: 2 minutes

    An auto-curing chamber for SLA prints

    Arduino TeamJuly 3rd, 2018

    If you have a 3D printer, it’s probably the fused deposition modeling (FDM) type that deposits melted material onto a bed, eventually building up whatever you had in mind. Stereolithography (SLA) printers, however, work in the opposite way using light to solidify liquid material, which is then pulled out of a vat. 

    While an interesting process, one consideration is that after generating the print, materials, especially those that are biocompatible, must be left alone under the proper light and temperature conditions in order to solidify fully.

    To help with this task, makers at Fablab Irbid designed their own Arduino Uno-based “Post-Curing Box.” It features UV LEDs and a rotating platform, along with a temperature sensor for monitoring conditions. Brightness, rotation, and cure time are set with a simple user interface consisting of an LCD screen, knobs, and buttons. 

    This project not only produces ideal conditions for finished parts, but certainly helps with the temptation to poke around—especially since you can see in with its partially translucent viewing window!

    [youtube https://www.youtube.com/watch?v=90Bq80Pi2tc?feature=oembed&w=500&h=375]

    Website: LINK

  • Control your GoPro wirelessly with an Arduino MKR1000

    Control your GoPro wirelessly with an Arduino MKR1000

    Reading Time: < 1 minute

    Control your GoPro wirelessly with an Arduino MKR1000

    Arduino TeamJuly 2nd, 2018

    As Arduino boards have revolutionized what people can make at home, you might say that GoPros have done the same thing for portable cameras. Later generations of these devices even feature WiFi capabilities, so with the proper programming, Arduinos like the MKR1000 can be used for control!

    In this project write-up, maker Randy Sarafan (AKA “randofo”) takes us through how he was able to set up a MKR1000 to communicate with a HERO4 as well as a HERO5 Session, including sending a “magical” Wake-on-LAN signal to power up the Session camera. 

    While he’s not the first to control a GoPro using an Arduino, it’s certainly more elegant than methods like hot-wiring a remote or even recording your own voice to speak commands to it remotely!

    Website: LINK

  • TerraDome is a Jurassic World-themed terrarium

    TerraDome is a Jurassic World-themed terrarium

    Reading Time: 2 minutes

    TerraDome is a Jurassic World-themed terrarium

    Arduino TeamJune 25th, 2018

    If you need a warm place to keep your tropical plants, then look no further than the beautiful “TerraDome” from maker “MagicManu.”

    The device is equipped with an Arduino Mega that helps regulate the temperature inside its clear octagonal structure via a reptile heating pad, along with a fan salvaged from a PC power supply. A DHT11 sensor is used to sense temperature and humidity, shown on top of the dome by a small LED display.

    Aside from taking care of plants, the project is decidedly dinosaur-themed, specifically Jurassic Park/World. It even features a servo-driven wooden door assembly on the front that looks like it came straight out of the movie, which swings open automatically to allow heat (or dinosaurs) to escape. 

    You can check out the build process in the video below (in French), or see the second for a short dino-style glimpse of the assembly.

    [youtube https://www.youtube.com/watch?v=OtoiuGWk26w?feature=oembed&w=500&h=281]

    [youtube https://www.youtube.com/watch?v=xadcDBo6ESE?feature=oembed&w=500&h=281]

    Website: LINK

  • Earth Clock brilliantly tracks the sun’s light

    Earth Clock brilliantly tracks the sun’s light

    Reading Time: 2 minutes

    Earth Clock brilliantly tracks the sun’s light

    Arduino TeamJune 25th, 2018

    While we understand that the Earth rotates to produce day and night, and tilts on its axis to vary the day’s length, how is the planet positioned in relation to the sun right now? Unless you’re well-attuned to our solar system’s rotational dance, this is difficult to visualize. To help with this, hacker “SimonRob” came up with a clock that shows how the sun shines in real-time at all points on the Earth.

    An array of LEDs provides artificial lighting for the device, which rotates a nicely painted physical globe around a daily axis, along with a much larger rotational axis that controls the Earth’s tilt. Both are controlled via stepper motors, which are in turn controlled by an Arduino Uno and a bevy of supporting electronics.

    It’s a clever concept, and a well-executed build, so be sure to check out the project write-up for more information!

    Website: LINK

  • MESOMIX is an automated paint mixing machine

    MESOMIX is an automated paint mixing machine

    Reading Time: 2 minutes

    MESOMIX is an automated paint mixing machine

    Arduino TeamJune 21st, 2018

    If you’re an artist who works with paint, getting your colors right is critical, and somewhat of an art form in itself. For those that need a little assistance, the MESOMIX paint mixing machine is here to help using four 3D-printed peristaltic pumps to pull the right amount of cyan, magenta, yellow, and black (or key) to produce your desired color.

    An Arduino Uno along with a GRBL shield is implemented to coordinate each pump’s stepper motors, and MESOMIX features a design* reminiscent of a well-built 3D-printer. 

    Are you a designer, an artist or a creative person who loves to throw colors on your canvas, but it’s often a struggle when it comes to making the desired shade.

    So, this art-tech instruction will vanish that struggle into thin air. As this device, uses off the shelf components to makes the desired shade by mixing the right amount of CMYK (Cyan-Magenta-Yellow-Black) pigments automatically, which will drastically reduce the time spent on mixing the colors or money spent on purchasing different pigments. And will provide you that extra time for your creative.

    For more information, you can check out MakerBash’s excellent project here.

    *Frame parts were laser-cut out of vinyl material, generally not recommended per safety concerns.

    [youtube https://www.youtube.com/watch?v=6E7mGNGOsBw?feature=oembed&w=500&h=281]

    Website: LINK

  • HackSpace magazine 8: Raspberry Pi <3 Arduino

    HackSpace magazine 8: Raspberry Pi <3 Arduino

    Reading Time: 3 minutes

    Arduino is officially brilliant. It’s the perfect companion for your Raspberry Pi, opening up new possibilities for robotics, drones and all sorts of physical computing projects. In HackSpace magazine issue 8  we’re taking a look at what’s going on on planet Arduino, and how it can make our world better.

    HackSpace magazine

    This little board and its ecosystem are hugely important to the world of digital making. It’s affordable, it’s powerful, and it’s open hardware so you know that if you embed one of these in a project and the company goes bust tomorrow, the hardware will always be viable.

    Arduino has helped power a new generation of digital makers, and now with a new team in charge, new boards and new software, it’s ready for the next generation.

    Noisy toys

    We get to speak to loads of fascinating people, but this month marks the first time we’ve ever met a science busker. Meet Stephen Summers, a former teacher who makes a mess with cornflour, water, and sound waves, all in the name of sharing the joy of physics.
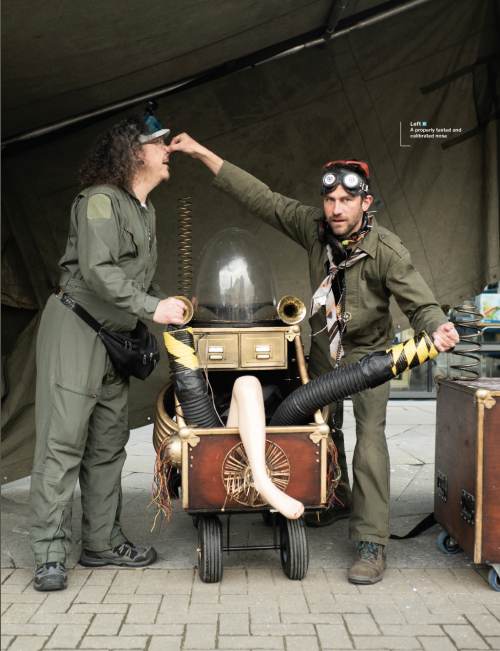
    HackSpace magazine

    Glass-blowing

    While we love messing about with digital technologies, we’re also a big fan of good old-fashioned craft skills. And you can’t get much more old-fashioned than traditional glass-blowing. Join us as we attempt to turn red hot molten glass into a multicoloured object without burning ourselves or setting anything on fire.
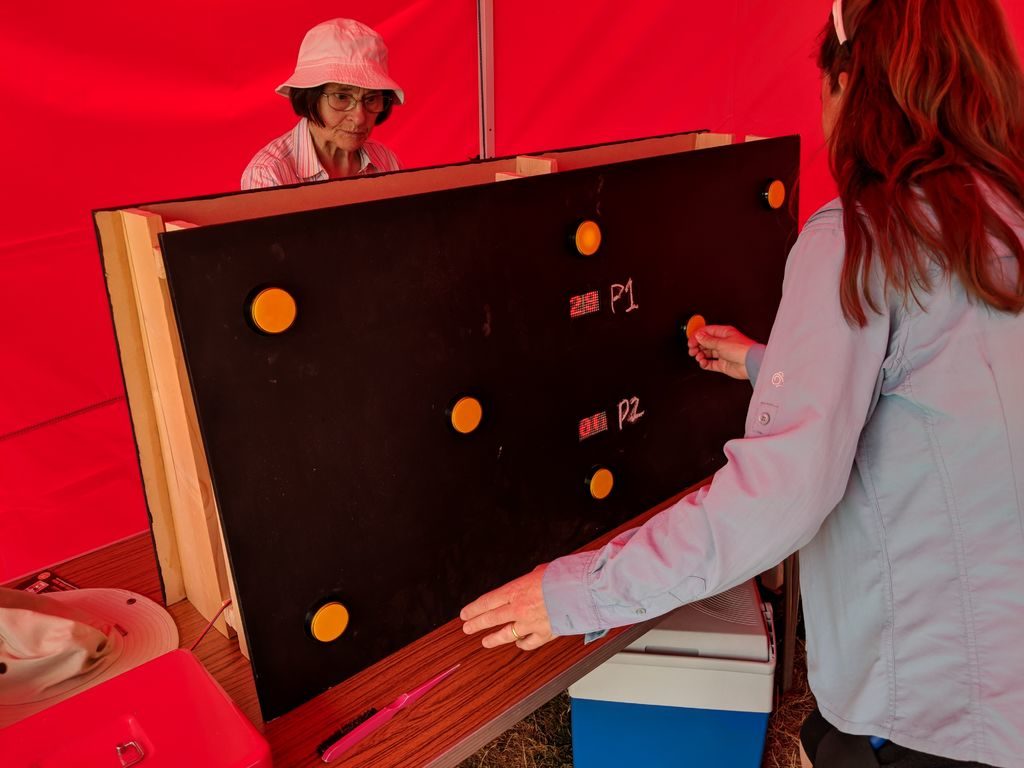
    Guitar synth

    People are endlessly clever, inventive, and all-round brilliant. A fantastic example is Björk, the Icelandic musician whose work defies categorisation. Another is Matt Bradshaw, who has made a synthesiser that you play by strumming six metal strings with a plectrum to complete a circuit. Oh, and named it after Björk. Read all about it and get inspired to do something equally bonkers.

    HackSpace magazine

    Machine learning

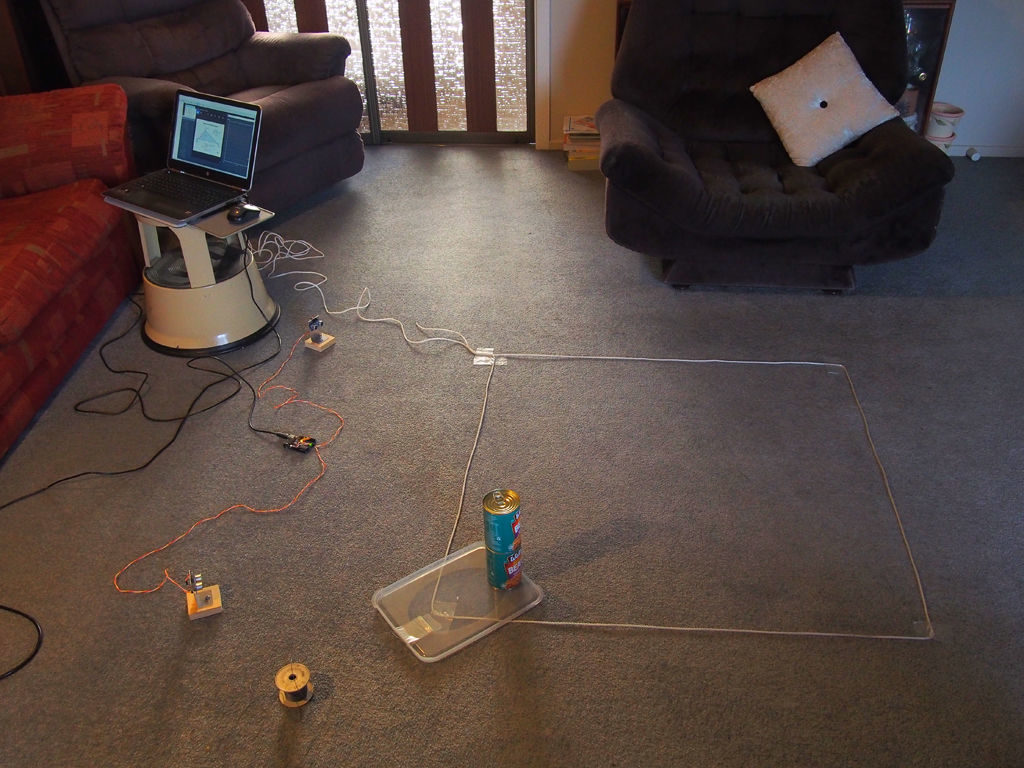
    Do you have children? Do they leave the lights on all the time, causing you to shout, “THIS ISN’T BLACKPOOL FLAMING ILLUMINATIONS, YOU KNOW!” Well, now you can replace those children with an Arduino. With a bit of machine learning, the Arduino can train itself to turn the lights on and off at the right time, all the time. Plus they don’t cost as much as human children, so it’s a double win!
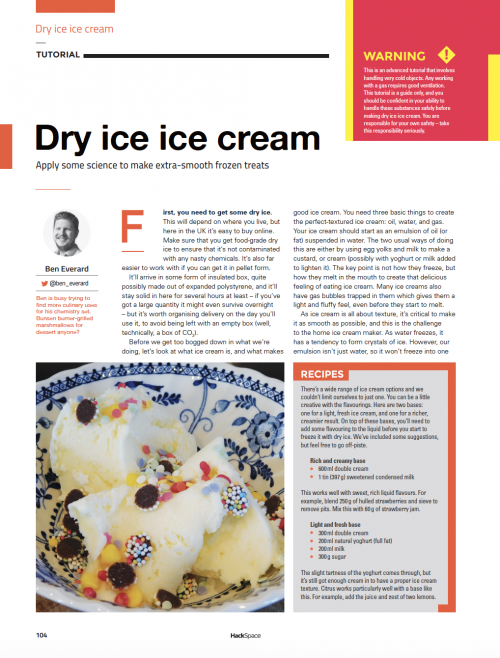
    Dry ice cream

    When the sun comes out in Blighty, it doesn’t hang around for long. So why wait for your domestic fridge to freeze your tasty dairy-based desserts, when you can add some solid carbon dioxide and freeze it in a flash? Follow our tutorial and you too can have tasty treats with the ironically warm glow that comes from using chemicals at -78°C.

    HackSpace magazine

    And there’s more

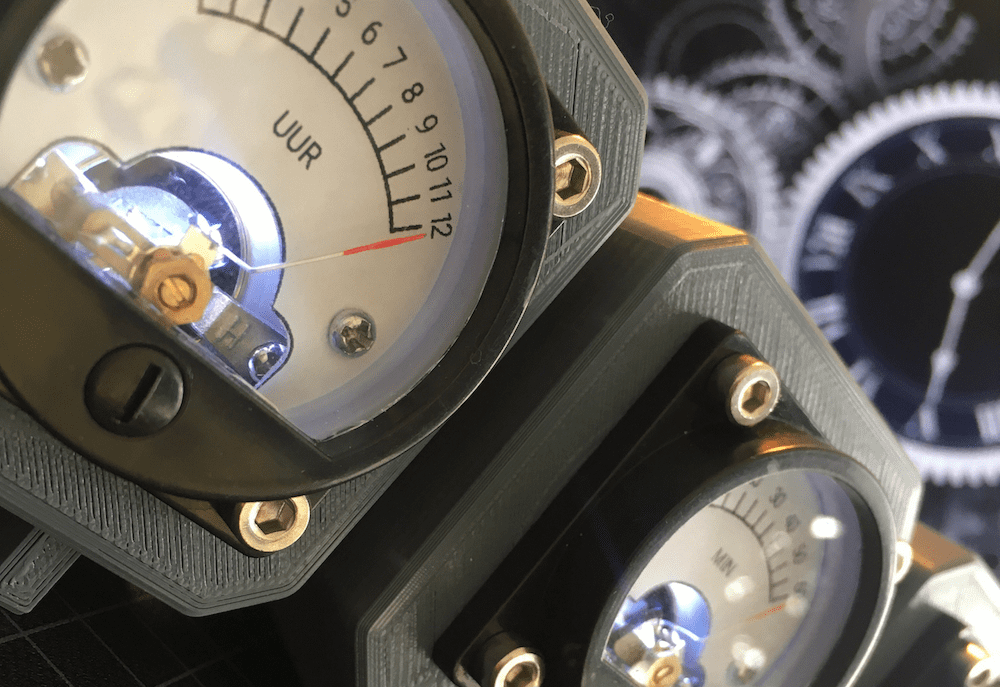
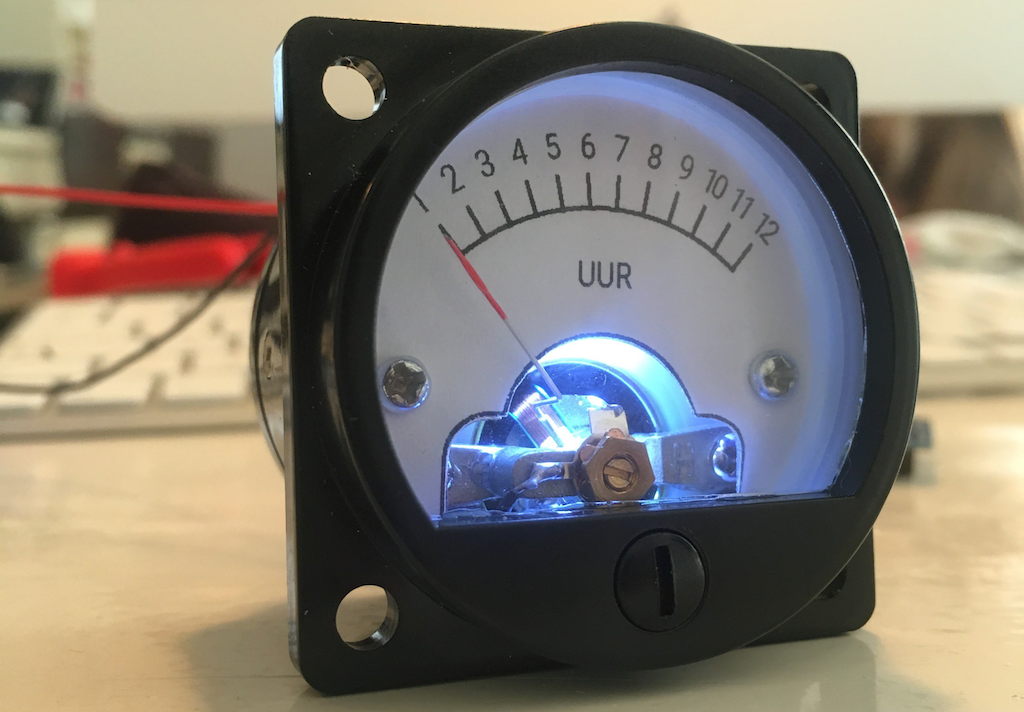
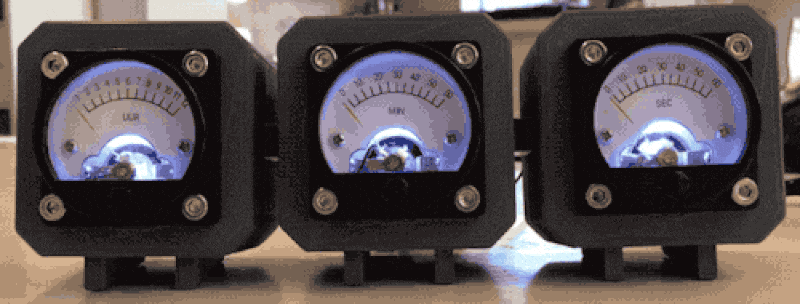
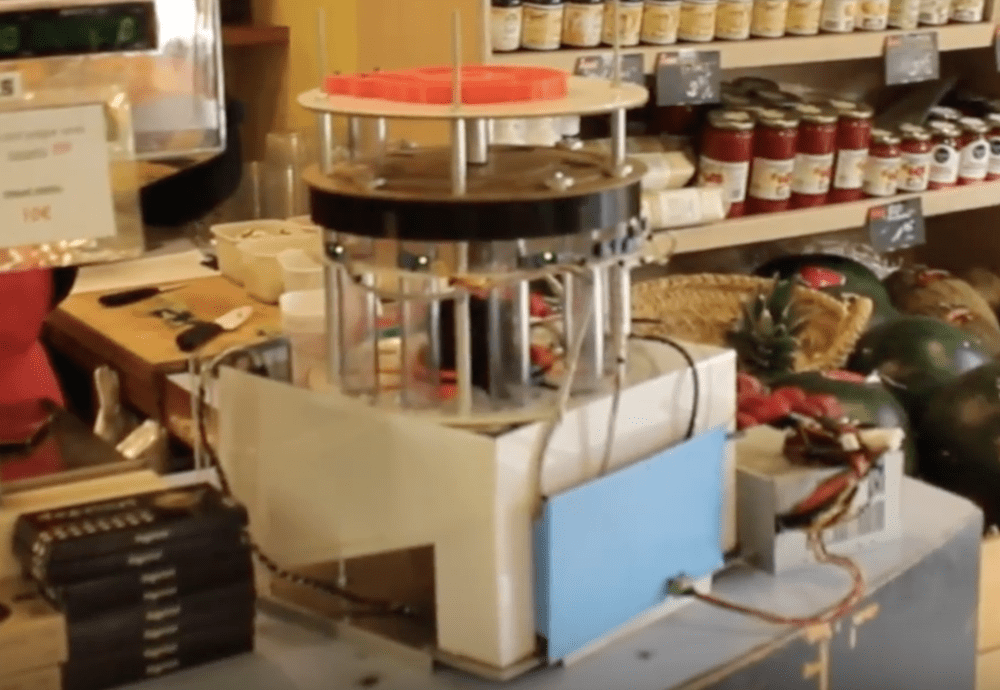
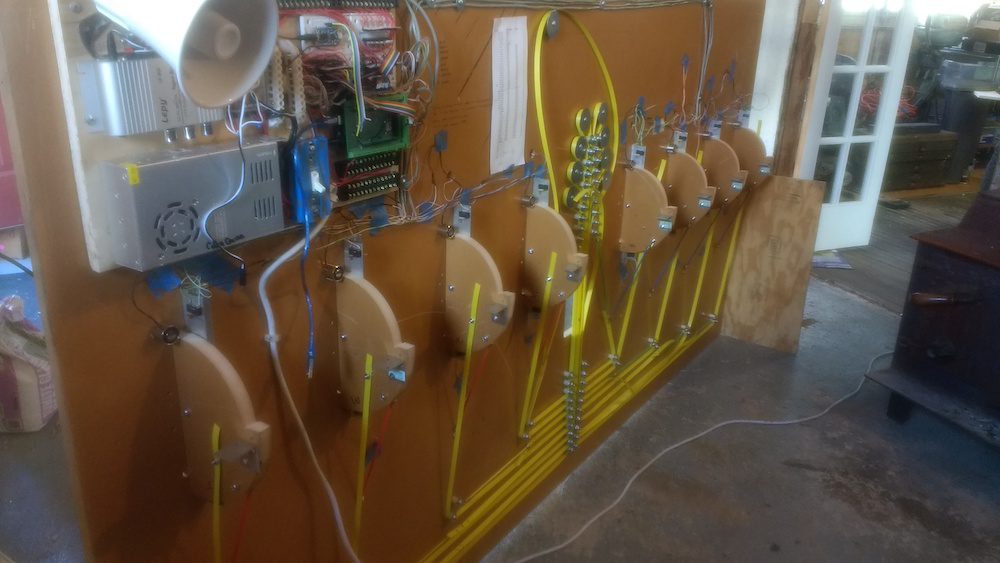
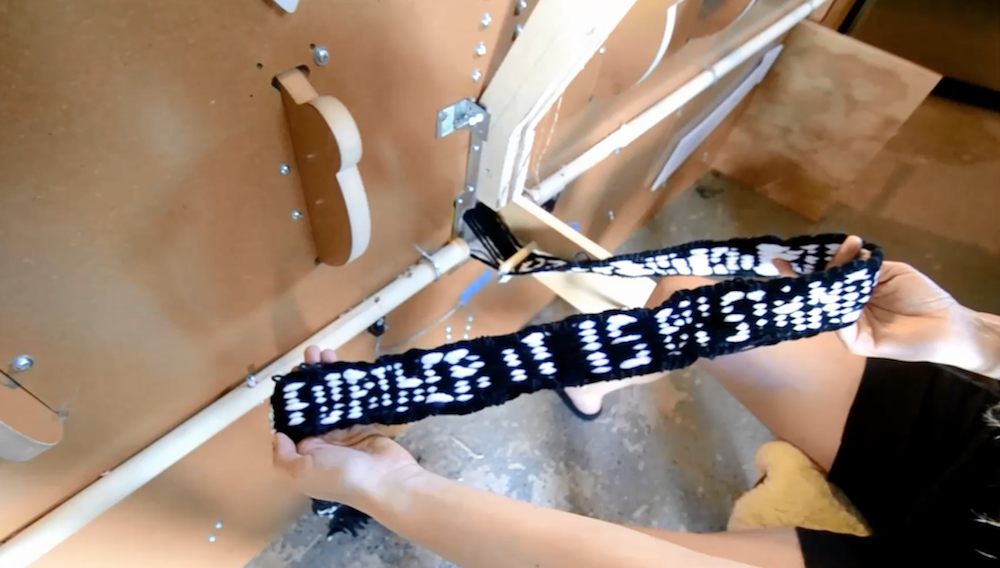
    We’ve filled the rest of the magazine with a robot orchestra, watch restoration, audio boards for Raspberry Pi, magical colour-changing wearables, and more. Get stuck in!

    Get your copy of HackSpace magazine

    If you like the sound of this month’s content, you can find HackSpace magazine in WHSmith, Tesco, Sainsbury’s, and independent newsagents in the UK. If you live in the US, check out your local Barnes & Noble, Fry’s, or Micro Center next week. We’re also shipping to stores in Australia, Hong Kong, Canada, Singapore, Belgium, and Brazil, so be sure to ask your local newsagent whether they’ll be getting HackSpace magazine.

    And if you can’t get to the shops, fear not: you can subscribe from £4 an issue from our online shop. And if you’d rather try before you buy, you can always download the free PDF. Happy reading, and happy making!

    Website: LINK

  • An Automated Paper Cutter

    An Automated Paper Cutter

    Reading Time: < 1 minute

    An Automated Paper Cutter

    Arduino TeamJune 15th, 2018

    Are scissors and manual paper cutters not working for you? Well, “Mr Innovative” has the solution in the form of an Arduino-driven device that cuts paper to length automatically. 

    As you can see in the video below, a user simply inputs the length of paper and the number of strips needed via a series of buttons and a tiny OLED display, and the automated machine does the rest.

    The system works by pulling paper inserted into the machine’s body at precise intervals using a stepper motor and rollers. When in place, a second stepper moves a razor blade over the paper, cutting it into perfect strips for whatever craft project you have in mind. An Arduino Mega controls the device, along with a pair of stepper drivers via a custom designed PCB shield. Code and PCB files are available here for download.

    [youtube https://www.youtube.com/watch?v=M6Vu3OT-UKg?feature=oembed&w=500&h=281]

    Website: LINK

  • SmartCash can sort and give out change

    SmartCash can sort and give out change

    Reading Time: < 1 minute

    SmartCash can sort and give out change

    Arduino TeamJune 15th, 2018

    If you run a small business where transactions are made, handling out coins is a necessary part of the job. While a cash register does the trick, perhaps you could try out the SmartCash device—a cylindrical electromechanical system running on an Arduino Mega—to help you count coins and make change.

    Aside from sorting coins, there’s the added benefit that customers will want to come and try it out, maybe even using more cash (and letting you as the owner avoid pesky credit card charges). 

    SmartCash is currently designed to work with Euro coins ranging from 5 cents to 2€. Build information is available in this write-up and on the project’s official site. You can also see it in action in the first video below, or how it’s assembled in 3D CAD in the second.

    [youtube https://www.youtube.com/watch?v=zmCQcnMhYL0?feature=oembed&w=500&h=281]

    [youtube https://www.youtube.com/watch?v=zVXJjUbtwVs?feature=oembed&w=500&h=281]

    Website: LINK

  • Meme Weaver guides users through fabric creation

    Meme Weaver guides users through fabric creation

    Reading Time: 2 minutes

    Meme Weaver guides users through fabric creation

    Arduino TeamJune 14th, 2018

    We all need to wear clothes, but where do they come from? If you answered “the mall,” then perhaps it’s time to play a couple rounds on the “Meme Weaver.” 

    As seen here, this project by the husband and wife team of David Heisserer and Danielle Everine prompts users to adjust levers correctly in order to control how yarn travels through the machine, weaving fabrics together that reveal poems, quotes, and other interesting sayings.

    Control for the device—which in turn “commands” humans via a series of audio-visual cues—is accomplished using an Arduino Mega, along with an Adafruit Audio FX sound board. 

    Part mechanized tool and part arcade game, Meme Weaver is an interactive machine that weaves poems. Meme Weaver is a complex instrument with large-scale elements of a traditional loom – beams, rollers, yarns, shuttle, beater – with people operating individual treadles. Blinking lights and buzzers create an arcade game feel by lending a bit of Dance Dance Revolution ambiance to the loom.

    We have chosen to weave a collection of memes, poems, quotes and maxims from a wide range of authors. The selections include personal favorites, well-known classics and contemporary works within the theme of knowledge sharing. The scroll will be written with poems that remind us that we are standing on the shoulders of giants when we make new technologies.

    More info is available on the Meme Weaver’s website , or you can see it on display at the Northern Spark art festival in Minneapolis on June 1516th.

    Website: LINK

  • Pull small planes around with this Arduino Mega-based tug

    Pull small planes around with this Arduino Mega-based tug

    Reading Time: 2 minutes

    Pull small planes around with this Arduino Mega-based tug

    Arduino TeamJune 12th, 2018

    While there are many ways to move an airplane on the ground, Anthony DiPilato decided to create a “tug” of his own.  

    The treaded device looks like a tiny tank, and when it slides under the aircraft’s front wheel it locks in place, allowing a 5,200-pound plane to be pulled around courtesy of the RC system’s wheelchair motors. Onboard, an Arduino Mega serves as the brains of the operation along with an H-bridge for motor control. User interface is handled by DiPilato’s iPhone via Bluetooth.

    For small aircraft, a towbar is sufficient, but for larger aircraft a power assisted tug is necessary for maneuvering the aircraft. Commercially available aircraft tugs are considerably expensive, so many people use small tractors or golf carts to pull their aircraft.For this project I wanted to see if I could build a remote controlled aircraft tug for a reasonable price.

    The goal was to design a remotely controlled tug capable of pulling a Cessna 310 with an estimated weight of 5,200 lbs while keep the cost under $1,000.

    Build details can be found in his blog write-up. The Arduino code is available on GitHub, as well as the iOS program. Finally, you can see the tug in action in the first video below, while the second clip shows how the locking mechanism works.

    [youtube https://www.youtube.com/watch?v=n8N9eN2YPqI?feature=oembed&w=500&h=375]

    [youtube https://www.youtube.com/watch?v=9sSGMLb5aT4?feature=oembed&w=500&h=281]

    Website: LINK