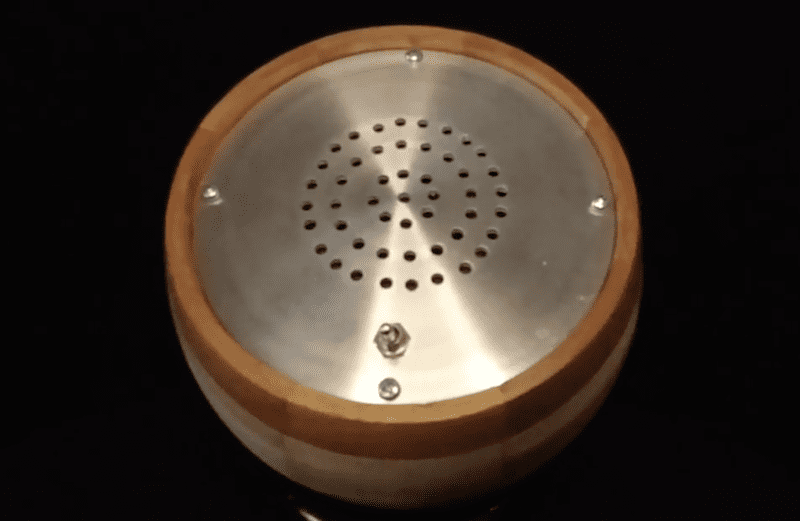
This system enables users to create room-sized interactive surfaces with spray paint
— April 11th, 2020
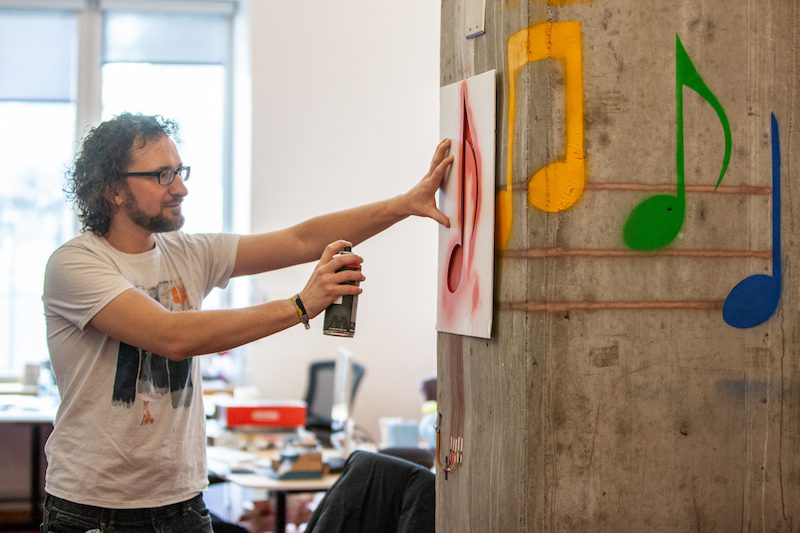
If you’ve ever thought of adding a user interface to an everyday surface — like a concrete wall, or even a sofa — MIT CSAIL’s SprayableTech system presents a variety of interesting possibilities.
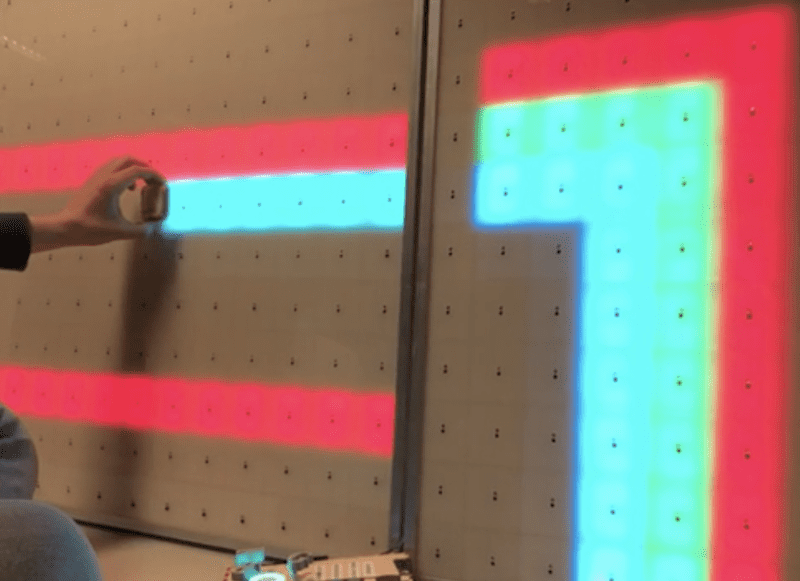
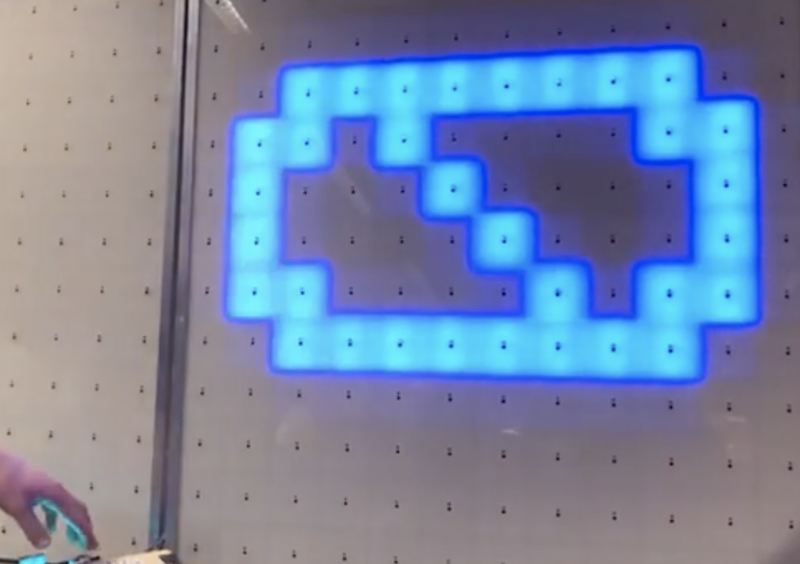
Input elements, such as buttons and sliders, are airbrushed onto a surface like graffiti with a single layer of conductive ink, while electroluminescent displays can be formed by the application of multiple layers with different properties. Spray paint stencils for these interfaces are created with the help of a toolkit integrated into Blender.
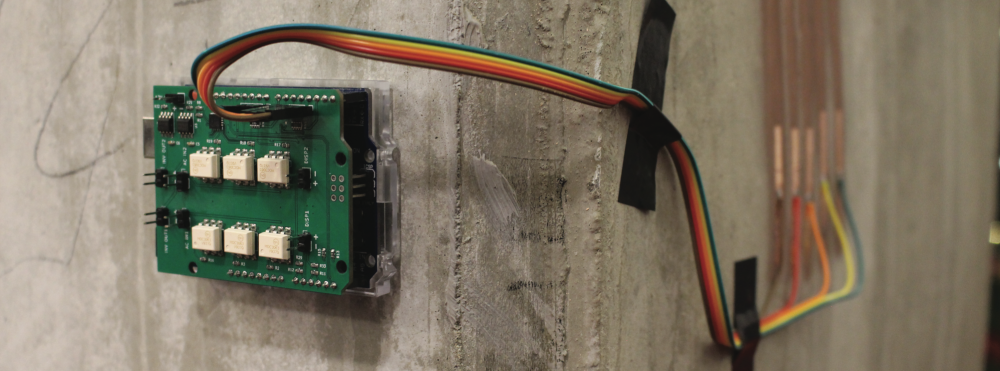
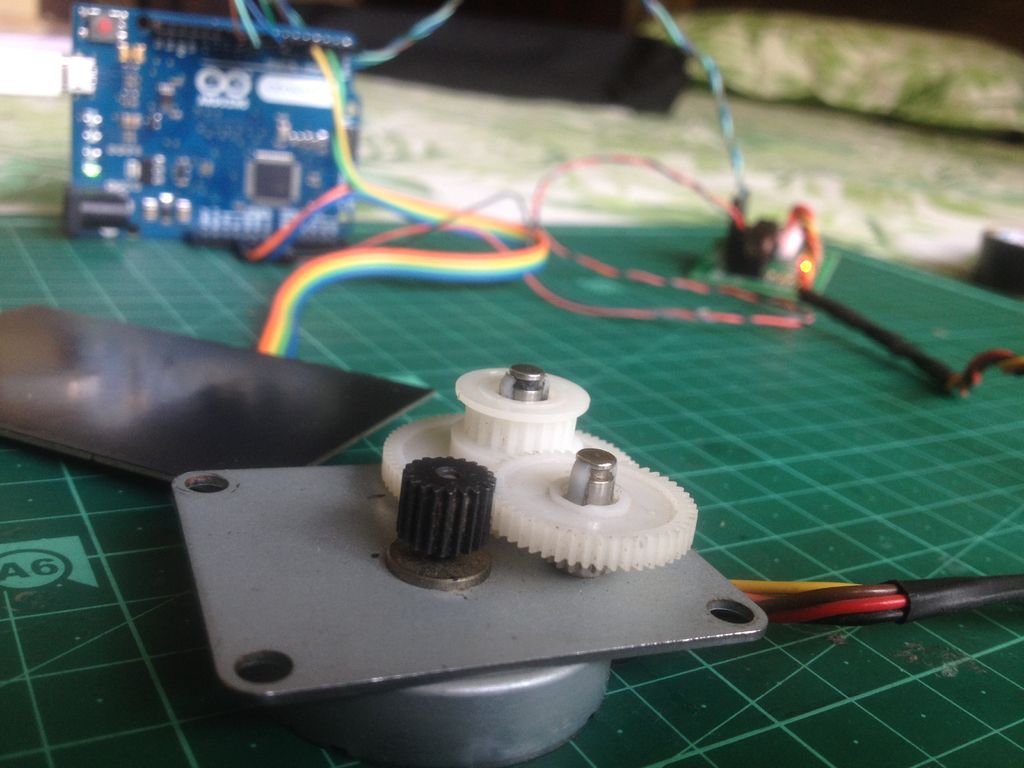
An Arduino Uno is used to control this interactive surface, along with a custom Graffiti Shield. This allows it to handle six inputs and power for two electroluminescent displays.
More details on the project can be found here.
[youtube https://www.youtube.com/watch?v=UXzyFbqGYOU?feature=oembed&w=500&h=281]
We present Sprayable User Interfaces: room-sized interactive surfaces that contain sensor and display elements created by airbrushing functional inks. Since airbrushing is inherently mobile, designers can create large-scale user interfaces on complex 3D geometries where existing stationary fabrication methods fail.
To enable Sprayable User Interfaces, we developed a novel design and fabrication pipeline that takes a desired user interface layout as input and automatically generates stencils for airbrushing the layout onto a physical surface. After fabricating stencils from cardboard or projecting stencils digitally, designers spray each layer with an airbrush, attach a microcontroller to the user interface, and the interface is ready to be used.
Our technical evaluation shows that Sprayable User Interfaces work on various geometries and surface materials, such as porous stone and rough wood. We demonstrate our system with several application examples including interactive smart home applications on a wall and a soft leather sofa, an interactive smart city application, and interactive architecture in public office spaces.
Website: LINK