Building an Arduino-based bipedal bot
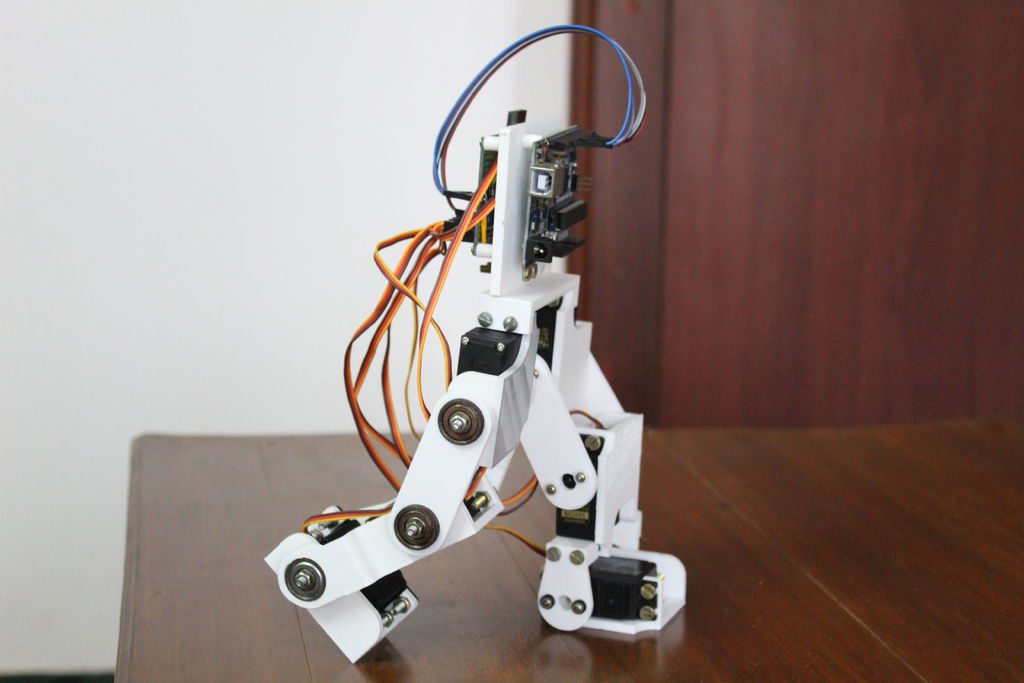
Reading Time: < 1 minuteBuilding an Arduino-based bipedal bot Arduino Team — June 21st, 2020 If you’d like to build a walking biped robot, this 3D-printed design by Technovation looks like a fantastic place to start. Each leg features three servos that actuate it at the hip, knee, and ankle for a total of six degrees of freedom. Control […]