Schlagwort: arduino

  • An excellent two-sided UV exposure box

    An excellent two-sided UV exposure box

    Reading Time: 2 minutes

    An excellent two-sided UV exposure box

    Arduino TeamNovember 16th, 2017

    If you want to make your own custom PCBs at home, one method is to paint a circuit board blank with photosensitive material, then expose the portion you don’t want to UV light using a printed transparency. After a process of etching and stripping, the correct traces are generated.

    As seen here, in order to help with the UV process, GiorgiQ decided to create his own two-sided exposure box. It uses arrays of LEDs to produce the correct light, and an Arduino Nano for control.

    The box itself is constructed out of MDF, white acrylic, and drawer slides to allow for easy insertion and extraction of the PCBs. It looks like an excellent tool, and his instructions would be a great place to start if you want to build your own!


    Website: LINK

  • Creating a classroom quiz machine with Arduino

    Creating a classroom quiz machine with Arduino

    Reading Time: 2 minutes

    Creating a classroom quiz machine with Arduino

    Arduino TeamNovember 14th, 2017

    Quiz games, where contestants try to “buzz” in and answer questions make for fun televised game shows, but they can also be great for making learning fun. In order to avoid paying several hundred dollars for an official quiz machine, Instructables user “arpruss” decided to build one for his school using an Arduino Mega.

    The device uses a series of CAT-6 cables to connect individual arcade-style buttons to a central control unit with RJ45 connectors, allowing each contestant to buzz in with an answer. While not approved for official competition, the system can pick out button presses down to a precision of 50 microseconds or less and displaying the order on an LCD screen, reliably determining the fastest individual nearly all of the time!

    The Certamen quiz team competition from the Junior Classical League involves quiz questions on Greek/Roman subjects. Individual contestants press buzzer buttons when they have an answer. The machine keeps track of the order in which buttons were pressed, subject to the team-lockout rule that once a player on a team presses a button, the other presses from that team don’t count. The machine we built was for three teams of four players each. Additionally, so that other school groups could use the machine as a standard quiz machine, there is an option to disregard teams and just keep track of button order.

    Want to create your own? Be sure to check out the project’s full tutorial here!


    Website: LINK

  • Star Wars fan builds an Arduino-powered R4-P17 replica

    Star Wars fan builds an Arduino-powered R4-P17 replica

    Reading Time: 2 minutes

    Star Wars fan builds an Arduino-powered R4-P17 replica

    Arduino TeamNovember 13th, 2017

    Alejandro Clavijo, together with his father Jerónimo, spent two years building the first official fan-made model of the R4-P17 Star Wars droid. For those not familiar with this family of droids, R4-P17 was the robot companion to the young Obi-Wan Kenobi.

    The replica is made of aluminum and wood, and runs on four Arduino boards. Impressively, the project has also been approved by Lucasfilm, the studio behind the saga, allowing Clavijo to bring it to official Star Wars events all over the world.

    Clavijo sent us a bunch photos showing R4-P17’s construction, and more can be found over on its website. As you can imagine, the robot has been a big hit, already making several appearances on TV and in a number of blogs.

    When not recreating Star Wars characters, Clavijo spends his days working as an engineer and has designed controls for “clean rooms” using Arduino Uno. You can see his design–made with CATIA–on Thingiverse.


    Website: LINK

  • Desafío STEM + Arduino Podcast [Español]

    Desafío STEM + Arduino Podcast [Español]

    Reading Time: 2 minutes

    Desafío STEM + Arduino Podcast [Español]

    Arduino TeamNovember 13th, 2017

    Con el fin de apoyar a los nuevos participantes del Desafío STEM 2017, Arduino y Telefónica se han unido para crear una serie de tres podcast, abiertos al público en general, conducidos por David Cuartielles.

    Desafío STEM es un concurso interescolar que fomenta el desarrollo de competencias tecnológicas, creado por Telefónica Educación Digital para impulsar la implantación de nuevas formas de aprender a través de dinámicas motivadoras y fomentar las vocaciones STEM.

    Durante los podcast se abordarán los siguientes temas:

    • Primer podcast: 15 de Noviembre
      Cómo crear proyectos creativos usando tecnología digital.
    • Segundo podcast: 22 de Noviembre
      Identificación de problemas técnicos en la creación de proyectos.
    • Tercer podcast: 5 de Diciembre
      Nuevos usos de tecnología en el aula.

    La duración de los podcast será de una hora comenzando a las 19: 00 GMT+1. Podrán seguir la transmisión del podcast en: http://verkstad.cc/urler/desafiostem

    David responderá durante el podcast preguntas de la audiencia que se envíen antes de los podcast. Para enviar las preguntas, seguir el link que se presenta a continuación y llenar el formulario: http://verkstad.cc/urler/desafio-preguntas. También se podrá participar en twitter con el hashtag #desafiostempreguntas.


    To support the new participants of Desafío STEM 2017, Arduino and Telefónica have come together to create a series of three open podcasts, conducted by David Cuartielles.

    Desafío STEM is an interscholastic competition that promotes the development of technological competences, created by Telefónica Educación Digital to promote the implementation of new ways of learning to motivate and inspire students to pursue STEM vocations.

    The following topics will be addressed:

    • First podcast: November 15
      How to build creative projects using digital technology.
    • Second podcast: November 22
      Identification and resolution of technical challenges in the creation of projects.
    • Third podcast: December 5th
      New uses of technology in the classroom.

    The duration of each podcast will be one hour starting at 19:00 GMT + 1. To follow along, please click on the following link: http://verkstad.cc/urler/desafiostem

    David will answer questions from the audience during the podcast, which need to be sent beforehand via this link: http://verkstad.cc/urler/desafio-preguntas. Twitter users can also participate using the hashtag #desafiostempreguntas.


    Website: LINK

  • Mini Strandbeest goes electric with Arduino

    Mini Strandbeest goes electric with Arduino

    Reading Time: < 1 minute

    Mini Strandbeest goes electric with Arduino

    Arduino TeamNovember 9th, 2017

    Strandbeests, as originally conceived, are gigantic PVC creatures that walk across the sand under wind power. While building one is certainly an enormous undertaking, smaller models are available that let you experience this strange kinetic motion in a more approachable size. These are also normally propelled by moving air, but maker “ArduinoDeXXX” decided to take things further with a pair of DC motors and an Arduino Nano.

    The project came together over five distinct iterations, starting off with the normal wind-driven version, then adding uncontrolled motors. After that, the Arduino was included for automation, and this was upgraded with an IR remote. Finally, ArduinoDeXXX integrated simple gesture sensing using an array of IR LEDs.

    You can see the mini Strandbeest in action below, along with a few “bonus” improvements at the end.


    Website: LINK

  • Maker Faire Rome 2017: Call for Volunteers

    Maker Faire Rome 2017: Call for Volunteers

    Reading Time: 2 minutes

    Maker Faire Rome 2017: Call for Volunteers

    Arduino TeamNovember 7th, 2017

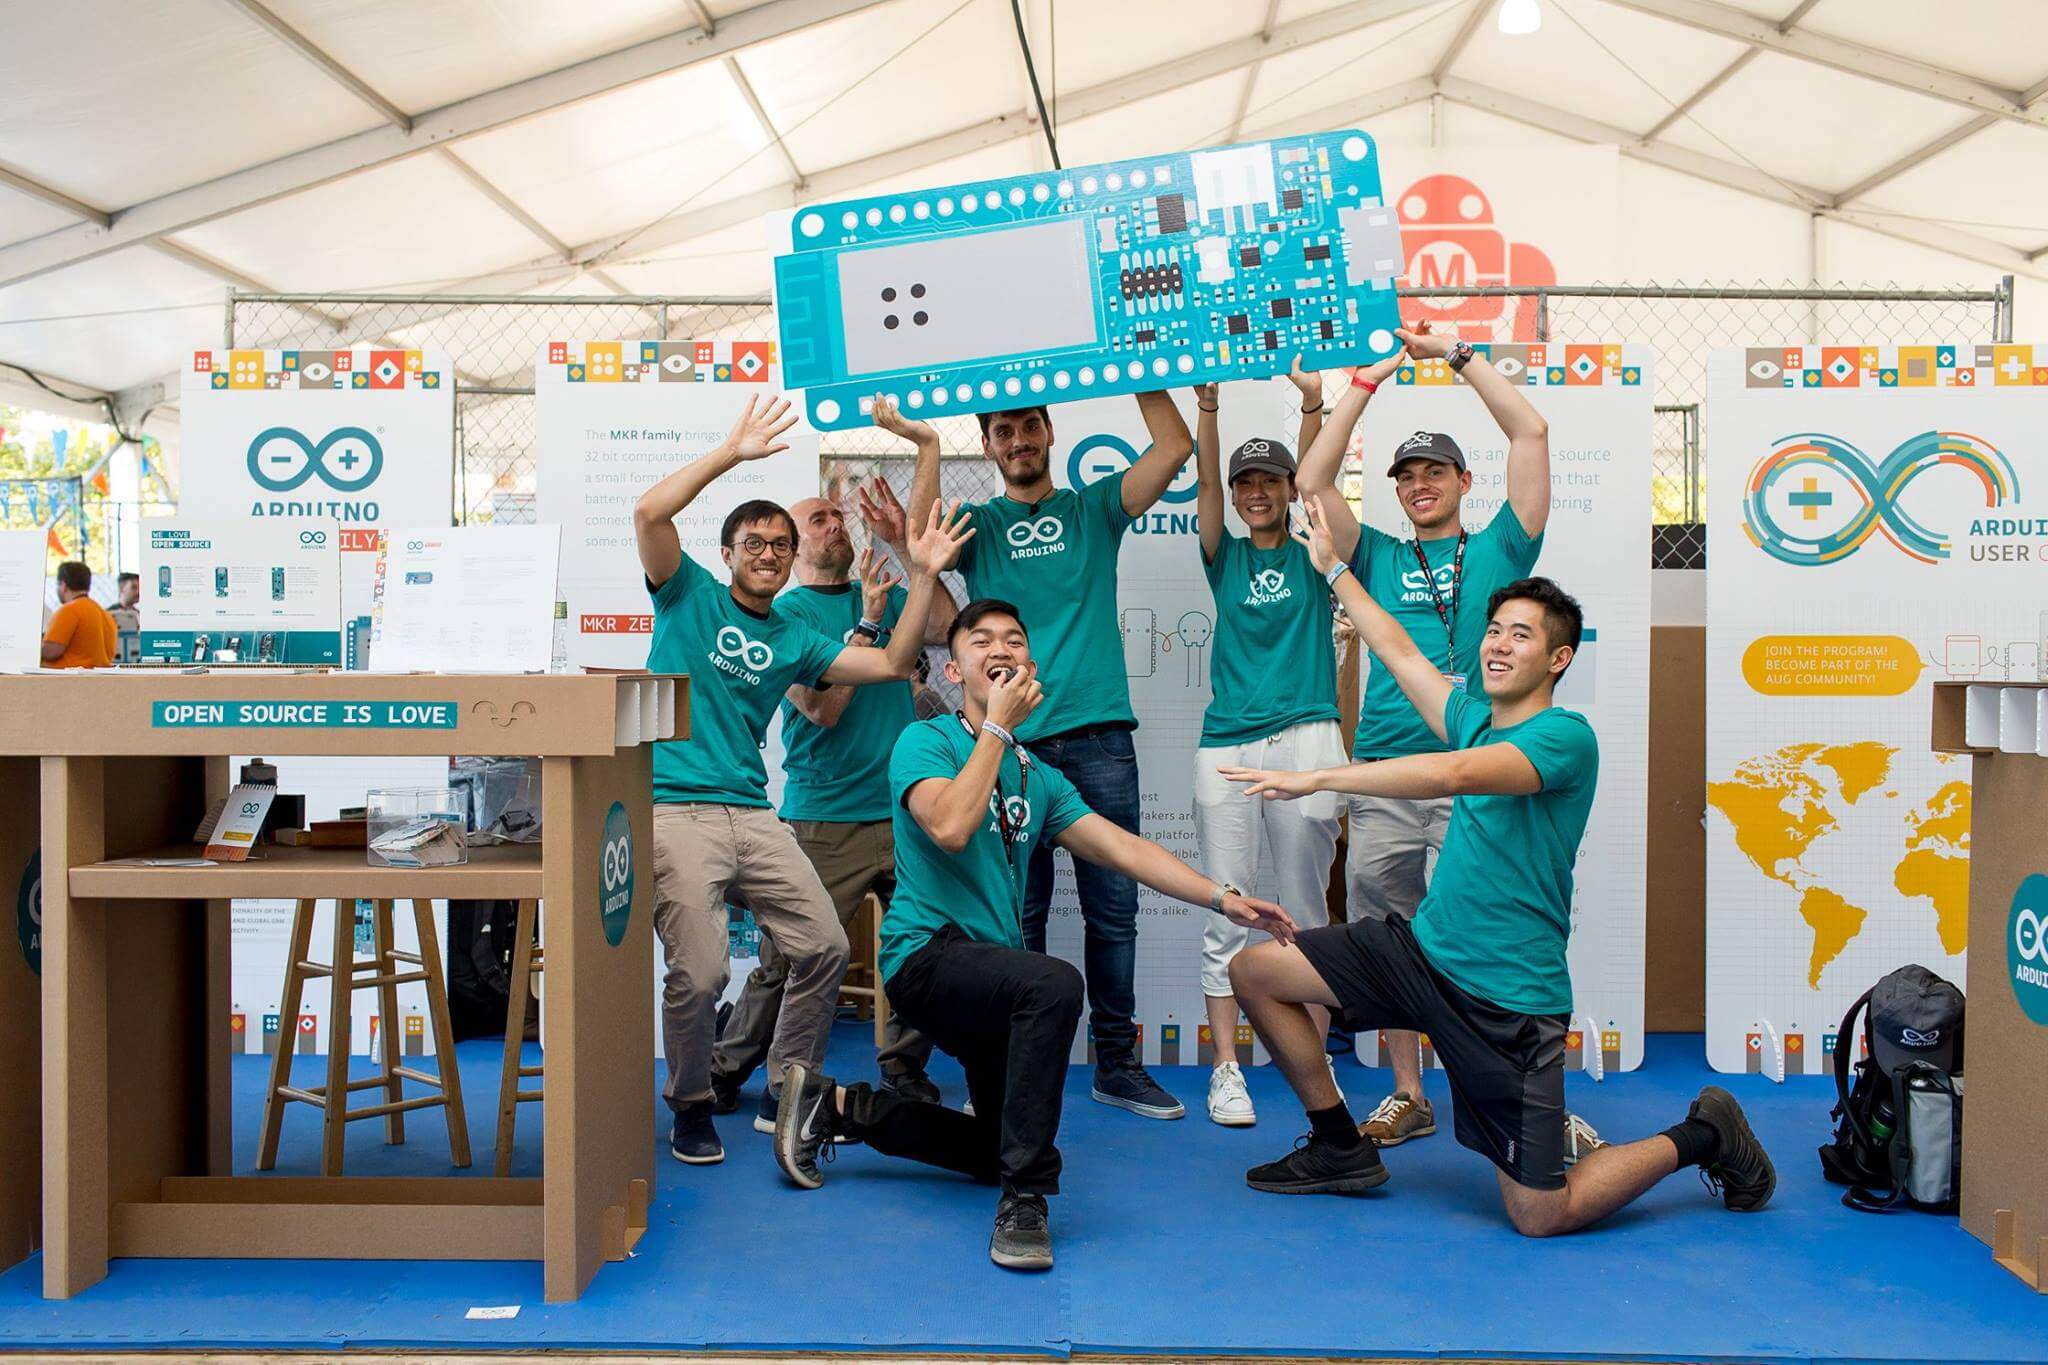
    Planning on attending Maker Faire Rome next month? We’re currently seeking volunteers to join our team during the event—staffing tables and displays, leading one-on-one workshops and demos, and providing technical assistance when necessary.

    If you volunteer with us for one shift, you won’t leave empty-handed! You’ll receive a day pass; spend two days with us, and you’ll have a ticket for the entire weekend to explore the show. Water and snacks will be provided, of course, along with some Arduino goodies.

    Interested in helping out at our booth? Please fill out this questionnaire, and we’ll get back to you soon!

    If you are underage, we will need your parents’ permission.

    Maker Faire Rome: AAAA, cercasi volontar* per il booth Arduino

    Hai in programma di partecipare a Maker Faire Roma? Entra a far parte del team di volontar* all’Arduino booth! Stiamo cercando appassionat* di Arduino che ci aiutino durante l’evento dando il benvenuto a visitatrici e visitatori e fornendo assistenza tecnica e supporto durante le demo.

    Con un turno di volontariato allo stand Arduino, avrai a disposizione un pass per l’intera giornata; se, invece, sarai al nostro booth per almeno due turni avrai il pass per i tre giorni di evento. Sappiamo quanto sia importante il tuo tempo e quanto sia fondamentale il tuo aiuto al nostro booth, per questo motivo saremo felici di offrirti il pranzo e una selezione di gadget Arduino.

    Ti interessa diventare un* volontari* al booth Arduino? Per favore completa questo form, ti faremo sapere prestissimo!

    Se hai meno di 18 anni, puoi partecipare ma con il consenso firmato dei tuoi genitori!


    Website: LINK

  • Simple Computer Gesture Control with Arduino and Python

    Simple Computer Gesture Control with Arduino and Python

    Reading Time: < 1 minute

    Simple Computer Gesture Control with Arduino and Python

    Arduino TeamNovember 6th, 2017

    As outlined in this Circuit Digest write-up, with the right hardware, you can now control your computer using hand gestures. While interesting, this kind of technology can be a little expensive. But if you’d like to augment your notebook or laptop via simple gesture capabilities without breaking the bank, B. Aswinth Raj has your answer in the form of an Arduino Uno and two ultrasonic sensors.

    His system places the two sensors at the top of a screen, which are read by the Uno. This data is then passed on to a Python program running on the host computer that allows for actions such as play/pause, fast-forward, and volume control while watching videos.

    Given the nature of the setup, there’s no reason why more sensors or programming couldn’t be added for further control, perhaps as shortcut “keys” for your favorite design software package! You can read more about the project here, and see a demo of it below.


    Website: LINK

  • Use all your old-school game controllers with the turn of a dial

    Use all your old-school game controllers with the turn of a dial

    Reading Time: 2 minutes

    Use all your old-school game controllers with the turn of a dial

    Arduino TeamNovember 6th, 2017

    IT professional (and Arduino cap fan) John Milner had a minor problem. While his retro gaming setup could emulate a wide variety of systems and games, it was still missing the tactile feedback of the original controllers. Rather than “submit” to playing with only an Xbox 360 controller, he developed the Multijoy Retro Gaming System that can change gamepads with the turn of a knob using an Arduino Micro.

    The resulting system lets him not only choose the original controller for each game, but if you want to mix things up and see how Super Mario Bros. would feel on a PlayStation 1, or even a Genesis controller, you can do that too! It also features shortcut buttons on the new console.

    The Arduino presents itself as two joypads with native plug-and-play support for Microsoft Windows 7+ and Linux/RetroPie. The selector is simply a ring of LEDs with a potentiometer in the center, using the knob will move the lit LED to the desired controller pictured in that position, a simple system with an unexpected bonus of being a little retro in its appearance.

    You can check it out in the video below, and see more of the project on his blog and on GitHub.


    Website: LINK

  • Linux support comes to Arduino Create

    Linux support comes to Arduino Create

    Reading Time: 2 minutes

    Linux support comes to Arduino Create

    Arduino TeamNovember 3rd, 2017

    We’re excited to announce a new update to the Arduino Create web platform, which will enable fast and easy development and deployment of IoT applications with integrated cloud services on Linux-based devices.

    What this means is that users will be able to program their Linux boards as if they were regular Arduinos. Multiple Arduino programs can run simultaneously on a Linux board and programs can communicate with each other leveraging the capabilities of the new open source Arduino Connector. 

    Arduino Create Cloud now allows users to manage individual IoT devices, and configure them remotely and independently from where they are located. To further simplify the user journey, we’ve also developed a novel “out of the box” experience that will let anyone set up a new device from scratch via the cloud without any previous knowledge by following an intuitive web-based wizard

    The initial release has been sponsored by Intel® and supports X86/X86_64 boards. As a reference implementation, a simplified user experience has been designed for the AAEON® UP² board, although other platforms are already supported by the Arduino Create Cloud platform, such as the Intel® NUC, Dell Wyse®, Gigabyte™ GB-BXT.

    In the coming months, we plan to expand support for Linuxbased IoT devices running on other hardware architectures. Until then, you can find more information here and follow the tutorials below to help get you going:


    Website: LINK

  • ASPIR is a full-size, Arduino-powered humanoid robot

    ASPIR is a full-size, Arduino-powered humanoid robot

    Reading Time: 2 minutes

    ASPIR is a full-size, Arduino-powered humanoid robot

    Arduino TeamNovember 3rd, 2017

    Building robots can be difficult, and if you want to construct something humanoid, designing the mechanics alone can be a significant task. ASPIR, which stands just over four feet tall, looks like a great place to start.

    John Choi’s 3D-printed robot can move its arms, legs, and head via 33 servo motors, all controlled by an Arduino Mega, along with a servo shield.

    The documentation found here is excellent; however, it comes with a warning that this is a very advanced project, taking several months to build along with $2,500 in parts. Even if you’re not willing to make that commitment, it’s worth checking out for inspiration, perhaps parts of the ASPIR could be adapted to your own design!


    Website: LINK

  • Manipulate time with this Arduino-controlled LED glove

    Manipulate time with this Arduino-controlled LED glove

    Reading Time: 2 minutes

    Manipulate time with this Arduino-controlled LED glove

    Arduino TeamNovember 2nd, 2017

    While you might not be able to actually manipulate time, this glove by YouTuber “MadGyver” certainly makes it appear that way. His glove, shown in the video below, uses a gigantic LED controlled by an Arduino Nano to allow objects such as a fan, water falling from a shower, and a spinning top to stop, slow down, and even reverse.

    The trick is that when the LED’s frequency is aligned with that of the observed moving subject, it lights it up in the same position over and over, making it appear to pause. Frequency is adjusted by rolling one’s hand via an accelerometer, or a potentiometer mounted in the base of the glove can also be used.

    If you want to build your own, instructions can be found here and the Arduino code and schematics are available on GitHub.


    Website: LINK

  • An Arduino-controlled geodesic greenhouse and chicken coop

    An Arduino-controlled geodesic greenhouse and chicken coop

    Reading Time: 2 minutes

    An Arduino-controlled geodesic greenhouse and chicken coop

    Arduino TeamNovember 1st, 2017

    Danish industrial design student Mikkel Mikkelsen decided to do something a little different this spring, and constructed a self-sufficient geodesic greenhouse dome. His dome, which was planned using this online calculator, now stands roughly 13 feet tall, providing space for crops, along with an annex for chickens.

    While this seems like a very “back to nature” project, he didn’t forget to include modern conveniences via an automation system that uses both an Arduino Nano and a Mega. The chickens can come and go through an automatic door, while ventilation windows on the top of the dome can be opened as needed. Even plant watering is controlled automatically.

    The dome is also equipped with a GSM module that allows Mikkelsen to check on things using his phone via SMS, as well as a potentiometer for manually varying the watering levels and a speaker that is triggered upon entering the greenhouse.

    Be sure to check out Mikkelsen’s elaborate Instructables write-up for more info on the build.


    Website: LINK

  • Automate Halloween with the Stack-O-Lantern memory game

    Automate Halloween with the Stack-O-Lantern memory game

    Reading Time: < 1 minute

    Automate Halloween with the Stack-O-Lantern memory game

    Arduino TeamNovember 1st, 2017

    While Halloween has come and gone, it’s not too early to start brainstorming for next year’s jack-o’-lantern hack. Perhaps you’re thinking about lighting a pumpkin with an Uno-powered array of LEDs, or activating a shield to play scary recorded noises. If, however, you’d like inspiration for something more involved, the New Scientist team’s Arduino-controlled nine-pumpkin rig shows off lots of creative ideas.

    The system holds candy in a hacked cereal dispenser, which is released through a long clear plastic tube. But instead of giving away treats for free, it’s activated by an interactive memory game involving four pumpkins on the sides of the assembly.

    Trick-or-treaters must tap each pumpkin’s aluminum foil switches in sequence. If replicated in the correct order, they are rewarded with candy. If not, visitors are “treated” to a spray of silly string!

    You can read more about New Scientist‘s project in this article, and see it in action below!


    Website: LINK

  • Capturing a complex TV commercial with Arduino

    Capturing a complex TV commercial with Arduino

    Reading Time: 2 minutes

    Capturing a complex TV commercial with Arduino

    Arduino TeamOctober 31st, 2017

    Ever wonder how studios like Oslo-based Flambert get perfectly timed (and complex) shots of “disasters,” such as the destruction of a birthday party setting seen in the Coop Obs! commercial below?

    While the moving camera position was handled by a robotic arm, food jumping off of the table is coordinated by a series of 18 pneumatic actuators controlled by an Arduino.

    The pneumatic equipment is cleverly concealed by a tablecloth, making the food appear to fly off the table with no trigger other than the hostess of the party initially slipping. Another clever innovation was making the table with two interchangeable tops, so one could be set up while the other was being shot, saving a huge amount of time during filming.

    “We decided to build a table consisting of high-pressure valves with nine individual triggers and 18 air pressure points that could shoot items into the air with extreme precision. We recommended a combination of high-speed camera movements and triggers to set off and capture the chaos. All this was controlled by an Arduino unit, that again was controlled by a motion-controlled robot.”


    Website: LINK

  • An Arduino vibe bowl screw feeder

    An Arduino vibe bowl screw feeder

    Reading Time: < 1 minute

    An Arduino vibe bowl screw feeder

    Arduino TeamOctober 26th, 2017

    Vibratory bowls, which feed small parts up a long curved ramp, are essential elements in many types of automated manufacturing. While the video seen here doesn’t get into how the bowls themselves are made, a crucial part of the setup is the ramp on the end, which controls how items exiting the bowl are aligned.

    In the clip below, NYC CNC’s John Saunders machines a feed ramp and proceeds to integrate an Arduino Uno after the 21:00 mark, which uses a photo interrupt sensor to count how many parts have exited the bowl.

    Once the proper number has been attained, it can then switch things off as needed using a PowerSwitch Tail. It’s a great setup for testing out the design before being put to use. Code and parts for the project can be found here.


    Website: LINK

  • Ivy is a massive 240-step sequencer

    Ivy is a massive 240-step sequencer

    Reading Time: 2 minutes

    Ivy is a massive 240-step sequencer

    Arduino TeamOctober 24th, 2017

    Most musical sequencers use an array of buttons to control sounds played in 16 or perhaps 32 steps. As seen here, Moscow-based artist Dmitry Morozov (aka ::vtol::) created an installation called “Ivy” wth not 16, but 240!

    The sequencer is based on an Arduino Mega along with 74HC40967 multiplexers to handle input from the 240 sliders arranged as controls for each step.  There’s also a bunch of WS2811 LEDs, which are driven by a Teensy board.

    Ivy stretches five meters in length, and several “voices” represented by dots on the 1-dimensional light array travel both right and left at different speeds simultaneously. This allows it to be programmed in ways that wouldn’t be possible with traditionally-operated musical devices.

    The project is created specially for Open Codes exhibition in ZKM center, dedicated to codes and programming in art. On one side, Ivy is a representation of an archaic method of electronic music programming for analog synthesizers. On the other side – gigantic scale and obsessive multiplication of simple primitive elements turns this project into an art installation, that is referring to the topic of graphic and physical organization of parameters in electronic music.

    You can read more about ::vtol::’s latest sound installation here, and see it in action below!


    Website: LINK

  • Building an ALS communication device with Arduino

    Building an ALS communication device with Arduino

    Reading Time: 2 minutes

    Building an ALS communication device with Arduino

    Arduino TeamOctober 24th, 2017

    The father of hacker Ricardo Andere de Mello’s good friend has ALS. His symptoms have become worse recently, causing the loss of much of his motor control. To help with the situation, de Mello decided to build a device that would enable him to communicate with his family.

    What he came up with was a finger-mounted accelerometer that senses movement, and feeds data to a computer using an Arduino Uno, updated for HMI use. The computer then allows the ALS patient to speak via the same ACAT software used by Steven Hawking.

    The result is a system that is very affordable, and that can hopefully help a lot of people with this and other debilitating conditions. For more information, be sure to check out the project’s write-up and watch its demo videos below.


    Website: LINK

  • Students invent a low-cost electric wheelchair kit with Arduino

    Students invent a low-cost electric wheelchair kit with Arduino

    Reading Time: 2 minutes

    Students invent a low-cost electric wheelchair kit with Arduino

    Arduino TeamOctober 23rd, 2017

    While electric wheelchairs are a vital tool for those with restricted mobility, they typically cost around $2,500, an amount that’s not the most affordable. To address this problem, a group of students from Aviv High School in Israel have come up with a low-cost, 3D-printed motor conversion kit that connects to a standard push-chair without any permanent modification or damage.

    The system uses a pair of motors to steer like a tank, and features a joystick and Arduino Uno for control. Another interesting feature is shown later in the video below, when it’s folded up for storage with the motor kit still attached.

    You can check out the team’s website for more details this incredible project, as well as All3DP’s recent article here.


    Website: LINK

  • The Weather Followers randomizes your digital experience

    The Weather Followers randomizes your digital experience

    Reading Time: 2 minutes

    The Weather Followers randomizes your digital experience

    Arduino TeamOctober 20th, 2017

    As our lives become more and more automated, we tend to rely on computers and unseen algorithms to “protect” us from unapproved experiences. In order to illustrate this concept, and hopefully introduce serendipitous events to our digital lives, David Colombini has come up with an installation that feeds information to users via a web app, available only when it’s on display.

    Instead of implementing a carefully designed algorithm, what users experience is based on constantly evolving local weather data sensed by a physical machine equipped with an Arduino Mega, a Raspberry Pi, various sensors, and some other components.

    “The Weather Followers” is comprised of four different instruments: a wind-driven messaging app, a pollution-distorted selfie tool, a music player based on the rhythm of rain, and even a device that erases your feed depending on the sun’s intensity!

    The installation is comprised of two elements, the four weather instruments and the webapp. Users are invited to connect to the weather machine through the webapp and choosing between one of the four weather instruments: Windy encounters (when your digital social life follows the wind), Polluted Selfie (when your digital individual life follows the pollution), Drizzly Rhythms (when your digital audio life follows the rain) and finally Sun(e)rase (when your digital overwhelming life follows the sun).

    More details on the project can be found here. If you want to see another weather/digital world combination by Colombini, be sure to check out this balloon messaging system!


    Website: LINK

  • Integrating a Nintendo Power Glove with today’s VR technology

    Integrating a Nintendo Power Glove with today’s VR technology

    Reading Time: 2 minutes

    Integrating a Nintendo Power Glove with today’s VR technology

    Arduino TeamOctober 19th, 2017

    When the Power Glove was released in the early 1990s, the idea that you could control games with hand motions was incredible, but like the Virtual Boy that followed years later, the hardware of the day just couldn’t keep up. Today, hardware has finally gotten to the point where this type of interface could be very useful, so Teague Labs decided to integrate a Power Glove with an HTC Vive VR headset.

    While still under development, the glove’s finger sensors have shown great promise for interactions with virtual touchscreen devices, and they’ve even come up with a game where you have to counter rocks, paper, and scissors with the correct gesture.

    Making this all possible is the Arduino Due, which supports the library for communicating with the Vive tracker.

    We took a Power Glove apart, 3D scanned the interfacing plastic parts and built modified parts that hold the Vive Tracker and an Arduino Due on the glove. After some prototyping on a breadboard, we designed a shield for the Due and etched it using the laser-cutter transfer technique. We then soldered all components and spray-painted the whole shield to protect the bare copper. After mounting the tracker and tweaking the code by matzmann666, we had the glove work.

    If you’d like to see the details of what has been accomplished so far, check out the Teague Labs team’s design files and code on GitHub.


    Website: LINK

  • Make an Arduino-controlled boost gauge for your racing sim dash

    Make an Arduino-controlled boost gauge for your racing sim dash

    Reading Time: < 1 minute

    Make an Arduino-controlled boost gauge for your racing sim dash

    Arduino TeamOctober 18th, 2017

    If you’re really serious about car racing games, at some point you may want to upgrade your instruments from being on-screen to physically residing in your living room.

    While this would appear to be an arduous task, displaying your in-game boost level on a physical gauge is actually as easy as connecting a few wires to an Arduino Nano, then using SimHub to tie everything together.

    As seen in the video below around 2:45, it looks like a lot of fun! While a boost gauge by itself might not be as immersive costly sit-inside racing sims, one could see where this type of hack could lead to ever more impressive DIY accessories.


    Website: LINK

  • Antique organ speaks clues at an escape room

    Antique organ speaks clues at an escape room

    Reading Time: 2 minutes

    Antique organ speaks clues at an escape room

    Arduino TeamOctober 17th, 2017

    When tasked with converting an antique pump organ—sort of a miniature version of a full-sized pipe organ—into part of an escape room puzzle, hacker Alec Smecher decided to turn it into a vocal MIDI device.

    To accomplish this, he embedded switches in each of the keys, then wired them into an Arduino Leonardo embedded in the 100-year-old organ to act as input to a desktop computer. Information is translated into browser commands using the Web MIDI API, which controls the Pink Trombone application in order to imitate a human vocal tract.

    A common stop on an organ is called “Vox Humana”, or “Human Voice” in Latin. This is supposed to somehow sound like a choir or soloist, generally by adding a tremolo effect. It’s not effective — all pump organ stops sound like pump organ stops. I wanted to modify this stop so that engaging it would sound like a human voice — and not at all like a musical instrument.

    The results–shown in the first video below–sound almost but not quite human, certainly adding to the tension and mystery of the escape room. Be sure to read more about Smecher’s project here.


    Website: LINK